Not many people except WW2 history buffs and AFV enthusiasts know this: the self-propelled gun Sturmgeschutz III was the most numerous tracked armored fighting vehicle that the Germans produced for the whole war. The Stug III (in abbreviation) was the most common tank-killer on tracks that the Allies encountered and they were very effective, in fact so much so that the Soviets borrowed the same low-profile concept for their latter Su-85s. Unlike their turreted cousins, Stugs tend to be attached to infantry formations as close-support vehicles and were much appreciated for their high velocity 75mm Kwk 40/L gun. The Stug III started out with a short-barreled 75mm howitzer version for bombarding enemy strong points and blockhouses, but once the T-34 made its appearance, German engineers quickly adapted the gun mount to house the long-barreled high velocity 75mm.
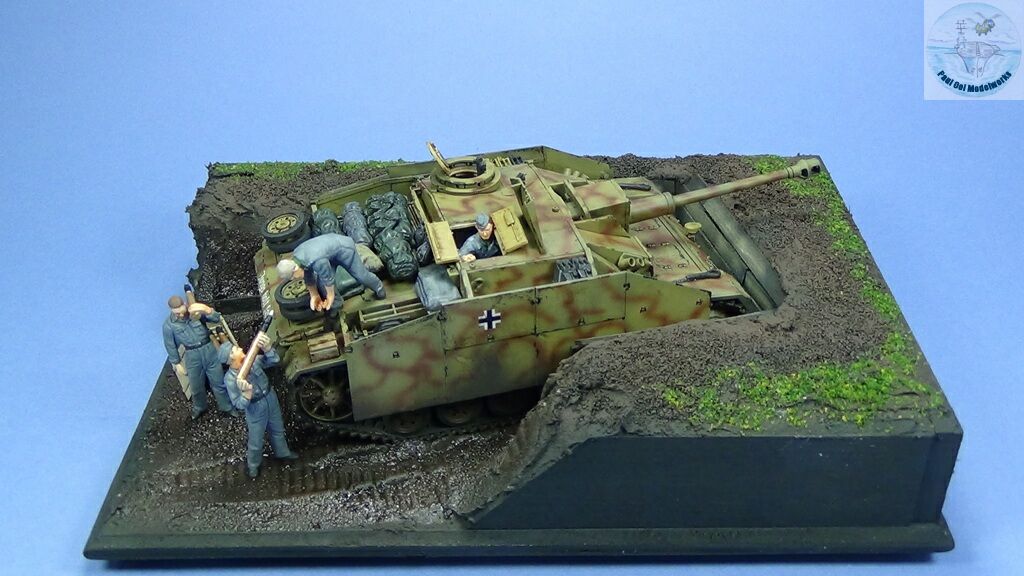
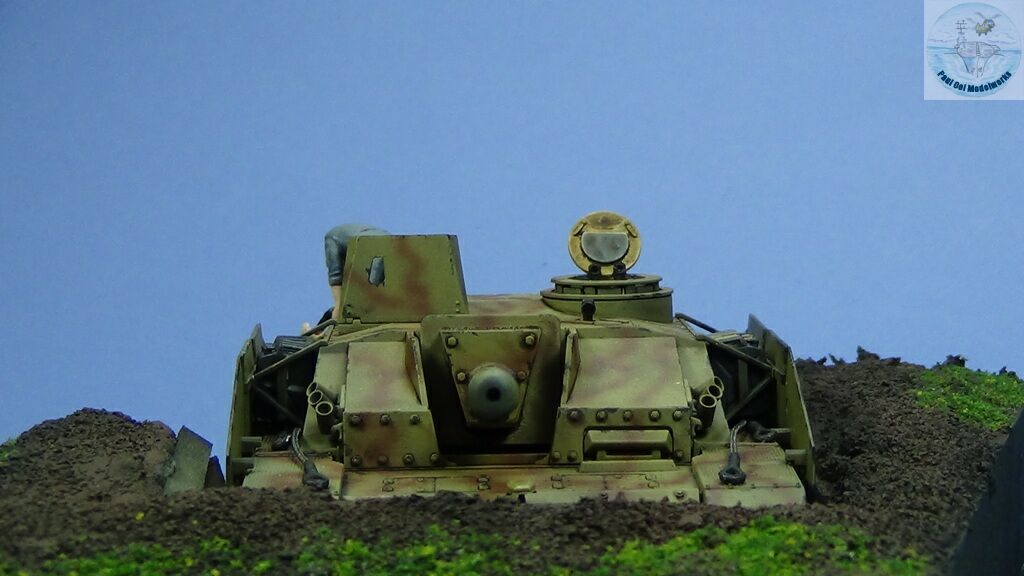
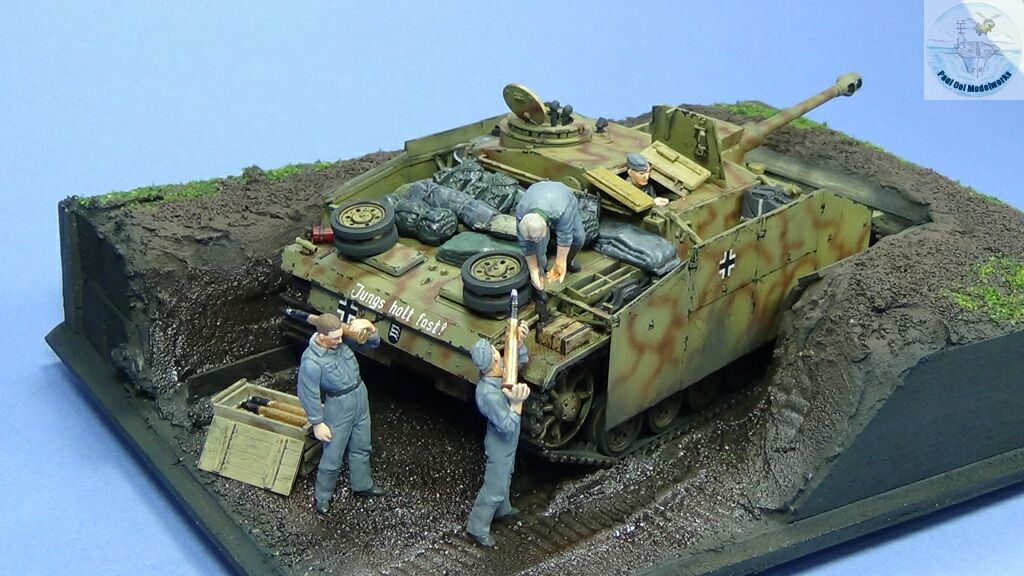
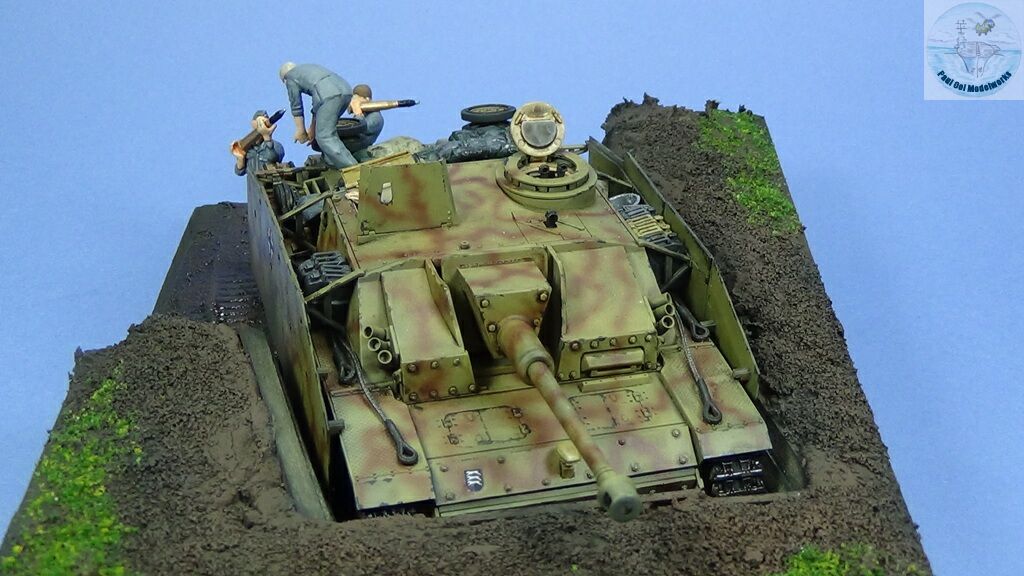
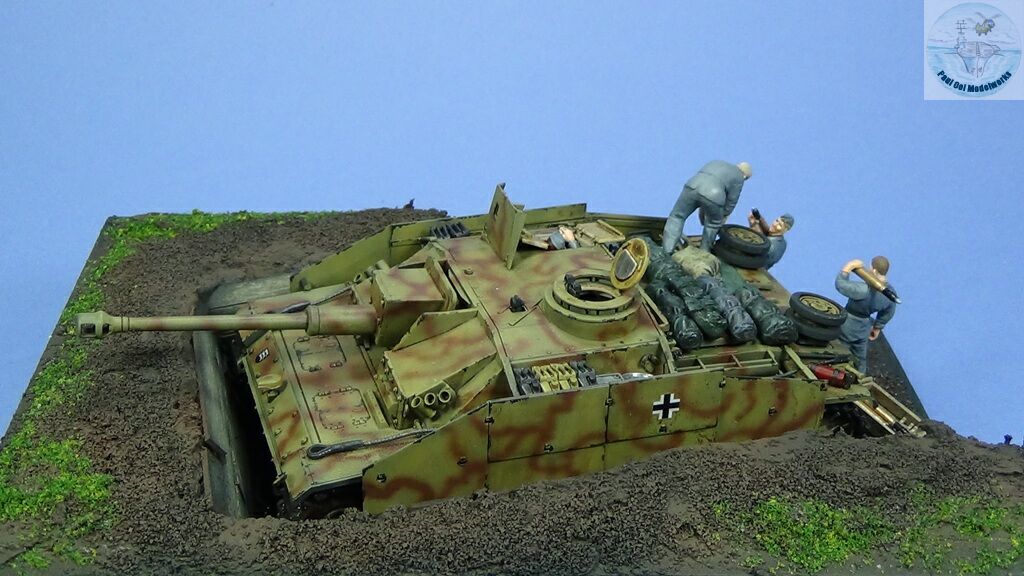
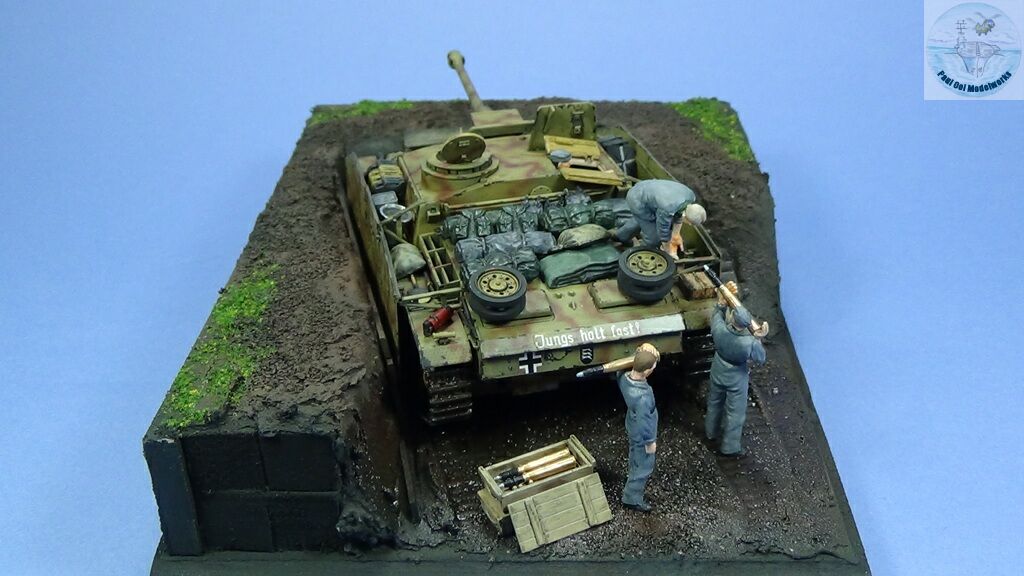
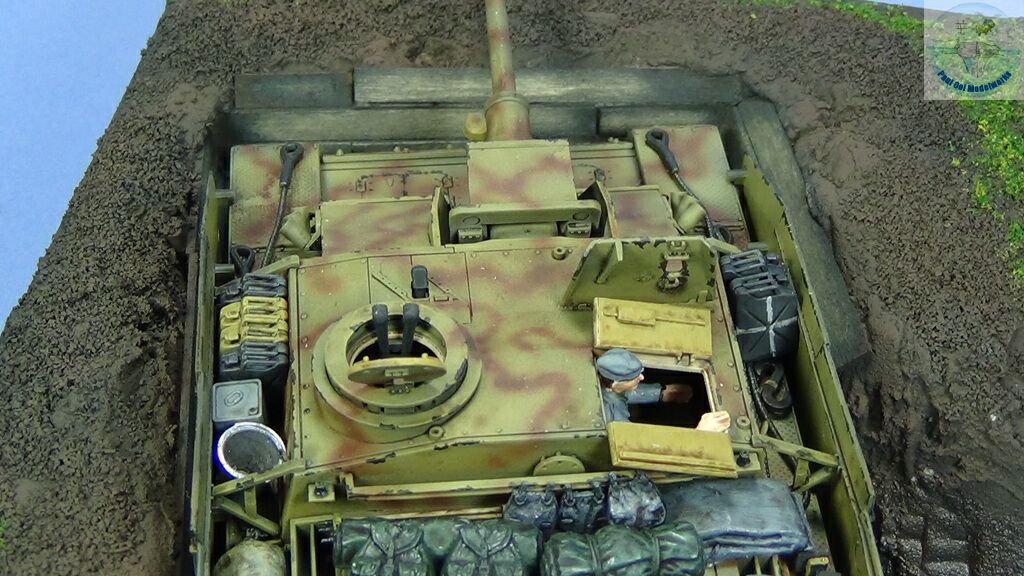
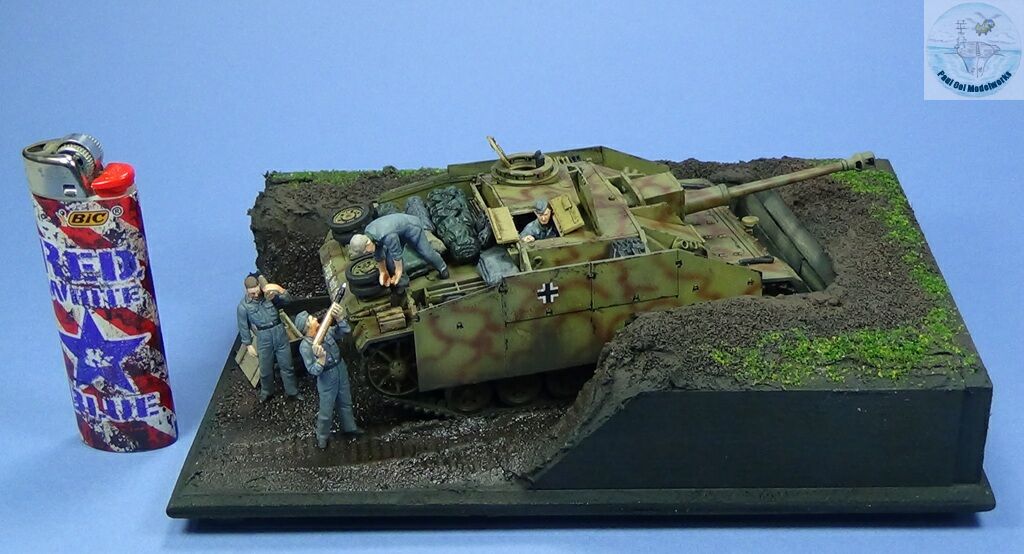
I wanted to portray a Stug. III of the 237th Brigade after the Battle of Kursk. In the aftermath of the failure of Operation Citadel to eliminate the Kursk salient, the Germans found themselves on the receiving end of a massive Soviet counter-offensive called Operation Kutusov aimed at ejecting the Germans from Central Russia. The Germans fell back to prepared defensive positions such as this tank dugout near Smolensk. When parked in such a dugout, the Stug. III presents a very small target to approaching T-34’s. You can see this picture of a T-34’s eye view of the waiting Stug. III, not much to aim at since it is low in the ground with no turret.
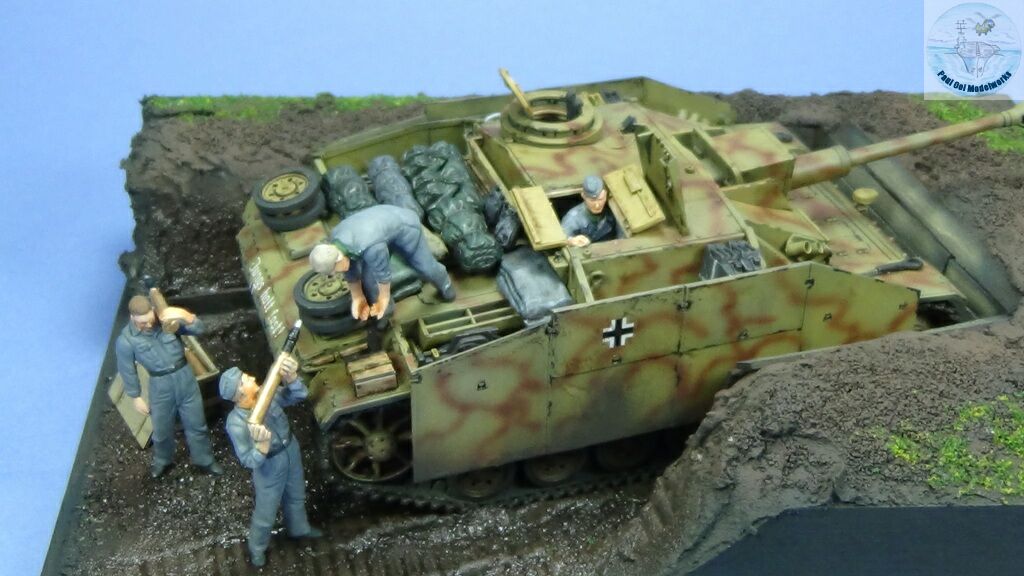
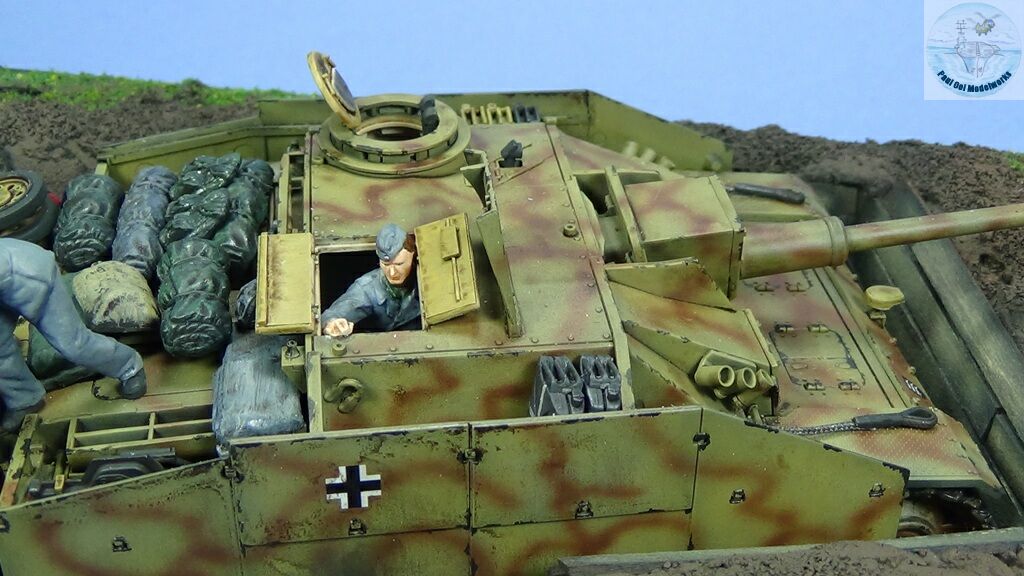
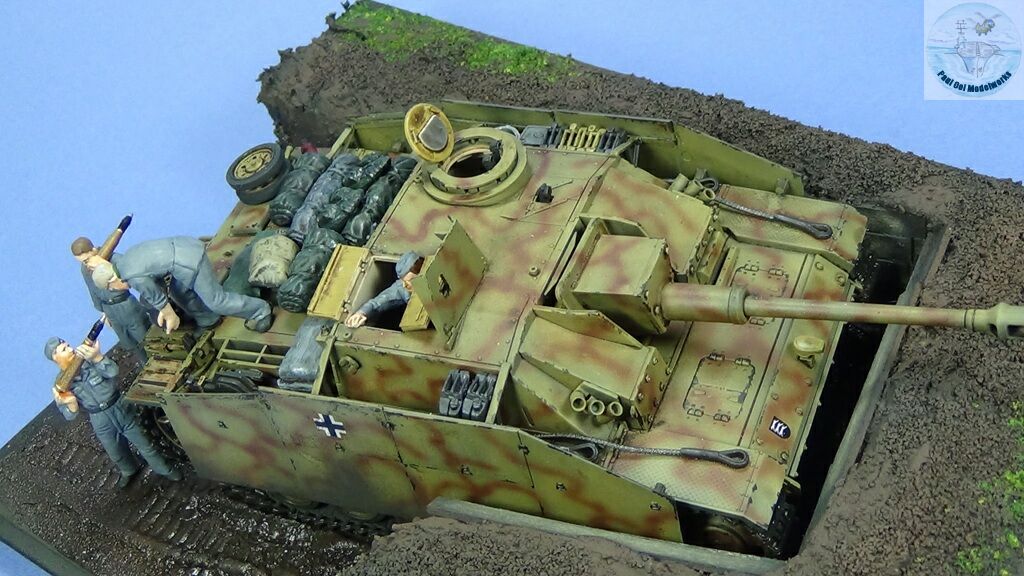
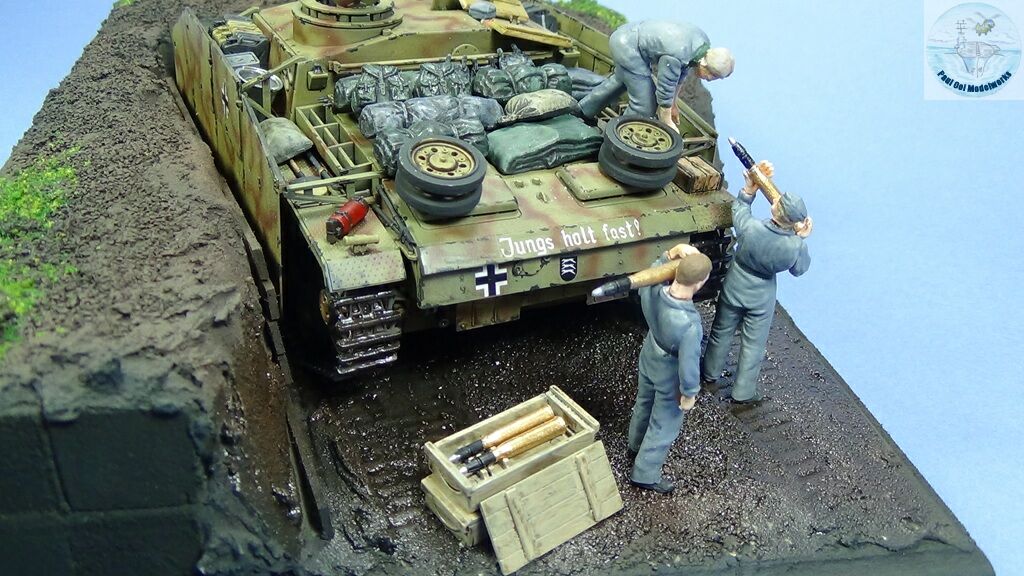
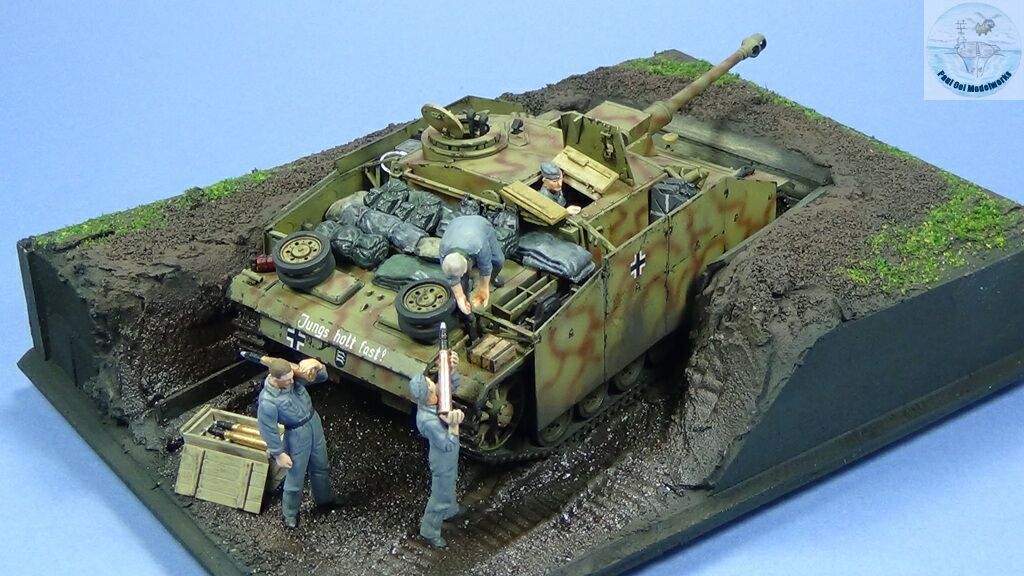
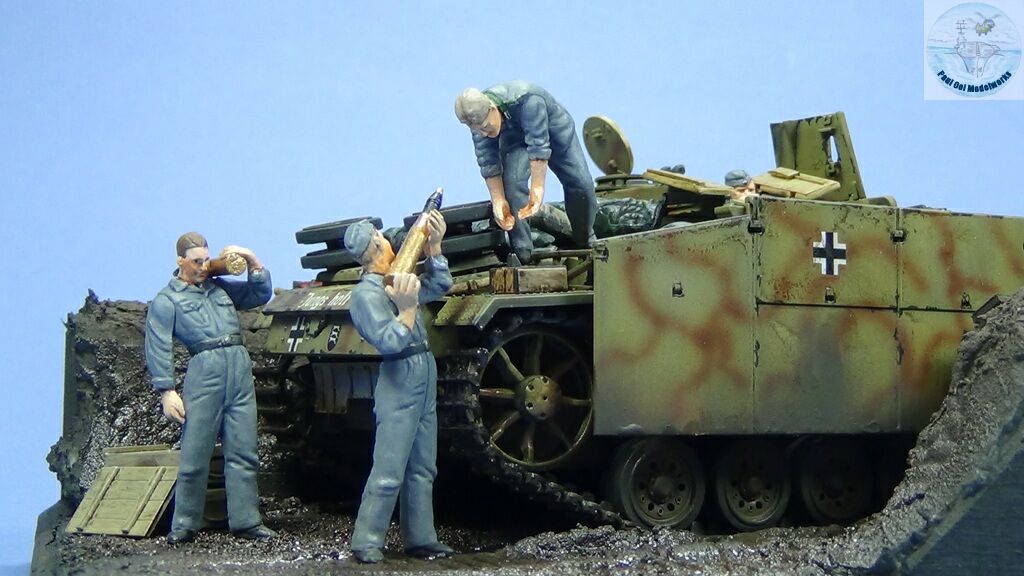
The crew are busy loading the ammunition bins with armor-piercing 75mm rounds in anticipation of an all-out Soviet assault, always spearheaded by masses of tanks with infantry riding behind to provide support. The tank is loaded with all kinds of supplies as they needed to have all their stuff with them in case they have to fall back to another defensive position.
Gallery
Construction Notes
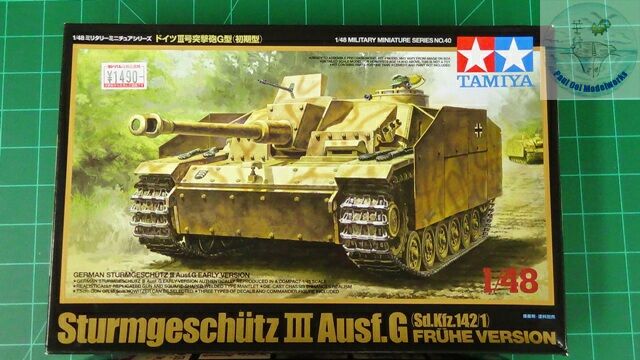
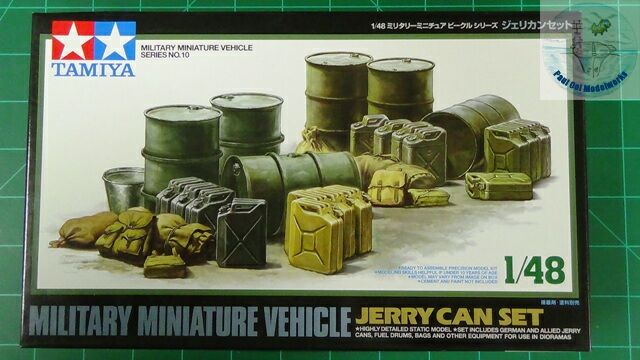
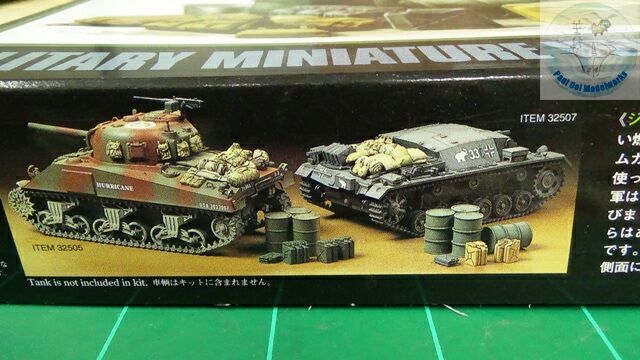
I wanted to build the Stug III for some time now as the most common “tank” (technically it is a self-propelled gun) that the Germans used. Tamiya makes very good AFV’s and I decided to do this one in 1/48 scale. I found the excellent early version during my last trip to Japan 2 years ago and paid the princely sum of about $12. It has been a while since I built a Tamiya kit and I am struck by the near perfect fit and no need to patch up any seams. What many people may not know is that the Tamiya 1/48 scale Jerry Can Set also has both American and German bags, bedrolls and tarp sheets suitable to pile onto the engine deck.
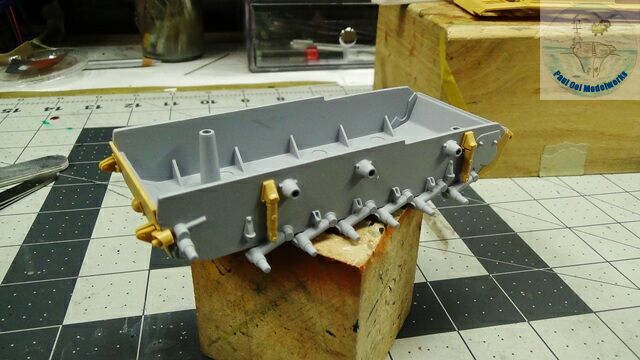 The hull tub is a single precision molded aluminum piece that gives this little AFV model a bit of respectable heft/ The plastic shock absorbers and glacis plates glue directly onto the aluminum tub.
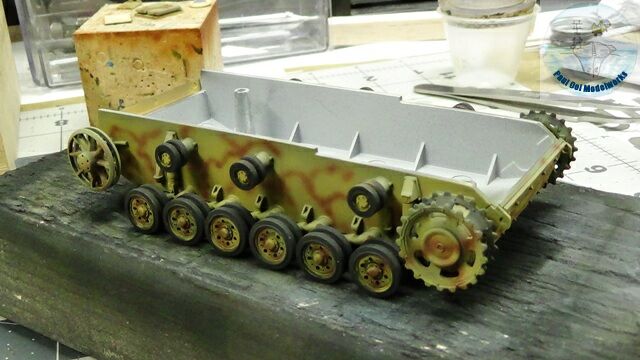
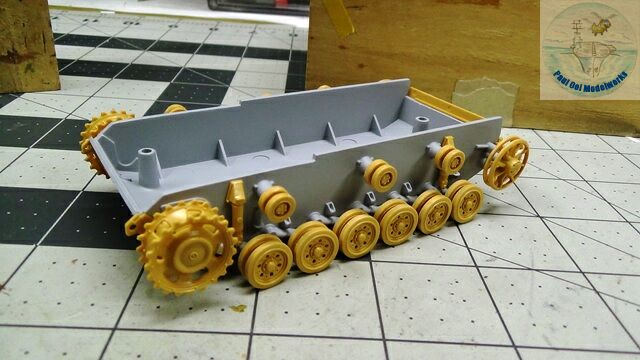 After assembling the wheel sets, I dry fit them onto the aluminum chassis and the fit is so perfect.
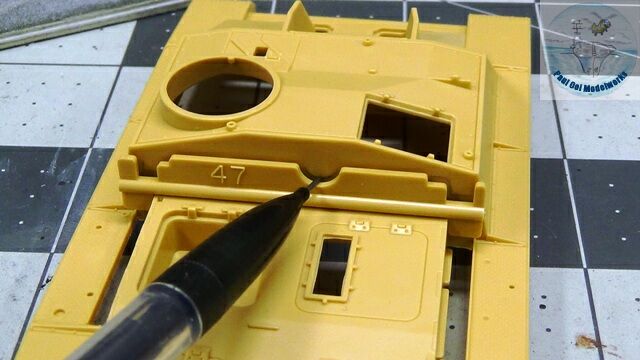
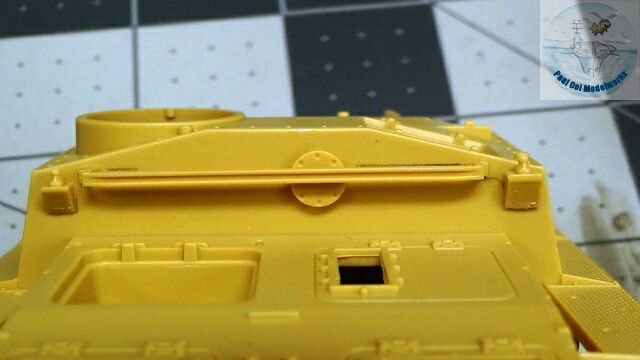 Tamiya provided a template for the rear of the fighting compartment to pencil-mark the positions of the ventilator flange, safety rail, and twin antennae mounts.
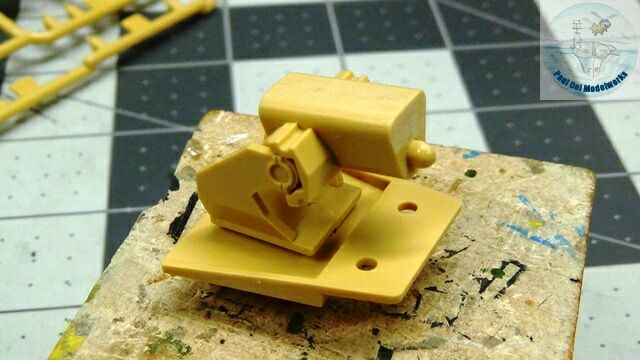 The flexible gun mount and anchor allows the 75mm main gun to have some degree of vertical elevation movement, and a little bit of side-to-side as well.
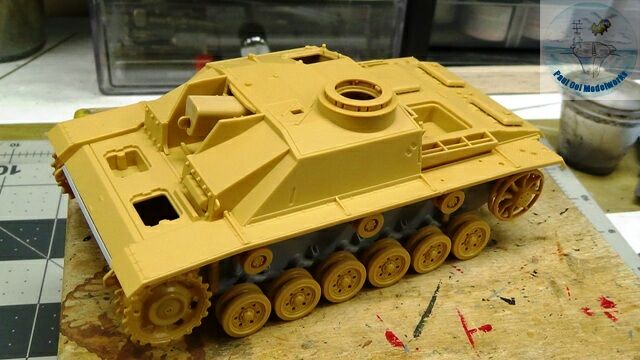 The gun mount goes into the upper hull piece and here, you can see me setting the upper hull onto the chassis piece for dry-fitting. The two halves are attached together with two screws hidden under compartment doors. I will leave these unattached for now as there is is still work that need to enable separation of the two halves.
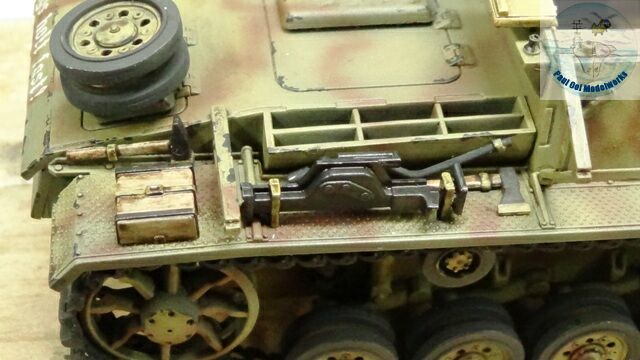
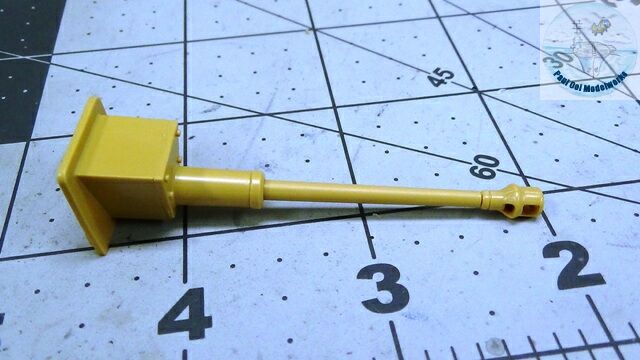 Next, I build the long-barreled KwK40L main gun and its mounting.
 I use superglue to ensure a strong bond between the main gun block assembly and the barrel itself, as there is no other way to move the barrel’s attitude.
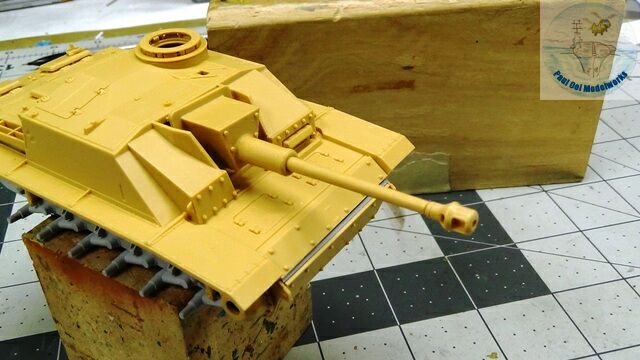
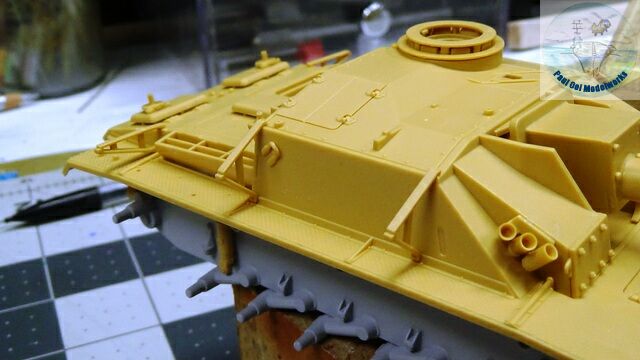 All kinds of panel parts, grenade launchers and engine compartment doors are added to the top hull. There are also six protruded brackets sticking out of the side of the hull for holding the protective side skirts. The latter parts need to be adjusted in order align carefully with the attachment points on the side skirts.
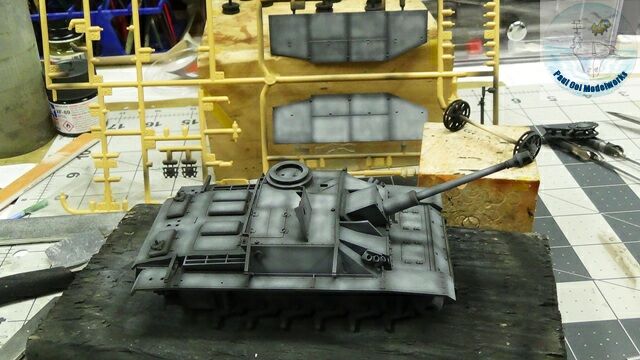
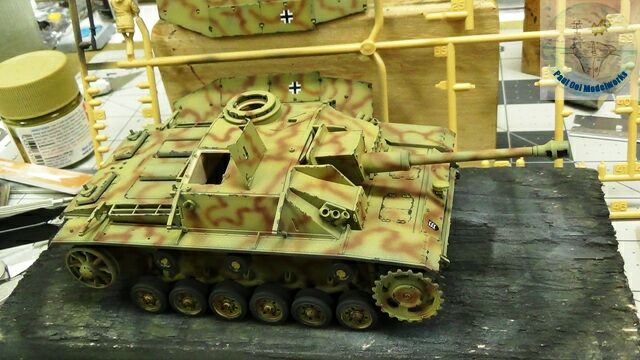
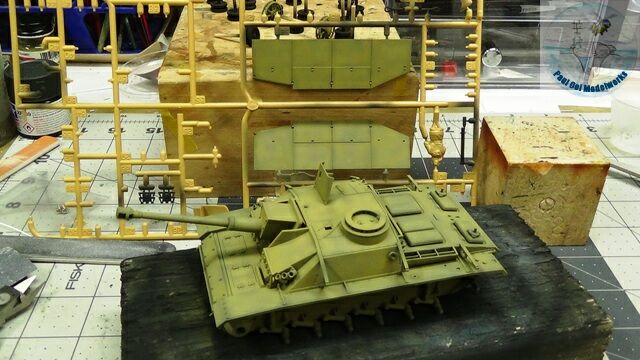 As is my usual AFV painting method, I prime to upper hull with NATO Black XF69, then highlights in Sky Grey X19. And then I apply Tamiya Dark Yellow XF-60.
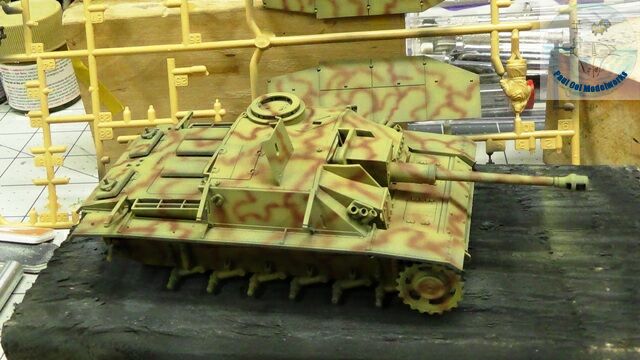 The squiggly lines of Tamiya XF-64 Red Brown is applied with my airbrush at fine nozzle setting, moderately diluted paint and many free-hand trial runs on a scrap paper before the real event.
 I still kept the two major halves of the hull separate at the time because I need to insert a crewman who can only fit without screwing the two halves together until near the end.
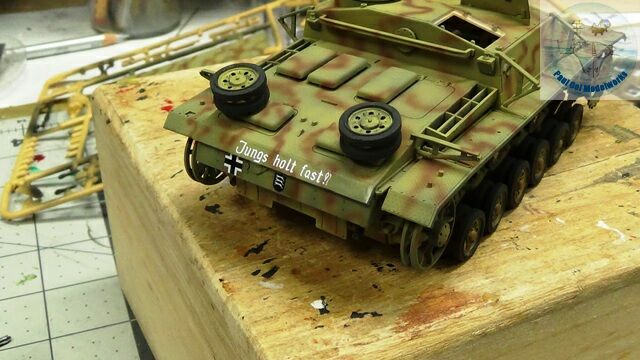 I add the decals (just a few) after using MicroGloss to prepare the surface.
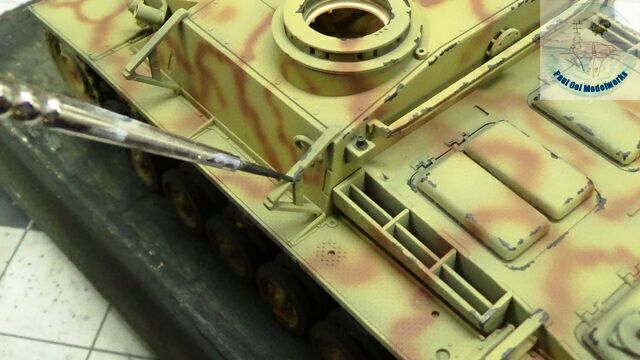 Next, I paint in the NATO Black paint to simulate wear and chips on all exposed surfaces.
 A little goes a long way, and the paint chips can definitely “age” a model . After this, I seal both paintwork and decals under a satin varnish.
 Once the varnish is cured, I apply a 50:50 oil wash of Burnt Umber : Lamp Black.
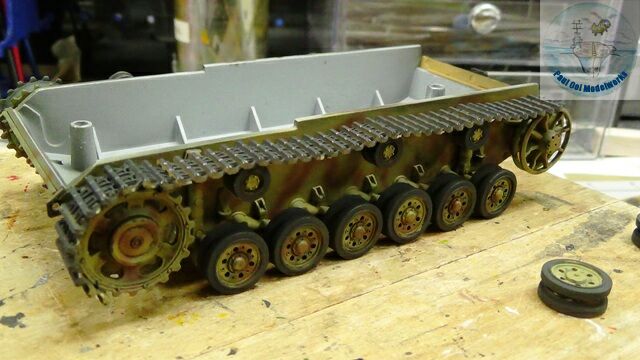
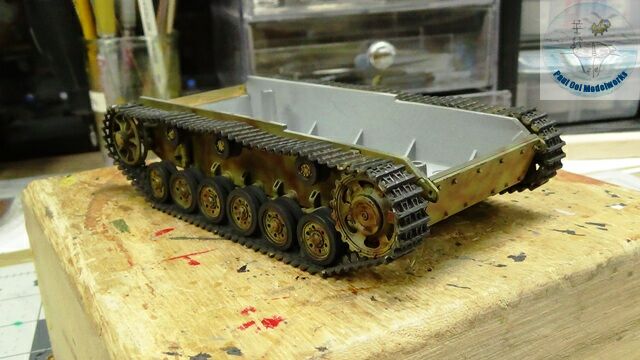 Next, the all-important track sections are added. Notice the top track section is already molded with sag along the way. What a pity this detail is going to be hidden forever under the side-skirts.
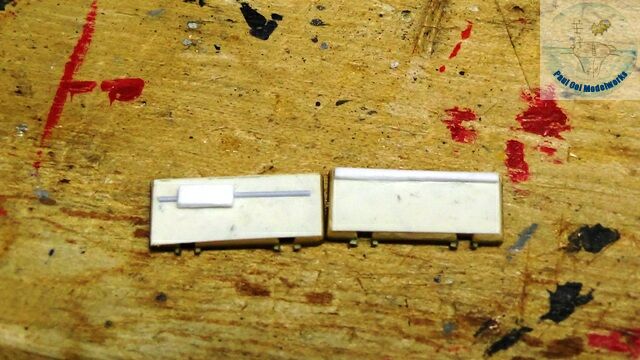
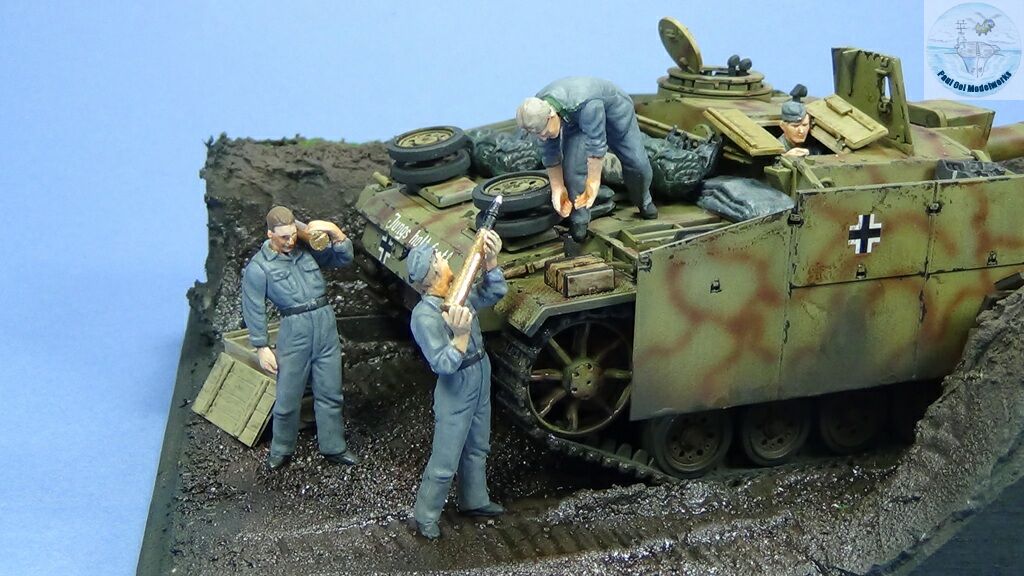
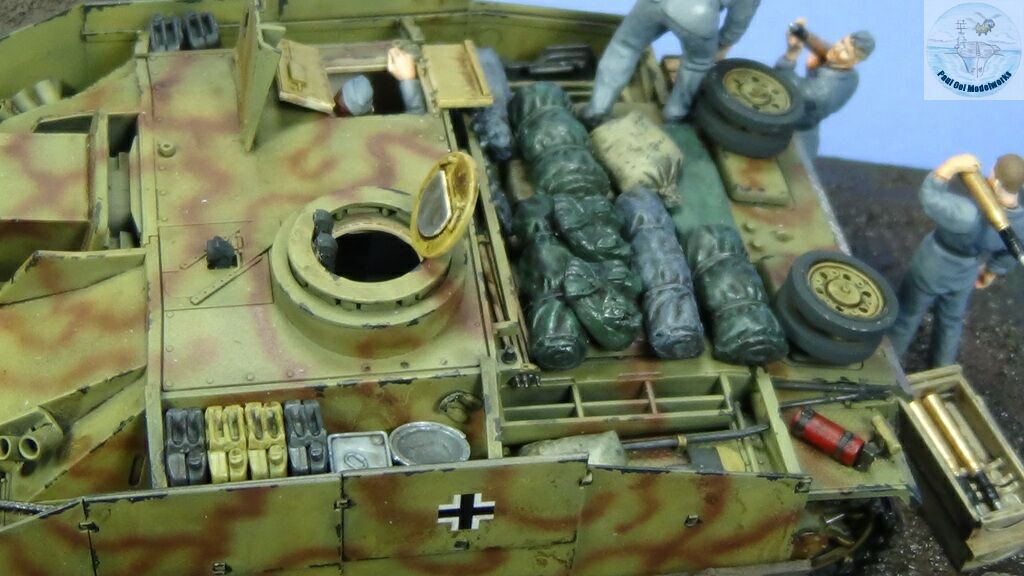
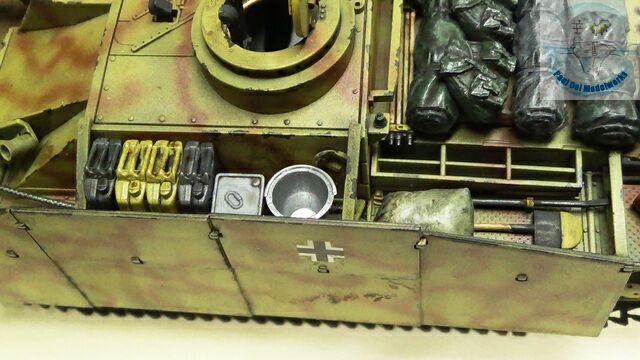
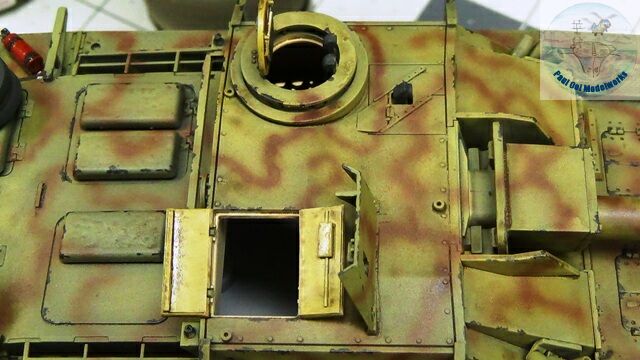 One pair of the important crew hatch doors were built without any interior details, so I had to scratch build the door mechanism. As you can see in the diorama, the shells are being passed through that opening, and so I could not skip the missing details.

 Details, details, details. Most of the metal tools are undercoated with NATO Black, followed by Dark Yellow sections. Wooden parts are painted with Tamiya Wooden Deck Tan XF78, followed by the 50:50 Burnt Umber : Lamp Black wash.
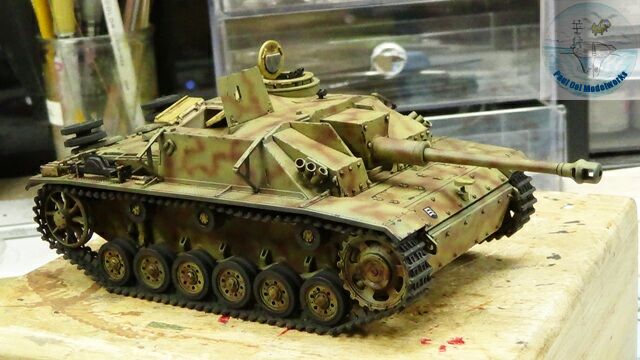 The tank proper is pretty much completed.
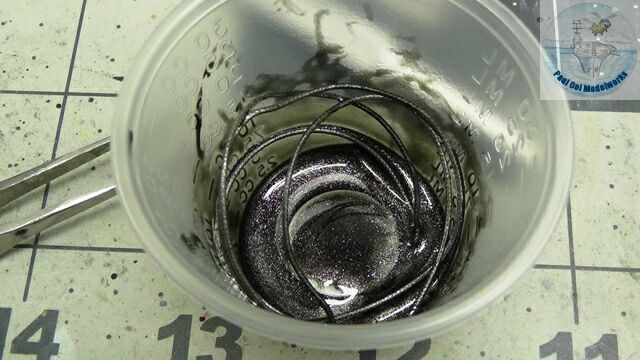
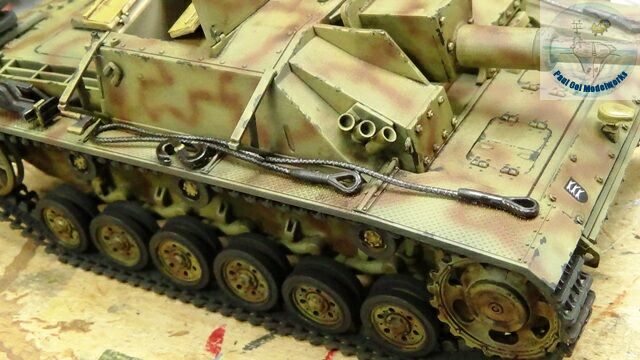 I immerse the nylon cord provided in the kit for the tow cables in Gun Metal X10. Once the ends are glued on, I can arrange the draping of the wires over the hull, as seen here.
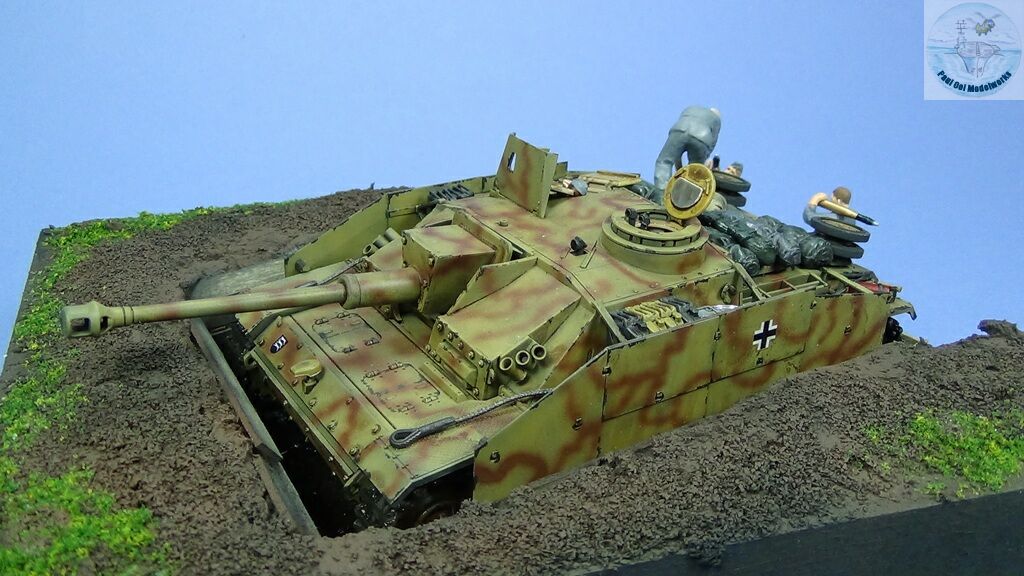
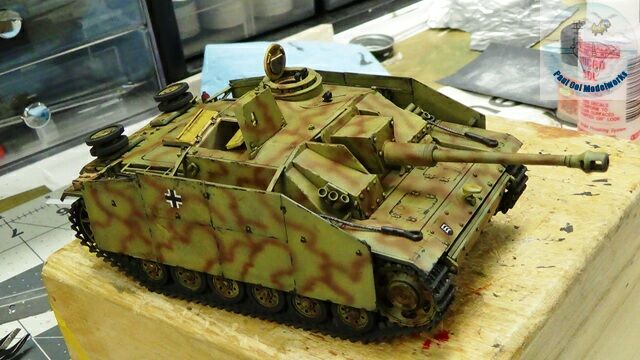 As a finishing touch, the side skirts are added on last.

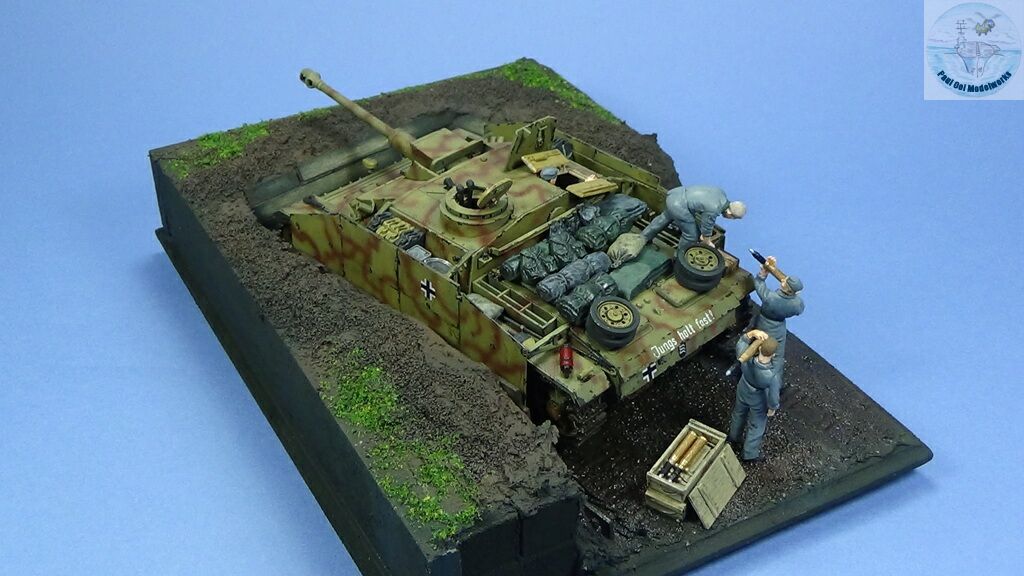
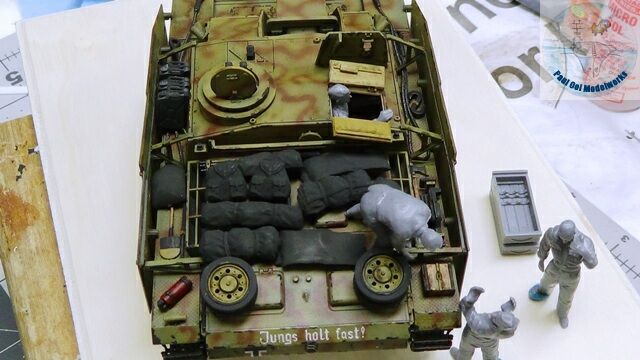 At this point, I start to plan the rest of the diorama composition. First the crew figures from Tamiya WW2 German Tank Crew & Field Maintenance kit are posed and adjustments made before painting the figures (see Tutorial 6 on figure painting technique). Similarly, the baggage and jerry cans are arranged on the engine deck to check for spacing and appearance.
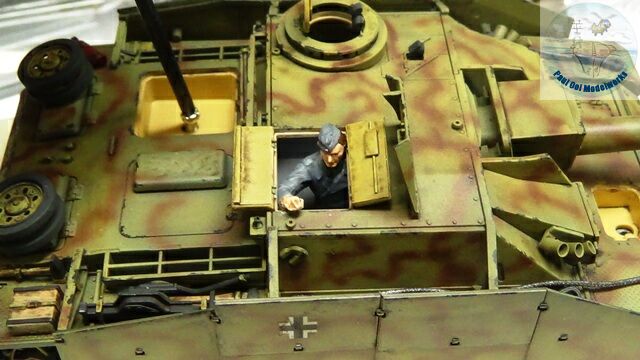 Once the commander figure has been painted, I insert him under the hull and screw down the two halves permanently.
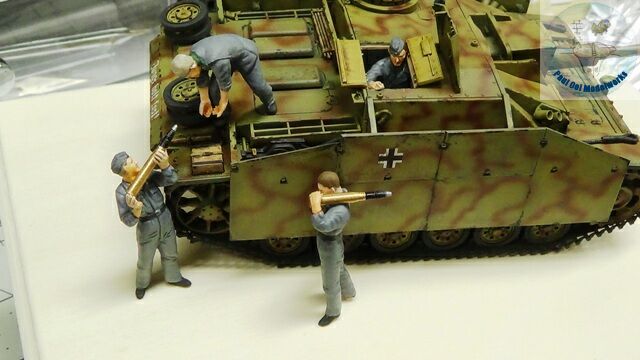 The rest of the crew get painted (field grey uniforms), oil shading using Payne’s Grey.

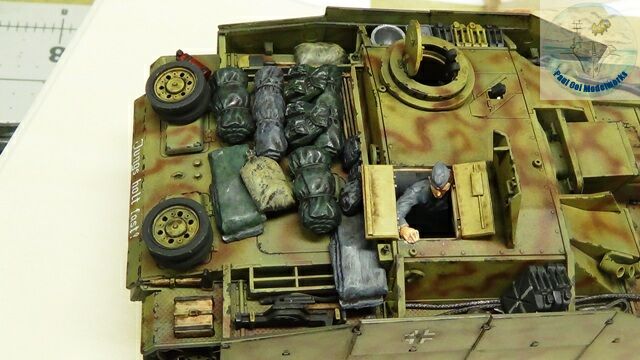
 Baggage and tarp sheets are painted in shades of Field Grey, German Panzer Olive Green, and Dark Yellow. Jerry cans are painted in either Dark Yellow or Panzer Grey.
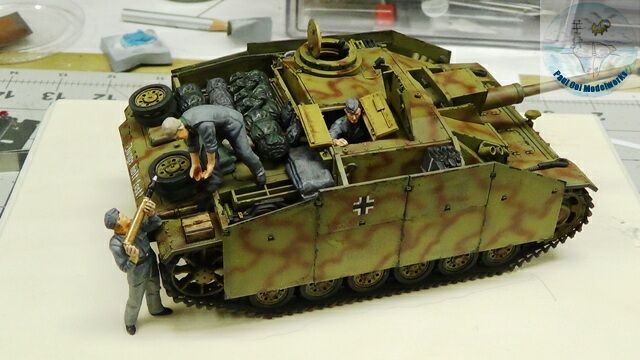 One final check before mounting onto the diorama base.
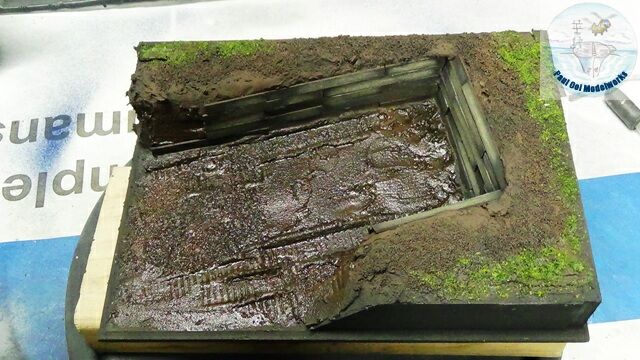

Making the diorama base for the tank prepared position is covered in Tutorial 9. The tank is snug and nice in its ambush position.
Leave a Reply