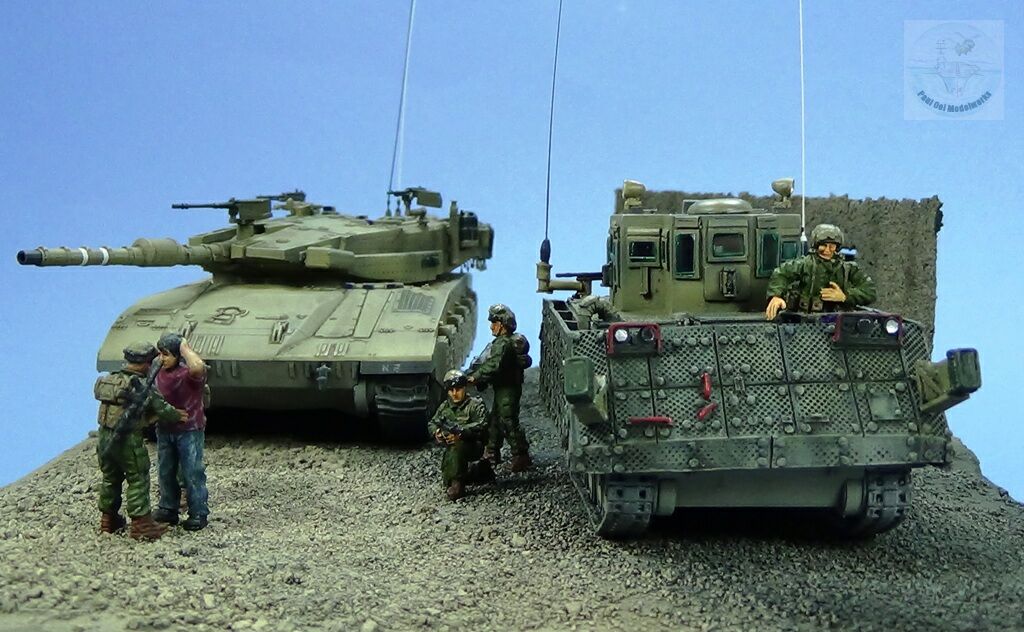
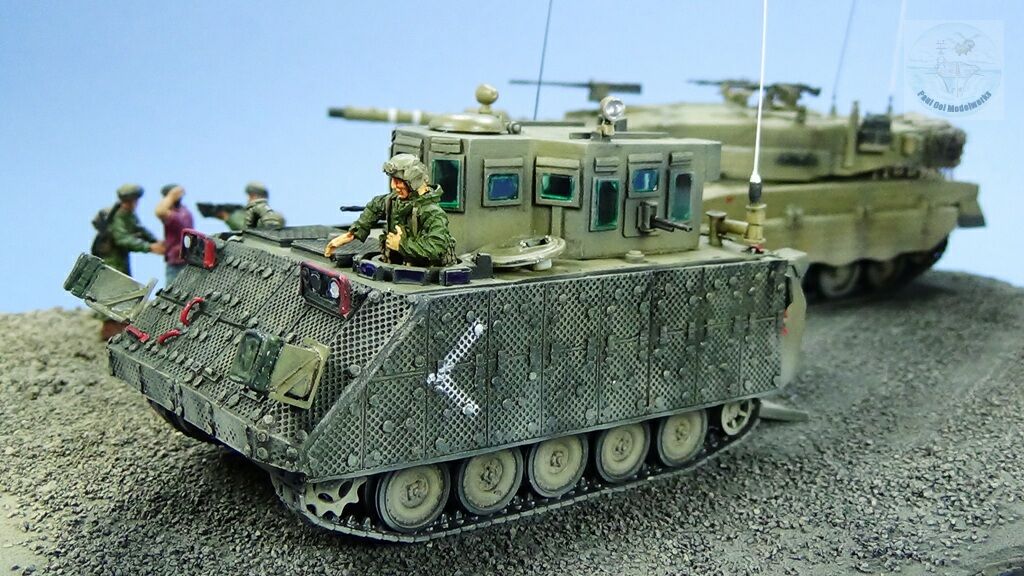
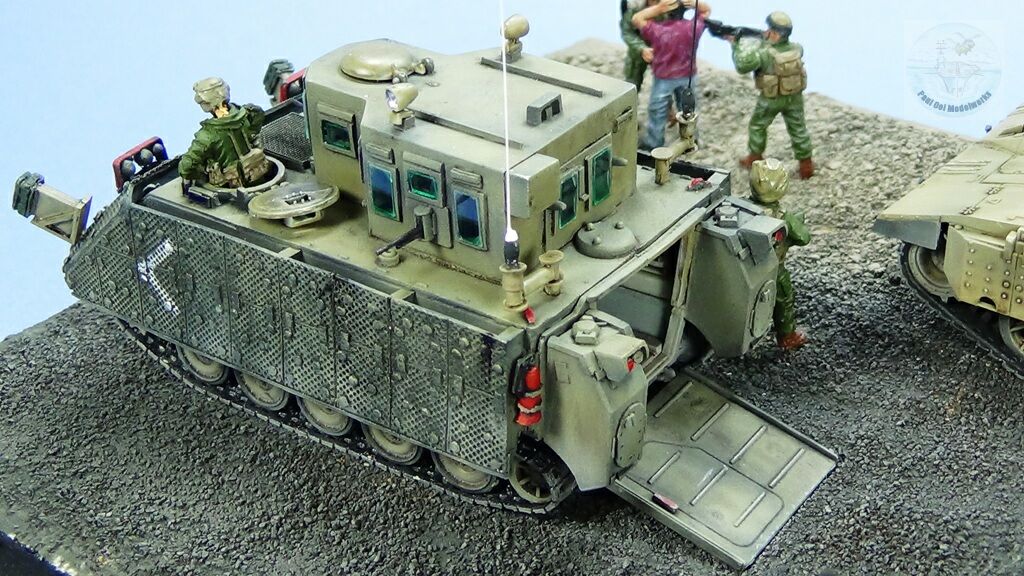
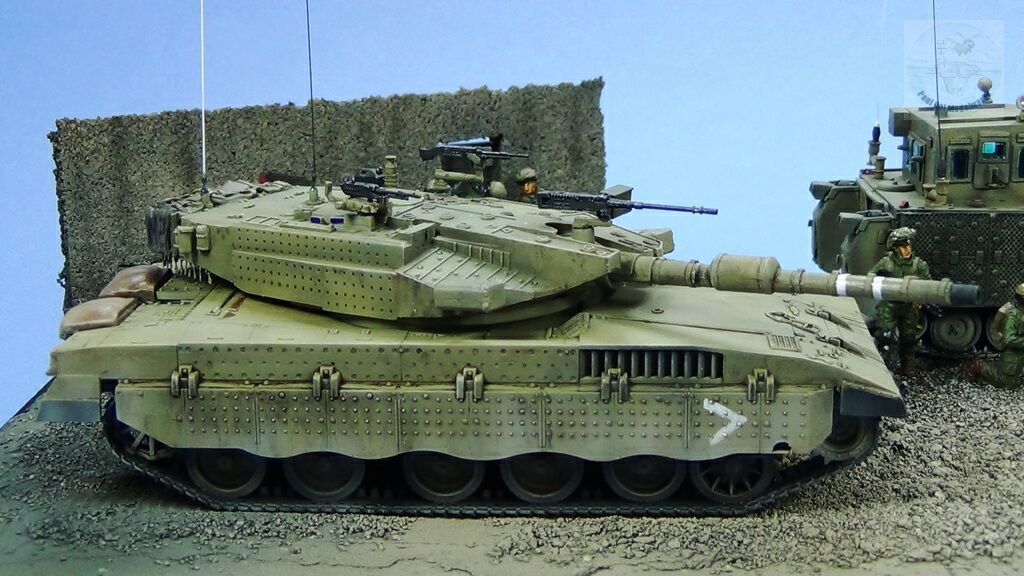
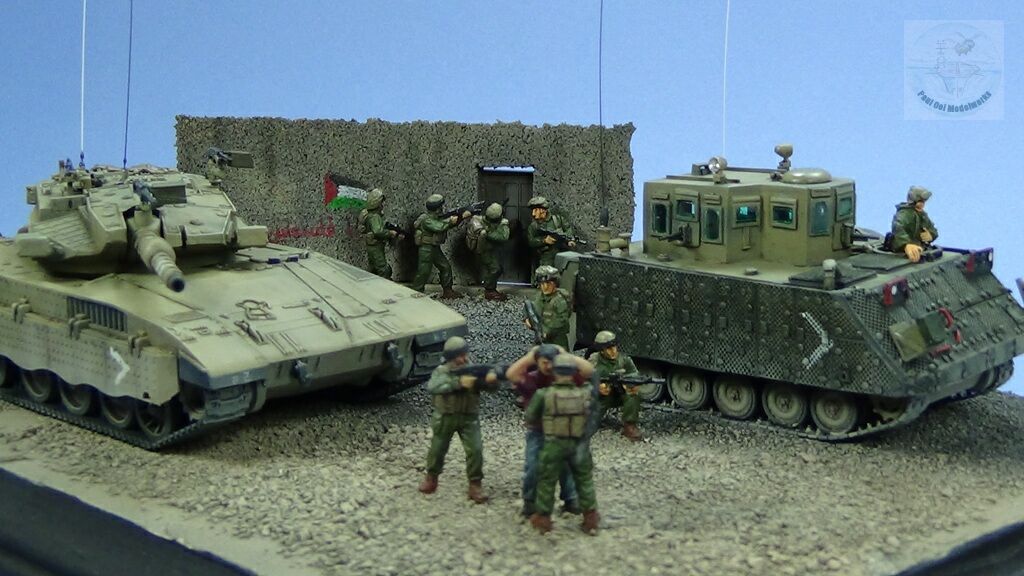
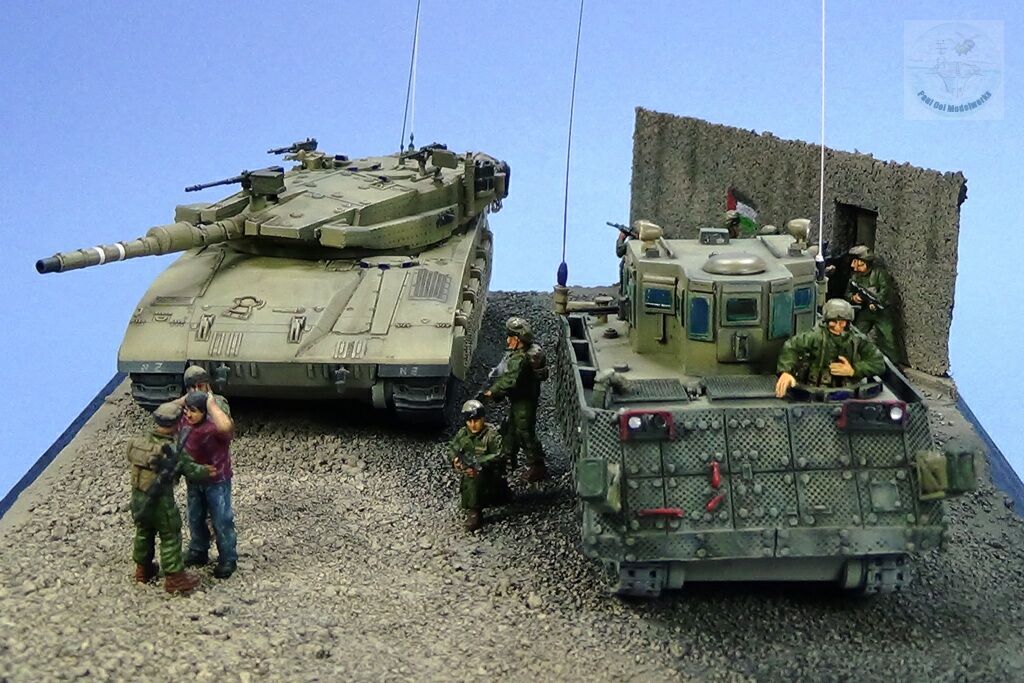
The thorny issue of the Occupied Territories has been one that refused to go away despite decades of attempted mediation. In the meantime the West Bank has periodically erupted with uprisings against Israel, prompting security raids and incursions by the Israeli Defense Force. In order to ensure the survival of armored fighting vehicles in closed-in urban warfare, Israel’s military developed or modified AFV’s to suit their use. I decided to show two vehicles emblematic of the IDF’s operations in this hostile environment. One is the M113 Kasman, which is a basic M113 personnel carrier surrounded by a cage-like mesh array to set off the charge of RPG’s harmlessly before it gets to the vulnerable aluminum armor, and a “doghouse” structure (Kasman) that allows the troops to fully engage the enemy while fully enclosed. The other is the distinctive Merkava (Chariot) battle tank, developed by Israel to ensure crew survivability and capable of firing both standard tank ammunition as well as the LAHAT anti-tank missile.
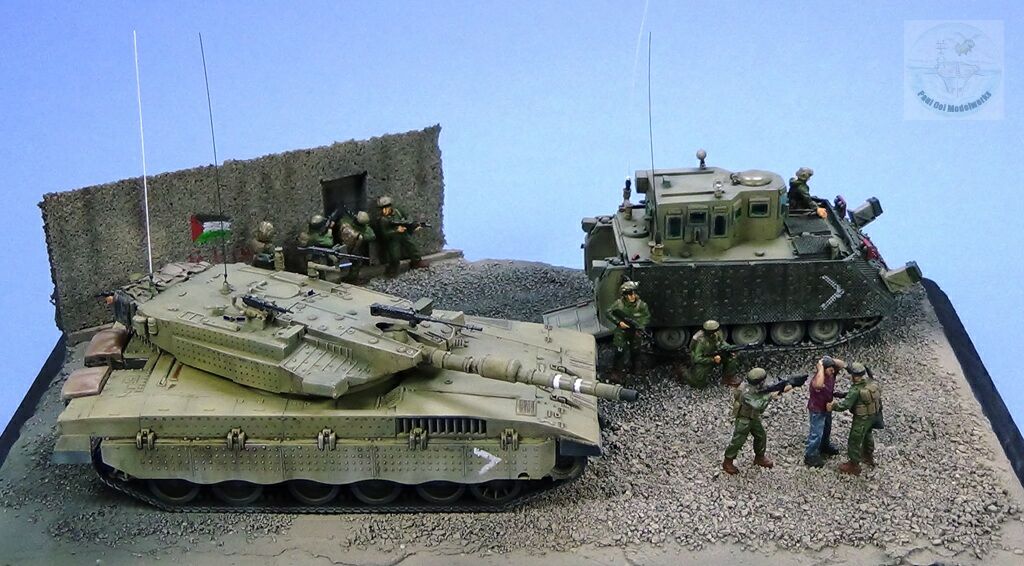
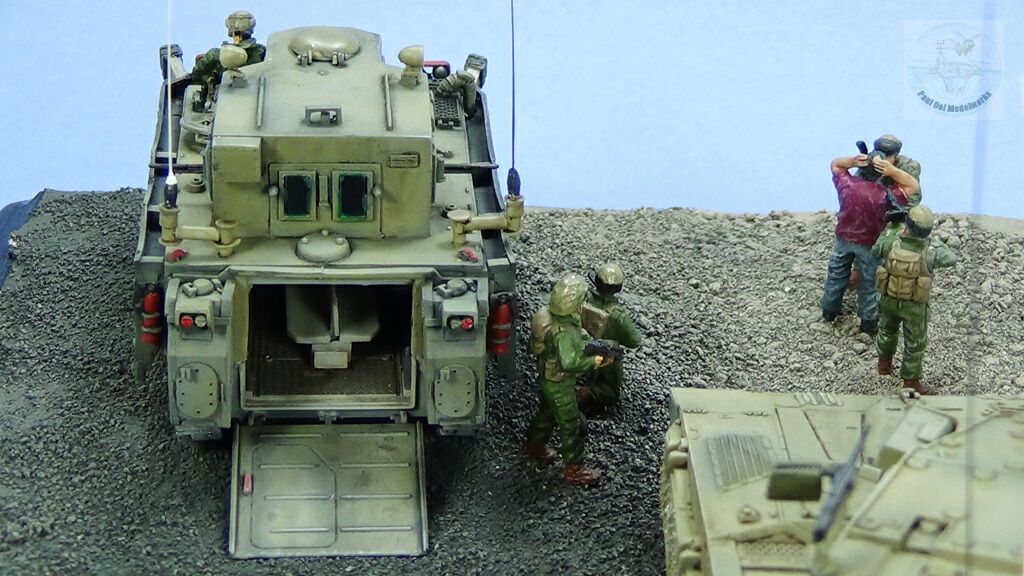
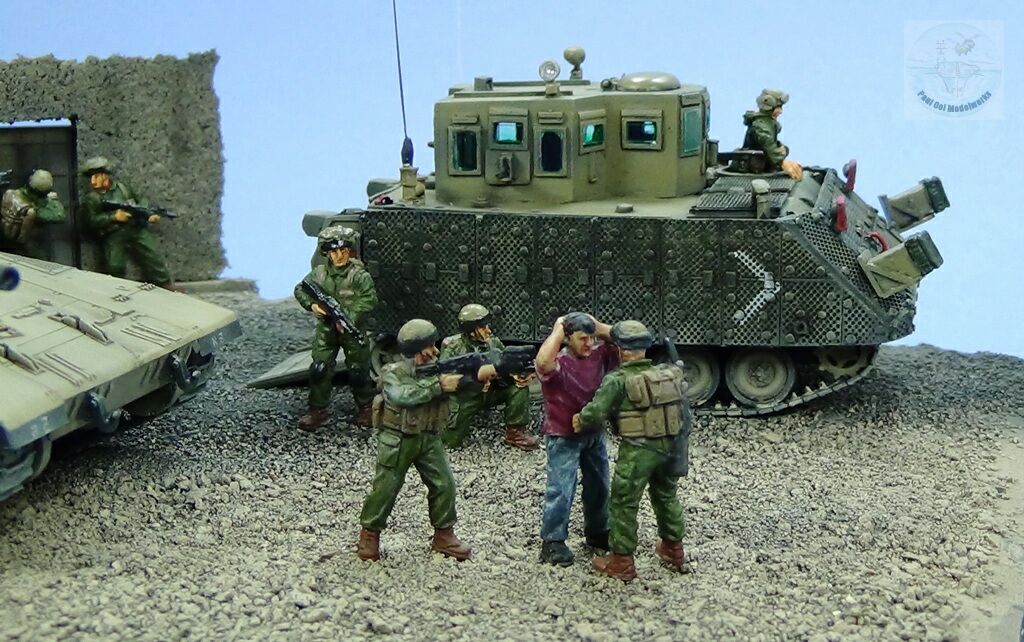
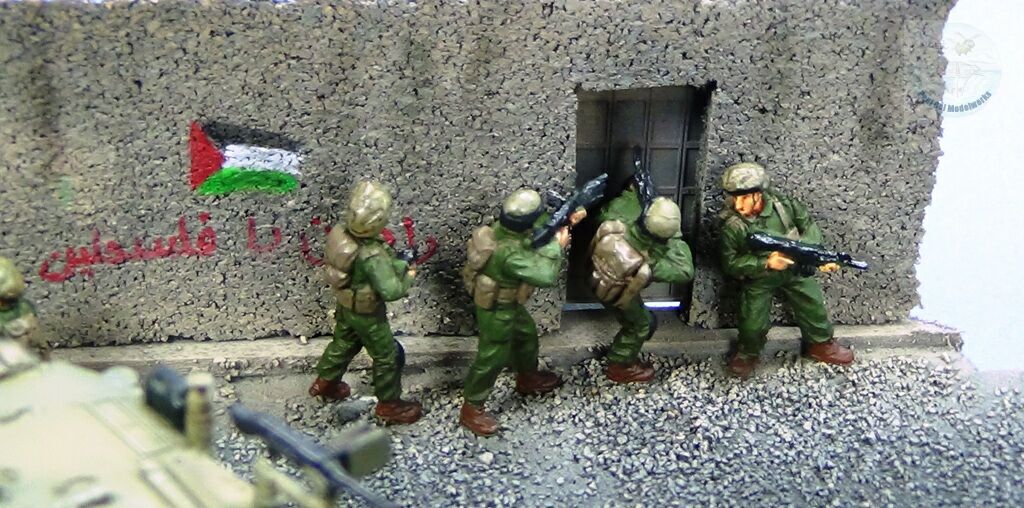
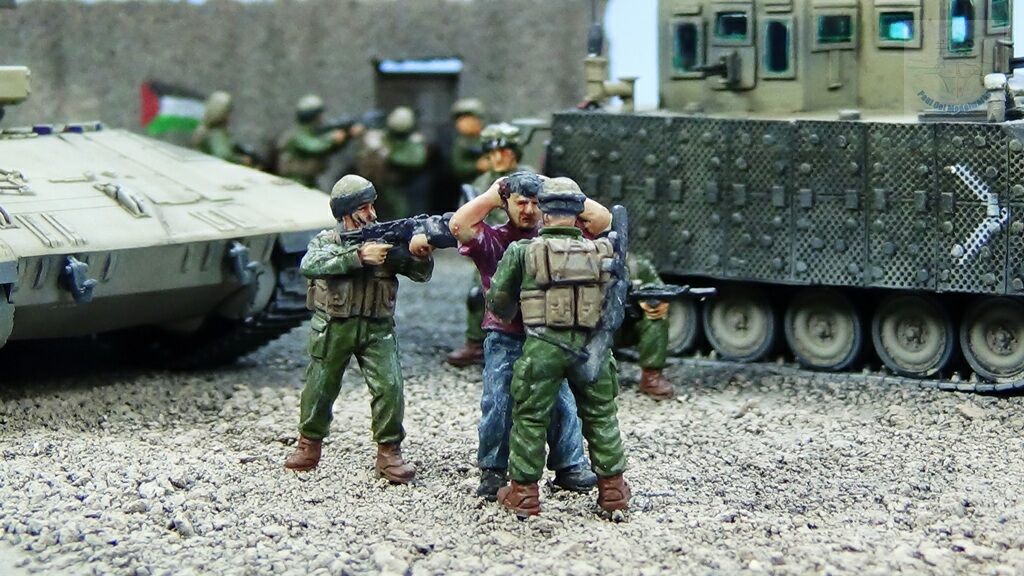
The diorama shows an Israeli raid in some West Bank town during the Second Intifada to apprehend and shutdown a Palestinian cell. These raids commonly occur under the cover of darkness with soldiers riding in APC’s and even within the Merkava tanks. The vehicles are arranged to faceoff any possible attempts by other Palestinian units to attack the raiders. A man in the foreground has been detained for further interrogation while another party forms up outside the garden gate to break into a suspected compound.
Gallery


Construction Notes
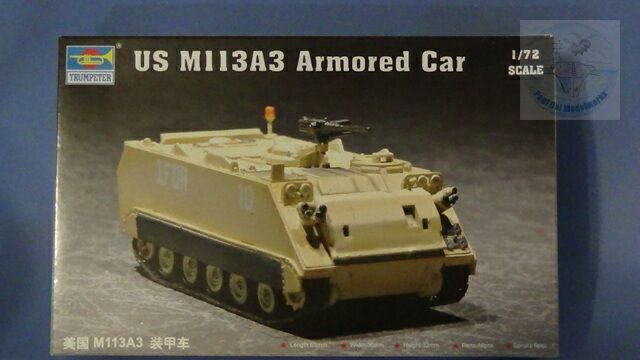
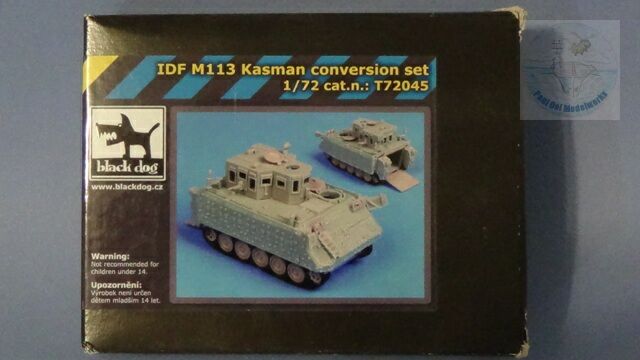
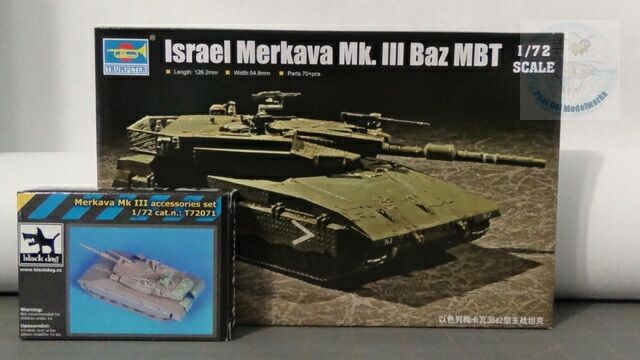
The Kasman is comprised of a full Black Dog resin conversion kit to be grafted onto the basic 1/72 Trumpeter M113 kit, retaining only the chassis and bogeys, and pretty much discarding everything else. The Merkava III BAZ was a 1/72 kit from Trumpeter combined with storage inserts from Black Dog. The IDF soldier figures and their hapless prisoner are from Caesar Miniatures.
A) Building the M113 Kasman
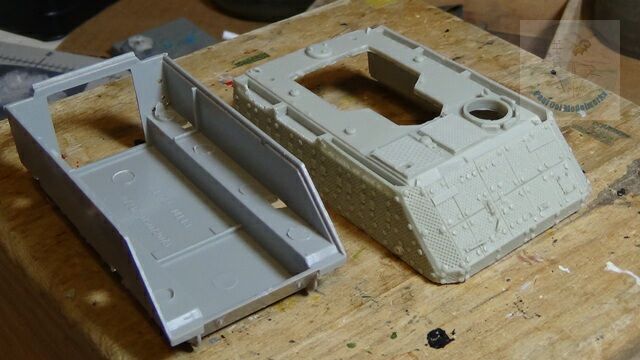
The opening build sequence is the most critical one for the Kasman. Mess this one up and the kit is done even before it actually started. The entire side walls of the hull tab has to be carefully cut away in order for the once piece Kasman resin hull to fit over it. As mentioned earlier there is very little of the original M113 hull left after this process. Correct fitting of the resin hull onto the chassis is very tricky business and steady hands are needed in removing just the right amount of material.
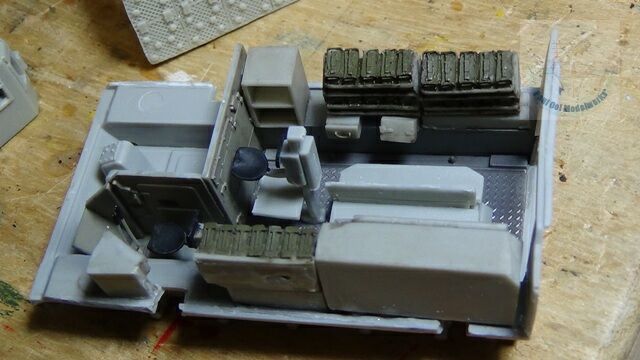

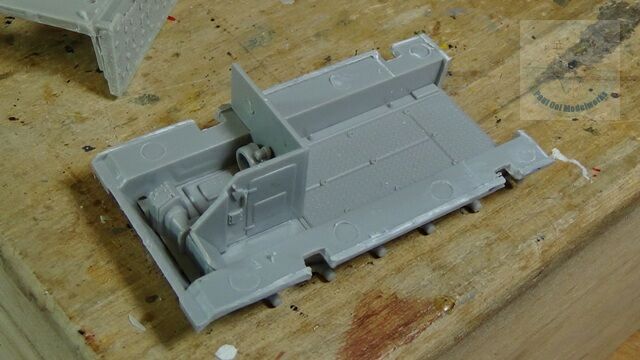
There are lots of interior part details needed to be installed before the resin hull is permanently glued onto the chassis. The walls are painted Medium Grey XF20, the ammo boxes are Vallejo 093 FS34088.
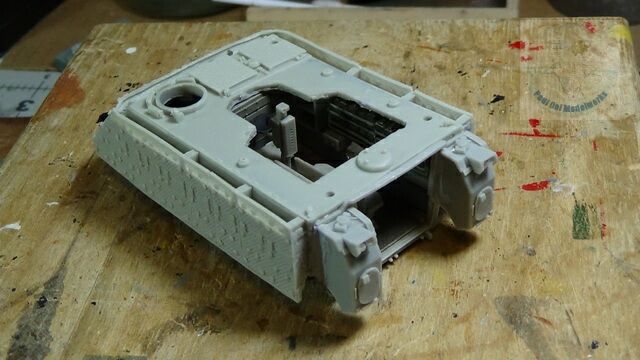
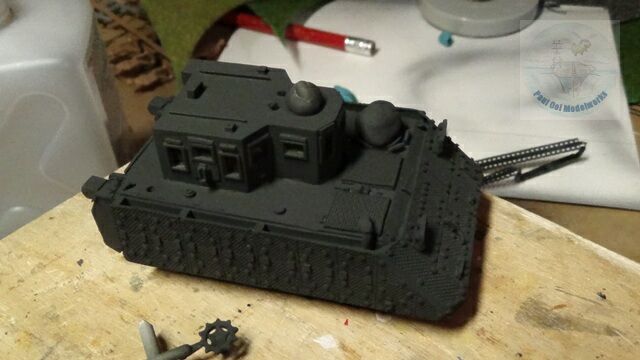
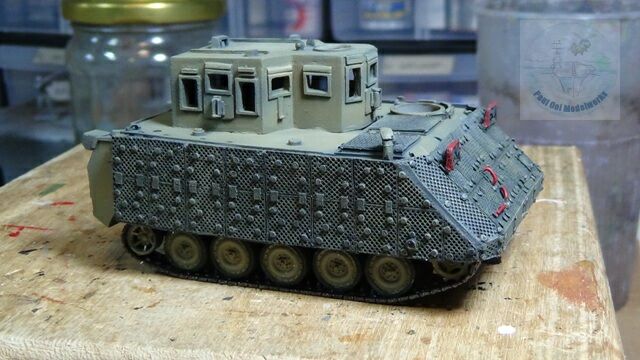
After much dry-fitting, the upper resin hull gets glued onto the tank chassis. Then other external hull features get added on. There aren’t too many of the latter as much of the intricate details are part of the resin’s surface engraving.
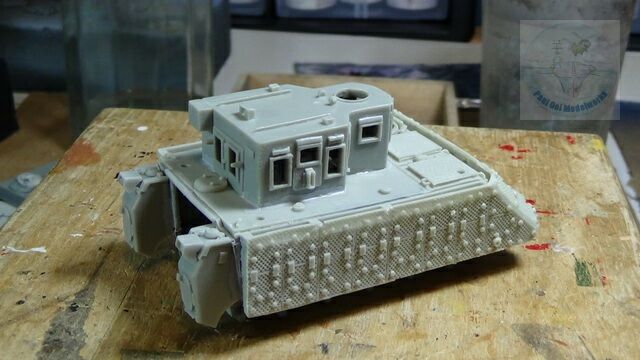
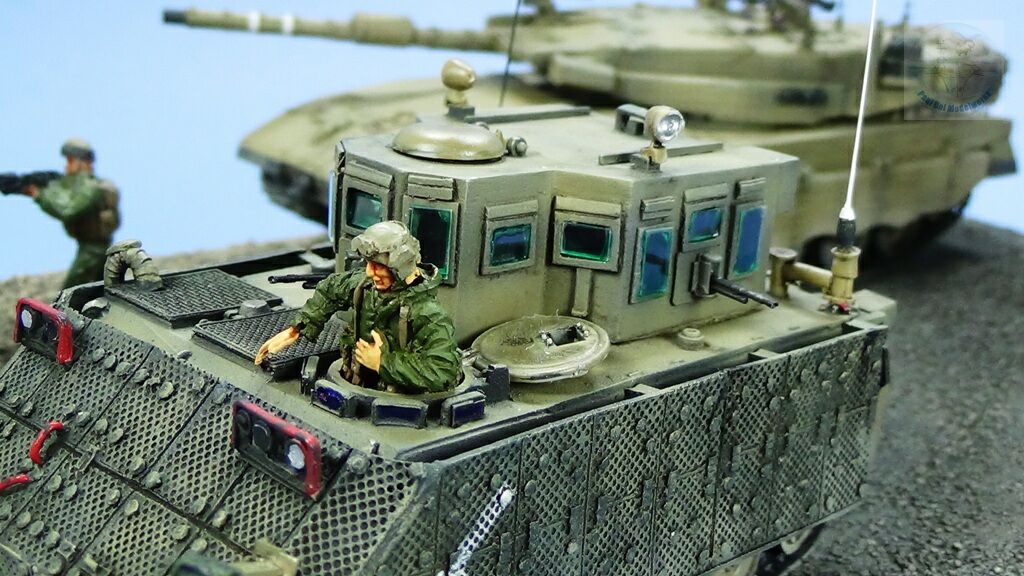
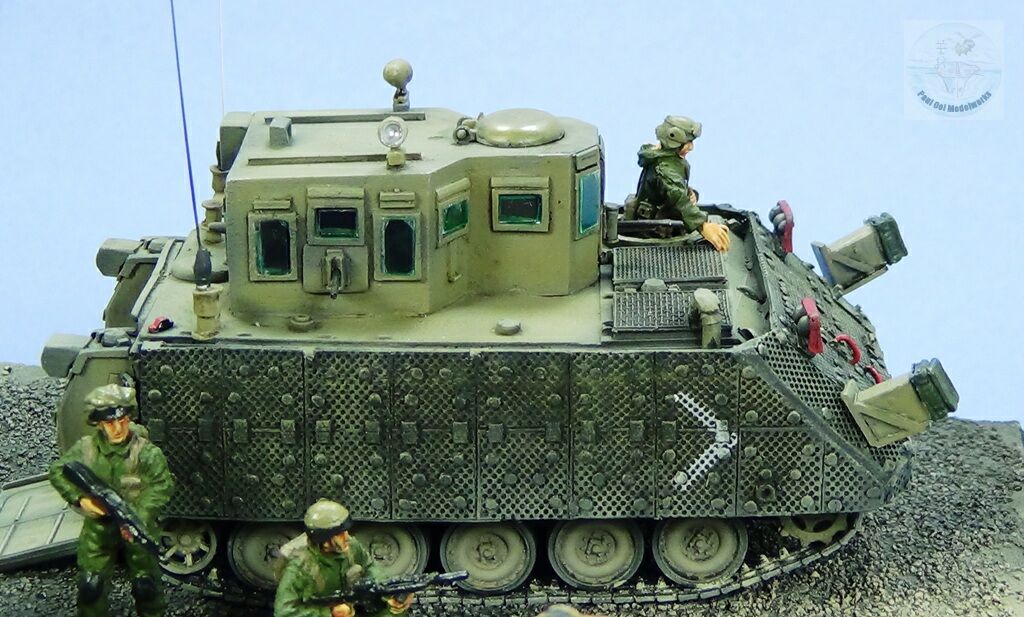
Next, the distinctive “doghouse” enclosure is added onto the waiting hull. The resin windows needed a lot of cleaning up with an Xcto knife in preparation for the clear windows to be added later. there were gaps along the edges where the “doghouse” met the upper hull surface that needed filling before I could continue. I used Tamiya’s Liquid Surface Primer to seal some of the minute gaps.
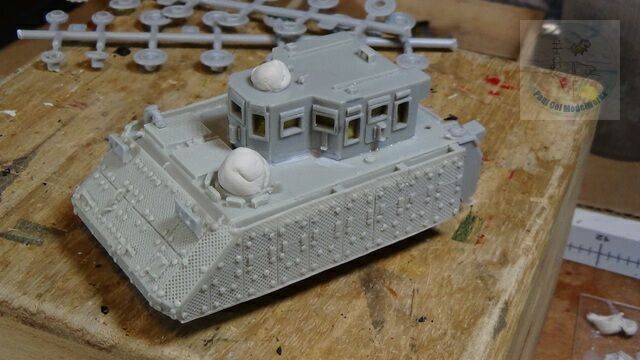
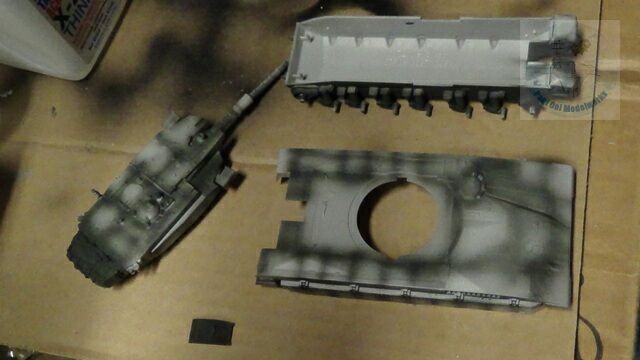
The hull is then sealed and prepared for spray painting.
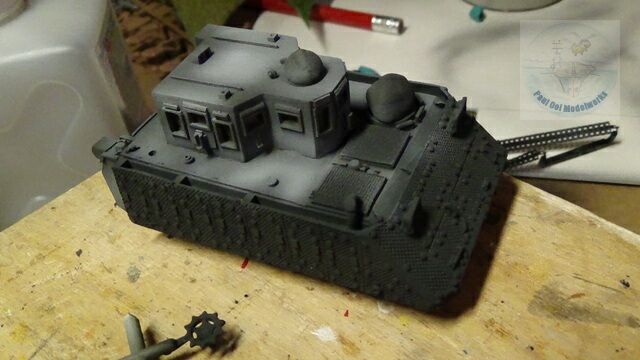
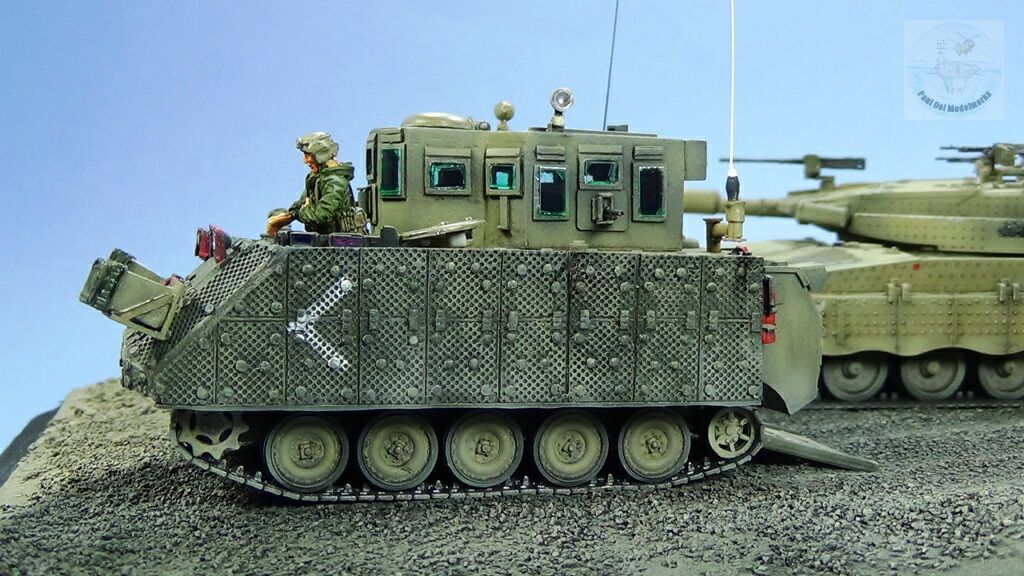
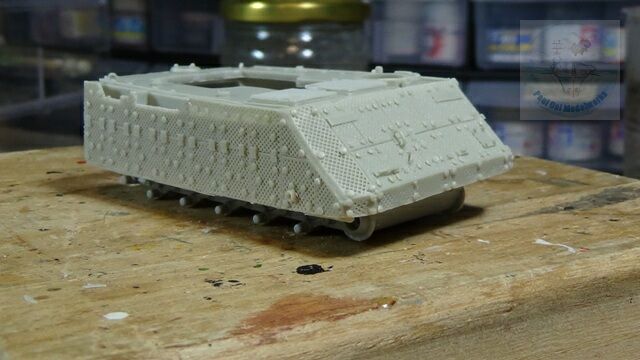
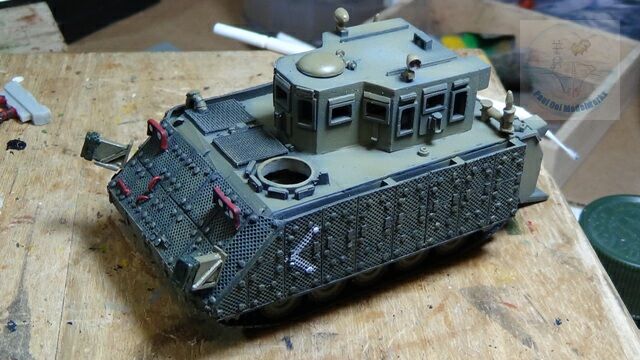
I use my usual technique of Tamiya XF61 NATO Black under shade, followed by white highlights, ad followed by the main color from Model Master 2138 Israeli Armor Sand/Gray. For the surrounding mesh panels, I did not spray the final color over them, but rather used an old brush to apply dry brushing to bring out the details from the resin cast.
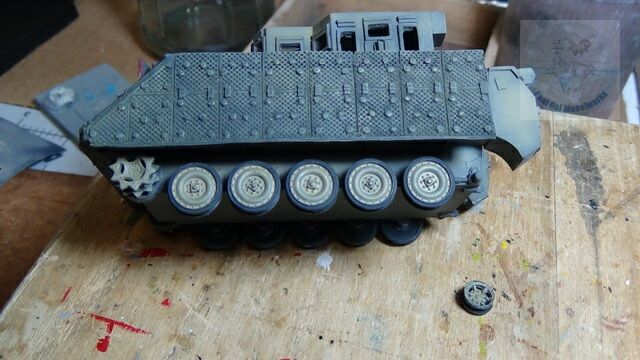
The main sprockets and boggies were assembled and then applied to the lower hull. The one piece flexible tracks were painted Tamiya XF61 NATO black, followed by Tamiya Gun Metal. The ends were glued together with Super Glue and a Loctite 770 primer. Once intact, the tracks were carefully installed with the final tension provided by the rear follower glued in place.
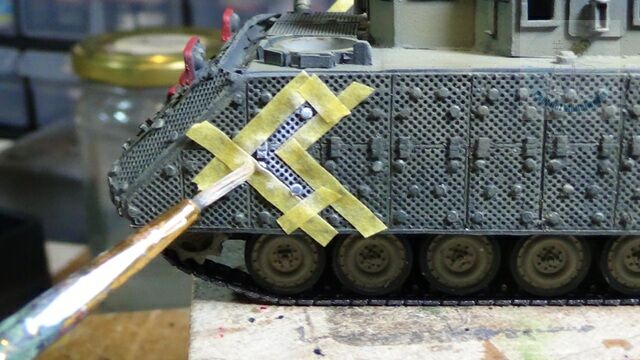
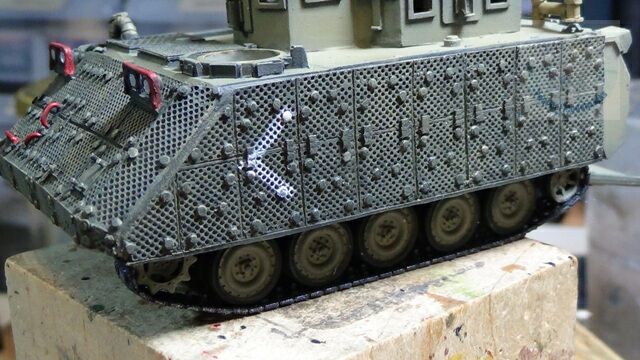
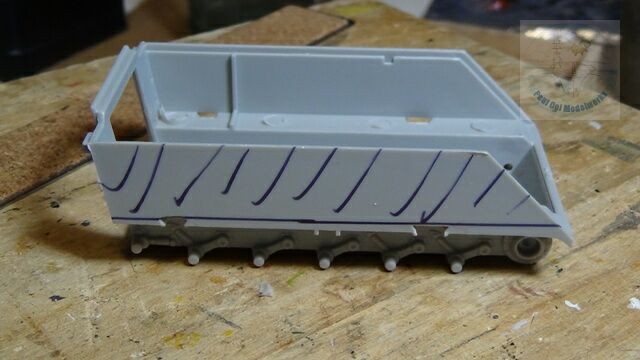
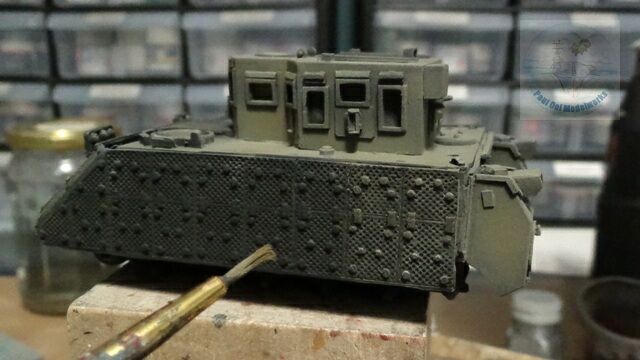
Given the fine mesh appearance, the units chevrons were applied by dry brushing Tamiya White XF2 instead of trying to soften a decal over it. The final appearance is also much more convincing. After that, a pin wash of burnt umber + lamp black are applied to bring out the details.
The final bits of exterior details like antennae and machine gun barrels are applied to the hull.
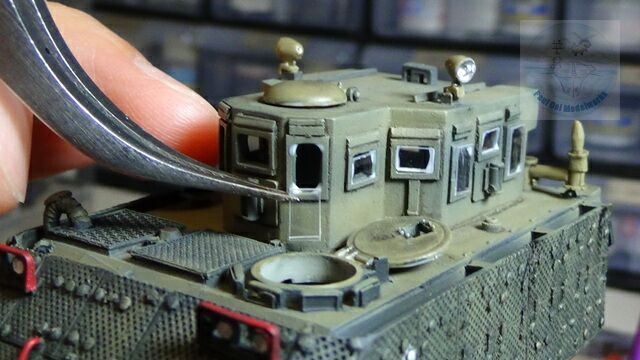
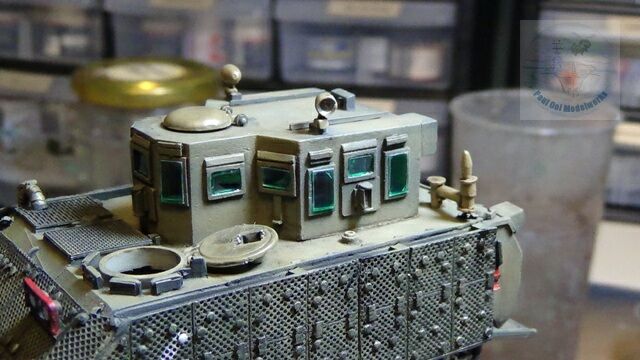
The ballistic glass panels were pre-cut earlier based on the shape of the “doghouse” windows. Now I apply these onto each of the windows using Elmer’s Glue-All glue, followed by a blue-green tinting comprising Tamiya XF25 Clear Green and XF23 Clear Blue in equal portions.
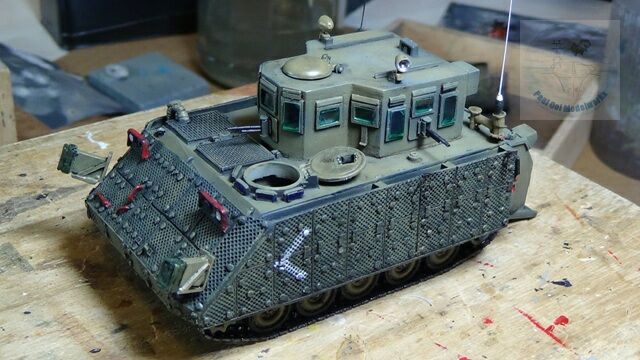
The Kasman is ready for action, just waiting for the Merkava to join the raid.
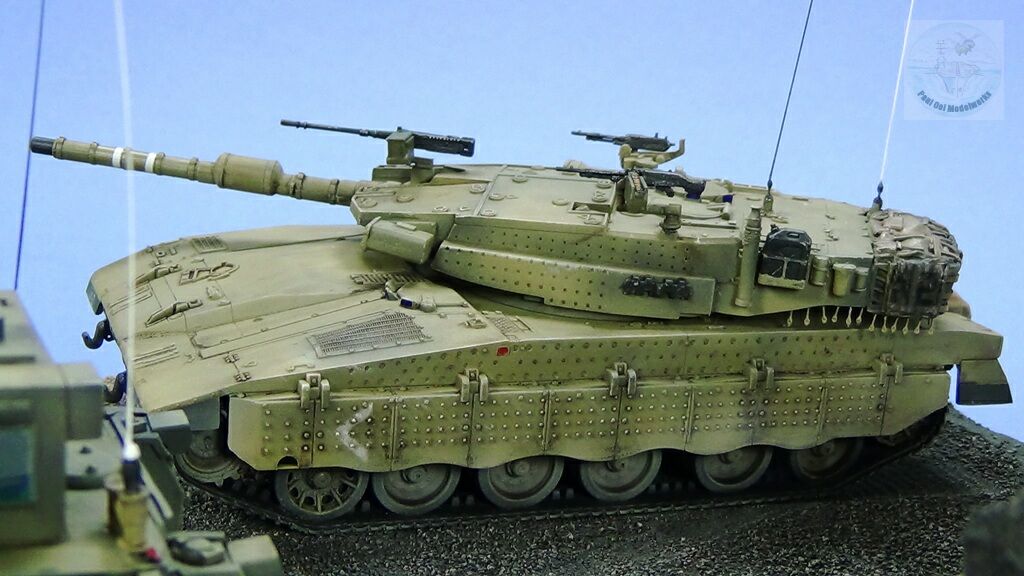
B) Construction of Merkava III BAZ
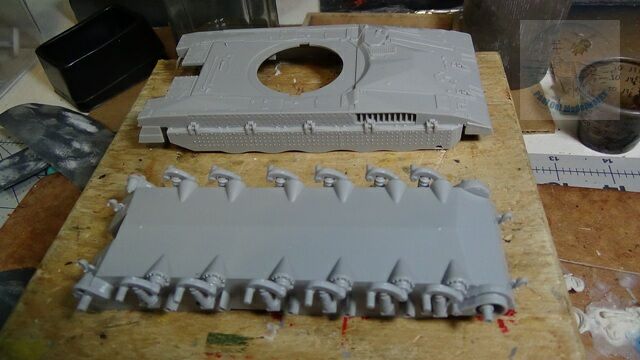
The hull and chassis sections of the Merkava are very simple as seen above.
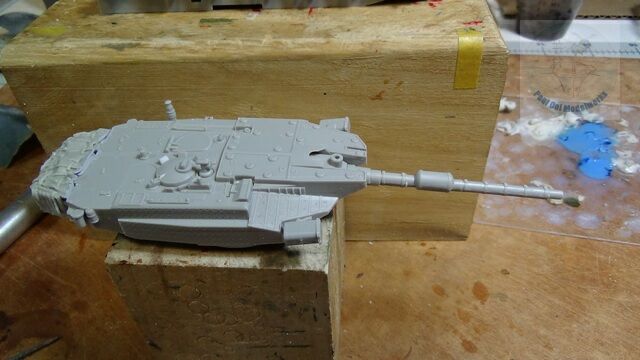
Similarly, the turret section was also very easy and straight forward construction. In this kit (my pet peeve) none of the hatches were open, as they were molded shut. The gun unit was a single piece slide mold with the bore hole already in place (nice!). The only thing that took a little more work was fitting the resin basket loaded with “stuff” onto the main turret.
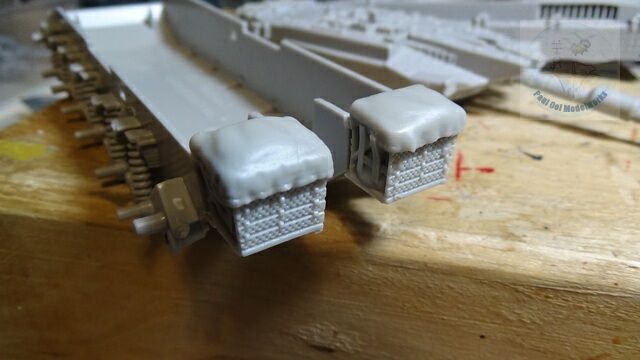
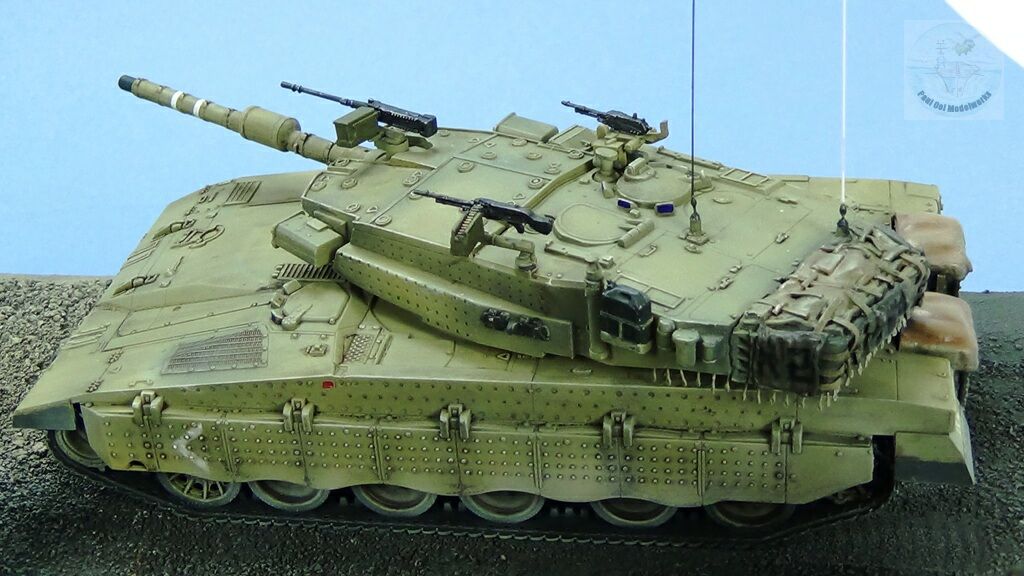
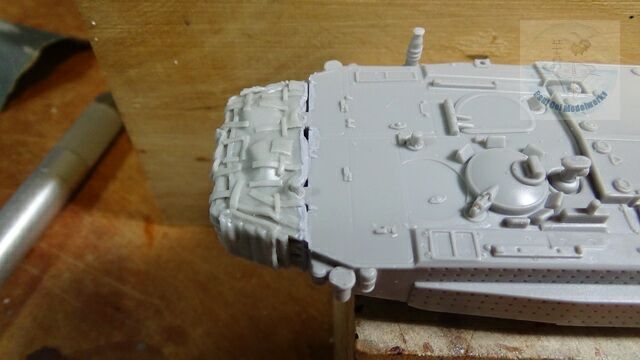
There are also two resin baskets to be fitted onto the rear fenders of the main hull.
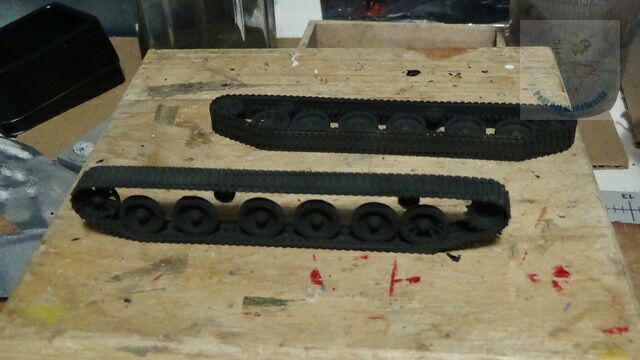
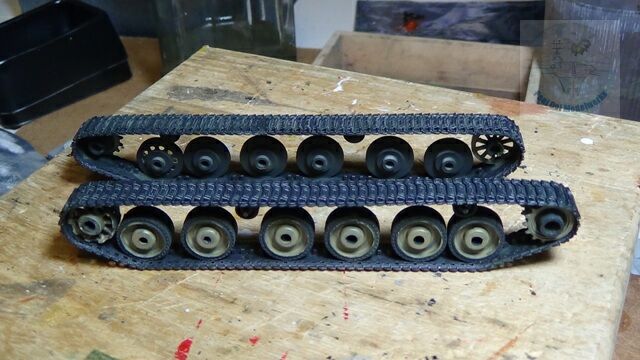
The tracks and boggies are molded as a single unit, again courtesy of precision slide molding. The entire assembly is primed with Tamiya XF61 NATO Black, followed by brush painting of the details in Israeli Armor Sand/Gray, and the tracks highlighted with Metalizer Gun Metal and Prismacolor silver pencil.
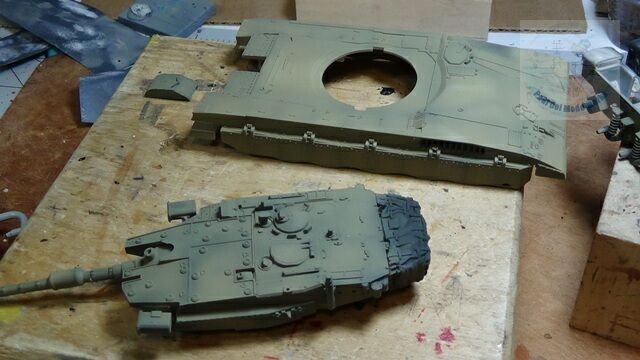
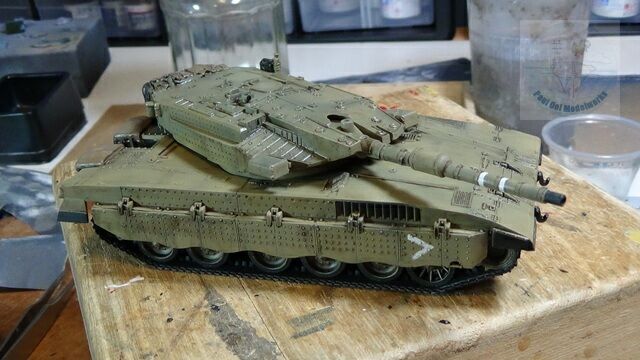
Painting of the main hull and turret uses the same painting scheme and technique as the Kasman.
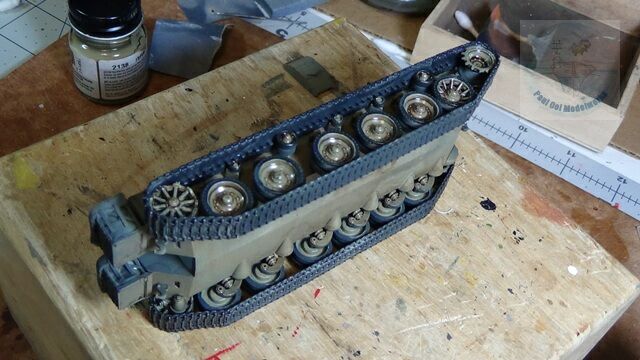
The one-piece track-and-boggies assembly are carefully fitted to each side of the chassis. They are fragile and if mishandled, may break so I took my time to get all the holes aligned before pushing them into the pins on the chassis.
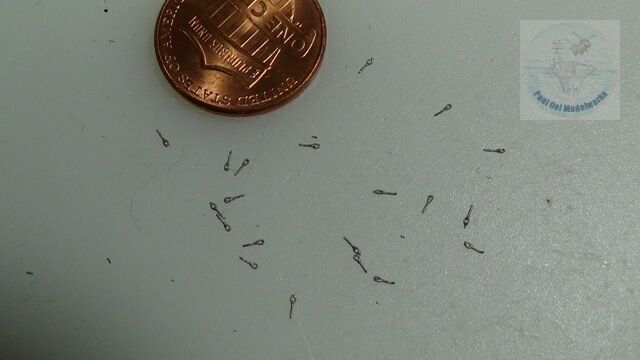
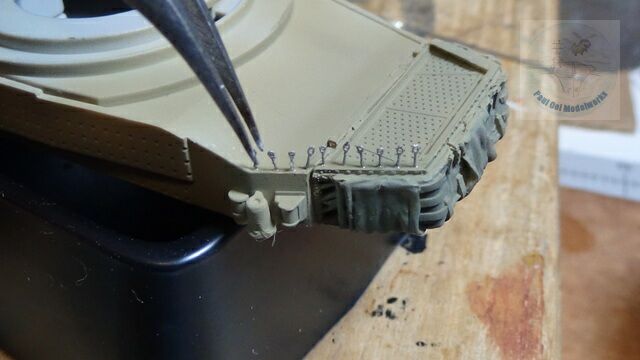
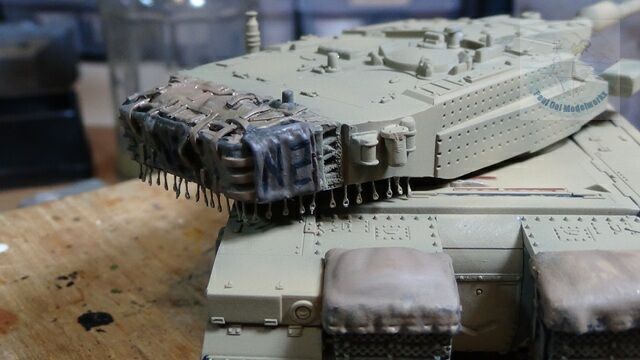
This kit did not come with the ball-and-chain array seen suspended behind the rear part of the turret (Revell kit has that part). In order to make these, I used some leftover pins meant for 1/48 WW1 turnbuckles. They turned out to be just the perfect size and length, but it was painstaking work.
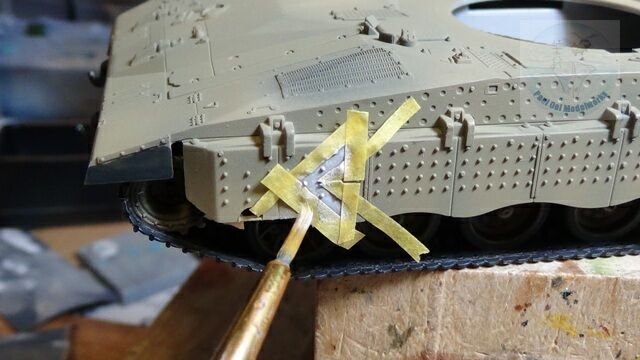
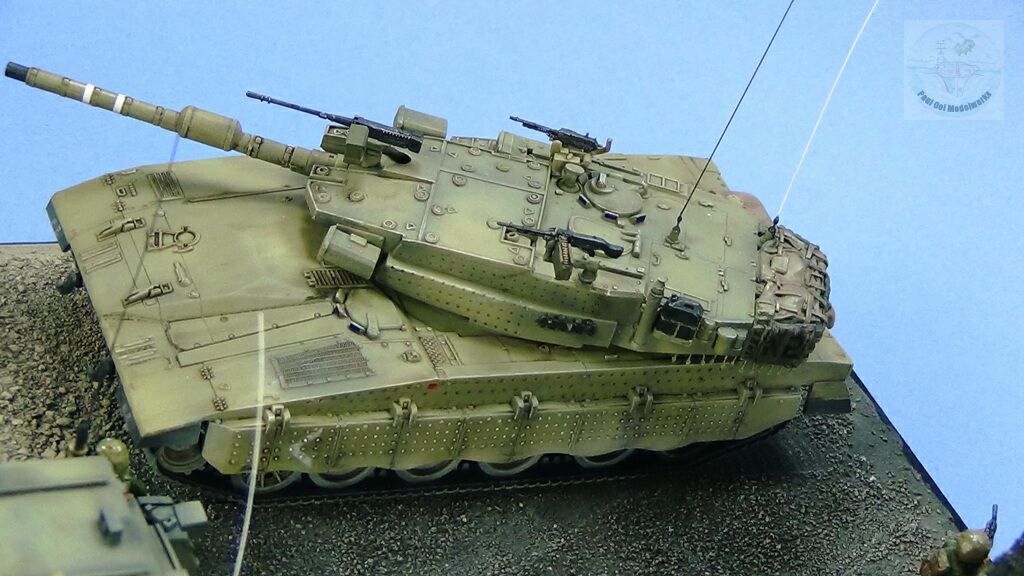
Next, the unit chevrons were painted using the same technique as applied on the Kasman.
Then a wash of burn umber and lamp black 1:1 was applied to the whole vehicle.
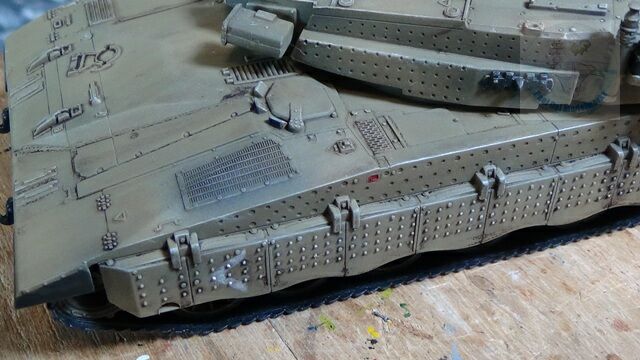
Raised details are further highlighted by drybrushing some Tamiya Buff.
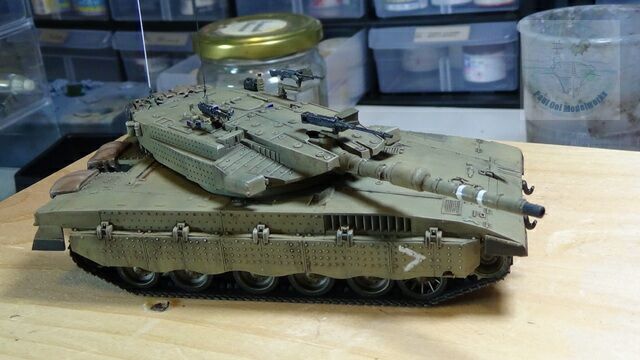
Finishing touches include mounting machineguns, antenna, and a dusting of Tamiya Deck Tan on the undersides. The same treatment was also applied to the Kasman.
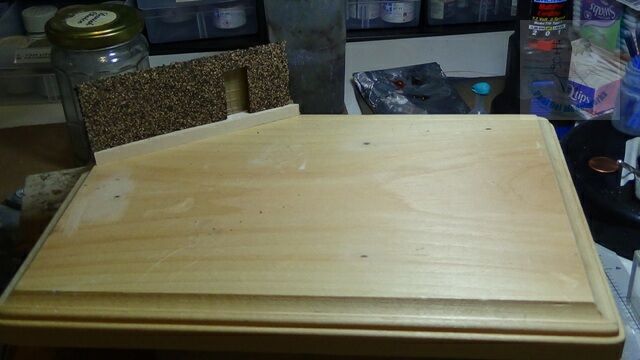
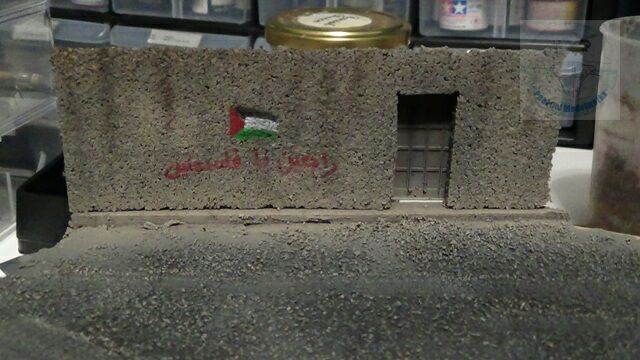
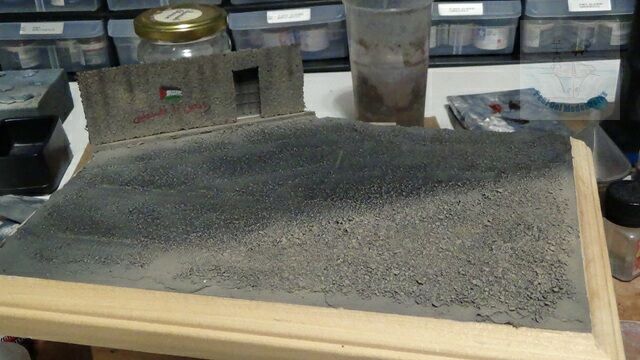
Display base is made with addition of corkbase to simulate earthen wall with cutout for the garden gate. Base color is Tamiya NATO Black, followed by shades of Tamiya Deck Tan. Wall slogans were hand-painted.
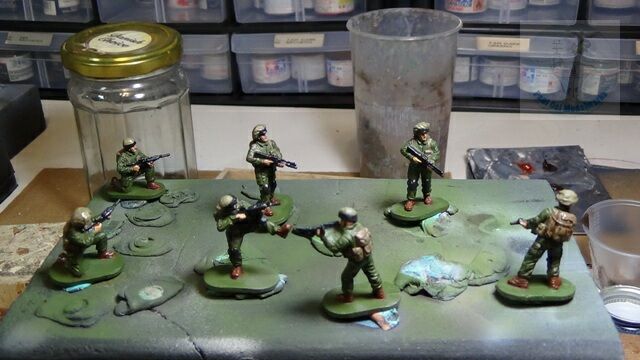
1/72 IDF figures are primed in Tamiya NATO Green, followed by hand painted details: flesh, followed by Tamiya Khaki for the backpack and webbing, NATO Black for helmet bands, firearms, gun metal for firearm highlights, Israeli Armor Gray for helmet tops, red brown boots.
Leave a Reply