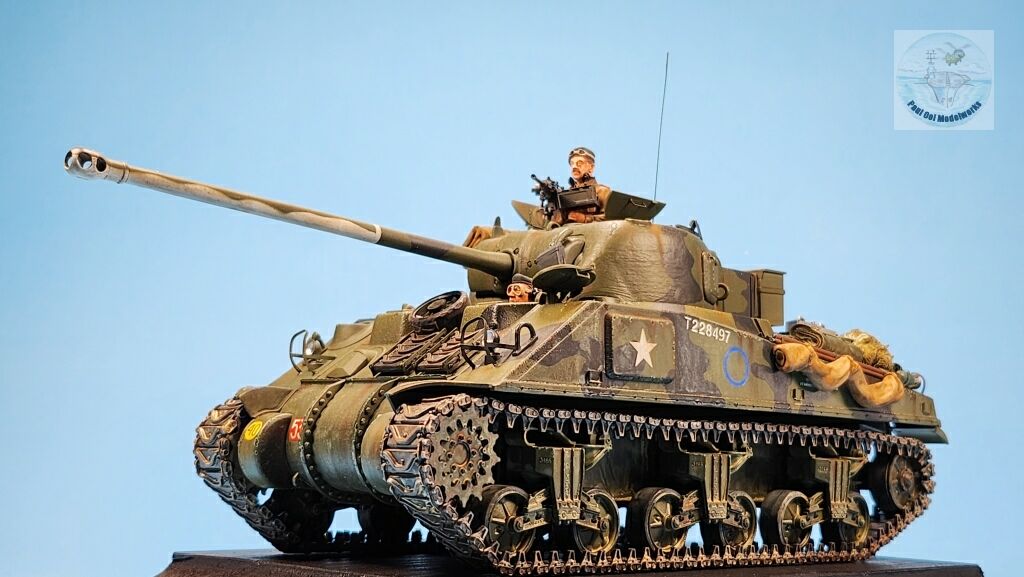
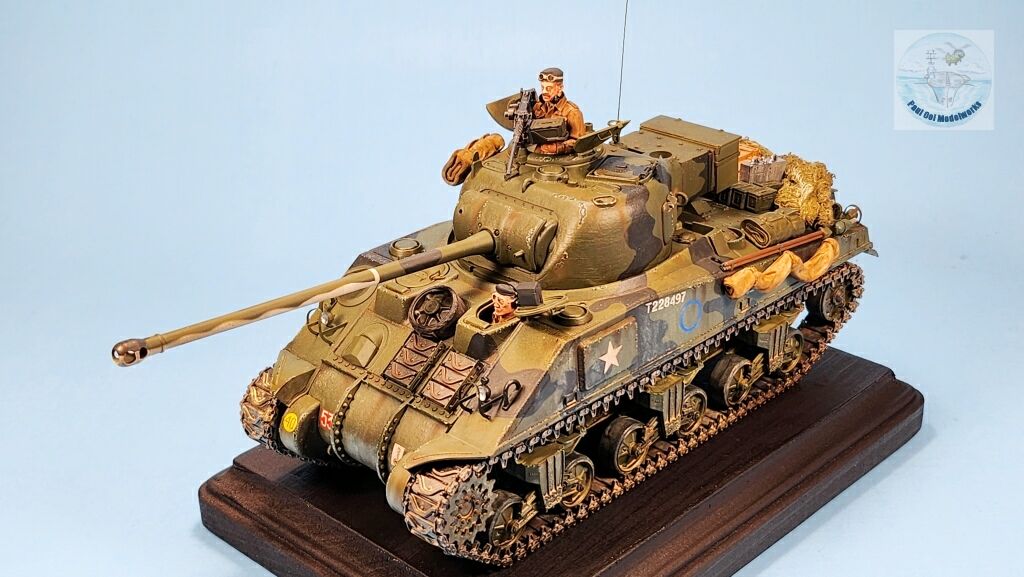
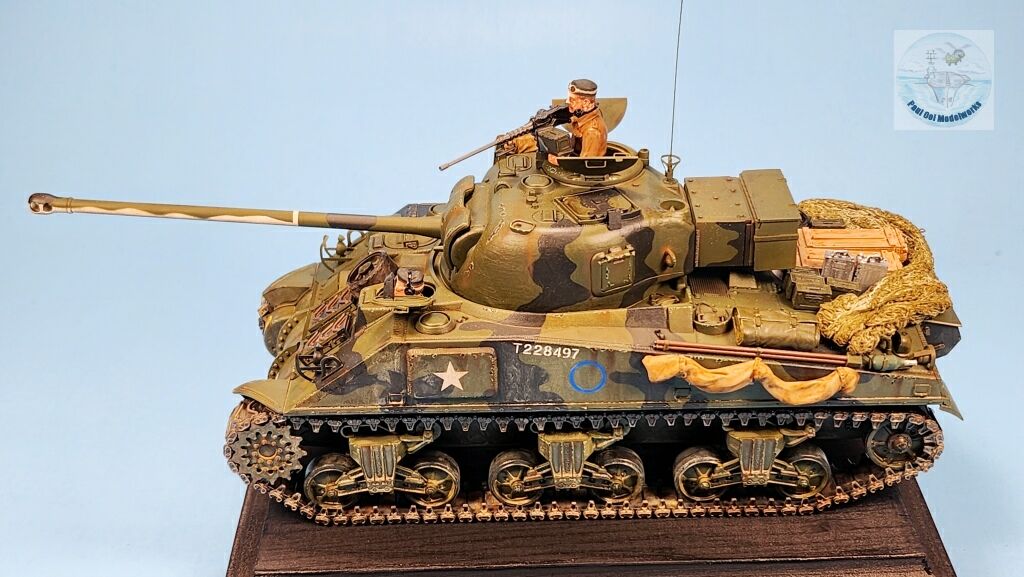
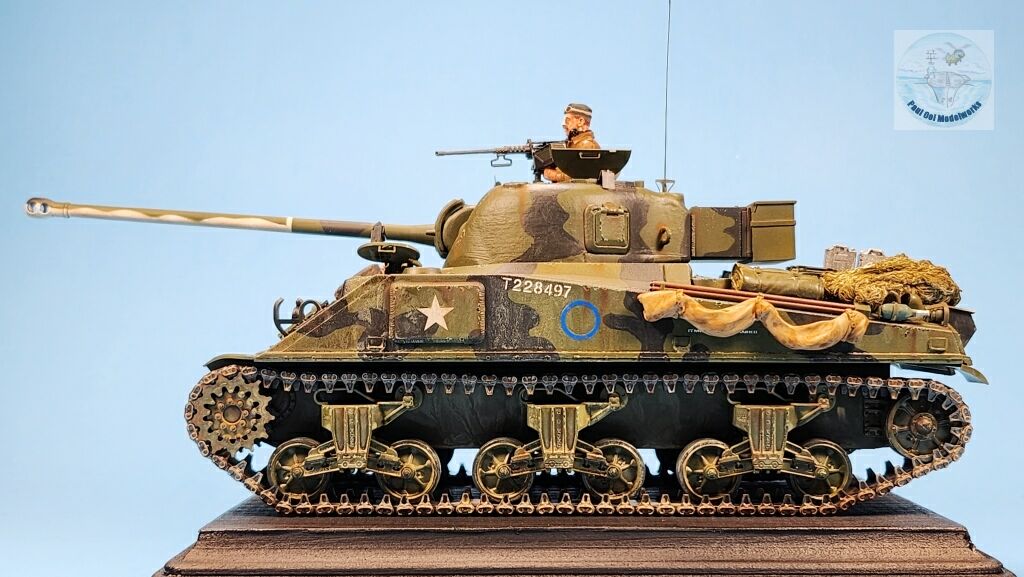
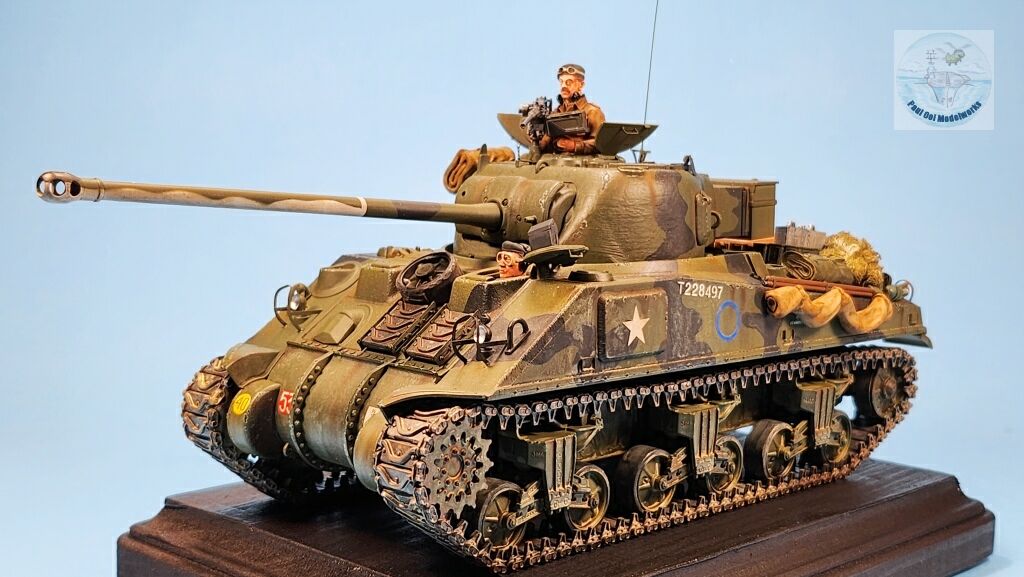
The Sherman Firefly was the one Allied tank in the Western Front that brought dread and fear into the hearts of German tank crews. So much so that the German commanders ordered that all field units must target and destroy the Fireflies first before engaging other Allied tanks. The 17- pdr (76mm) high velocity gun on the Firefly had superior penetration compared to the famous German 88mm and could take out Panthers and Tigers at ranges of up to 1000m. The British had mounted this powerful gun into a specially designed turret with an extended bustle to counter-balance the long barrel, and then onto the Sherman M4A4 chassis.
The Free Polish 1st Armoured Division equipped with Fireflies landed in France on August 8th 1944 and proceeded to cut-off the Germans in the Falaise-Caen region in the aftermath of the Normandy landings. Many of the Polish tank crews were survivors of the German blitzkrieg campaigns in Poland and France and must have recalled the desperate struggle against superior German armor. This time, armed with the formidable Firefly, The Poles turned the tables against the Wehrmacht as German troops attempting to break out of the deathtrap of Falaise ran straight into the waiting Polish tanks. In a series of actions in Chambois, the trap was sprung and scores of German tanks and vehicles of the 5th Panzer Army were destroyed. The Polish “Black Division” went on the liberate Belgium, the Netherlands and finally occupy Northern Germany at the end of the war.
Gallery

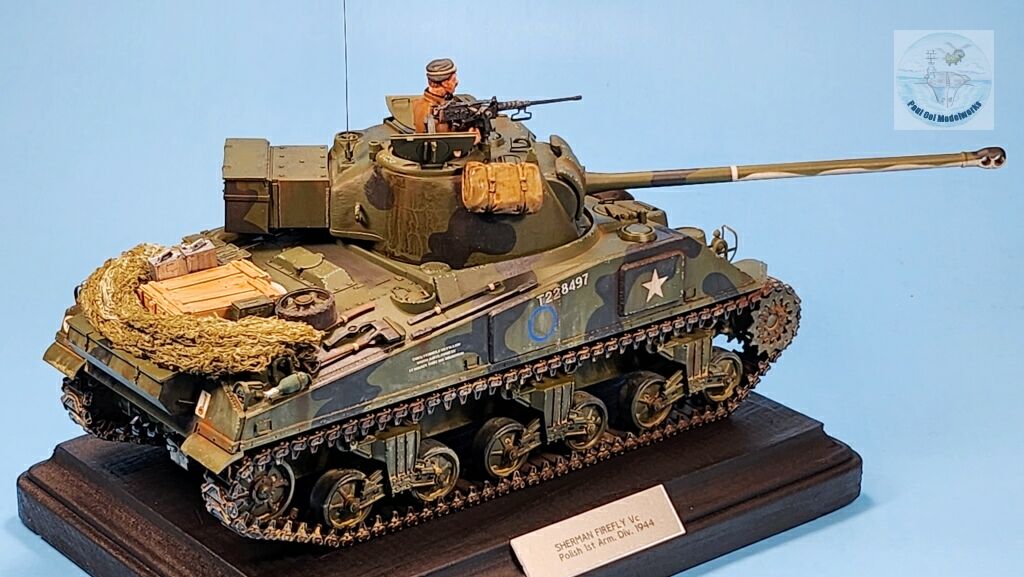
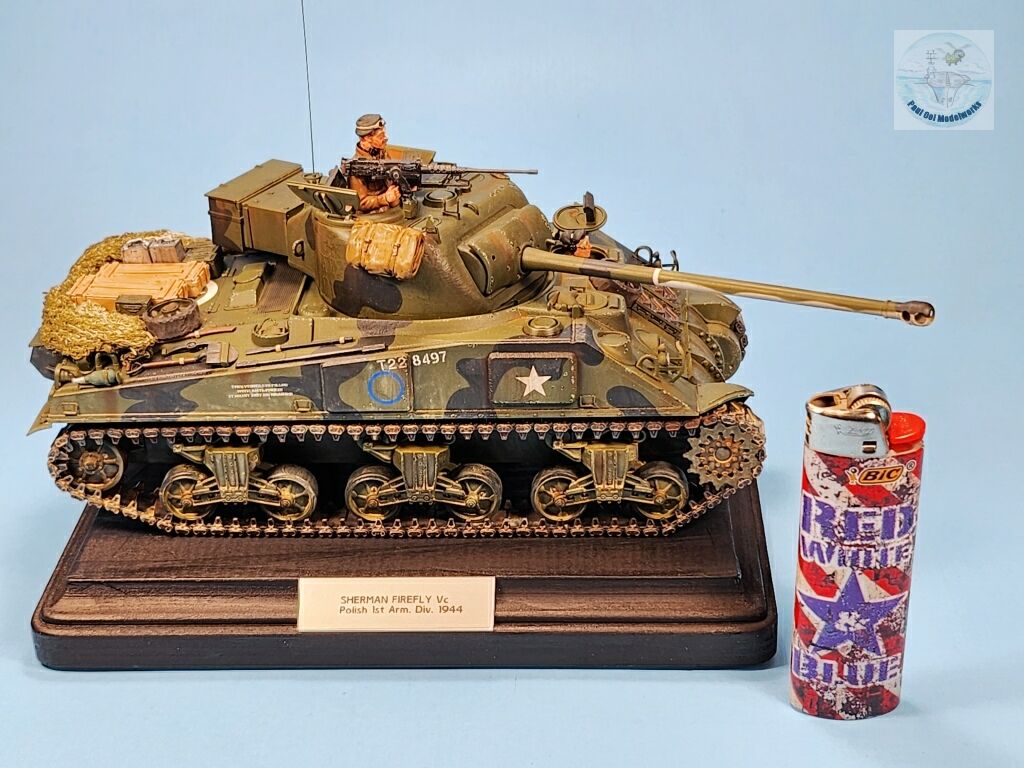
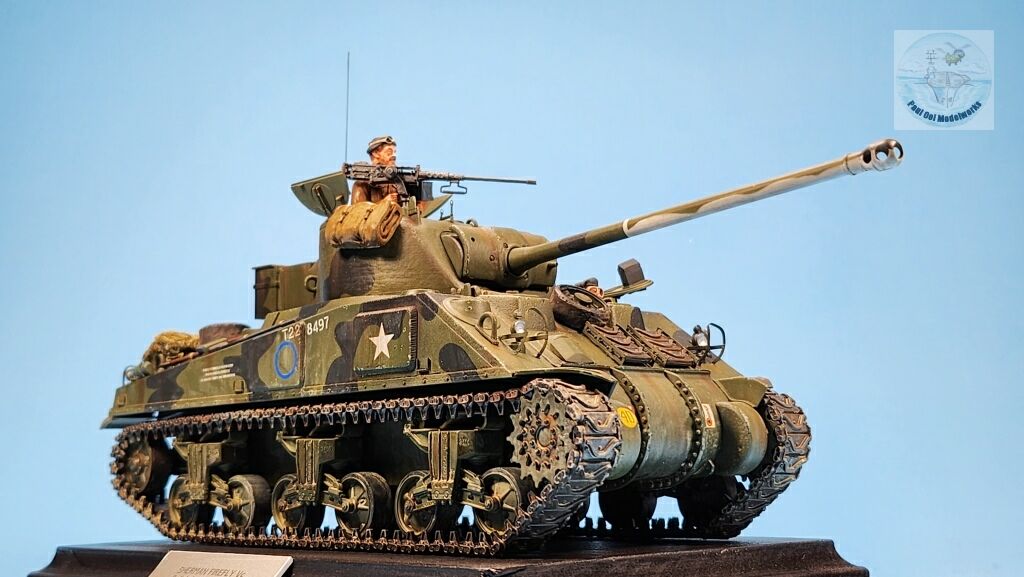
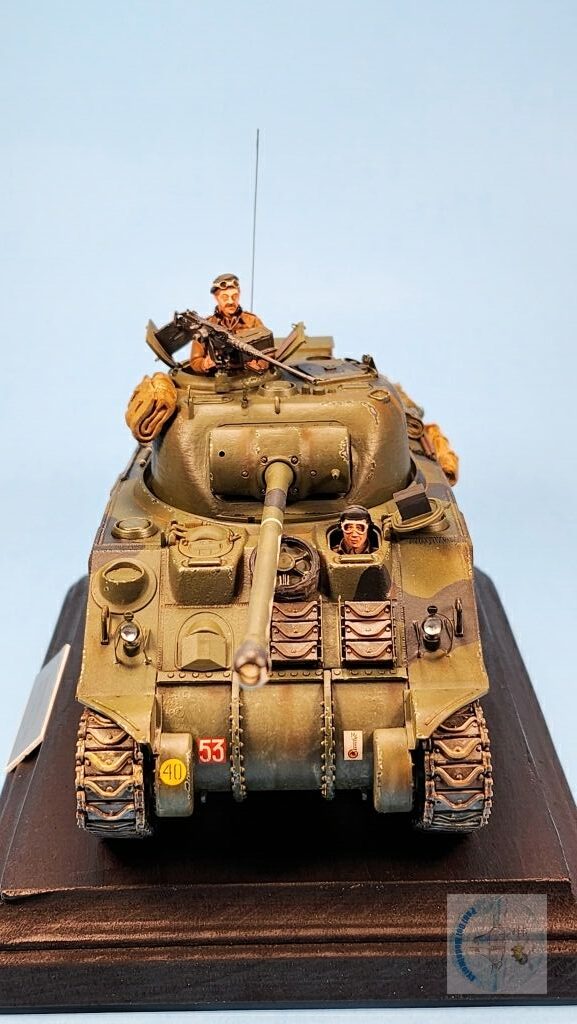
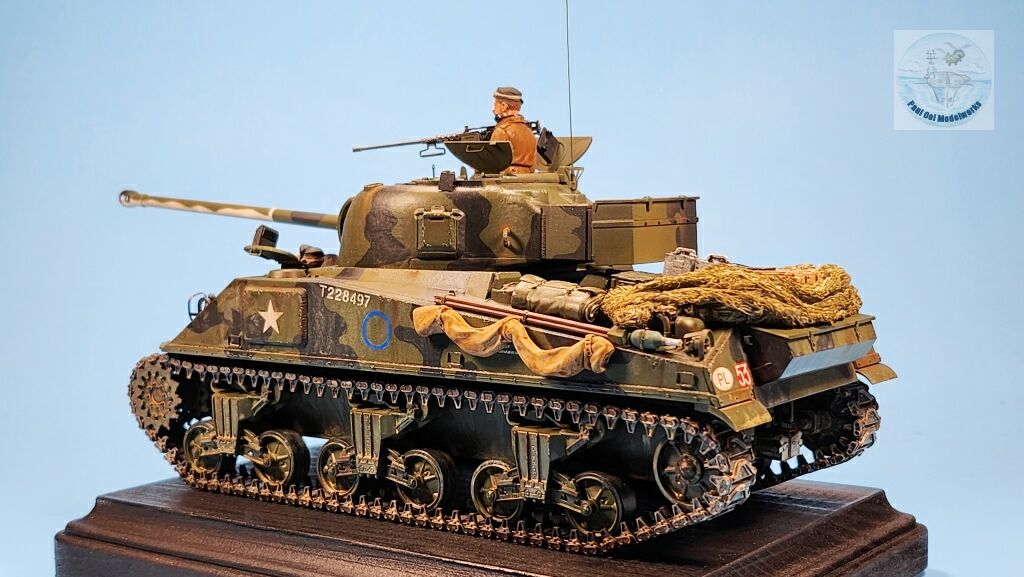
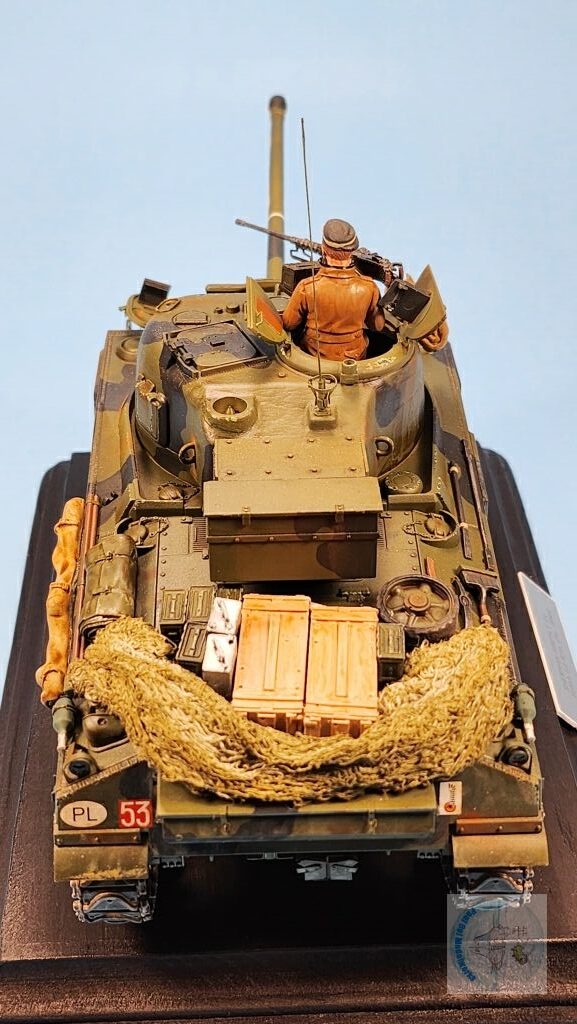
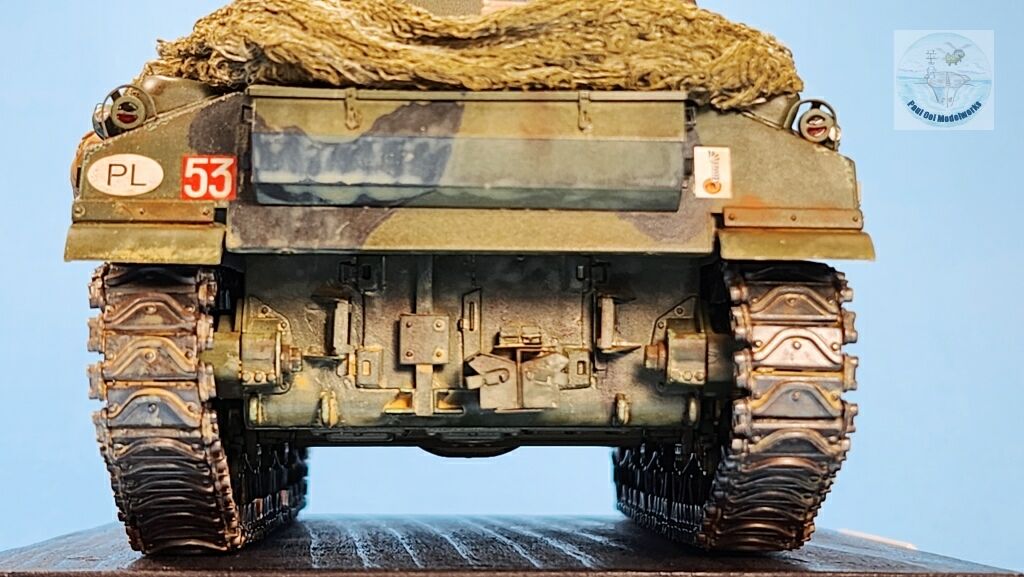
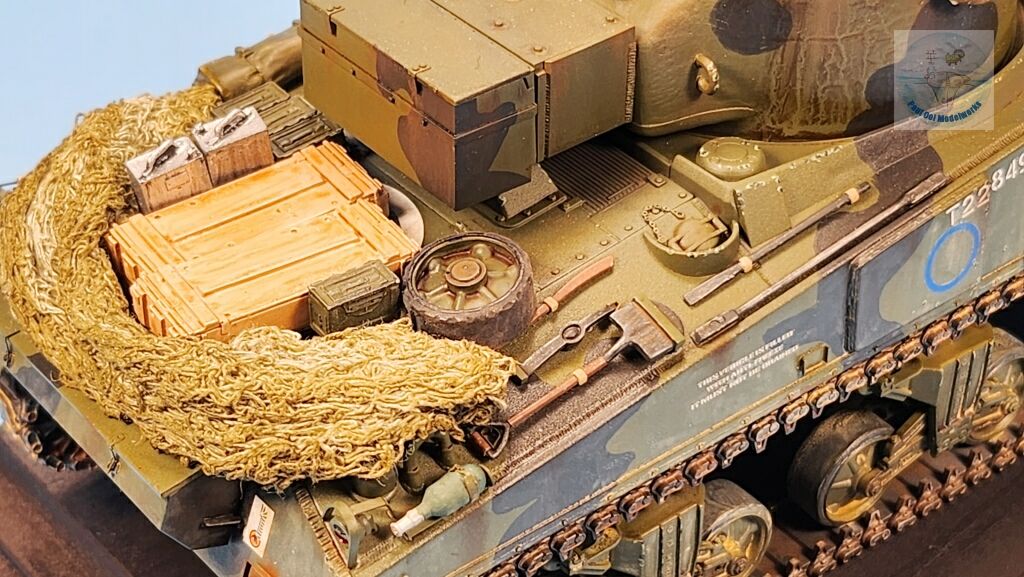
Construction Notes
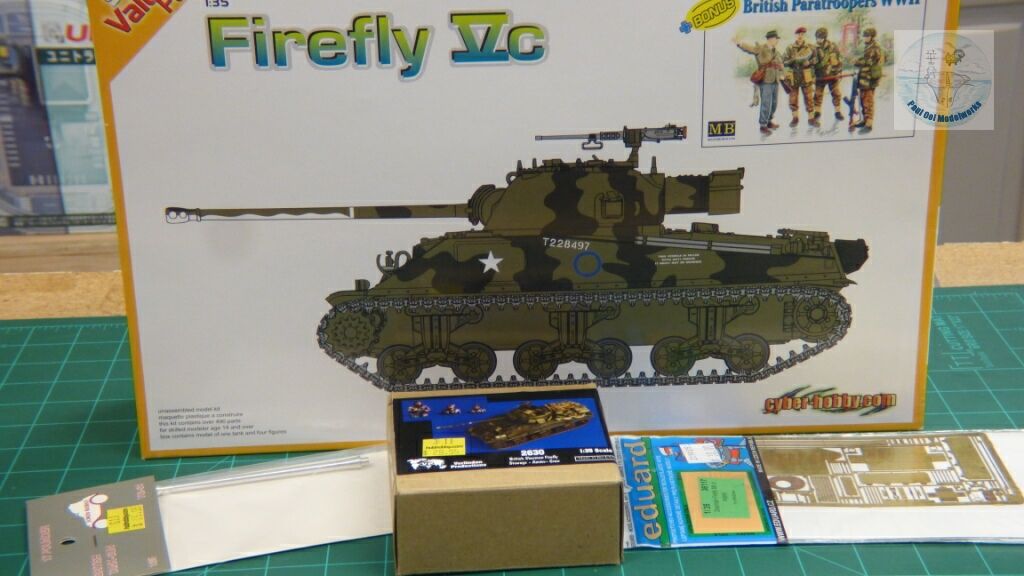
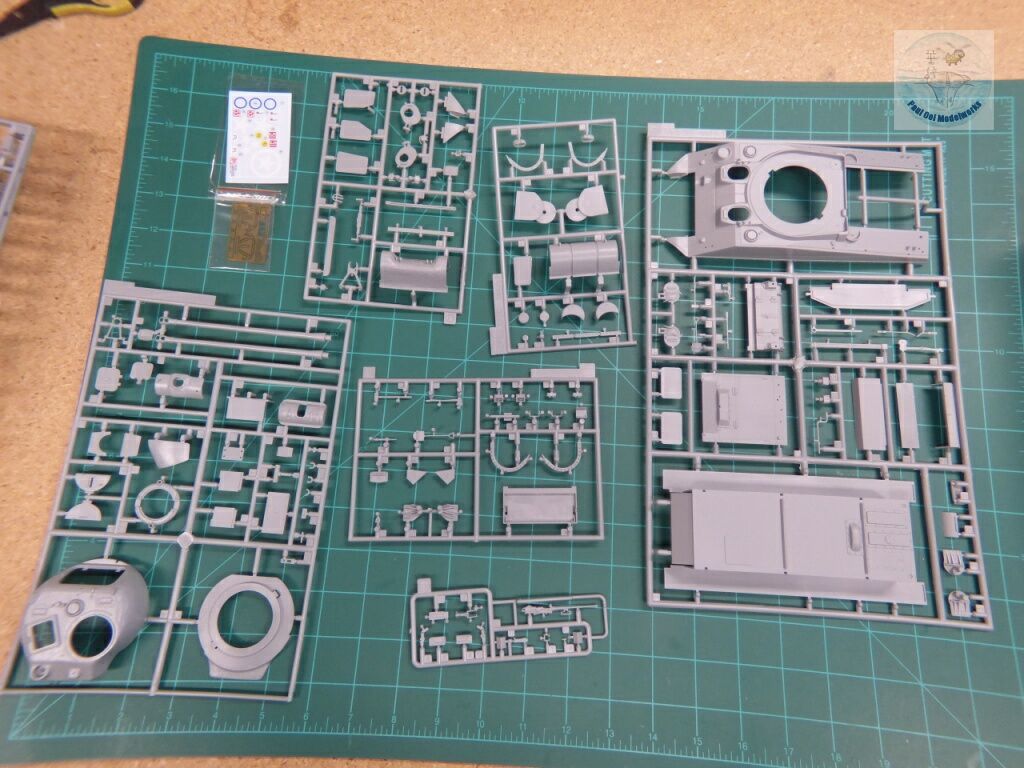
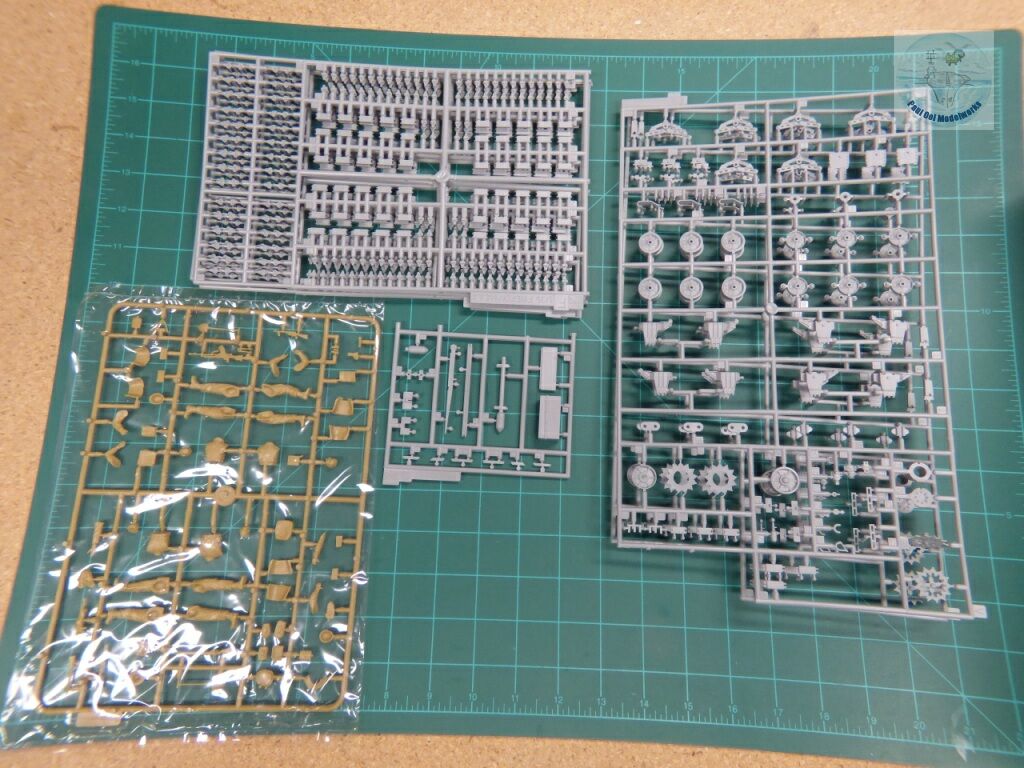
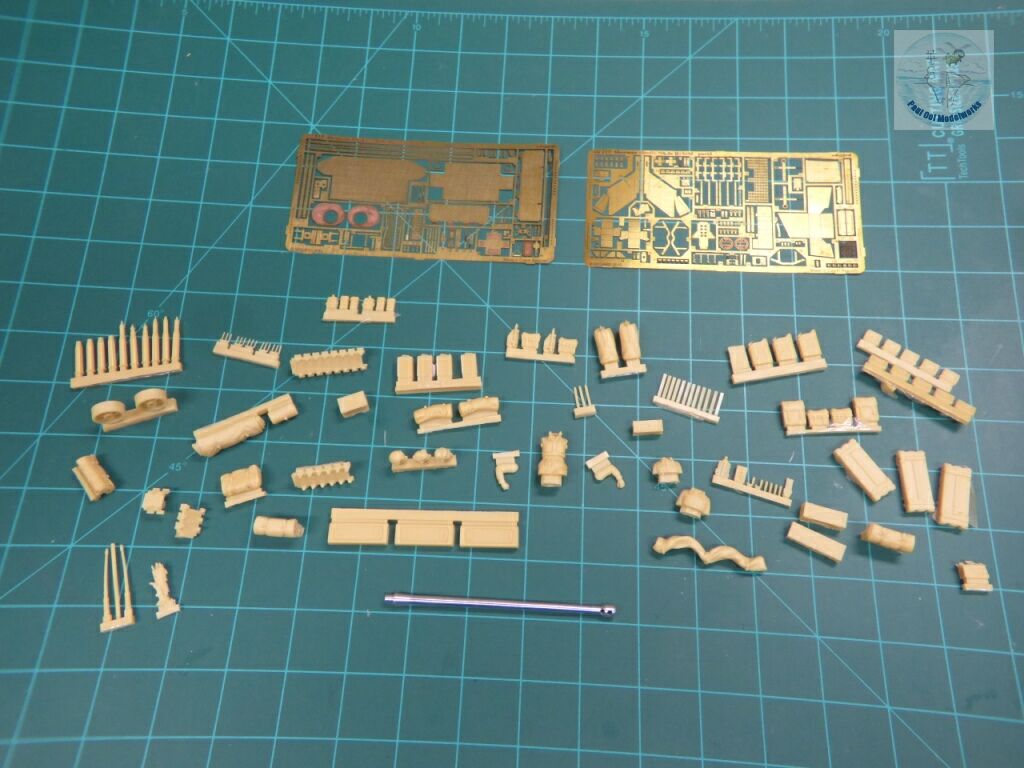
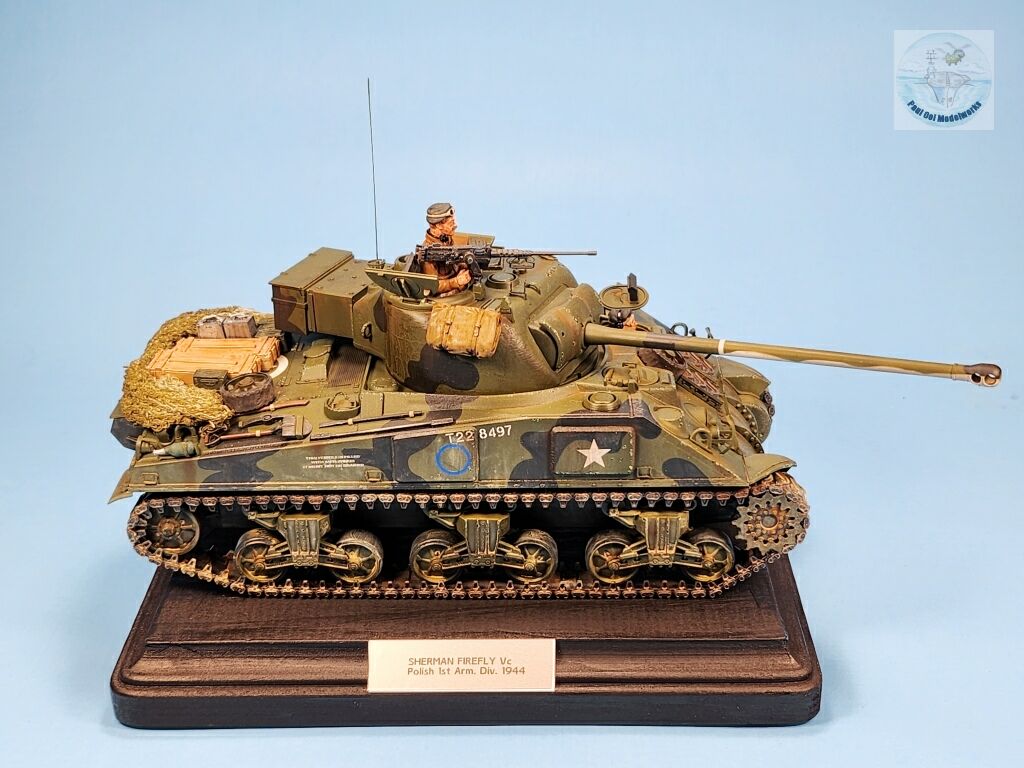
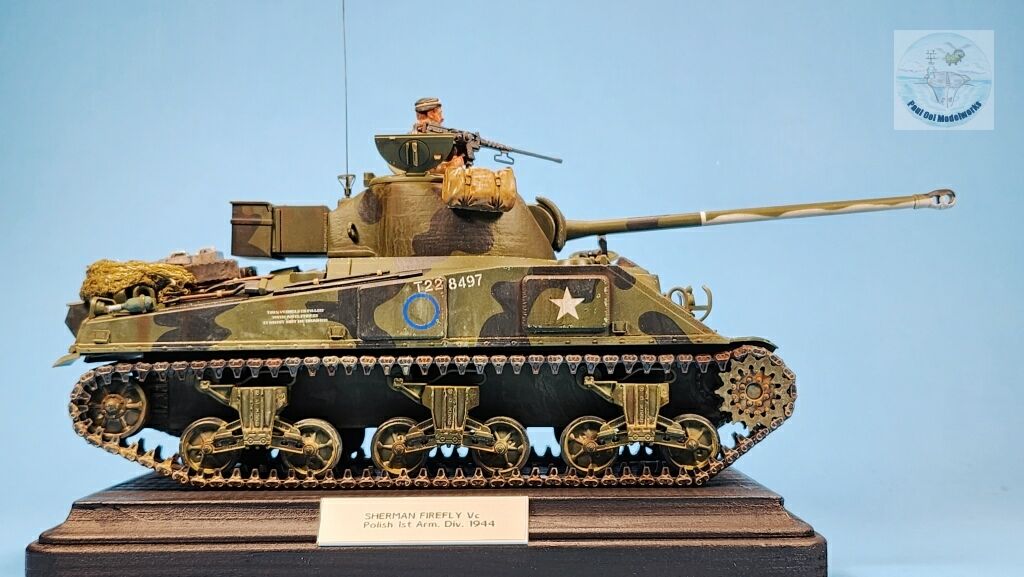
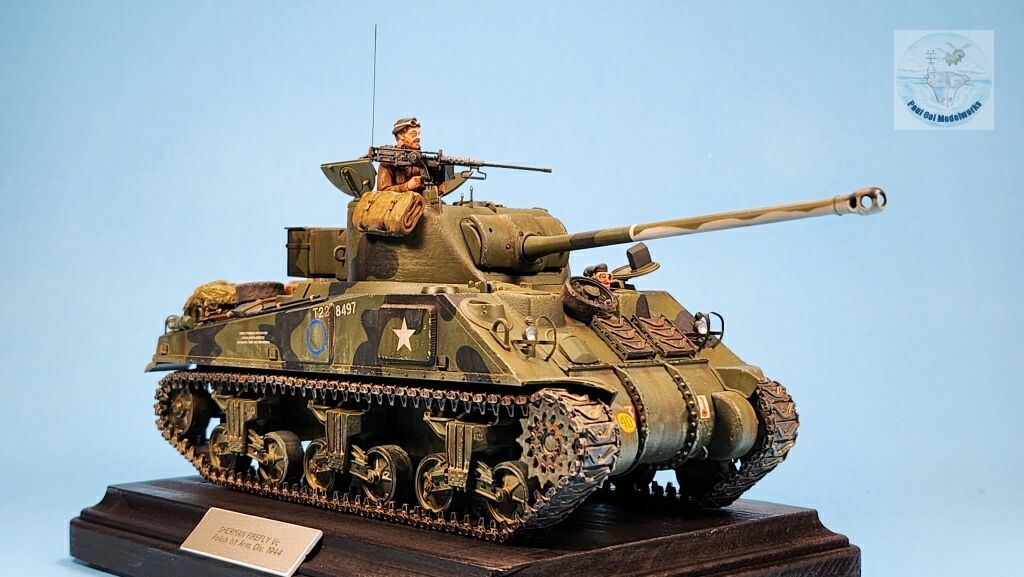
This 1/35 scale Dragon kit of the Sherman Firefly Vc was a super bonus kit with lots of parts, separate track links, a photo-etched fret, and a figures set of British paratroopers and a Resistance fighter. I had also amassed an old Verlinden set with a British tank crew, accessories, a Jodi Rubio 17 pdr barrel, and an Eduard photo-etch kit for the Sherman Firefly 1c Hybrid (I could still use a lot of the parts). However, it took me a long time (12 years) to finally come round to building this tank for two reasons, (1) 1/35 is not my usual scale for AFVs, and (2) the individual links for the tracks seemed like a lot of repetitive and monotonous build (it is!). I do like the Sherman Firefly as a subject, and probably my favorite Sherman, together with the Israeli Super Sherman.
The markings provided with the kit were for two prototypes from the Polish 1st Armoured Division, none of which were in the initial Normandy operations or in the Arnhem debacle of Operation Market Garden. As such, the pairing with the British Paratroopers was not usable in any form of historical diorama. I have kept the paratrooper figures for some future project. Also, after checking the scale dimensions off actual Firefly blueprints, the Jodi Rubio barrel was under-sized by about 3-4mm, and I returned to using the plastic barrel that came with the kit which turned out to be spot-on scale-wise.
In terms of surface area and size, the 1/35th scale model has four times the surface of the 1/72 and uses up A LOT of paint. Also, I realize that unless you are building a good-sized diorama, this scale allows you to concentrate a lot of detail on the vehicle itself. As such, I decided to display the vehicle on a plain black base, and allow the vehicle to take center stage.
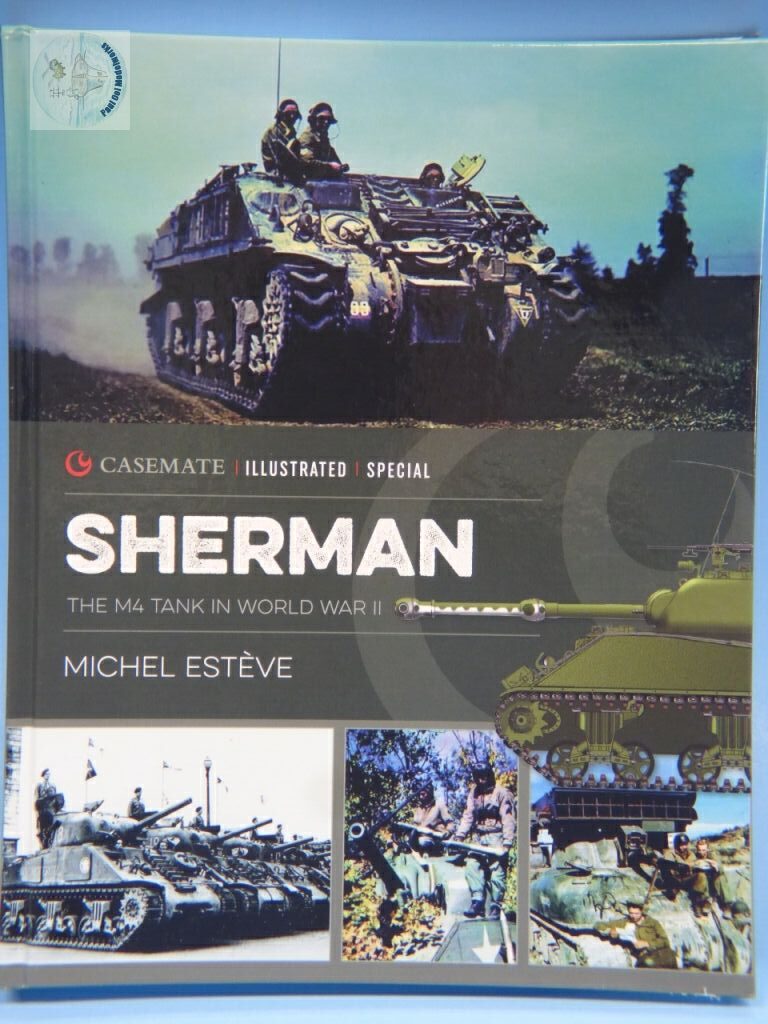
For references to all things Sherman M4, I used this excellent book from Casemate by Michel Esteve that provided minute details on tracks, chassis layout, and many other things that will help improve your Sherman. Since there are also references for Hellcats, Achilles, Priests, and assorted Sherman-related vehicles, this book is a worthwhile investment for those who have several Sherman AFVs in their build bin.
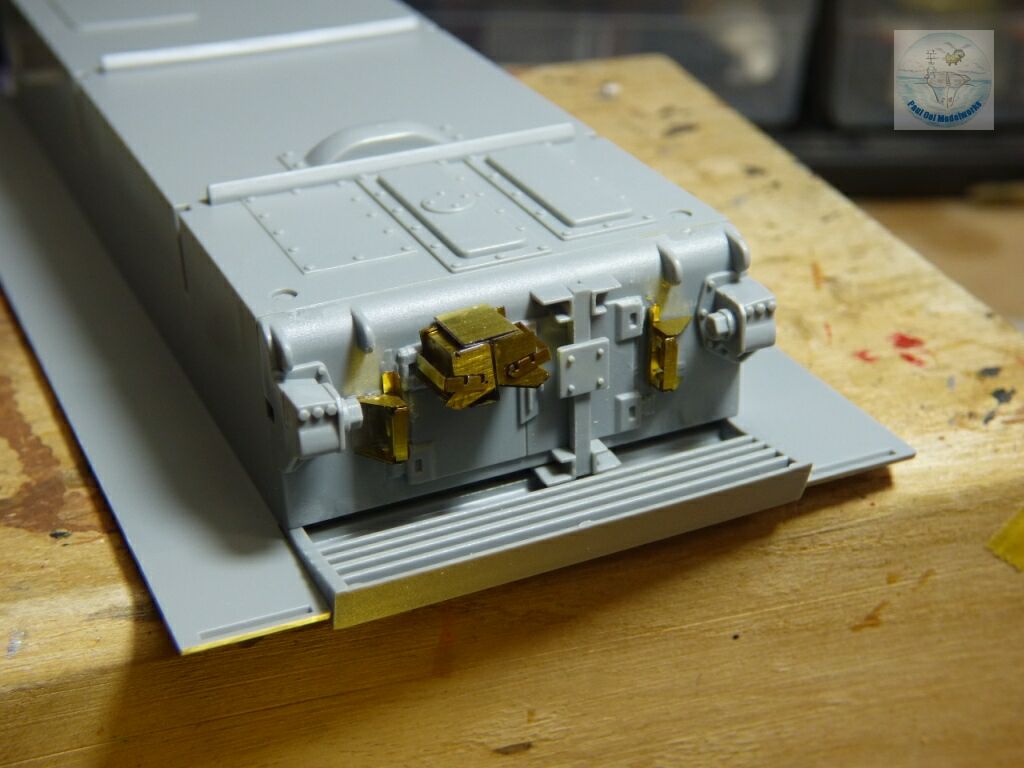
After putting the initial hull tub together, most of the busy work was done at the rear of the hull with photoetch replacements for the two tool-boxes and recovery equipment brackets.
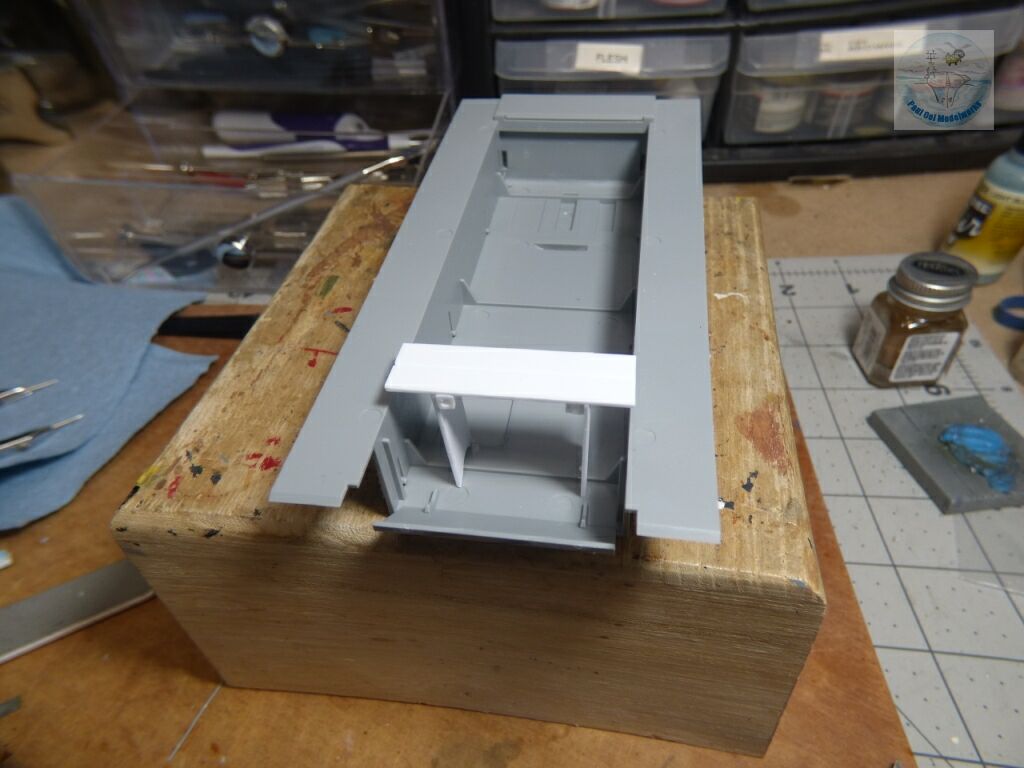
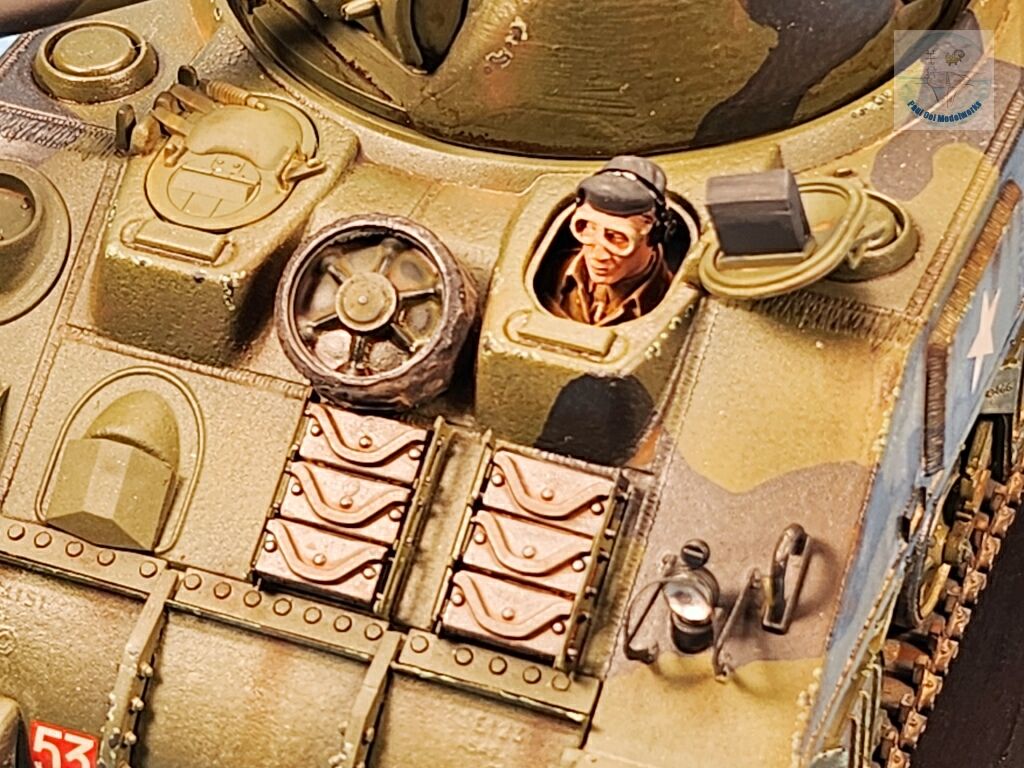
I was also going to insert the driver quarter figure and leave the hatch open. For that, I needed to scratch build a support bracket inside the hull (no interior details, just an empty cave).
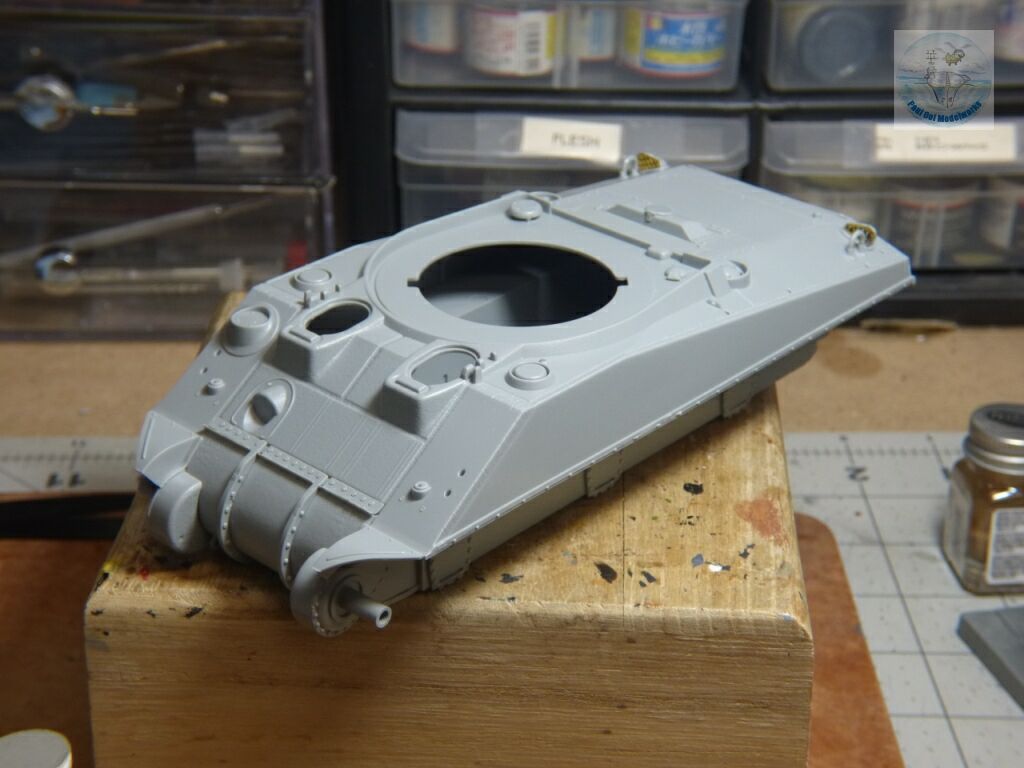
Then, I added the top of the hull and the front transmission housing to the assembly.
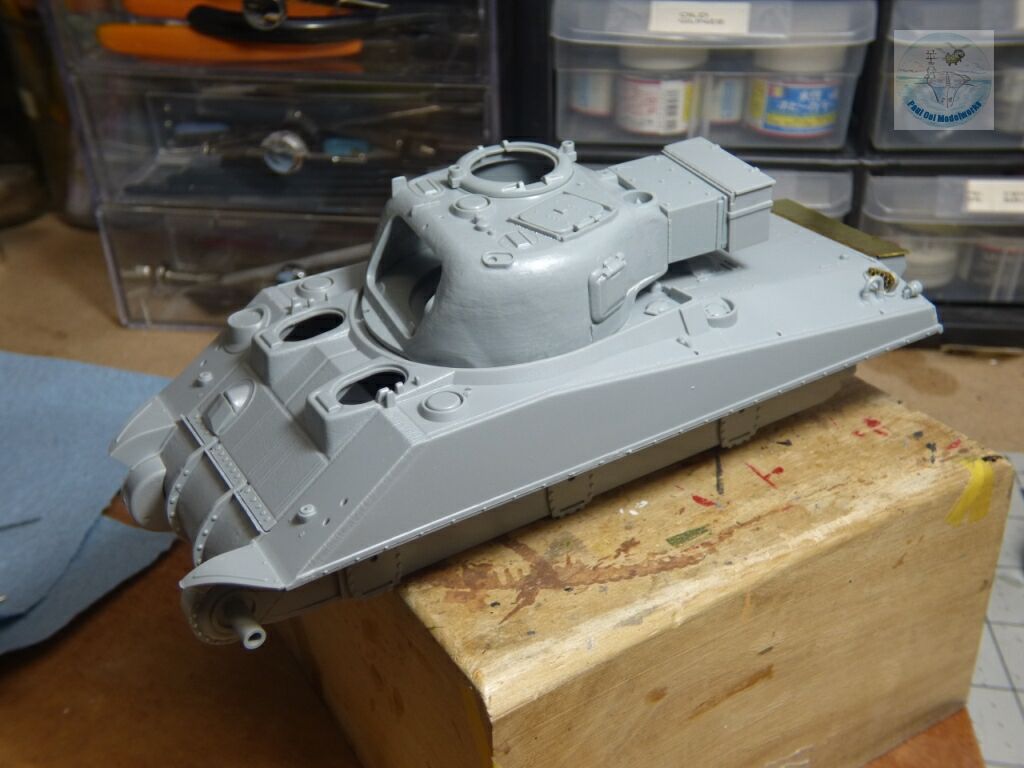
The main turret also came together quickly, and then I dry-fitted it onto the chassis.
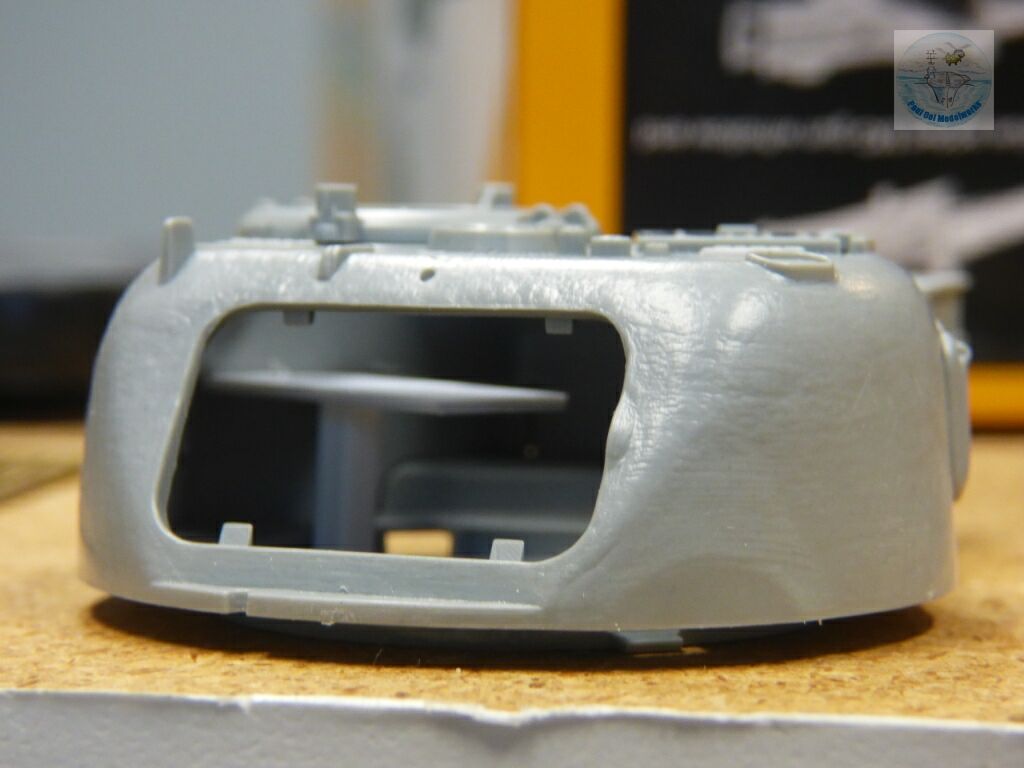
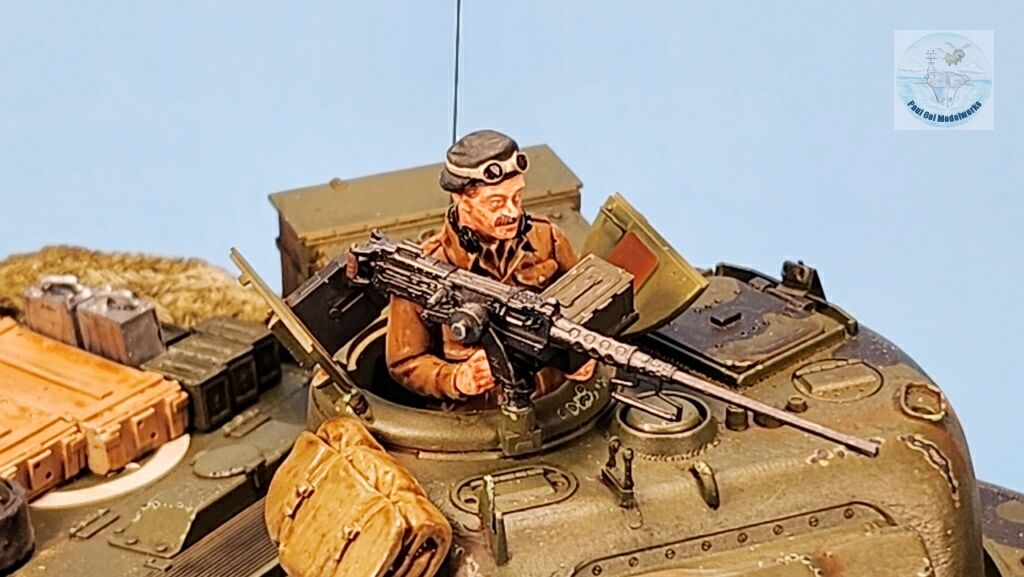
Because I was also going to mount the half-figure of the tank commander into the turret, I needed to build a “shelf” inside the turret to support the torso. More scratch-building with plastic Evergreen stock.
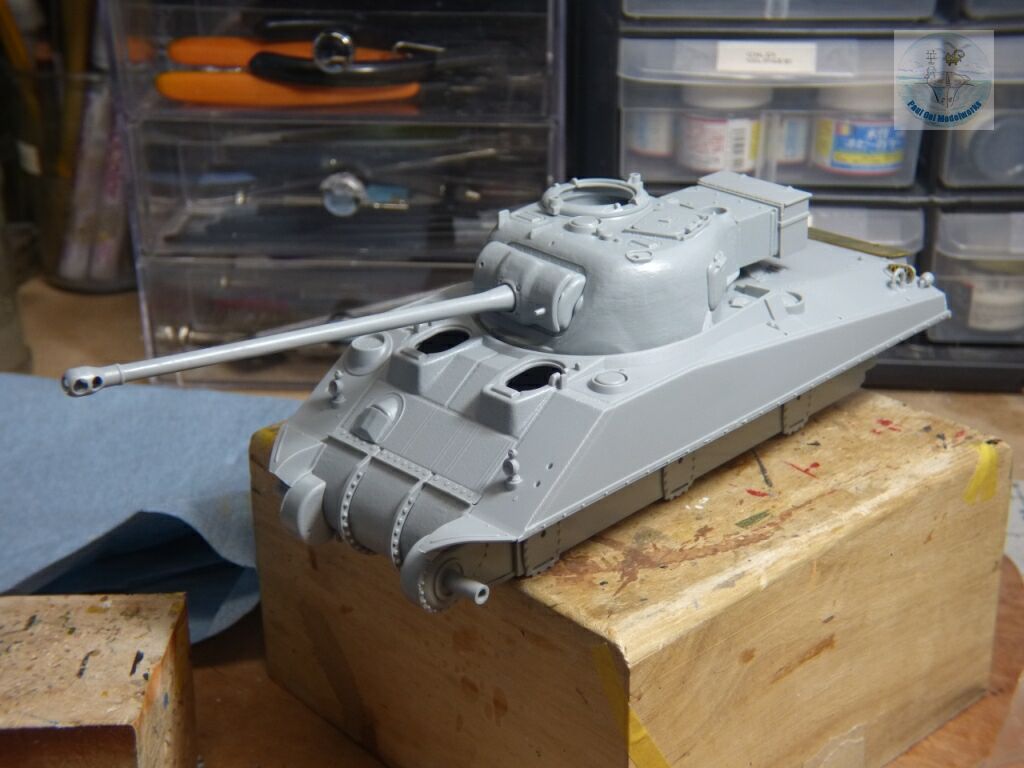
Once I had decided not to use the under-sized Jodi Rubio aluminum barrel, I installed the plastic barrel into the turret housing. I was pleasantly surprised at the straightness of the plastic barrel and the precision of the fit, which gave me no problems with seams, etc.
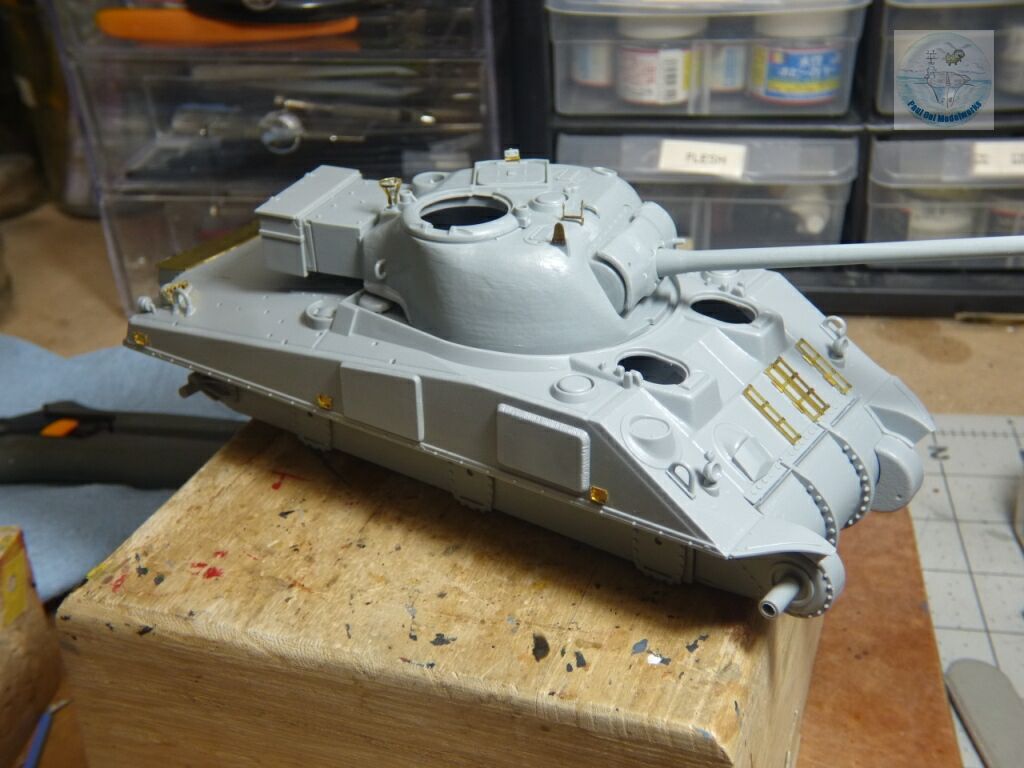
More hull and turret details got added over a few days. The alignment of those parallel track brackets to fit the track links was especially tricky and took several iterations (too fat apart, they fall out, too close, they cannot get in).
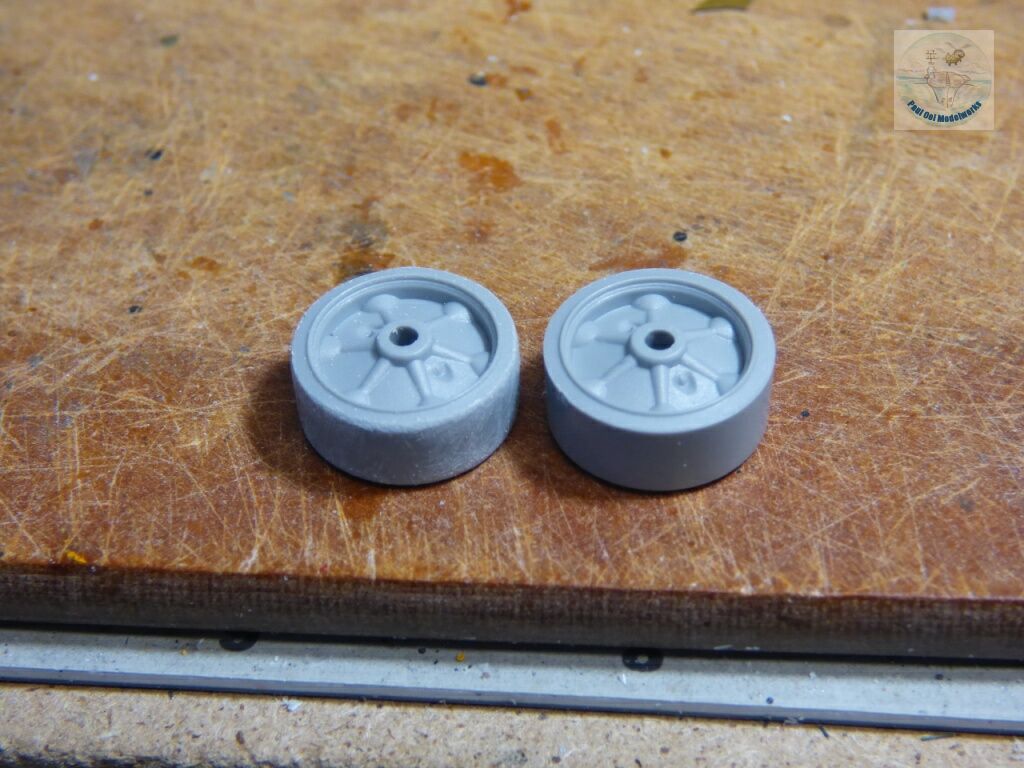
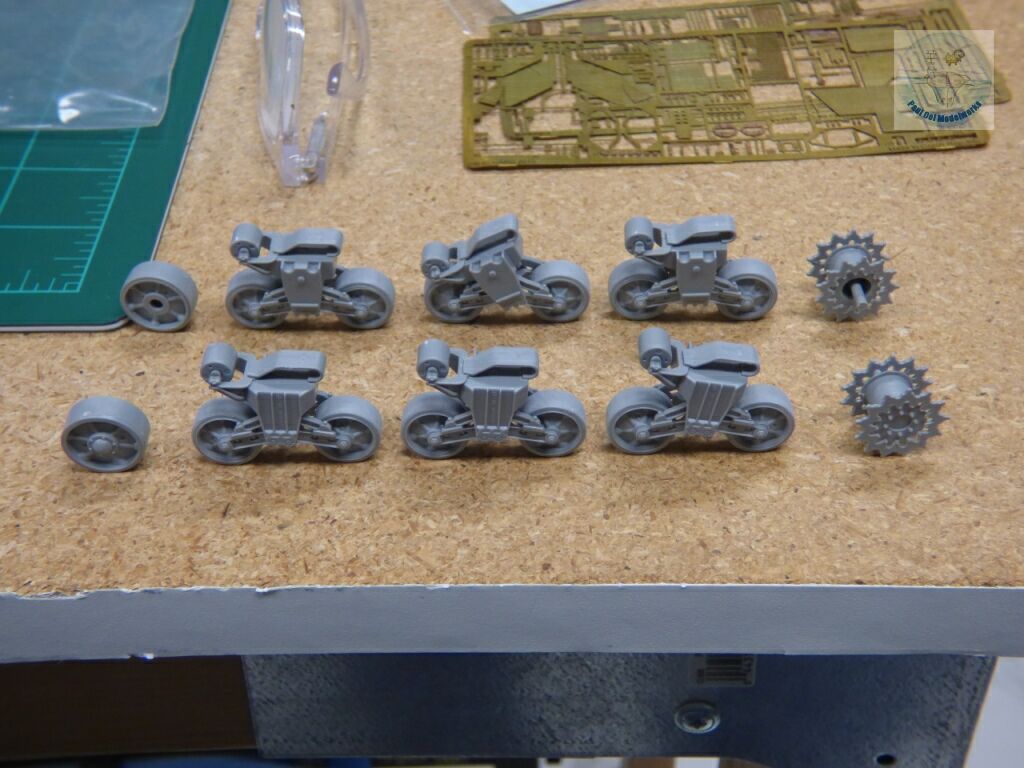
The road wheel trucks are an entire project by themselves. To start with, the road wheels are too pristine and smooth to be convincing as molded. I had to sand-paper the edges off them, and roughen up the surface for all twelve to make them look more like the real things (compare the one on the left after sanding to the one on the right as molded).
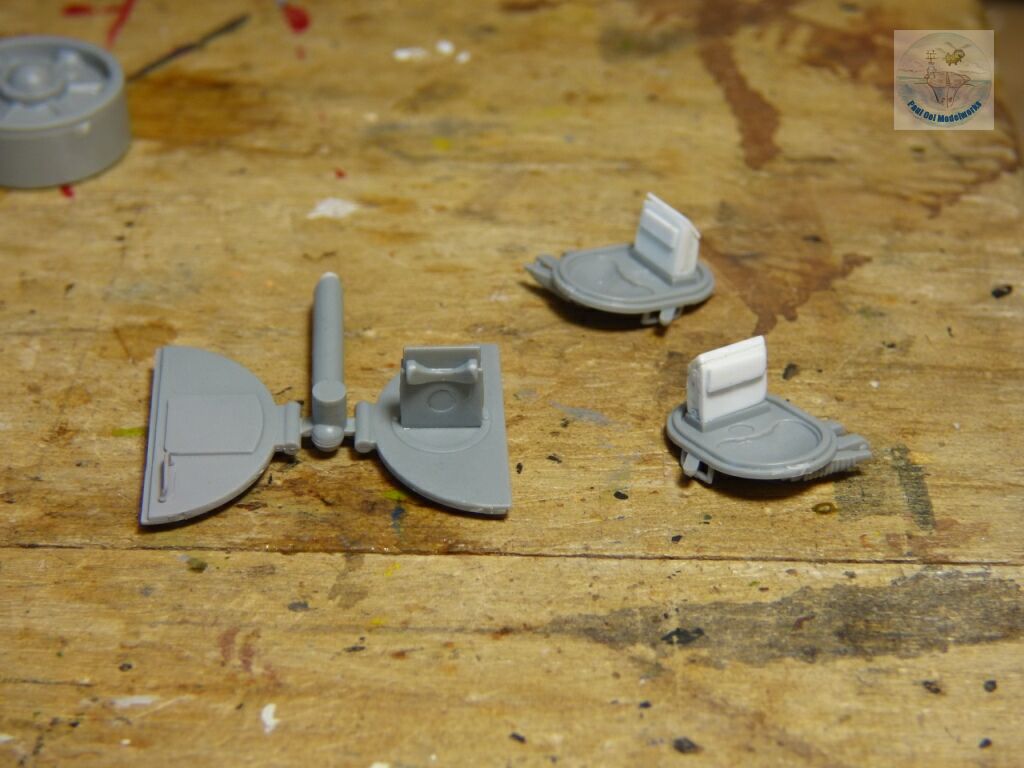
The hatches that were going to be left in the open position and were built separately. I scratch-built the periscopes for the two hull hatches. However, I later found out that the right side hatch was permanently shut in the Firefly as the machine-gunner’s position was replaced with additional shell racks.
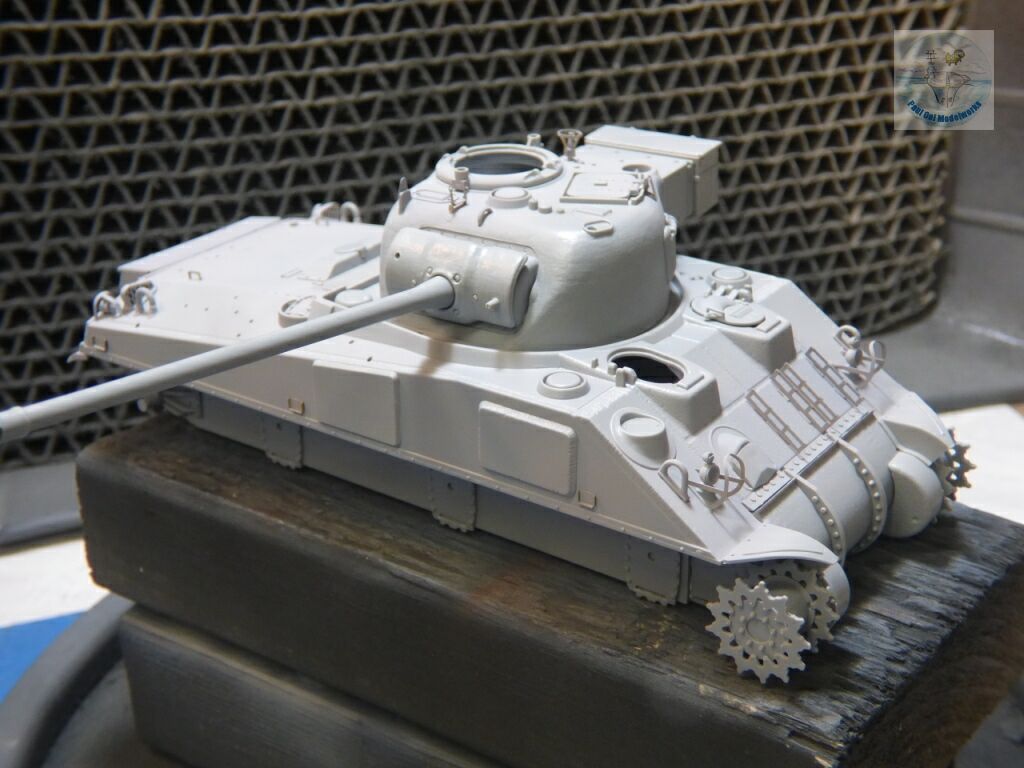
Once the main assembly is completed, I primed the model with Tamiya Sky Grey.
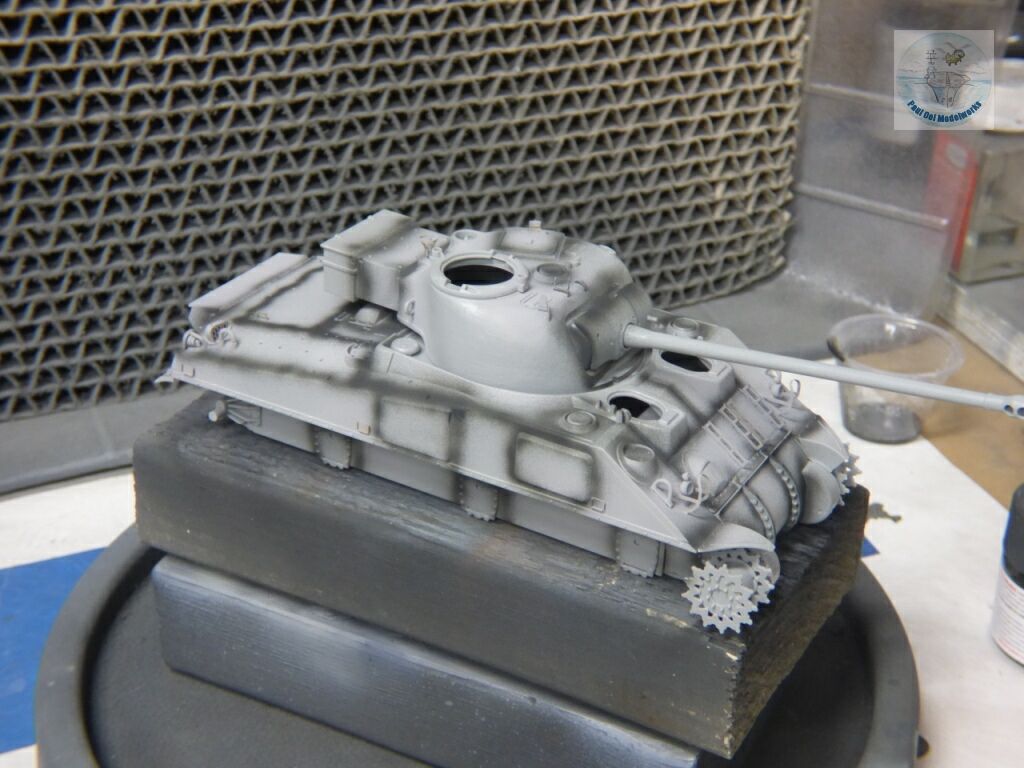
The dark under-shading was done with Tamiya NATO Black.
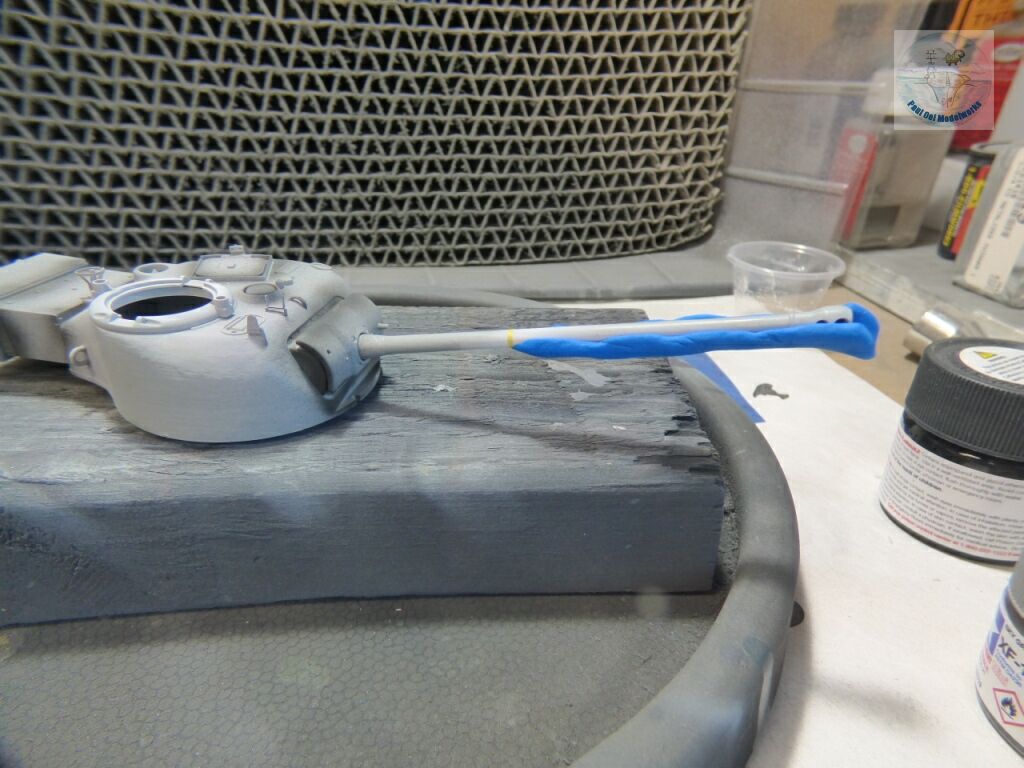
In order to disguise the Firefly to a distant German observer to look like a standard 75mm equipped Sherman, about 2/3 length of the 17-pdr was camouflaged with a white underside with a squiggly pattern. To do this, I painted that section with Tamiya XF-2 Flat White, and then mask it with Blu-tack.
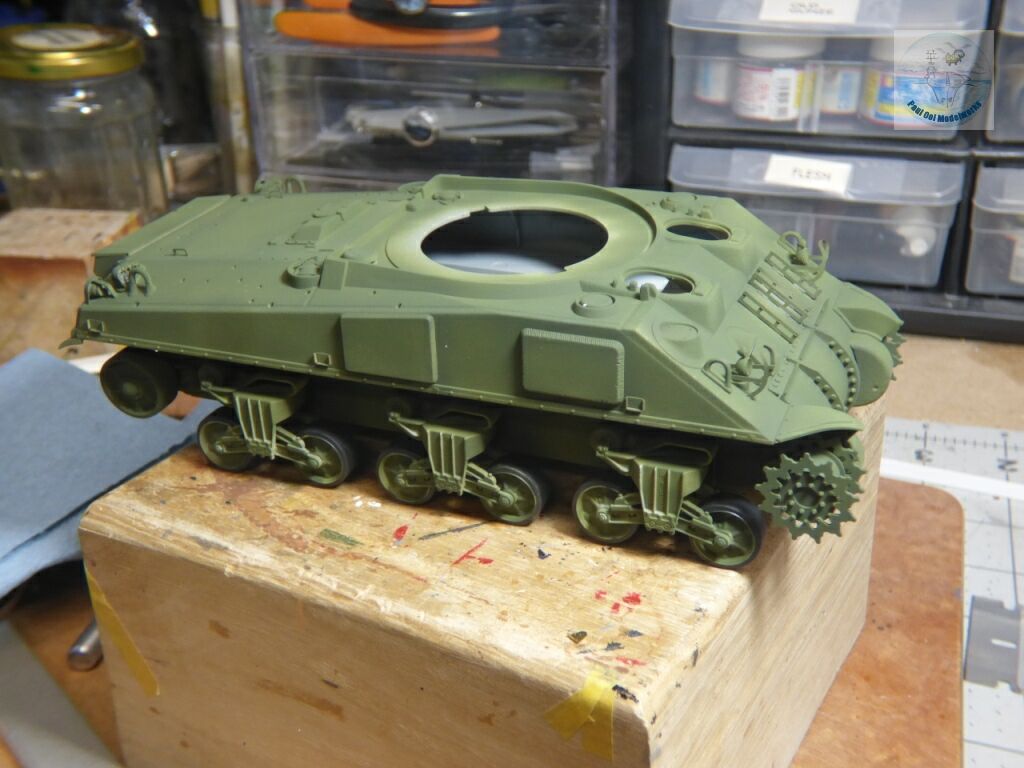
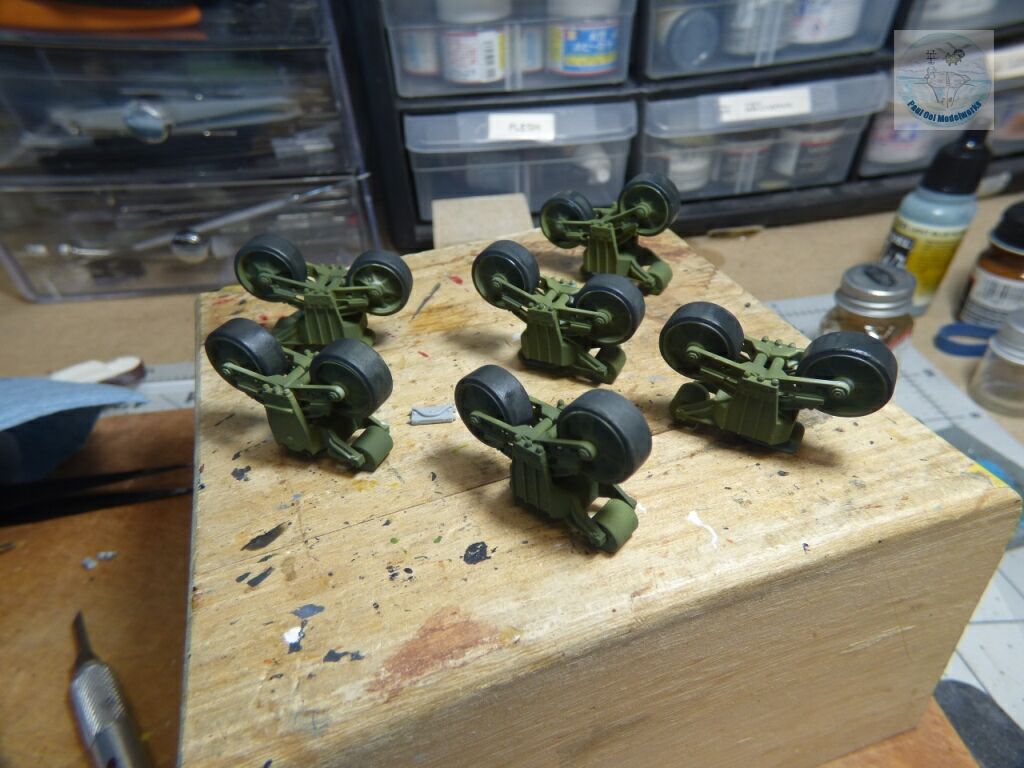
The main hull was spray-painted with Tamiya XF-58 Olive Green lightened with 20% Tamiya XF2 Flat White. The road wheels rims are then hand-painted with Tamiya XF-69 NATO Black, which looks much better than Flat Black for scale effect.
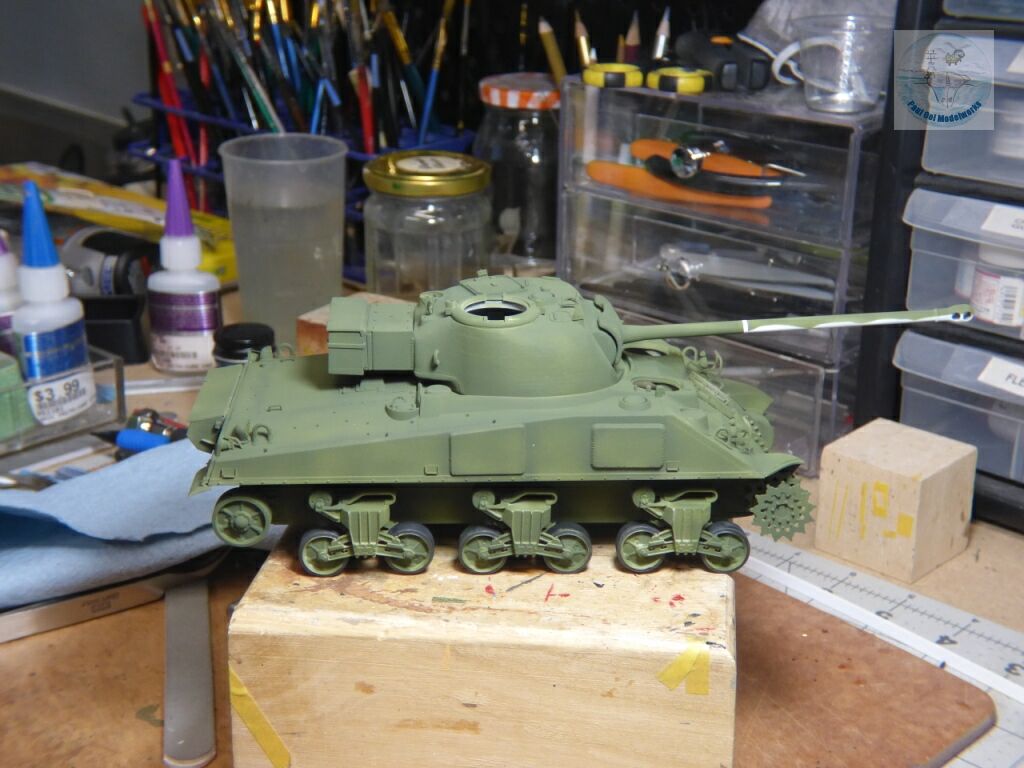
Once dry, I removed the masking from the barrel, and now we are ready for the next camouflage pattern.
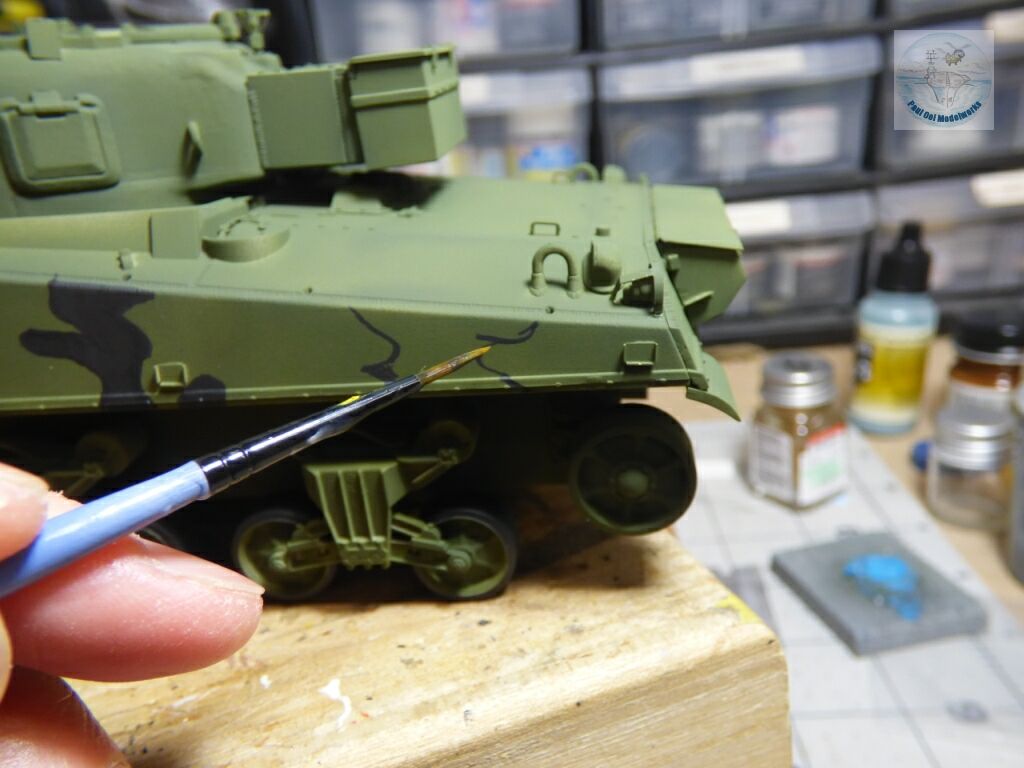
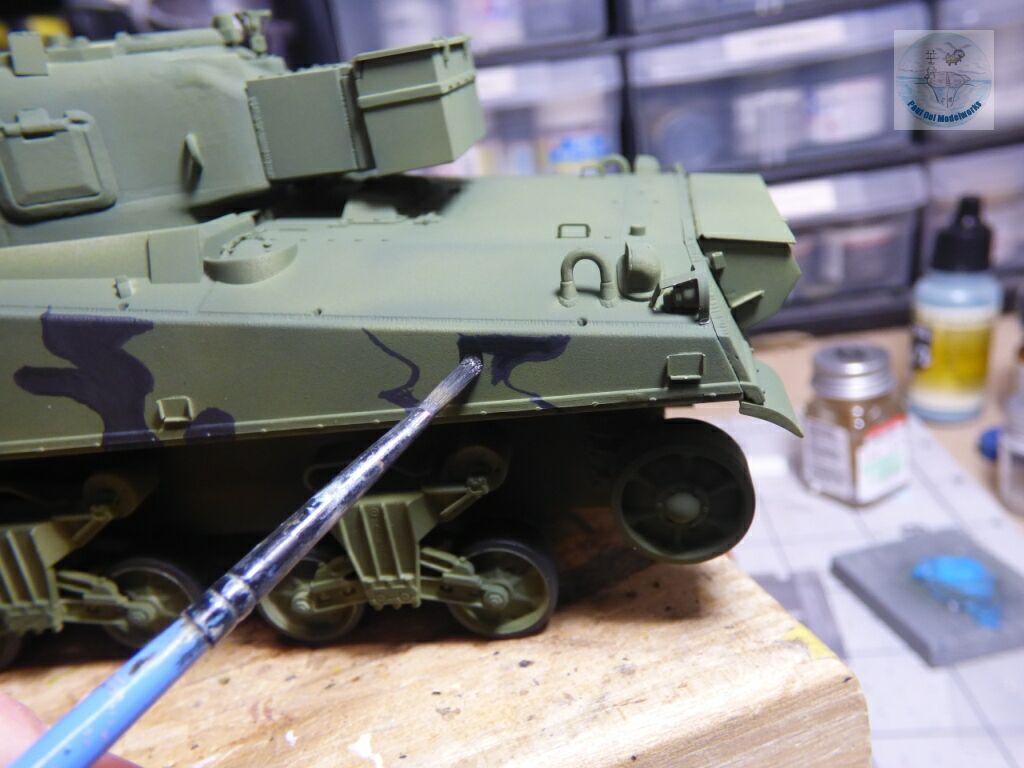
Painting the “cloudy” black camouflage pattern is a two step process, using moderately thinned Tamiya XF-69 NATO Black. First, using a lining brush, I paint the outline of the camouflage pattern, working in small segments at one time. Then, I fill it in with a rounded brush, making sure to cover the segment properly in thin layers, so that I can add more coverage if needed but avoiding thick, pasty layers that will spoil the scale effect. The hand-painted patterns look better and more realistic than airbrushing as the real vehicles were also hand-painted in the field.
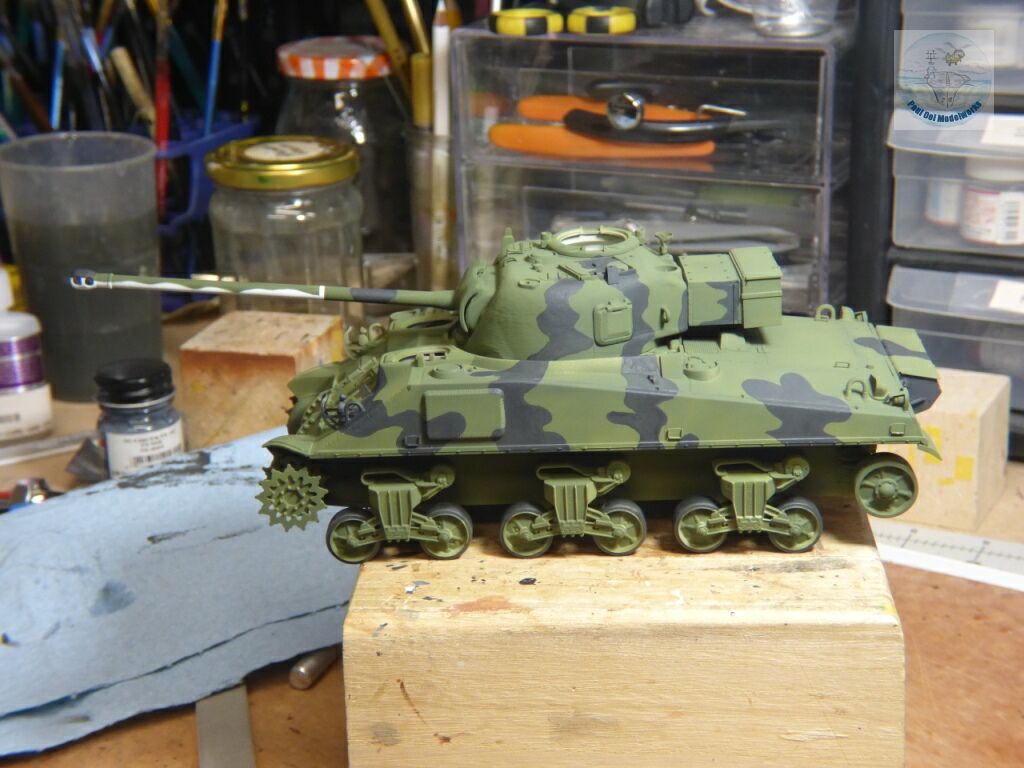
It took a bit of time, but the end result was well worth the effort.
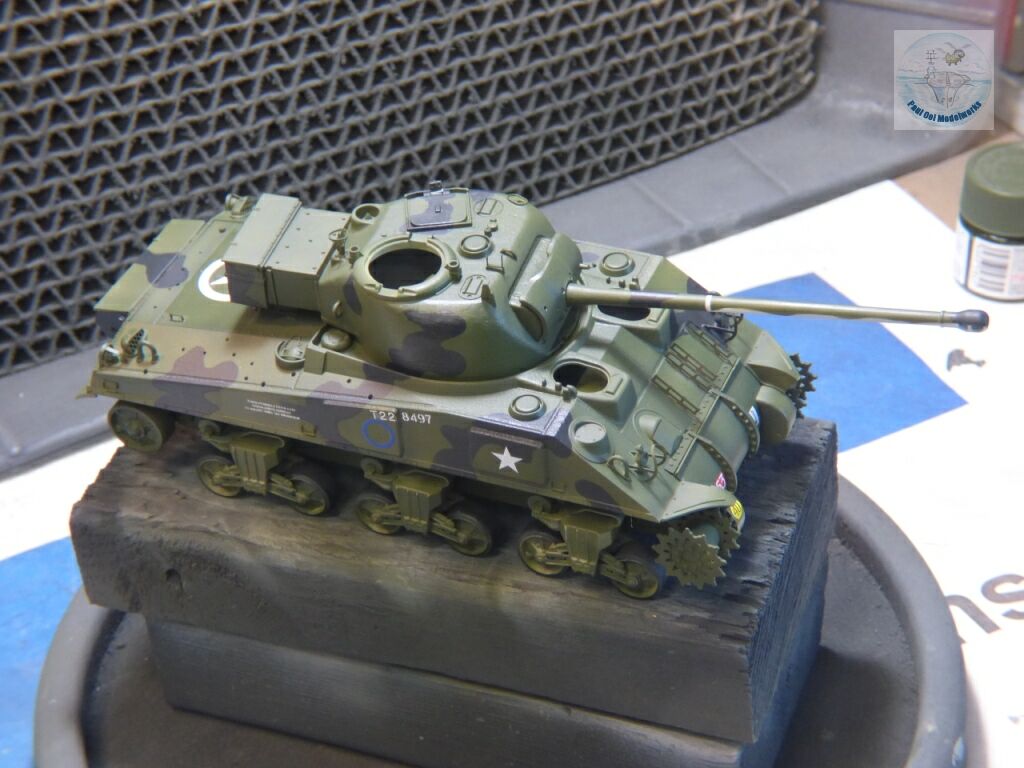
Decals were next, first with a Micro Scale Gloss prep, followed by the decals, and then two coats of satin varnish. The decals were very good and settled nicely with Micro Set.
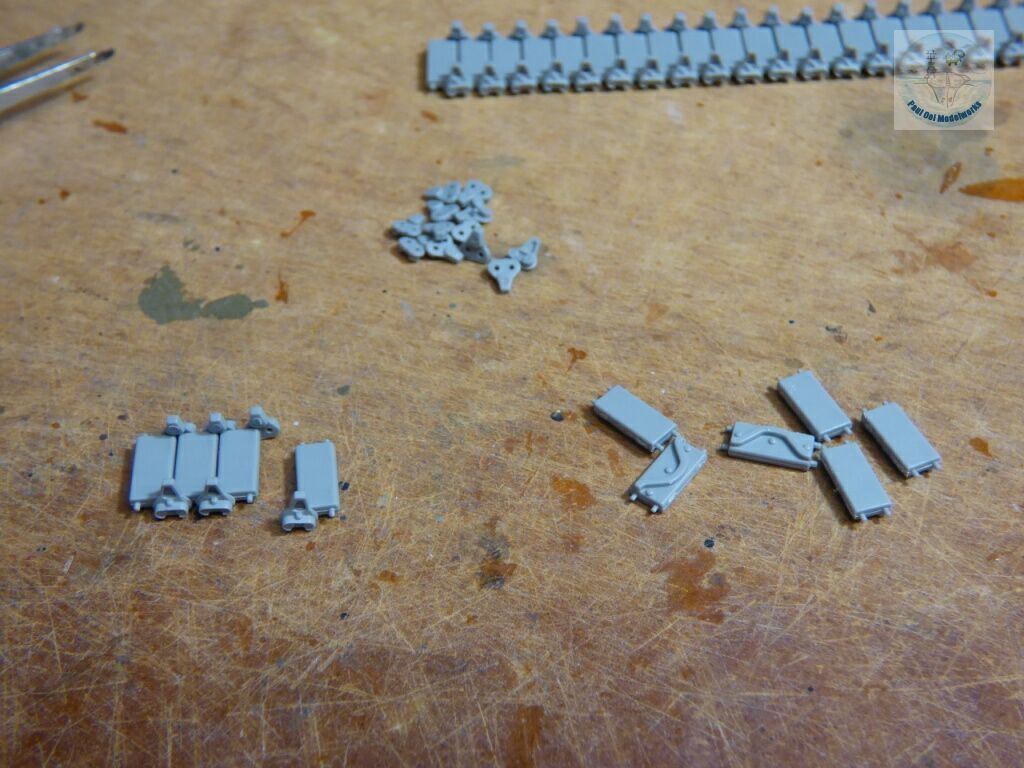
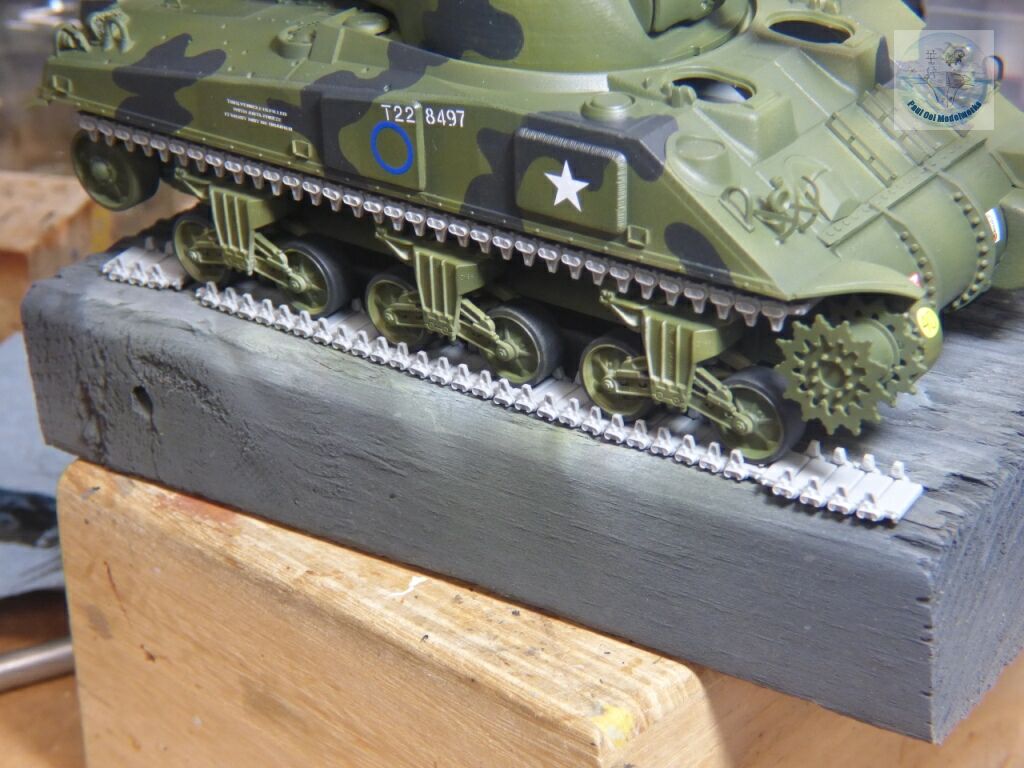
Now comes the tedious part…the tracks. It has all the fun and quality of making chains. Tweezers and all. Having liquid polystyrene glue helps a lot, and I make them in the same sections as one would with pre-molded track sections, except that you have to count and get the track lengths right for each section. Before installing, I spray paint the sections and the remaining individual links with Model master Metalizer Gun Metal. The order of getting them onto the road wheels is the same as the tutorial on installing multi-piece track system, starting with the sections on the front toothed sprocket and working back to the final adjustments on pieces at the rear follower sprocket.
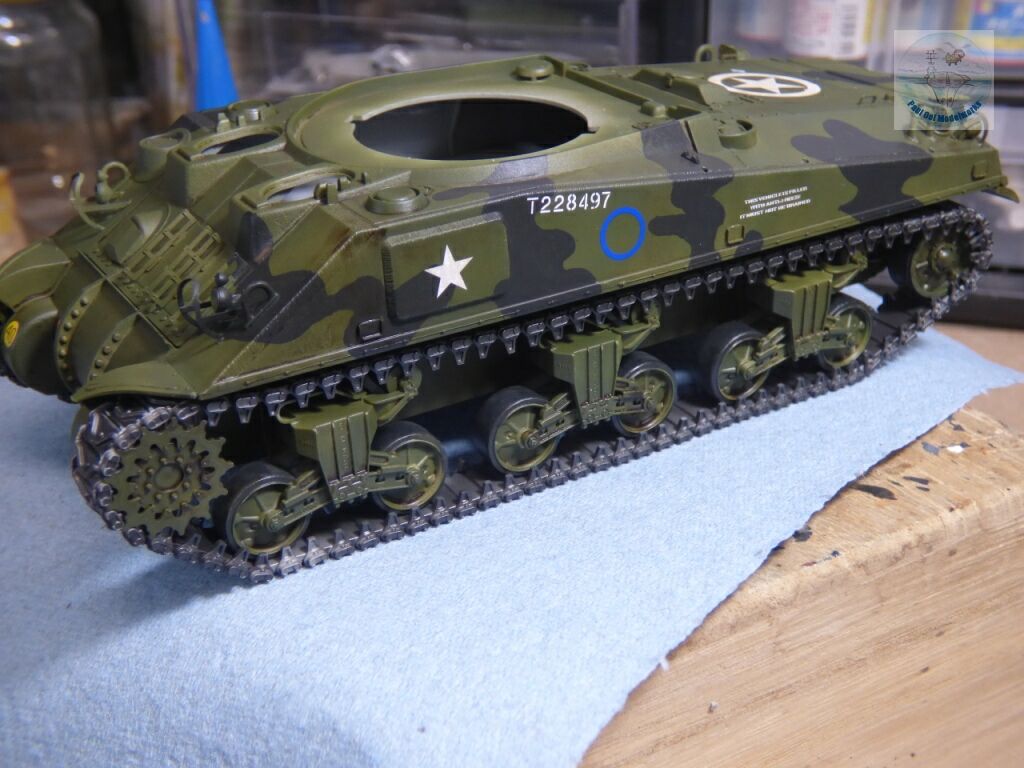
What a relief once I have gotten the tracks on. The good thing about the individual links system is that you can adjust the sag and drape of the tracks over the road wheels.
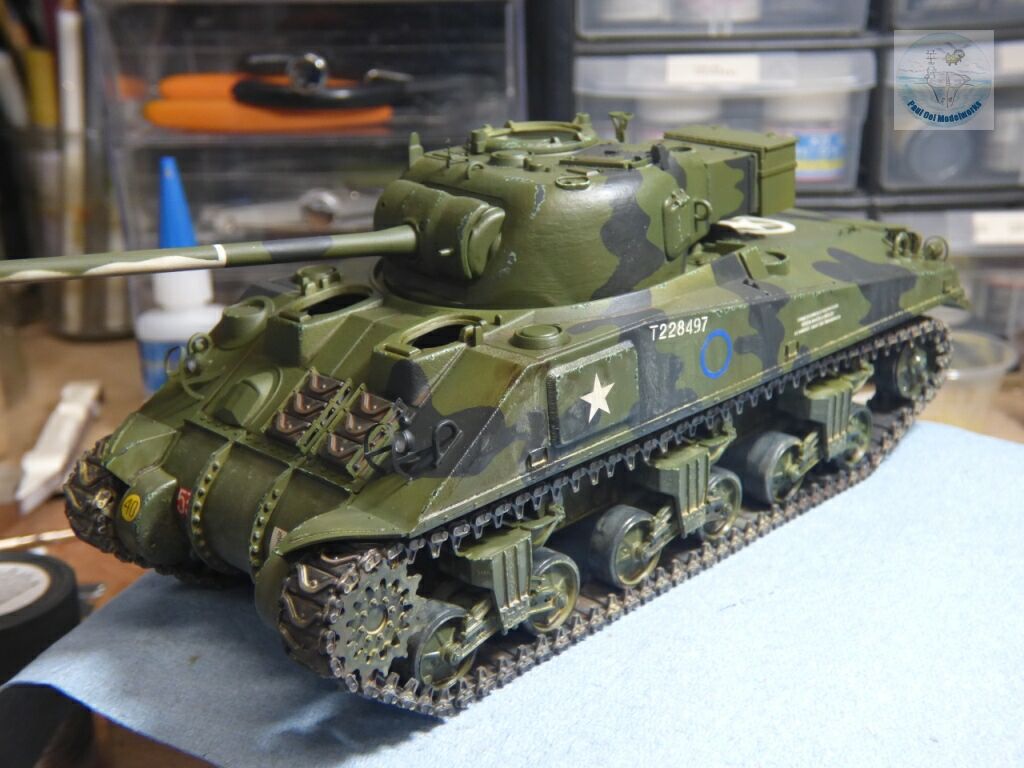
Weathering process used is as follows: 1. Chipping using a fine brush of Pale Green, followed by NATO Black 2. Oil wash of 70% Burnt Umber + 30% Lamp Black 3. Oil wash of 50% Ochre + 50% Zinc White. Let the washes dry completely between applications (more than one day).
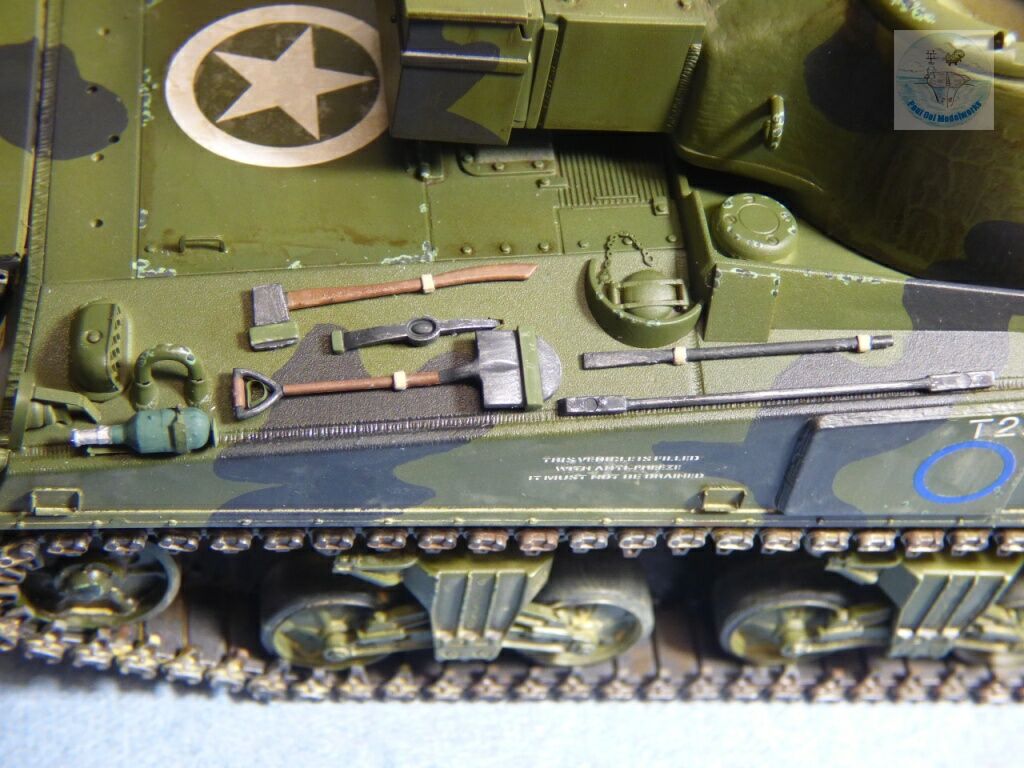
Pioneer tools and fire extinguisher added after weathering. The color of the British methyl bromide extinguisher is Euro Green FS34092.
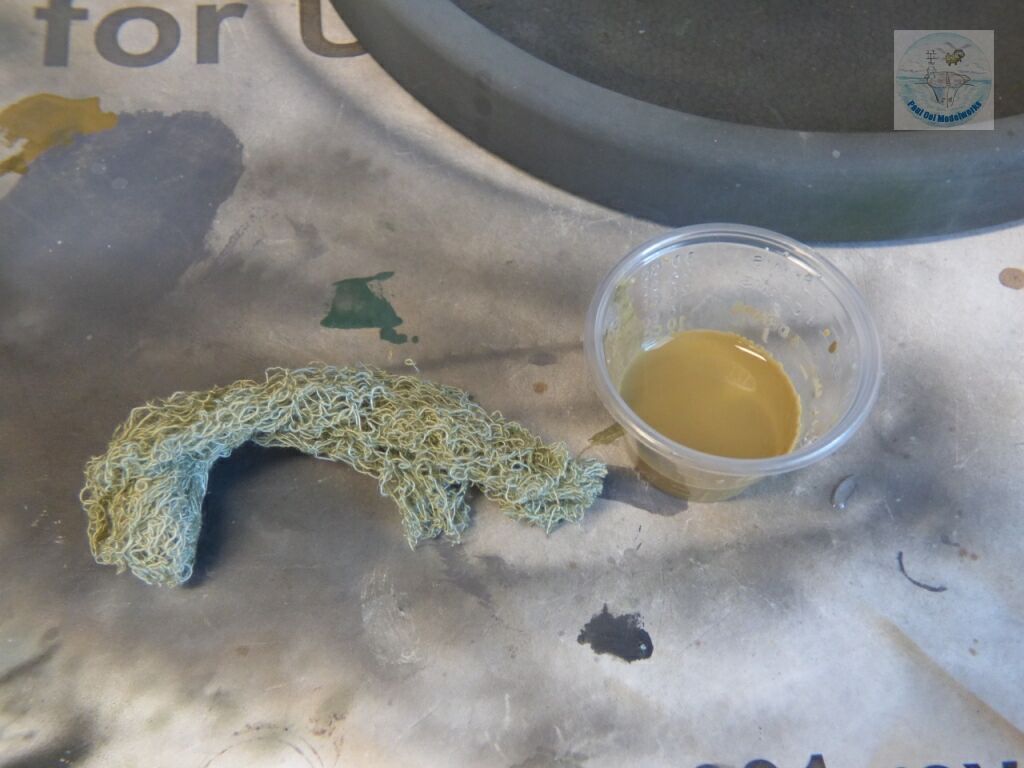
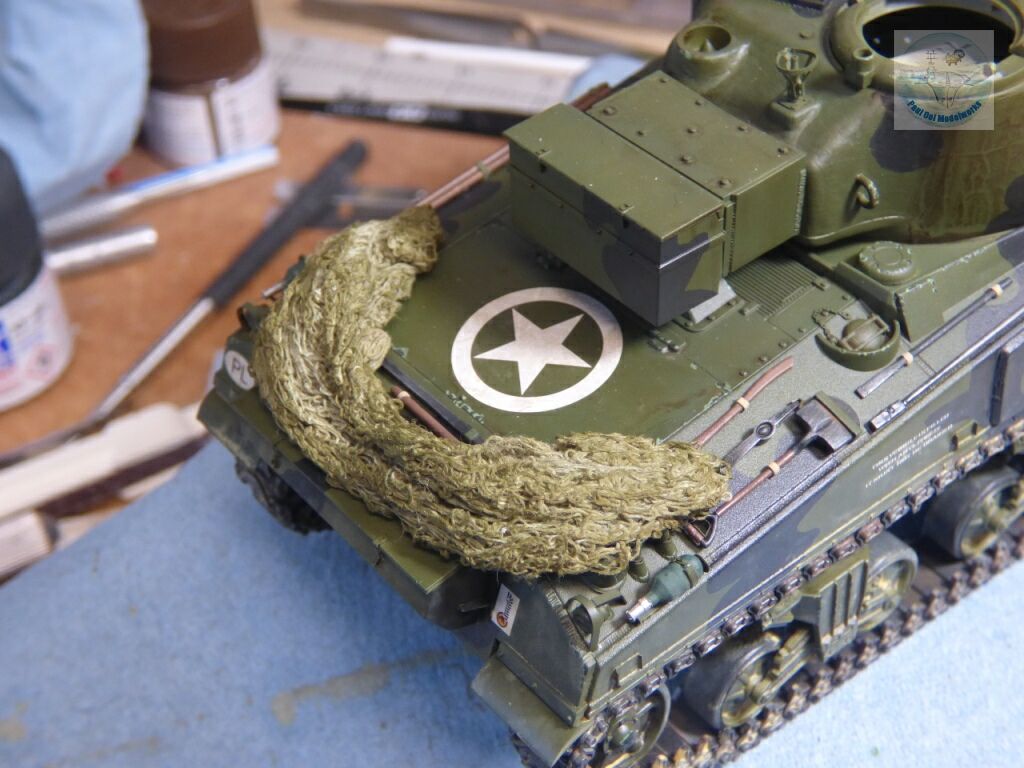
I have some old 1/35 scale camouflage netting from Verlinden in pale green. I dyed this with diluted Tamiya XF-49 Khaki, then fixed its shape with diluted white glue, before attaching to the rear deck.
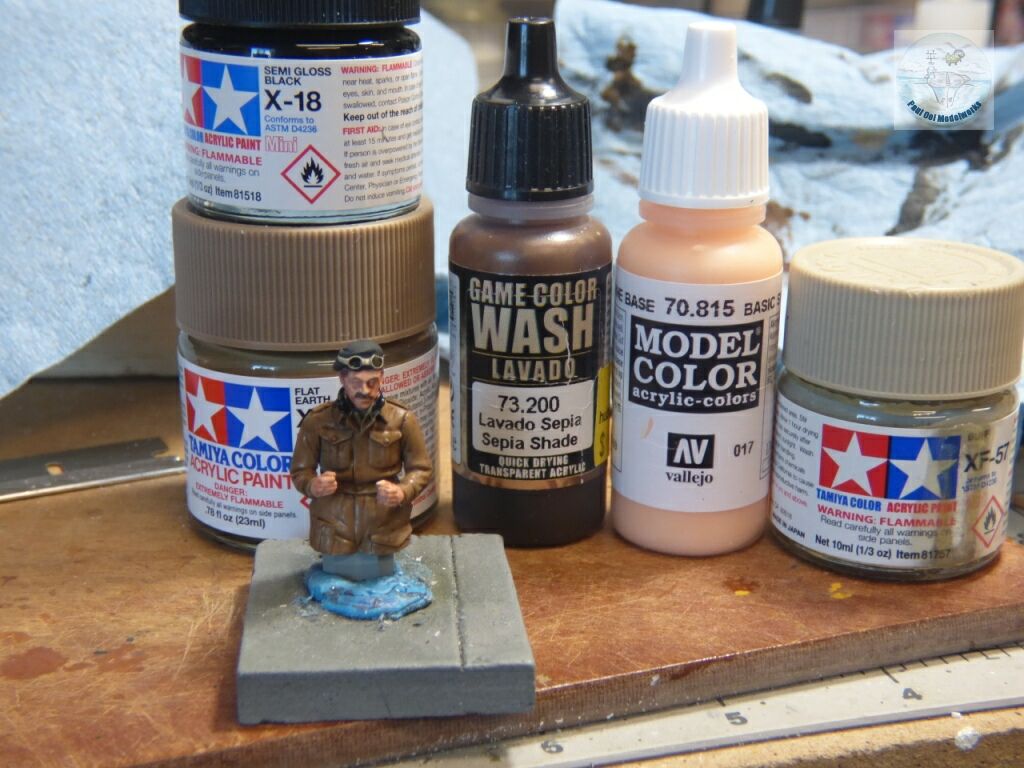
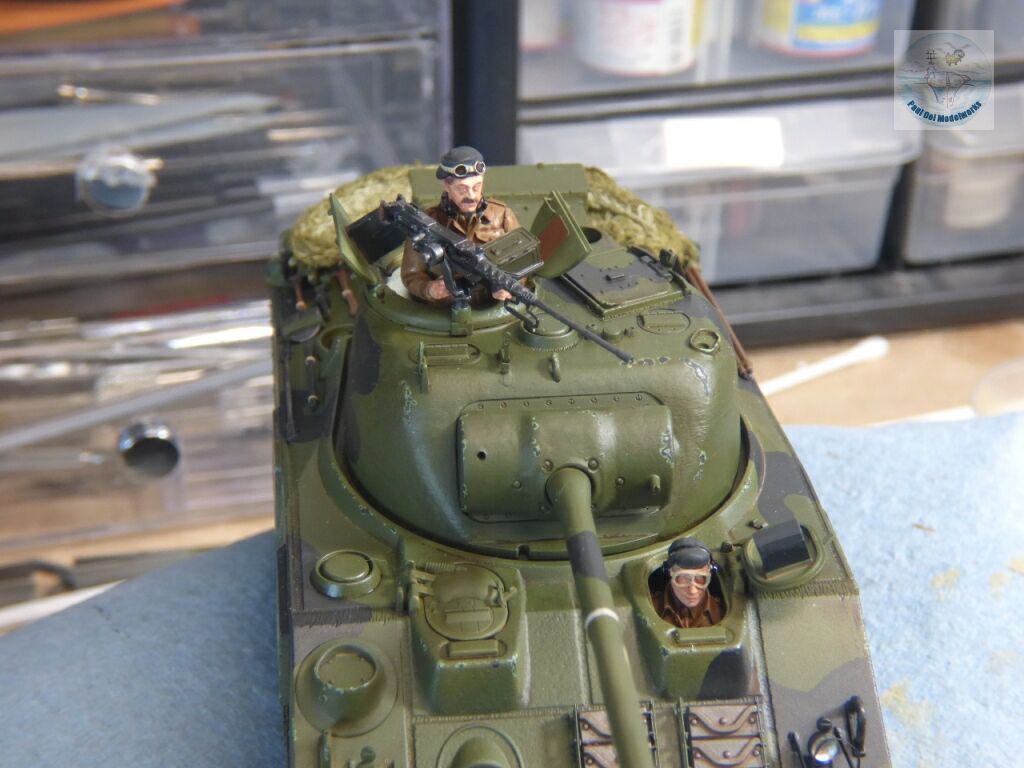
Excellent resin figures from Verlinden painted with acrylic colors, and then fixed in place. The tank looks much more alive with the figures on.
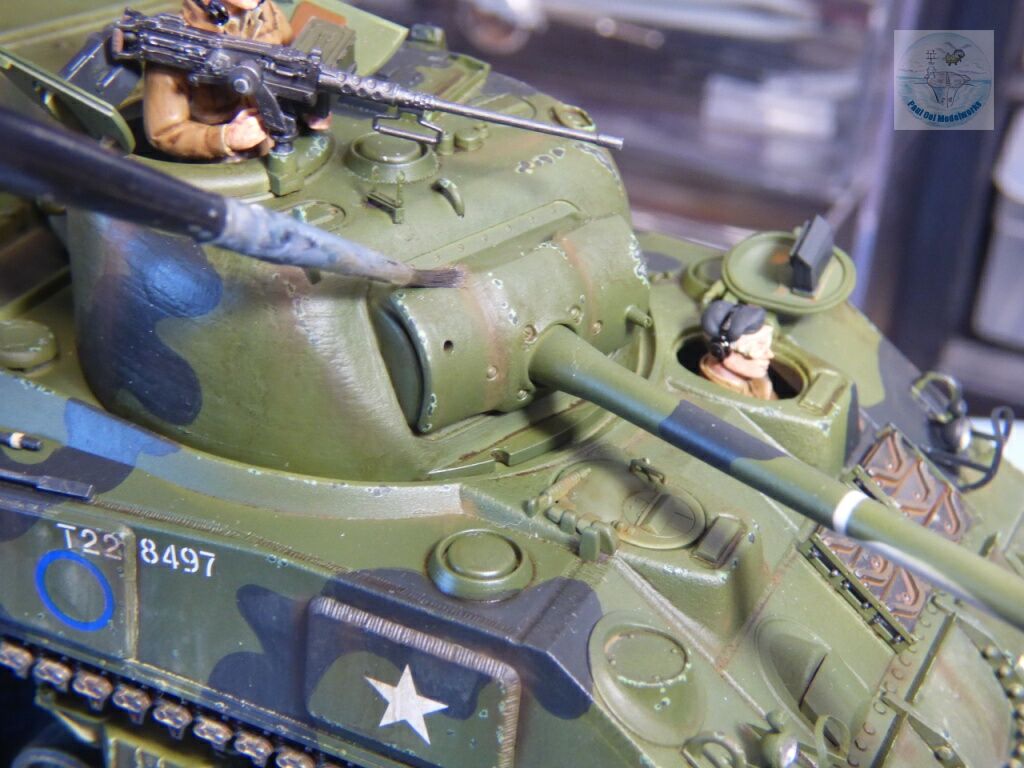
Final weathering using pigment powder made from pastel chalk applied ONLY after the surface is fully dried of oil wash. Rust stains created with several different shades of orange, brown, and even some yellow.
The accessories on the rear deck are added last, making sure that they clear the swivel radius of the turret’s rear bustle.


Leave a Reply