
Although she already had a long prior career in the Royal Navy as the largest battleship in the world in the 1920s and 30s, HMS Hood is forever associated with her fateful demise against the Bismarck on May 24th 1941. On paper, the two titans were pretty evenly matched and the battle could have gone either way. They both had eight 15 inch guns and the Hood was even slightly faster than the Bismarck at top speed. What tipped the balance in Bismarck’s favor ultimately was better accuracy from her fire control right off the bat, and “a little bit of luck” that the Hood was struck in just the right spot that ignited her internal magazine. To be sure, the HMS Hood was a sight to behold with a magnificent, streamlined look that made her an icon in the world of warships in her world tour of 1923-24. Even the crews onboard the Bismarck and Prinz Eugen were surprised and awestruck by the way the Hood lit up in the middle like a Roman candle, exploded, broke into two and disappeared in a matter of minutes.
Just in case one should harbor any illusions the Hood was any smaller or diminutive in size compared to her German rival, well, think again. Here are the side-by-side pictures of the two ships in 1/700 scale:
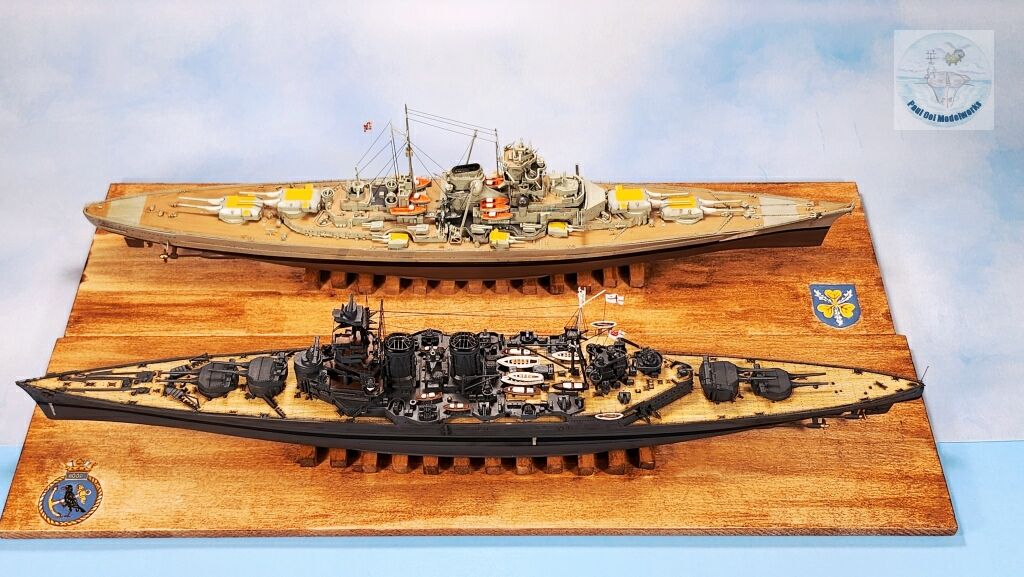
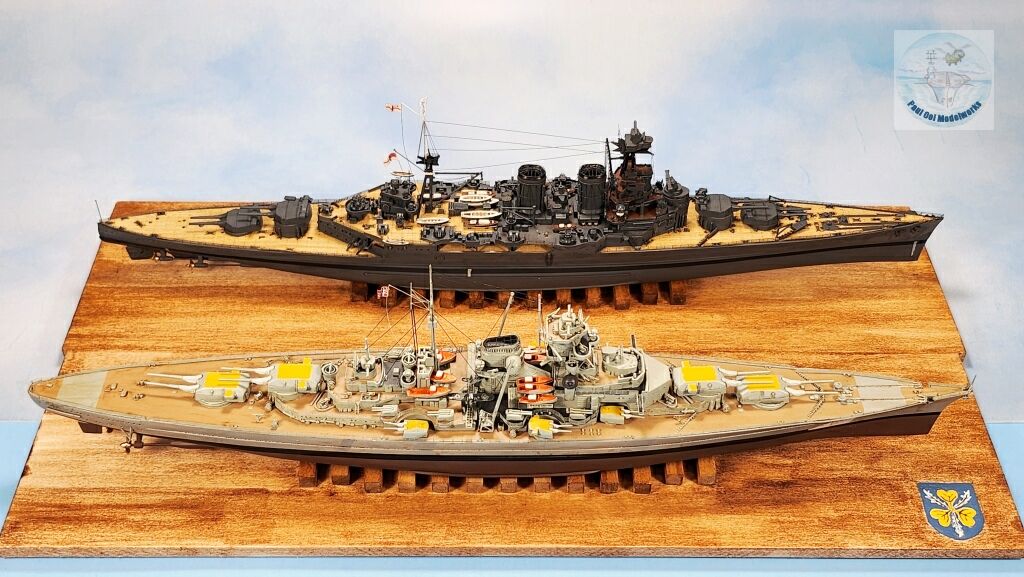
When I was building the HMS Hood, I could compare her design to that of the Bismarck that was the model I just built just before this. Although she had those big main guns, the Hood was not well equipped with a strong secondary battery, as the next largest guns she mounted were twin 4 inch AA guns. By contrast, the Bismarck had six secondary turrets with twin mounts of 6-in cannon. The other weakness was the large, exposed boat deck, where the German projectile pierced and ignited the magazine space under the decks. The intended update to her fire control system and increase in hull armor plating scheduled for 1939, but had been delayed up until her destruction in May 1941, could have made a crucial difference in the encounter with the Bismarck. As history would have it, she sank in only three minutes with three surviving crew members out of a total of 1408 men. Great Britain was shaken by her loss, while Adolf Hitler was elated by the Bismarck’s success. That was when the cry went out to the Royal Navy, “Sink the Bismarck!”.
Gallery
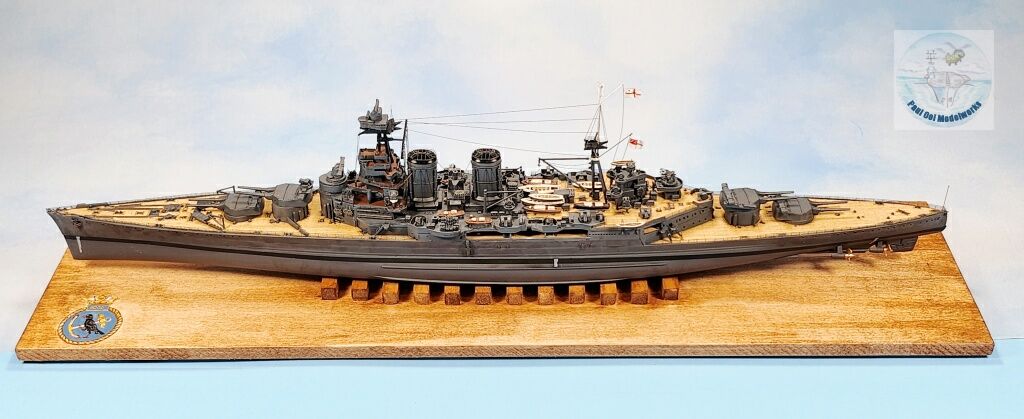
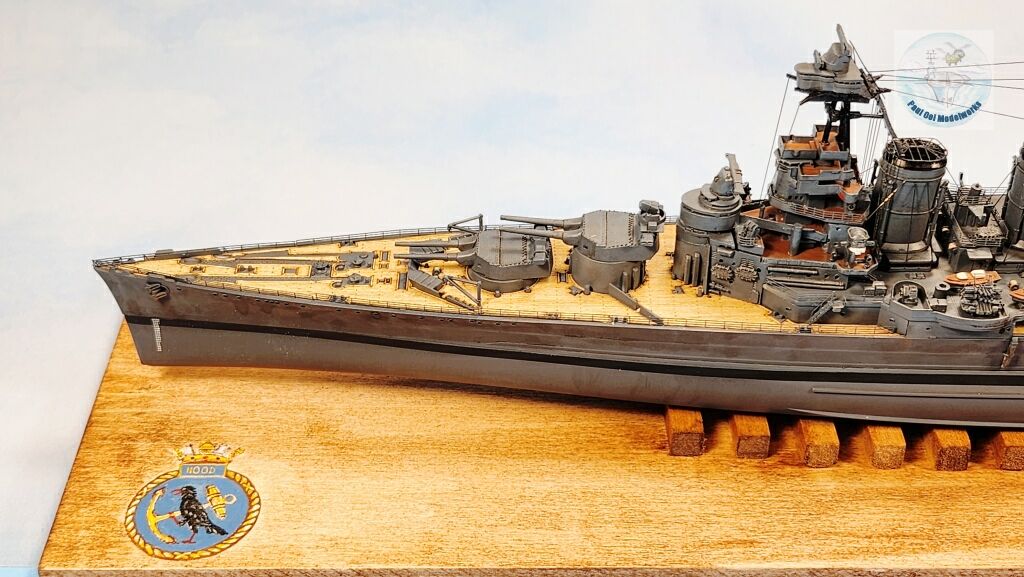
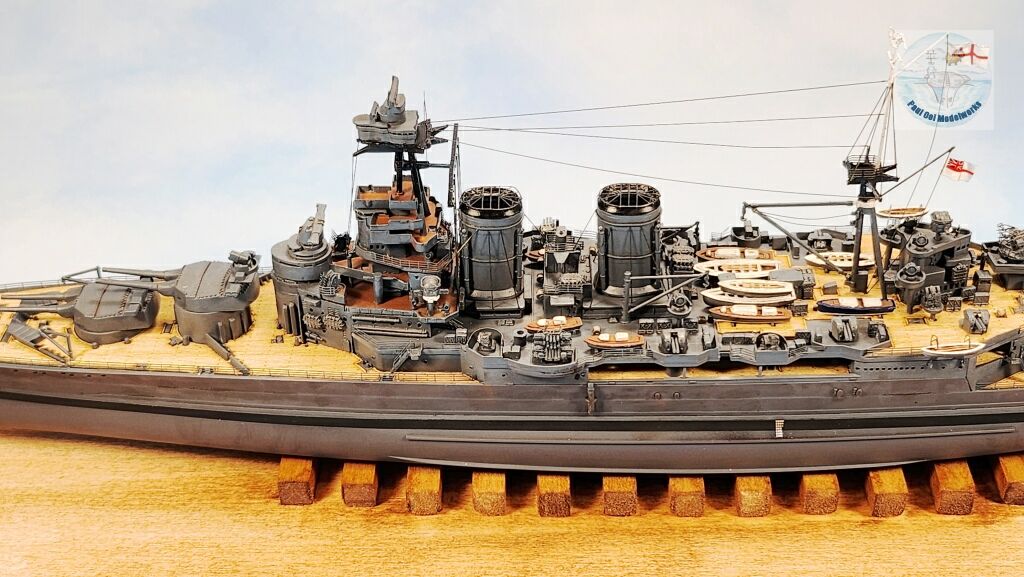
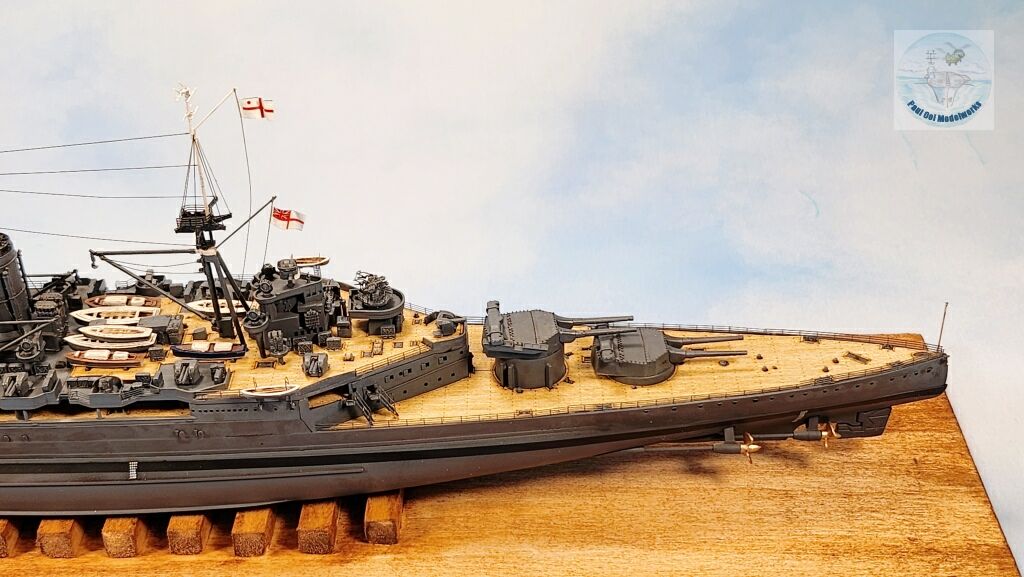
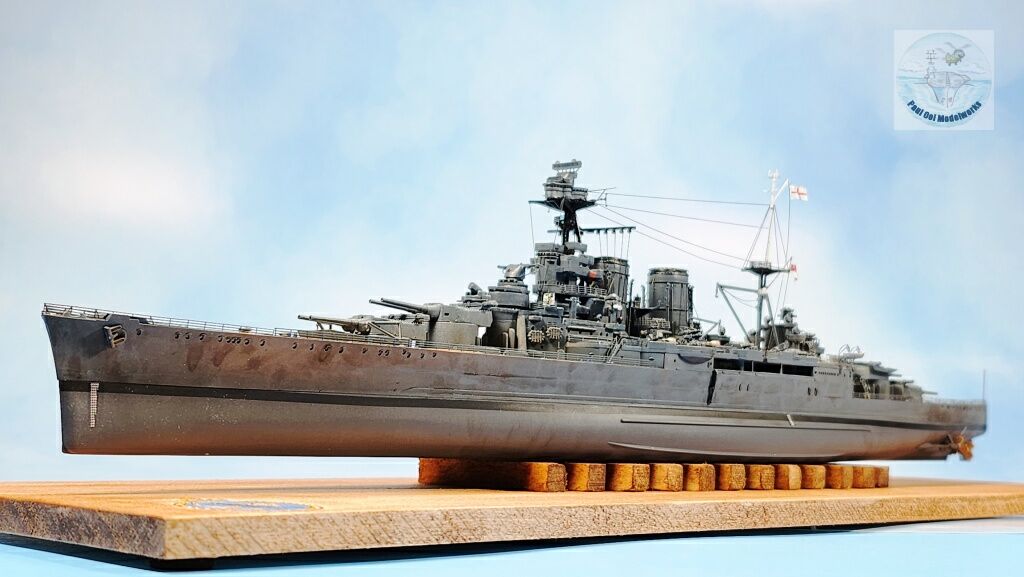
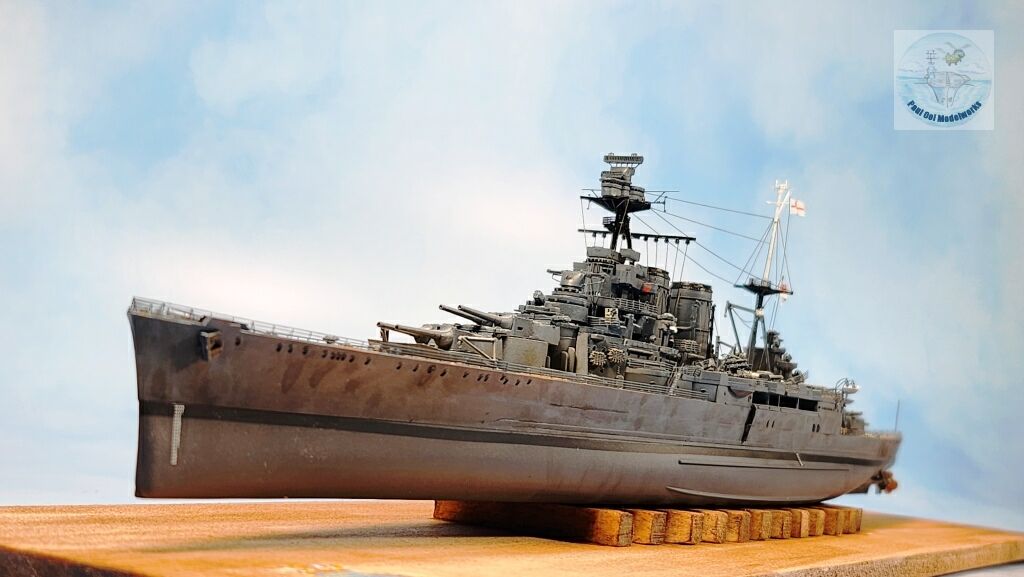
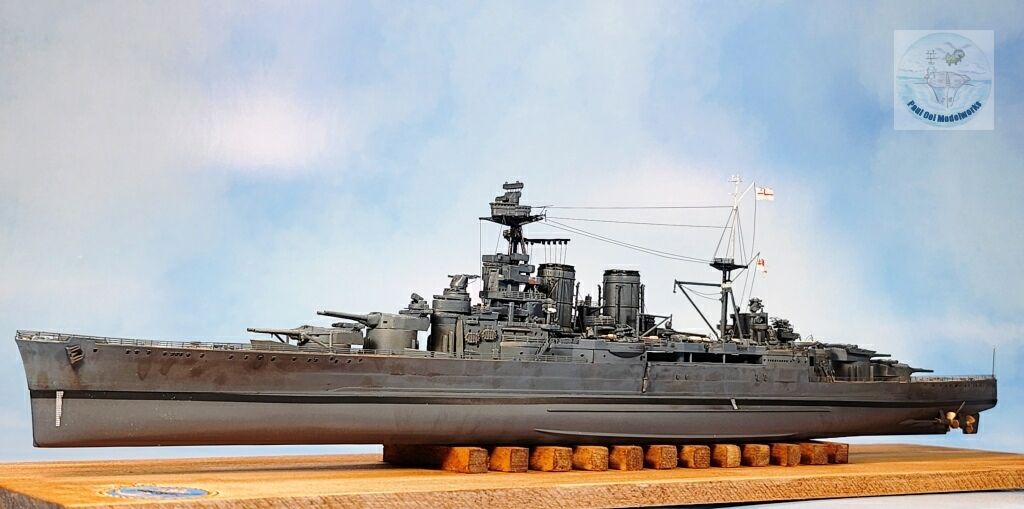
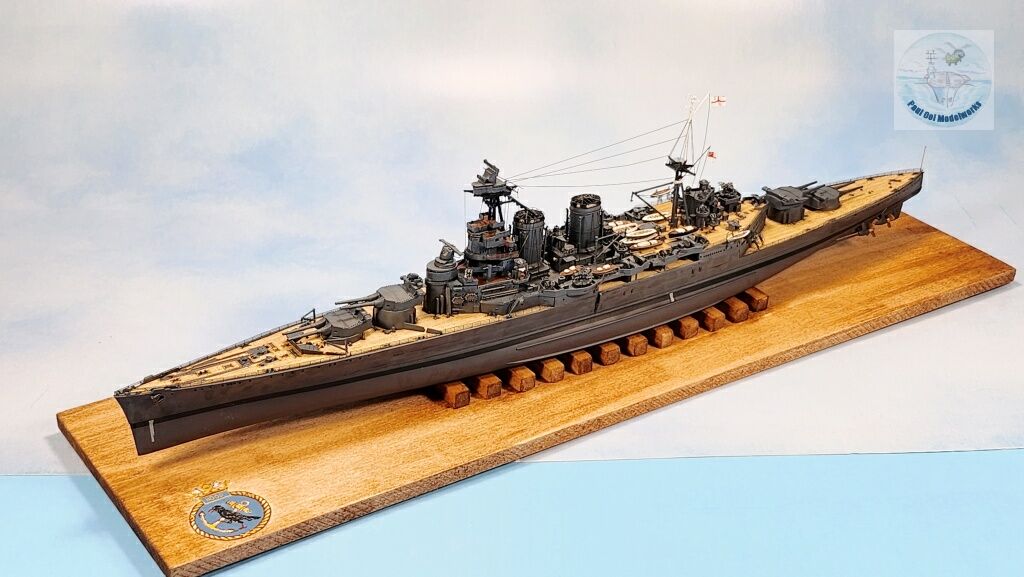
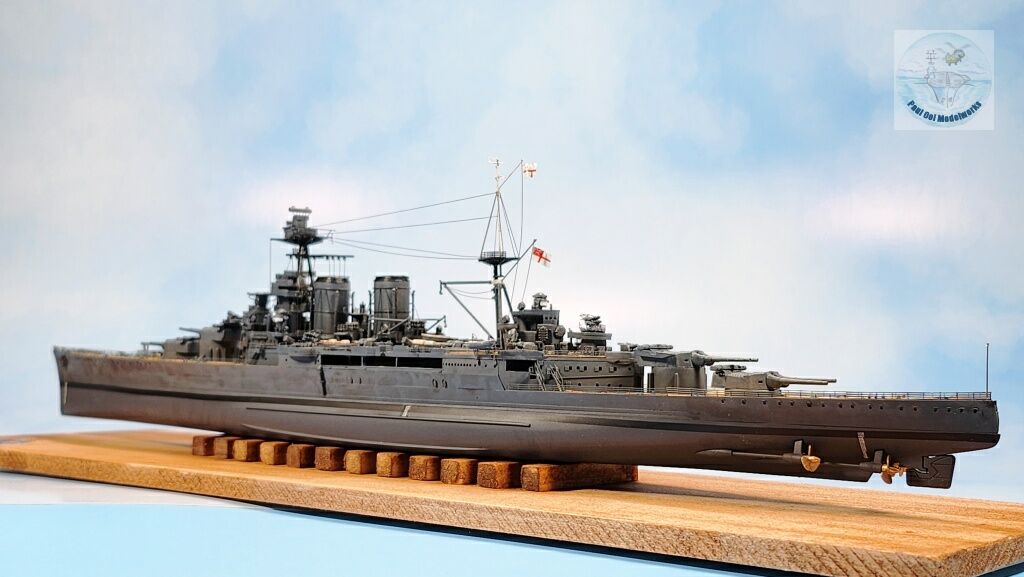
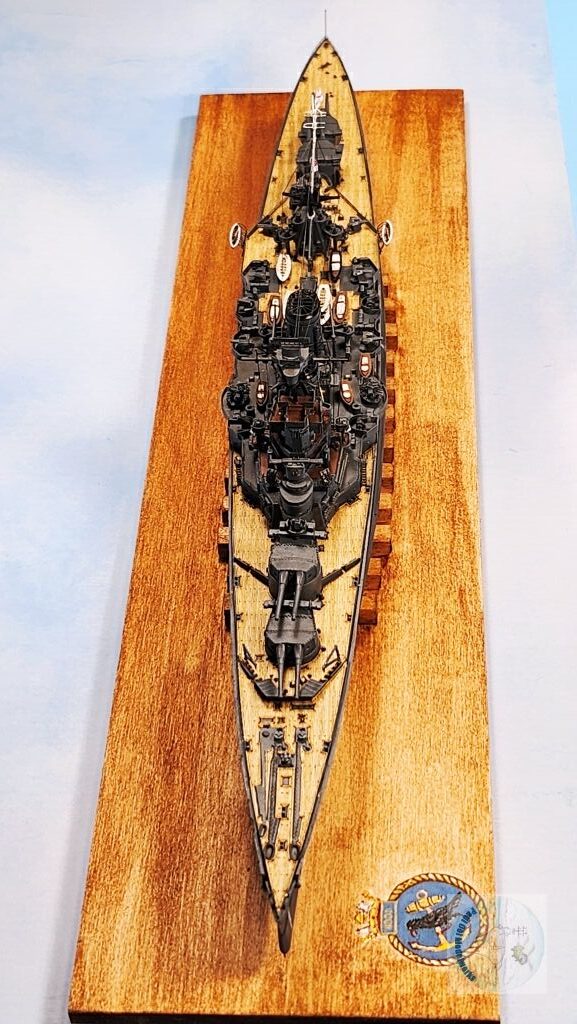
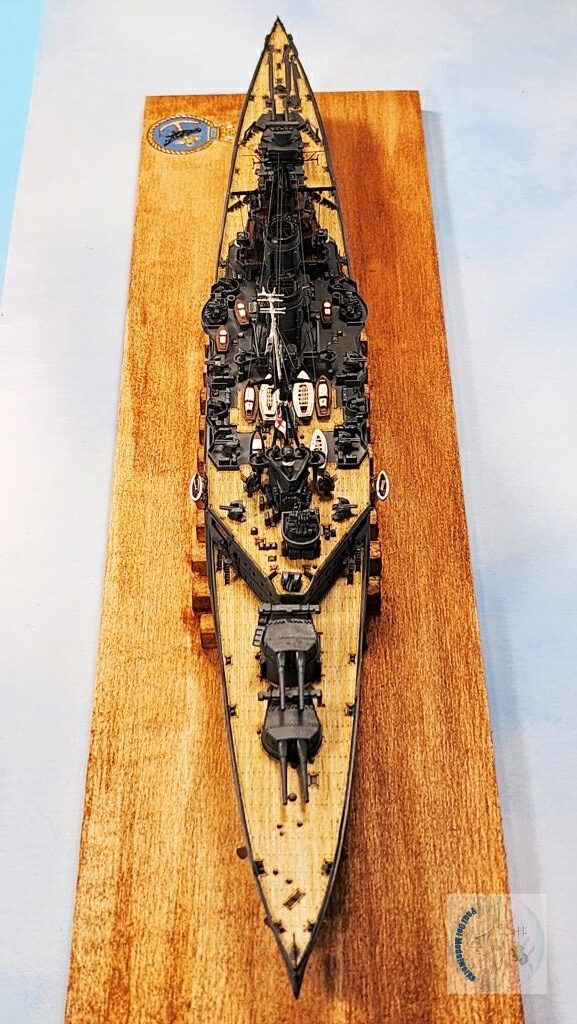
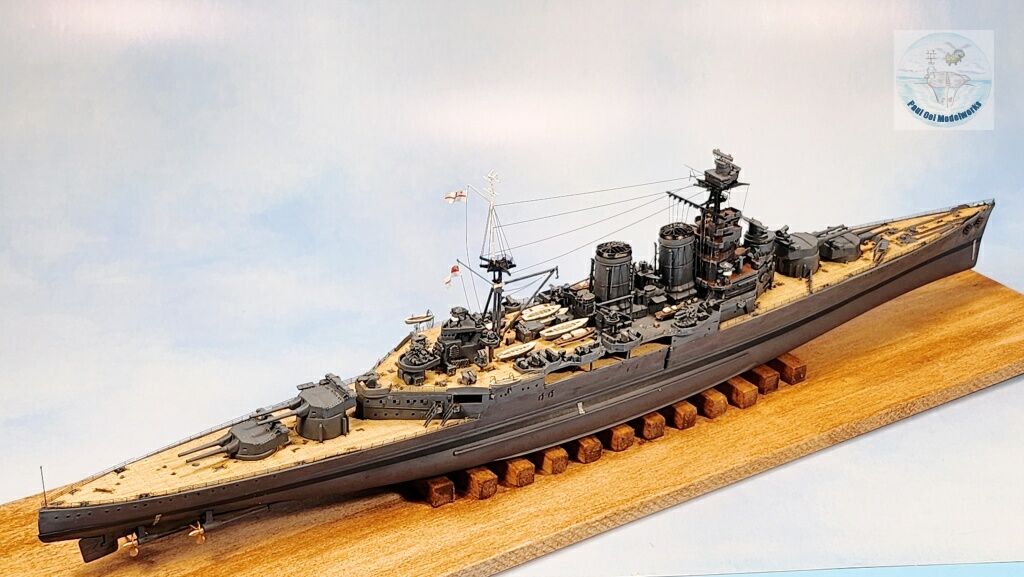
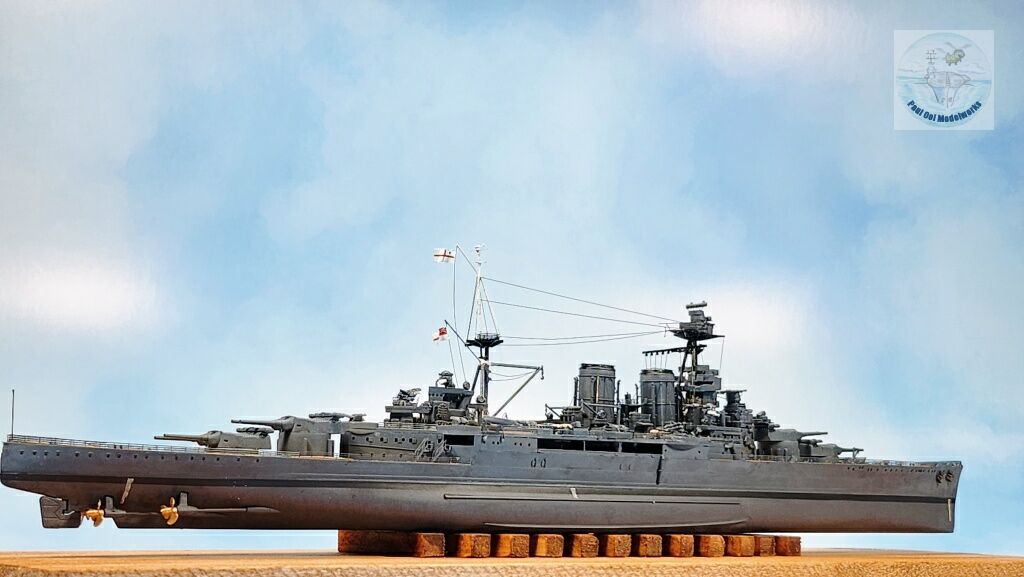
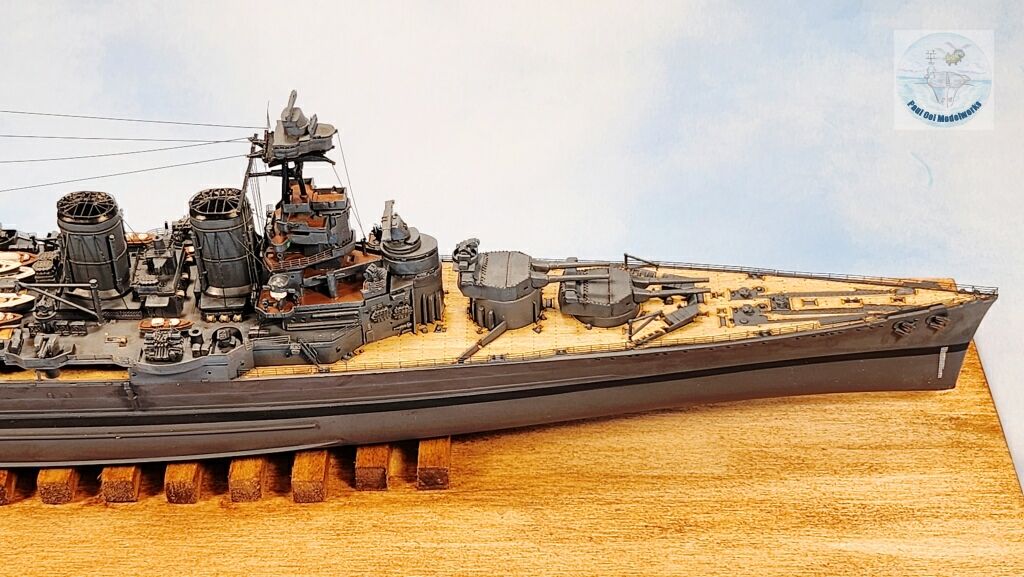
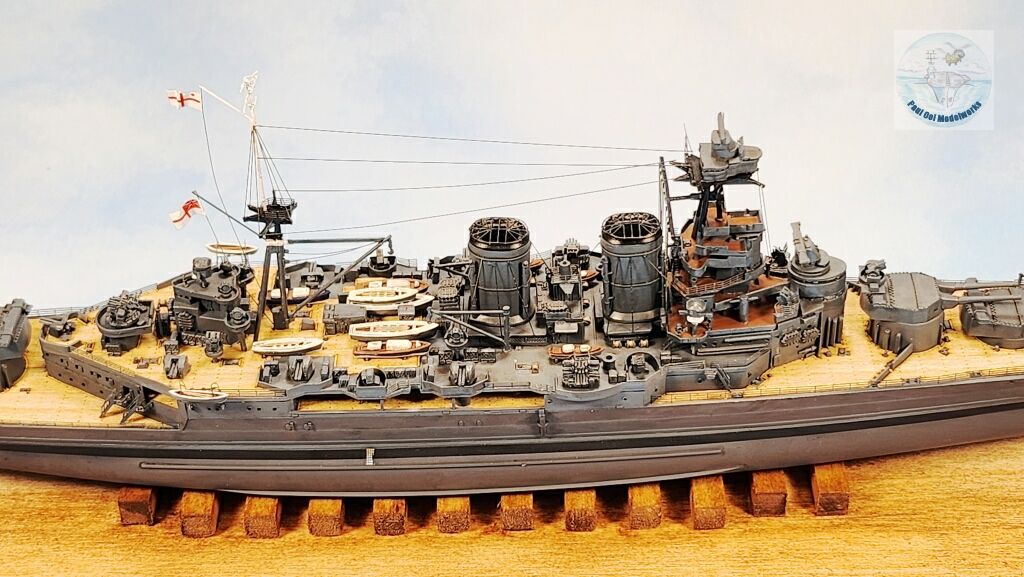
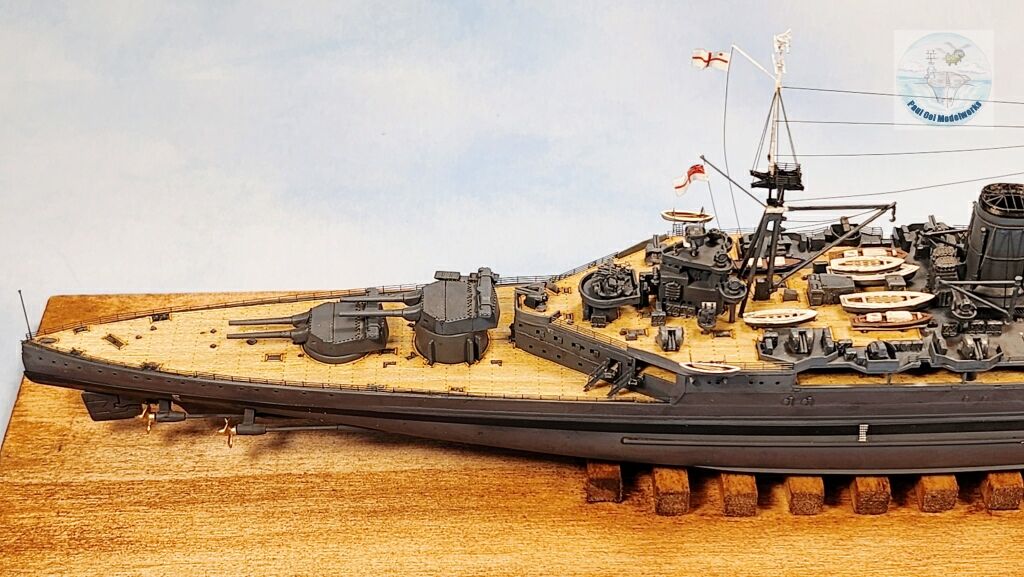
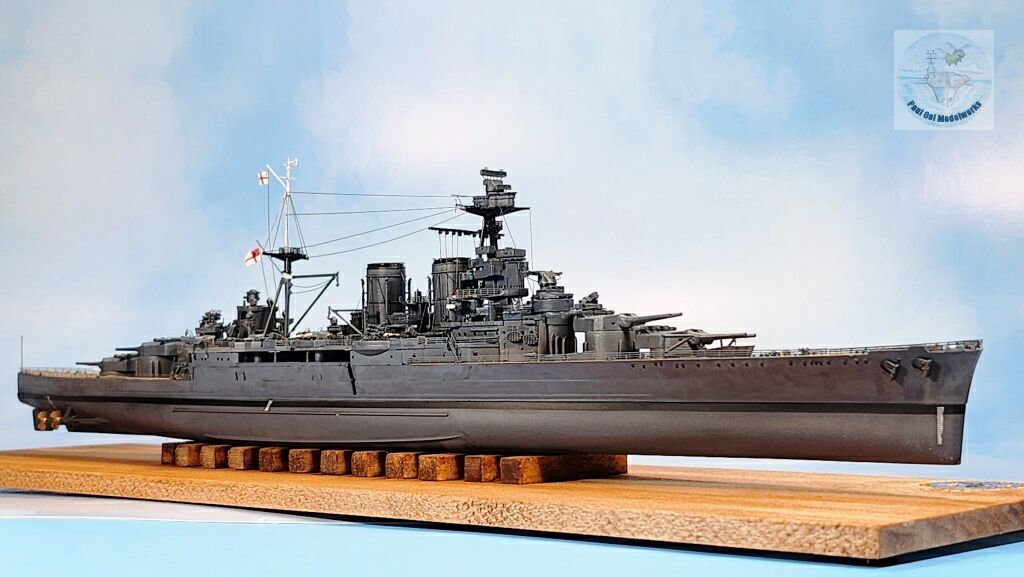
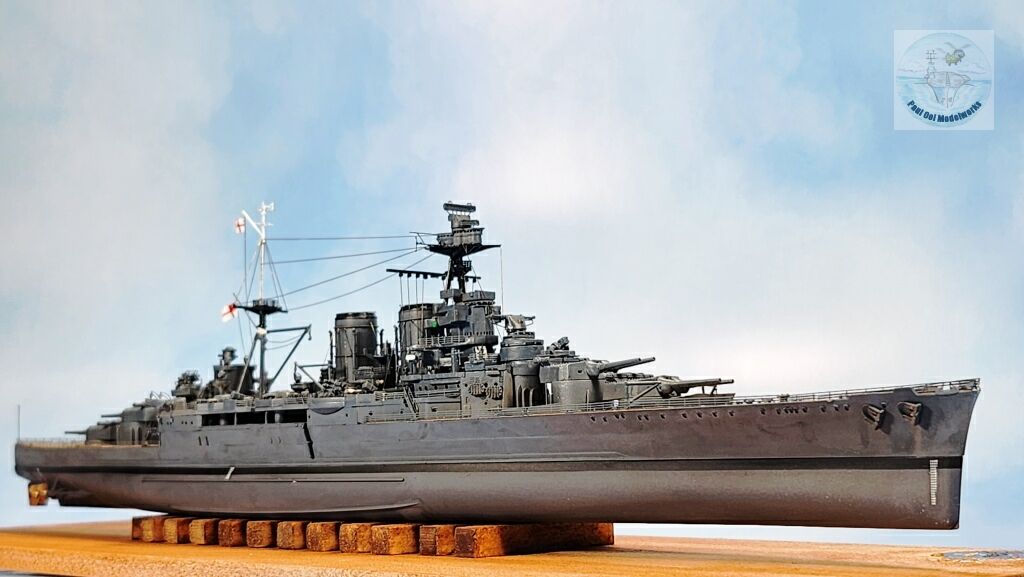
Construction Notes
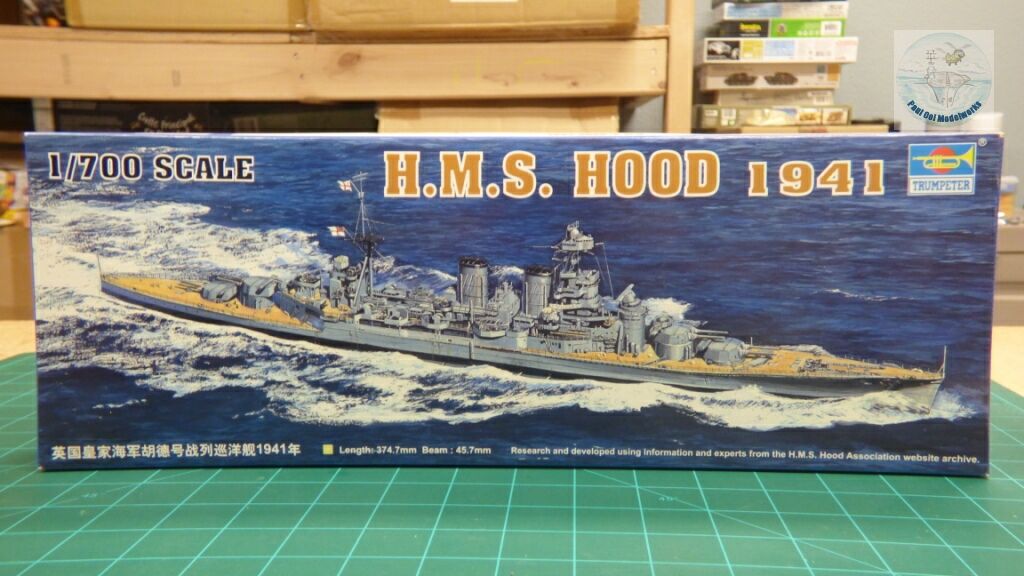
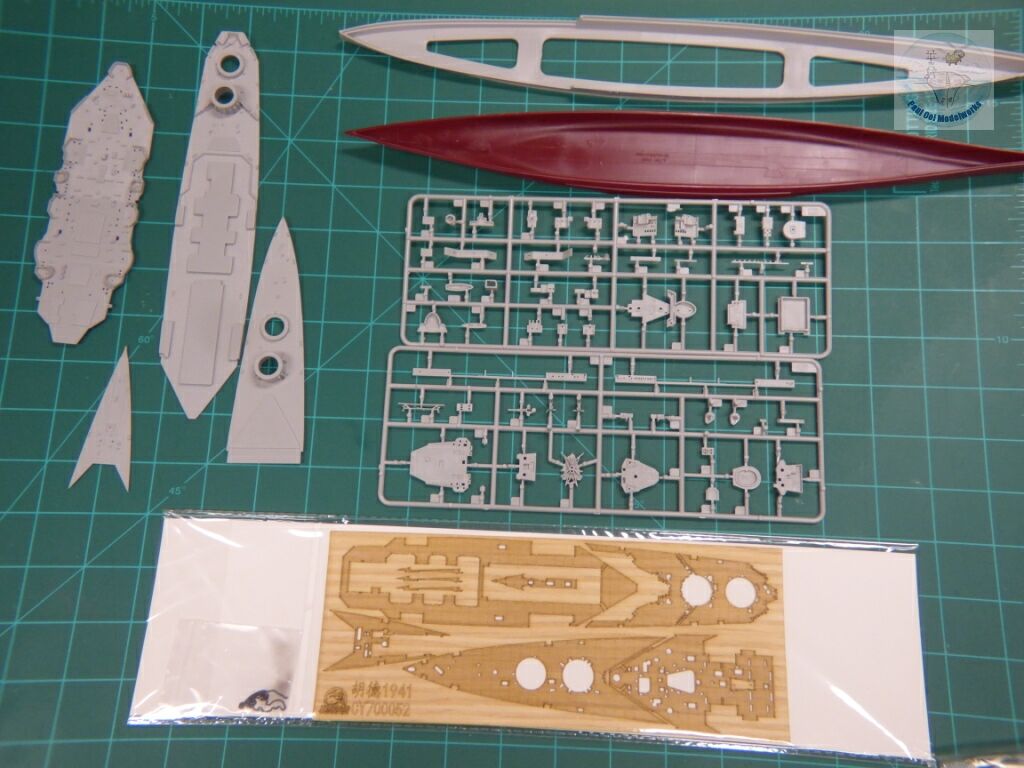
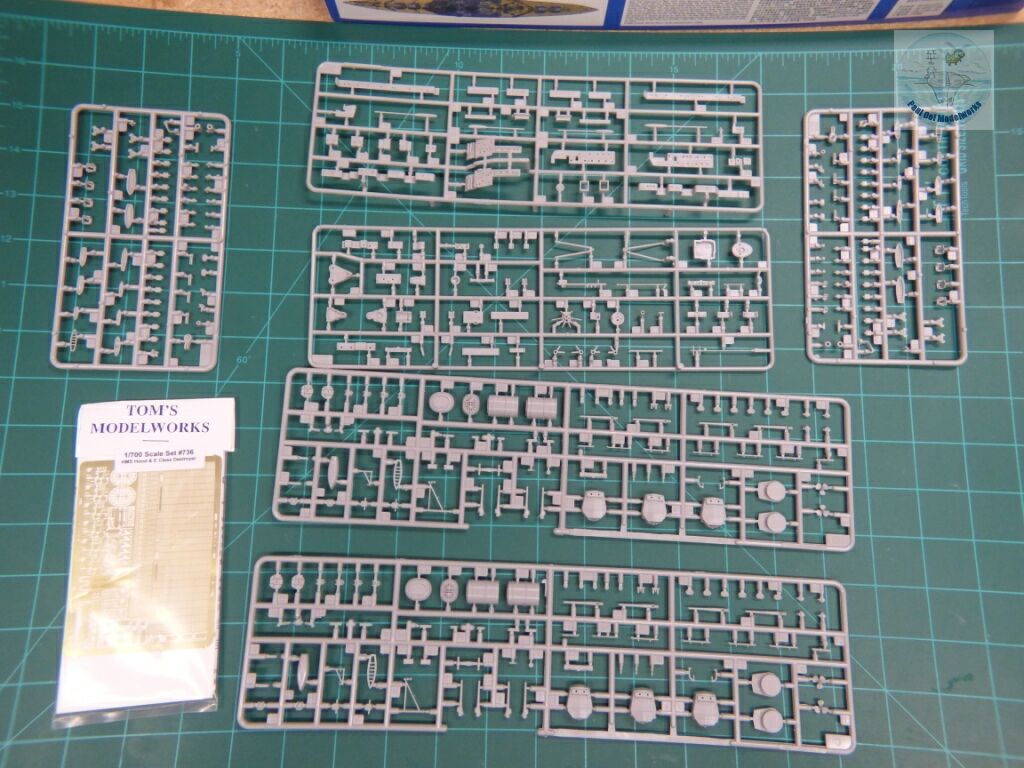
I got this 1/700 scale kit of Hood ’41 when it was newly issued by Trumpeter in 2009, and over time, accumulated the Tom’s Modelworks frets (for Tamiya) and a laminate wooden deck from CY made specifically for this Trumpeter kit. The overall fit of this kit is good, and the CY wood laminate is AMAZING in its accuracy. Make sure to have the proper tools to get the fragile laminate properly into the tight corners to avoid tears and stretch distortions. Although the Tom’s Modelworks were intended for the Tamiya kit, they actually worked well for the Trumpeter kit as well. I have learnt that since then, both Eduard and Pitroad (ex White Ensign) have photo-etched frets for this kit as well. One word of caution: the color guide provided in the kit is WRONG. For best results, I use the guide provided by the HMS Hood Association website.
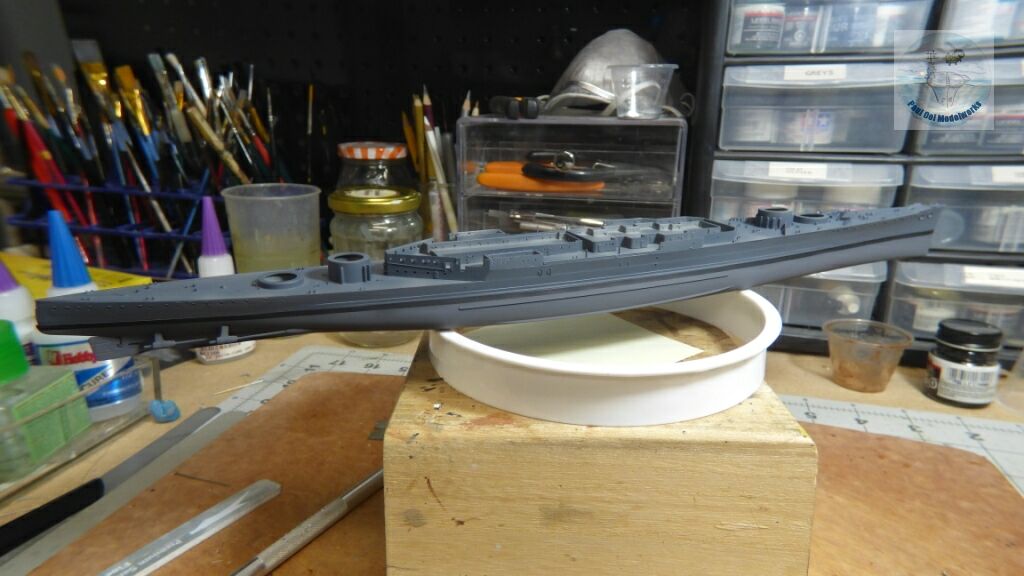
Since I have posted the builds of several similar battleship types in my past blogs, I will only discuss things that are special or different about this build. After checking with several good sources (HMS Hood Association, Sovereign paint schemes for RN ships), the Hood going into the hunt for the Bismarck was reported to have been painted in the Dark Grey RN 507A used by the Home Fleet in 1941, not the Light Grey 507C used in 1939. And furthermore, these sites confirmed that the underside of the hull was painted in a dark grey anti-fouling paint, not red, approximating Tamiya XF-24 Dark Grey. If you look at the hull finish carefully, you can see the two different shades of grey above and below the black boot-top line. I had leftover 507C from Model Masters enamels which came into very good use here. The other note about the weathering and finishing for the Hood. Don’t make a rusty hulk out of her because in her day, she was the pride and joy of the Royal Navy up to the moment she was lost. So, severely temper the rust-bucket look in this case.
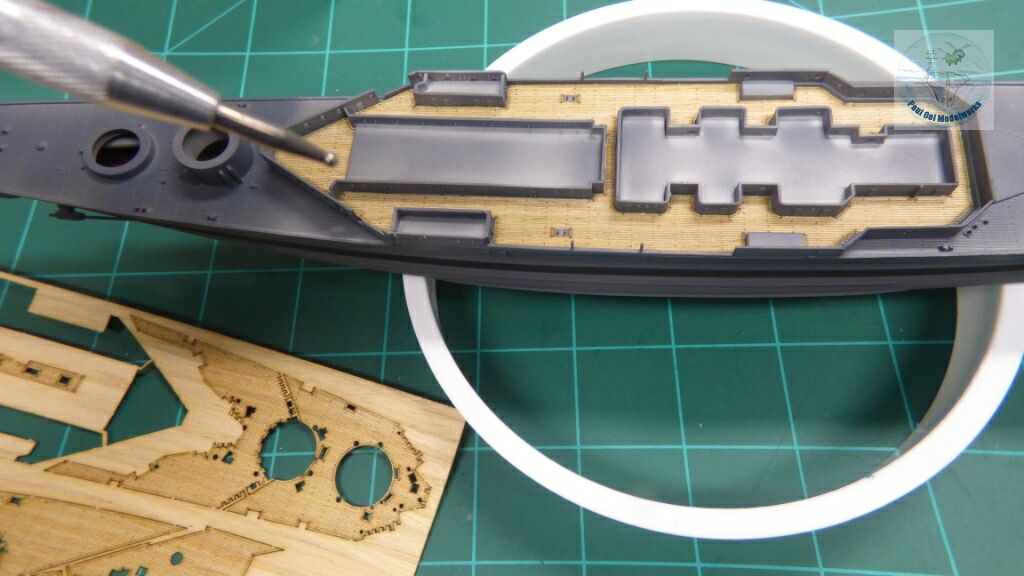
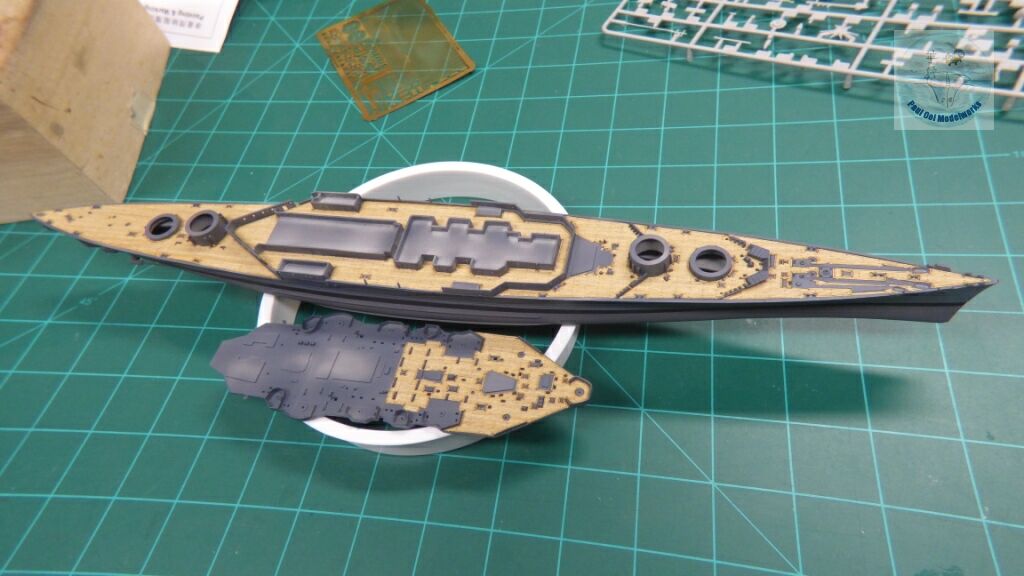
The order of deck preparation and painting for installing the wood laminate is different from the other builds where I had painted the decks. I painted the hull color on the kit deck first because all the exposed hatches and gun barbettes are that color, and it will be a hassle to paint them later without accidentally smearing the wonderful wood laminate details. I have shared the application technique in a tutorial. The rest of the non-wood decking in the Hood are cortisene (brown like linoleum) and/or anti-slip paint (dark grey).
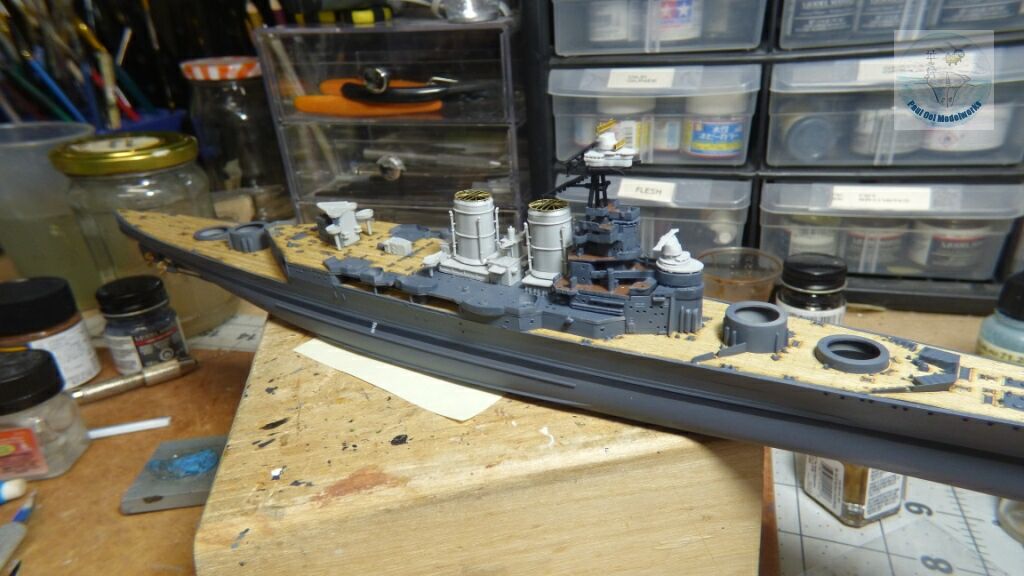
Another notable difference about this build is the way the superstructure gets painted. Normally, I dry fit all the sections as I build them, THEN I take them off to spray-paint before detailing the decks, and pt them back together permanently. In this case, the Hood’s main superstructure has these interstitial staircases and open deck levels that cannot be dry-fit but need to be built and painted permanently in order to get any progress done. As such, you can see that the decks are finished in linoleum brown (Mr. Color SC06) and the vertical surfaces finished in 507C. I also replaced the kit “ziggurat” staircases with the photo-etched ones from White Ensign and Tom’s Modelworks.
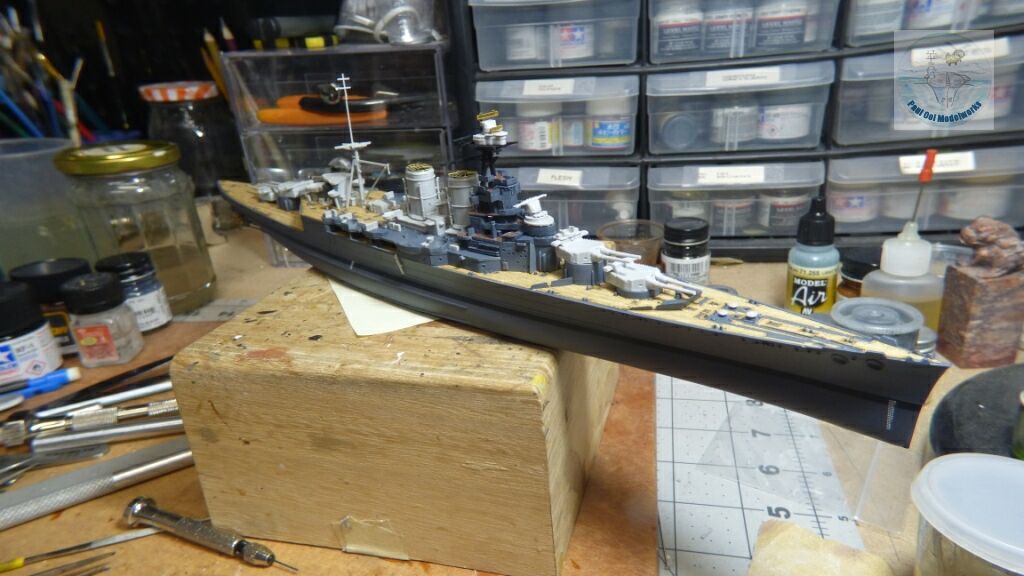
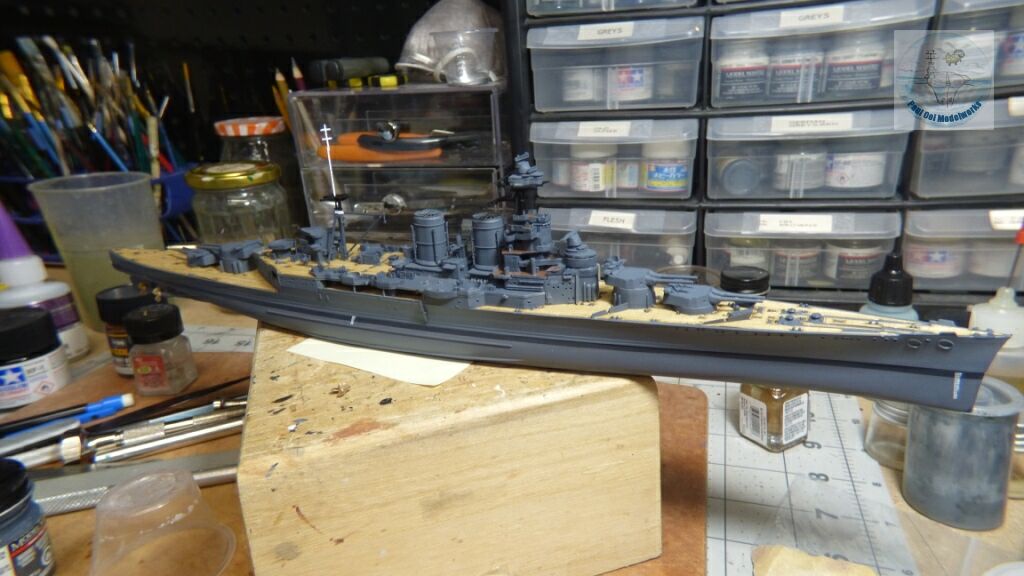
The light grey parts in the first photograph are the dry-fitted parts complete with their photo-etched components. I took them off the assembly and spray-painted them with the hull color 507C Dark Grey. The second pictures show the same parts after painting, and also I had hand-painted any small itsy-bitsy parts and the main mast while the funnels and turrets were still drying.
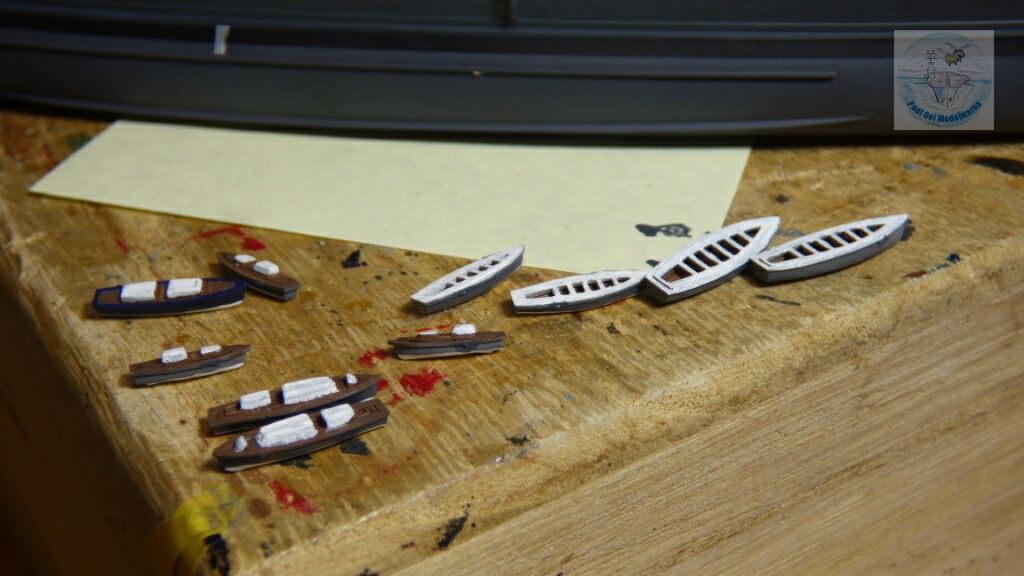
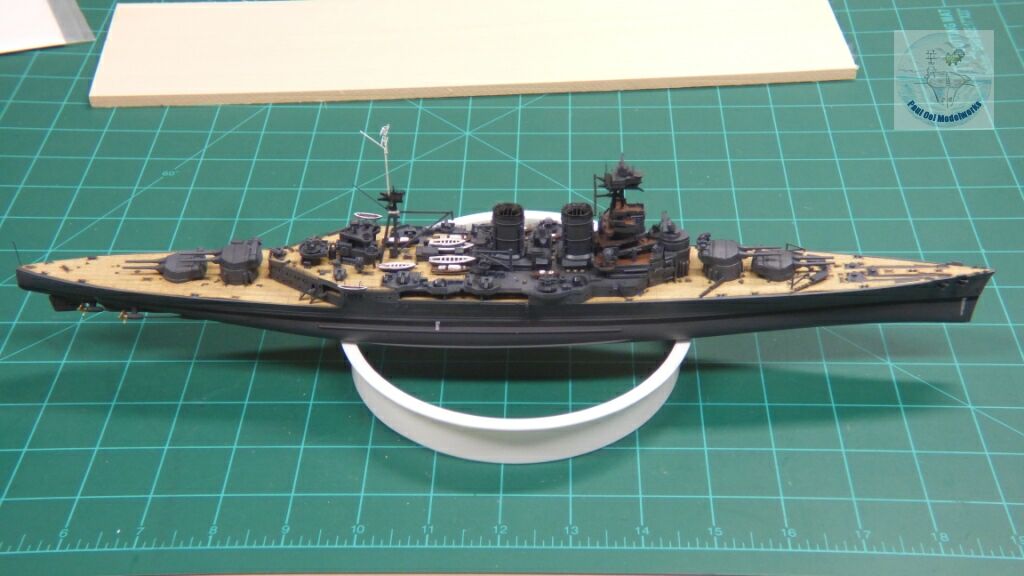
The boats are fun or tedious to do, depending on your frame of mind. Again, the kit painting guide was not much help, and so I checked with the HMS Hood Association website, and got very precise paint details on the rowboats, launches, and even the admiral’s speedboat. Once I got the boats all loaded up on the boat deck, I have finished the kit, leaving only the rigging and the photo-etched life lines (that railing for landlubbers).
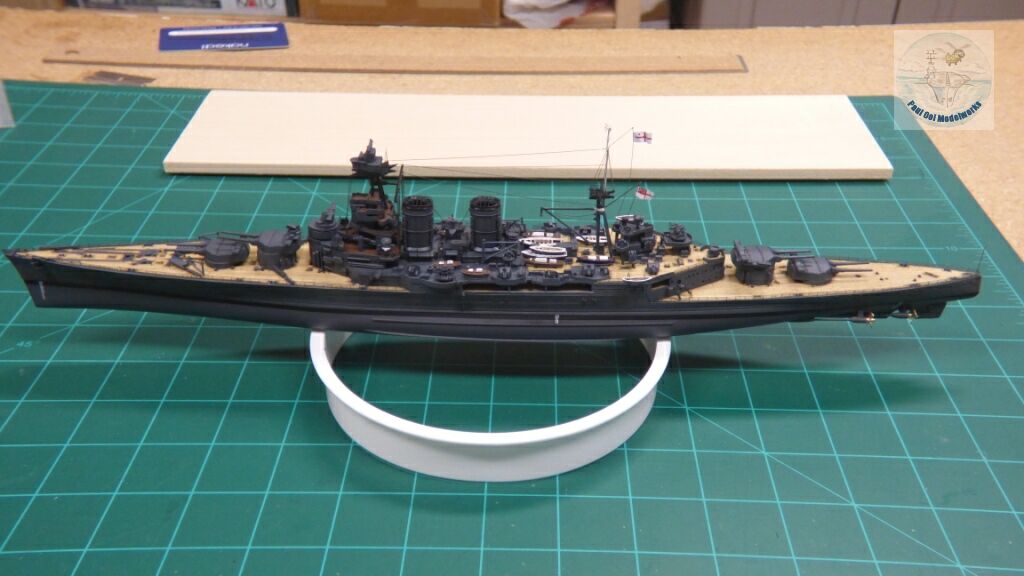
I started on the rigging and other dainty details the next day and by day’s end, the Hood is all completed.
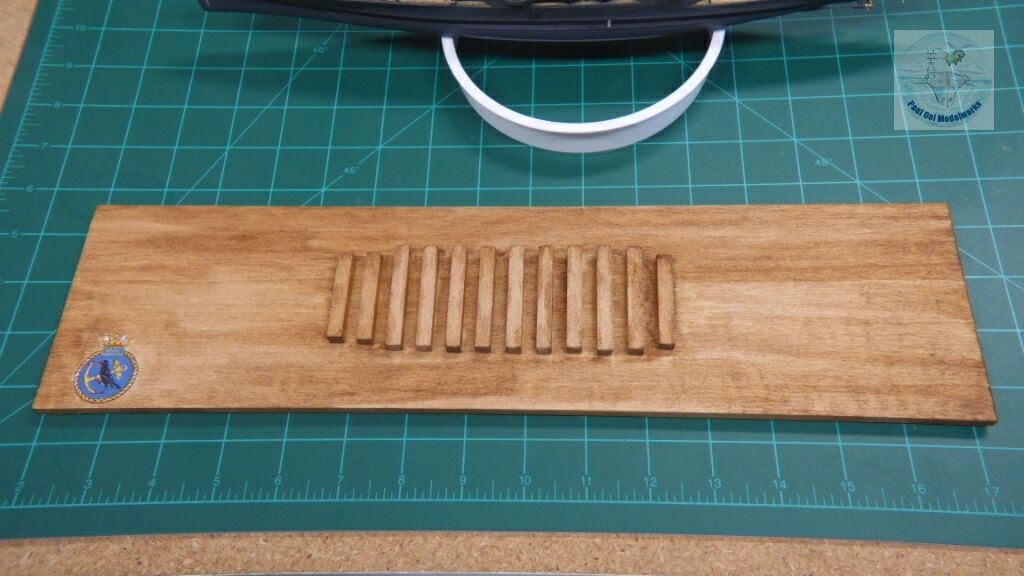
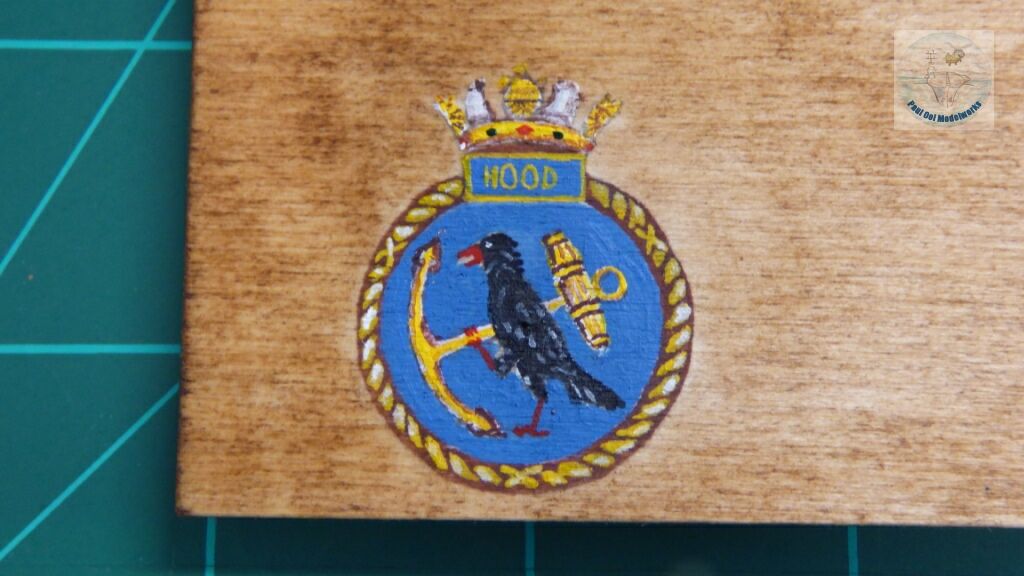
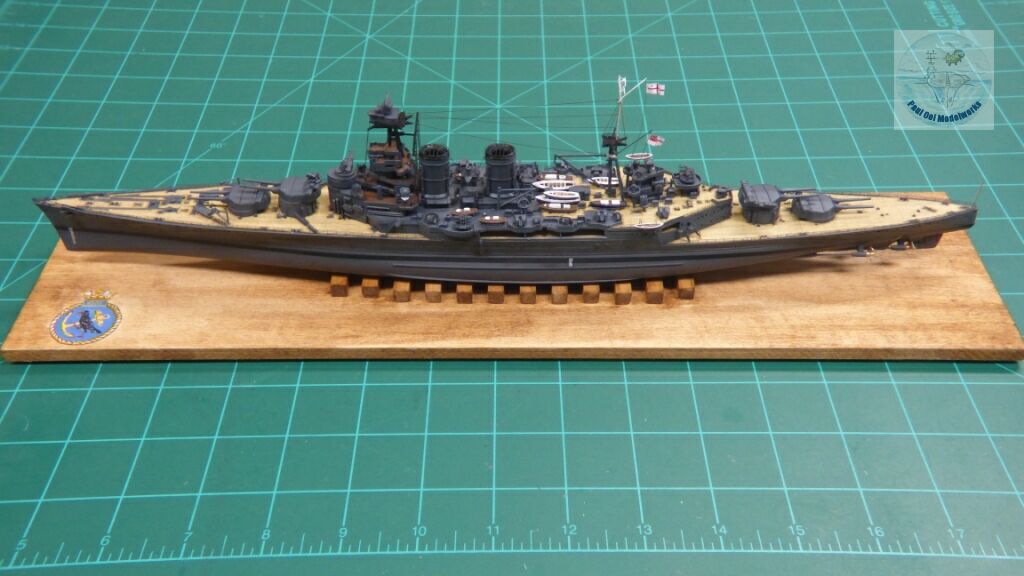
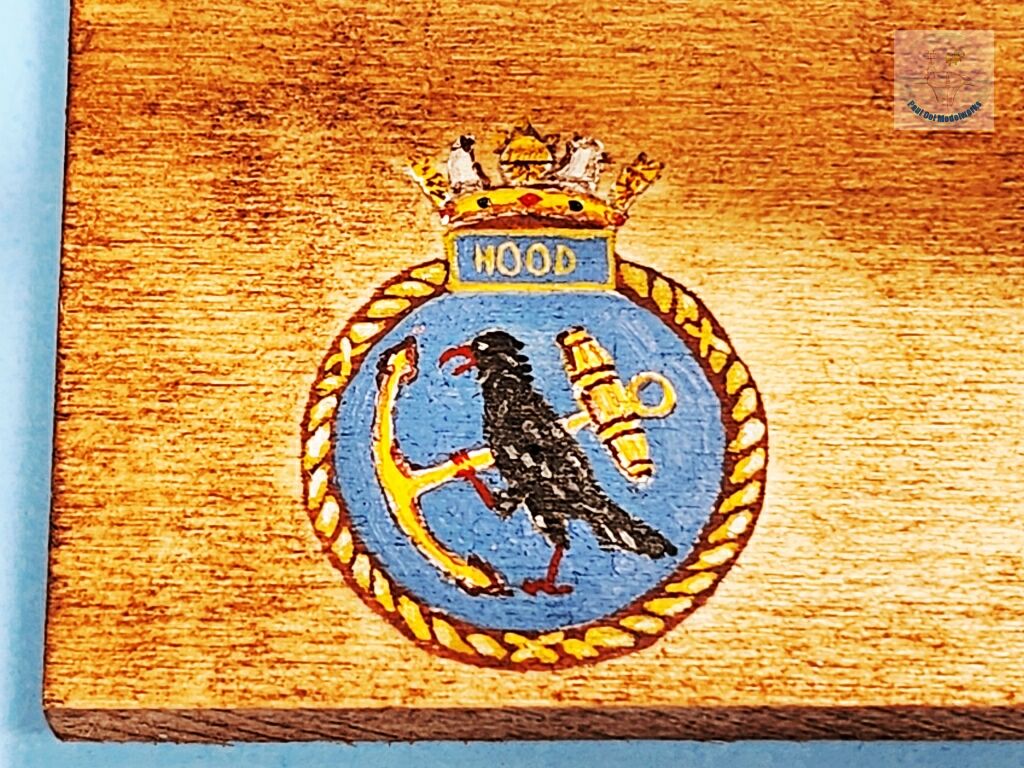
I made the wood display stand with the drydock blocks, and hand-painted the Hood crest based on the HMS Hood Association’s references. Once the ship is mounted, we are home safe! Watch out for a tutorial on how to make the wooden display!


Leave a Reply