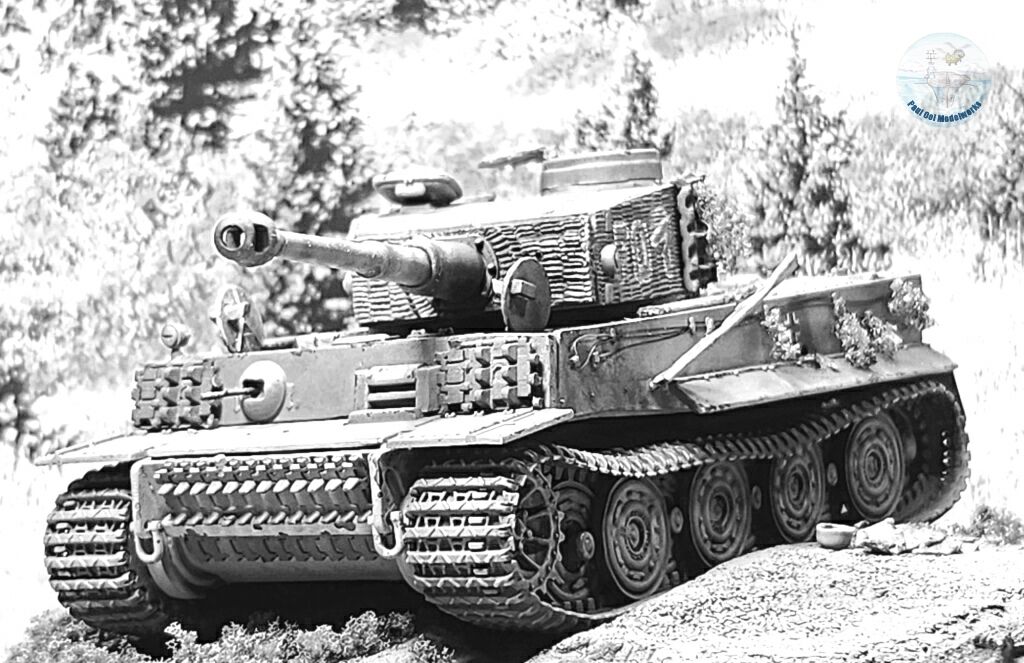
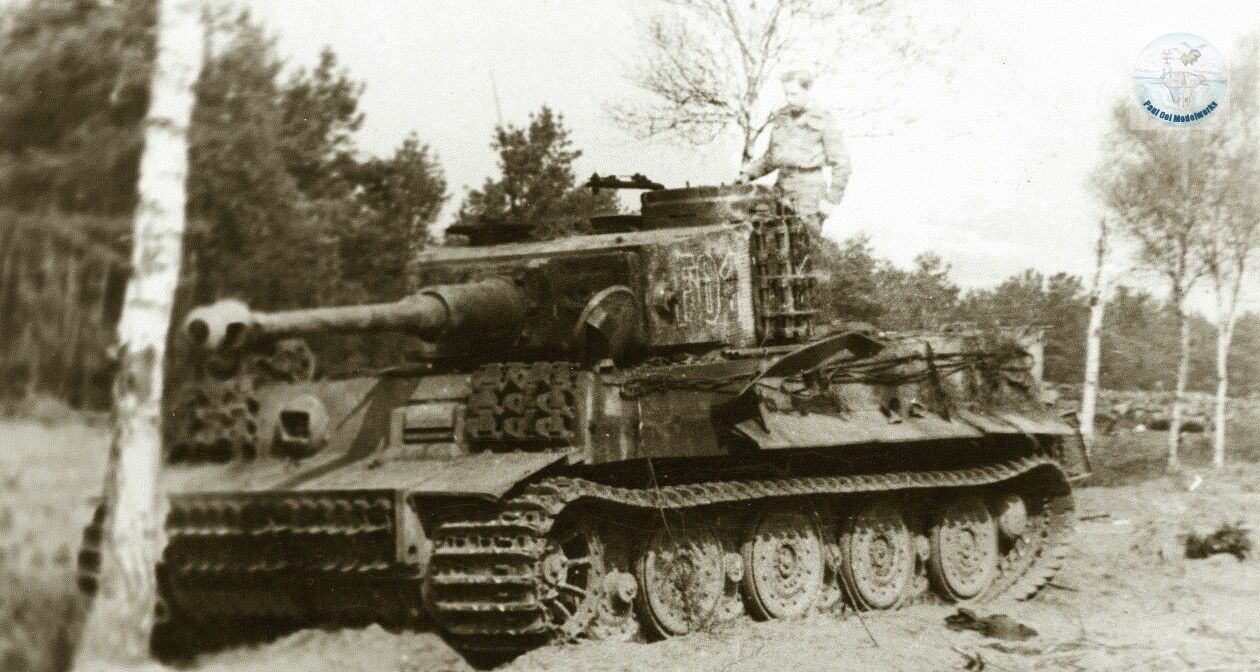
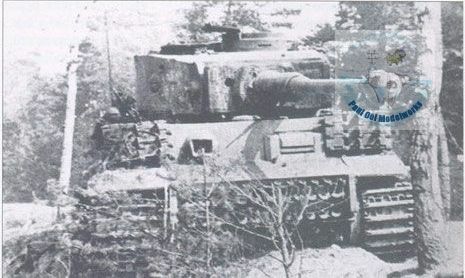
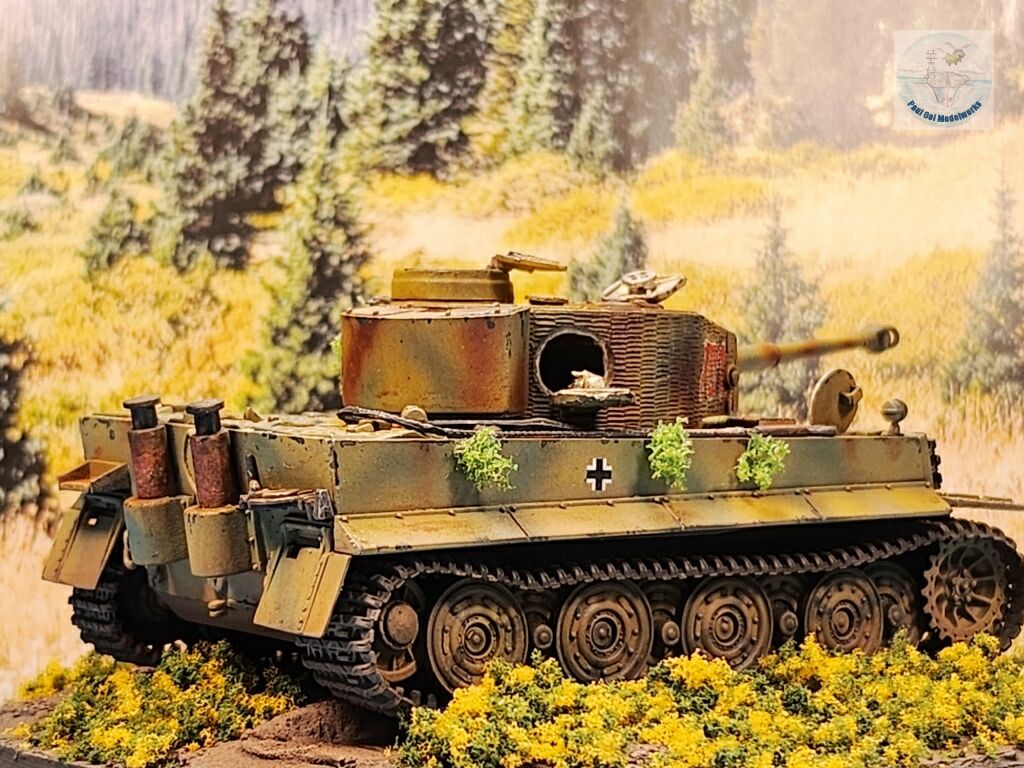
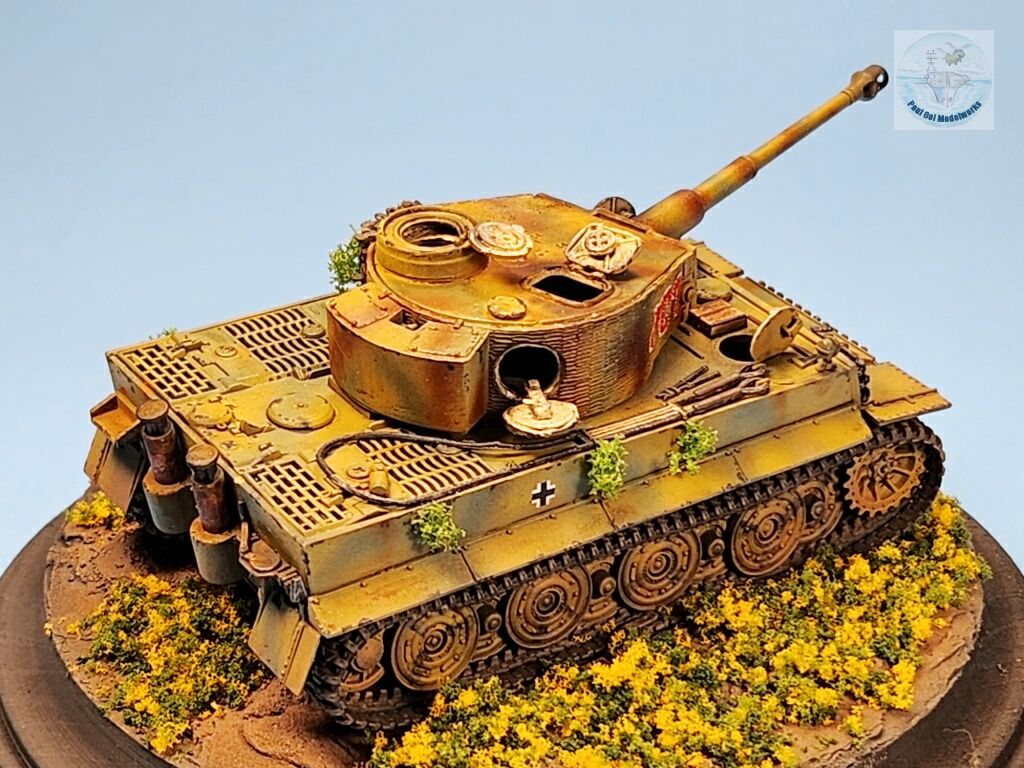
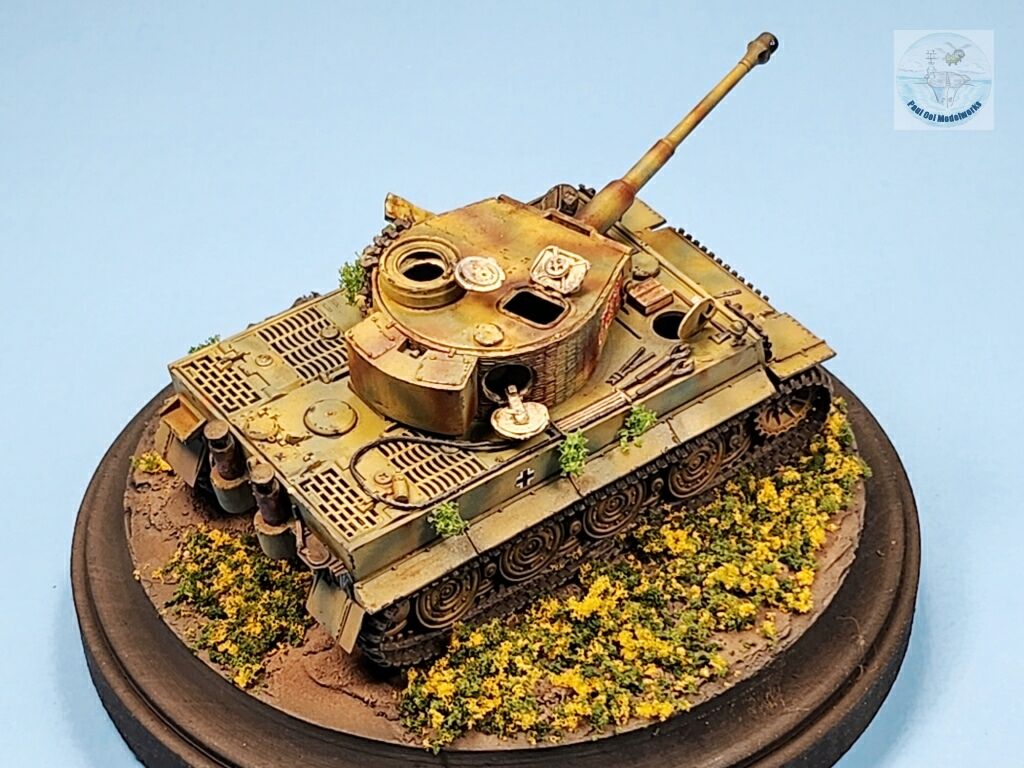
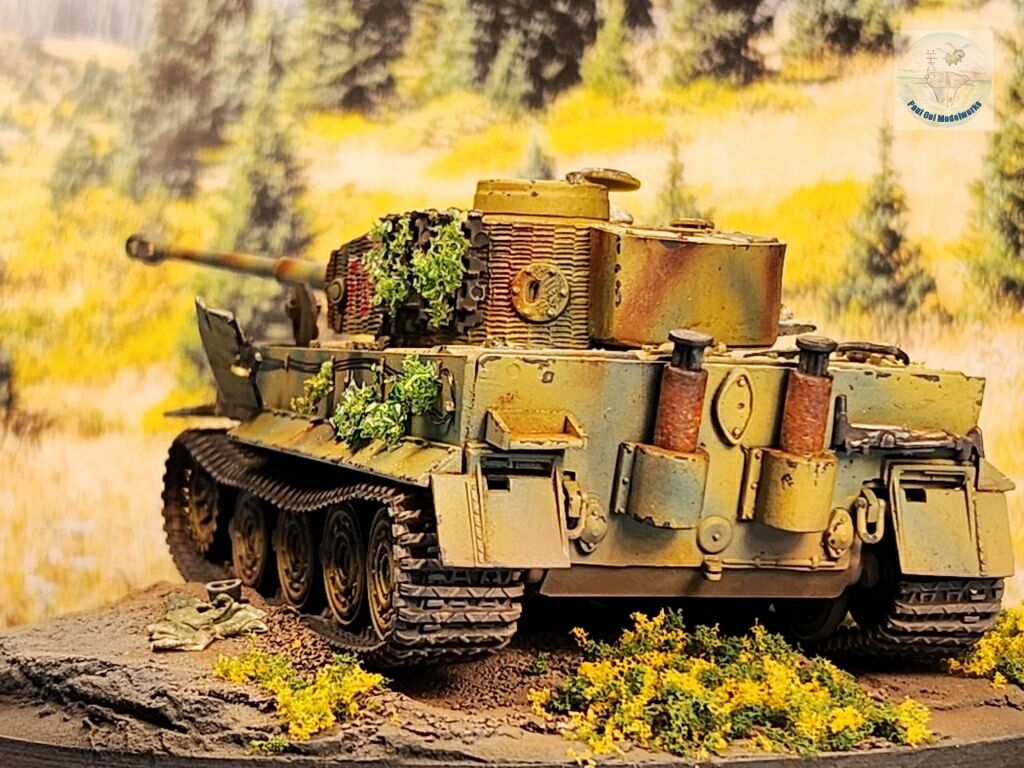
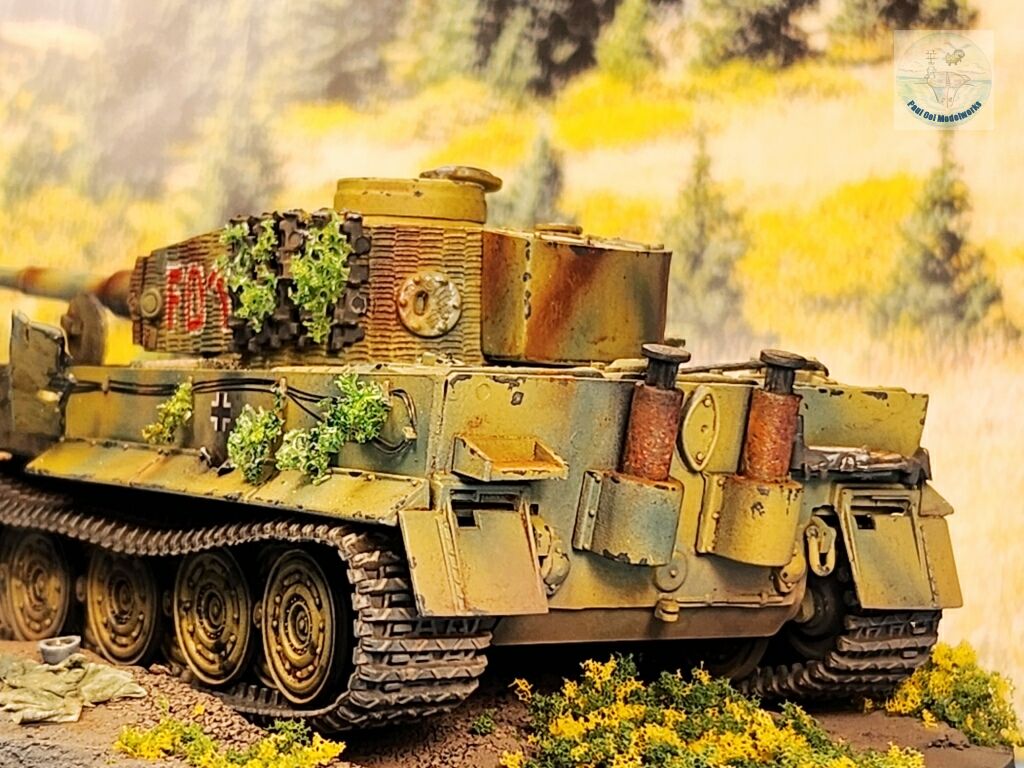
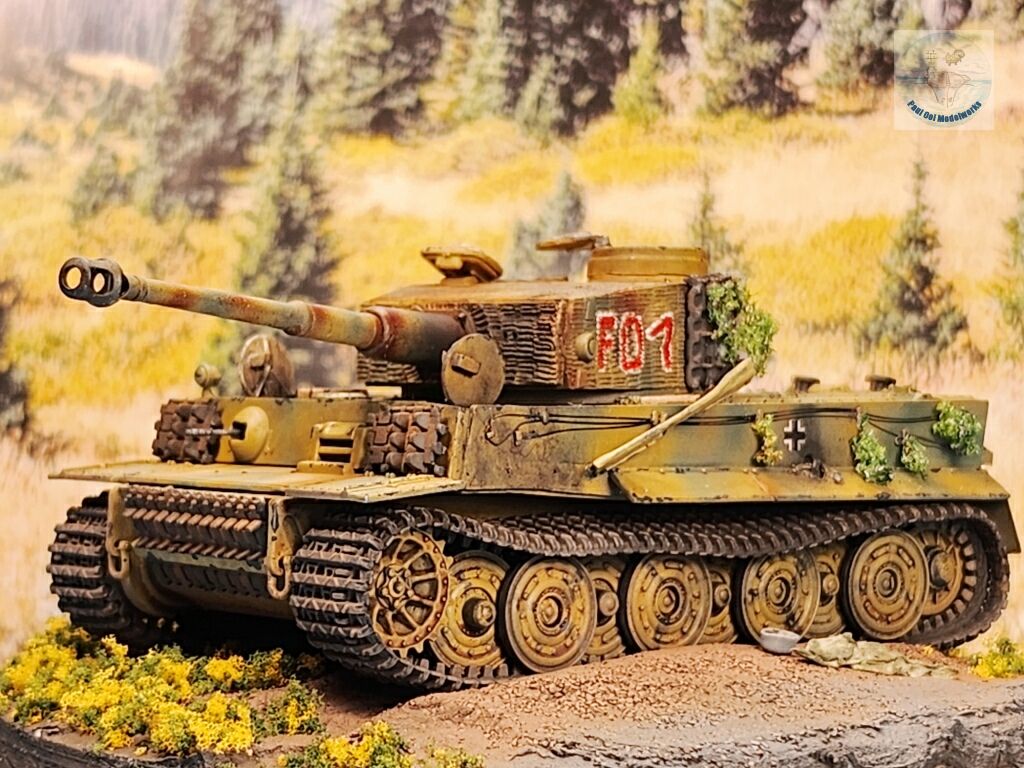
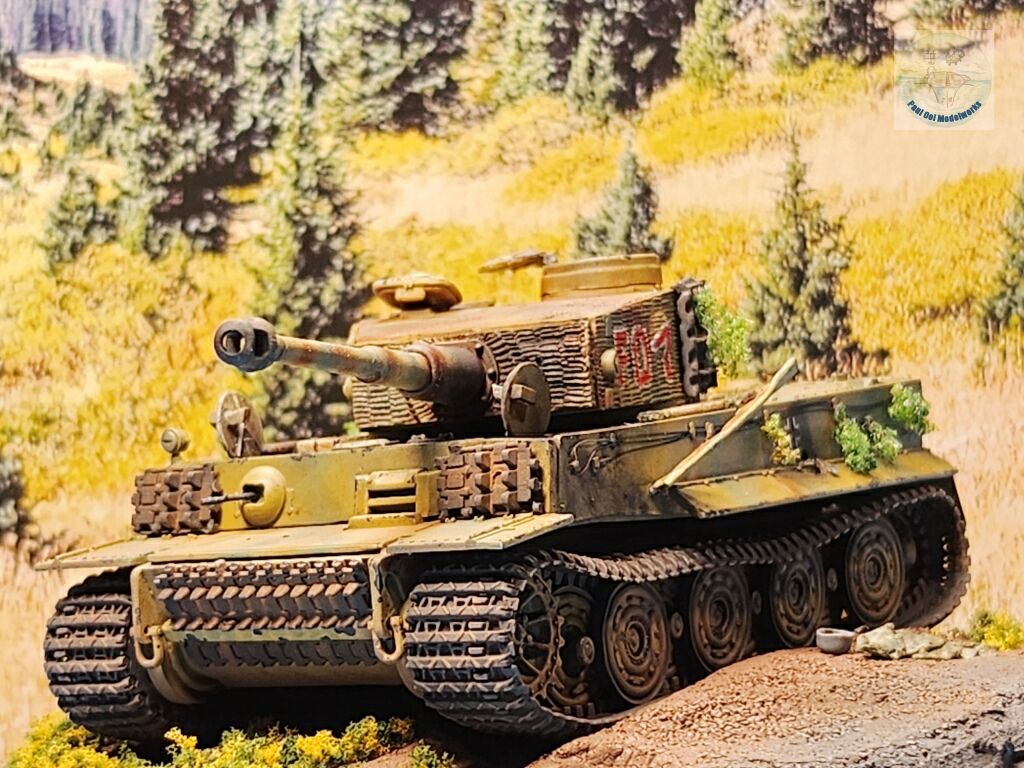
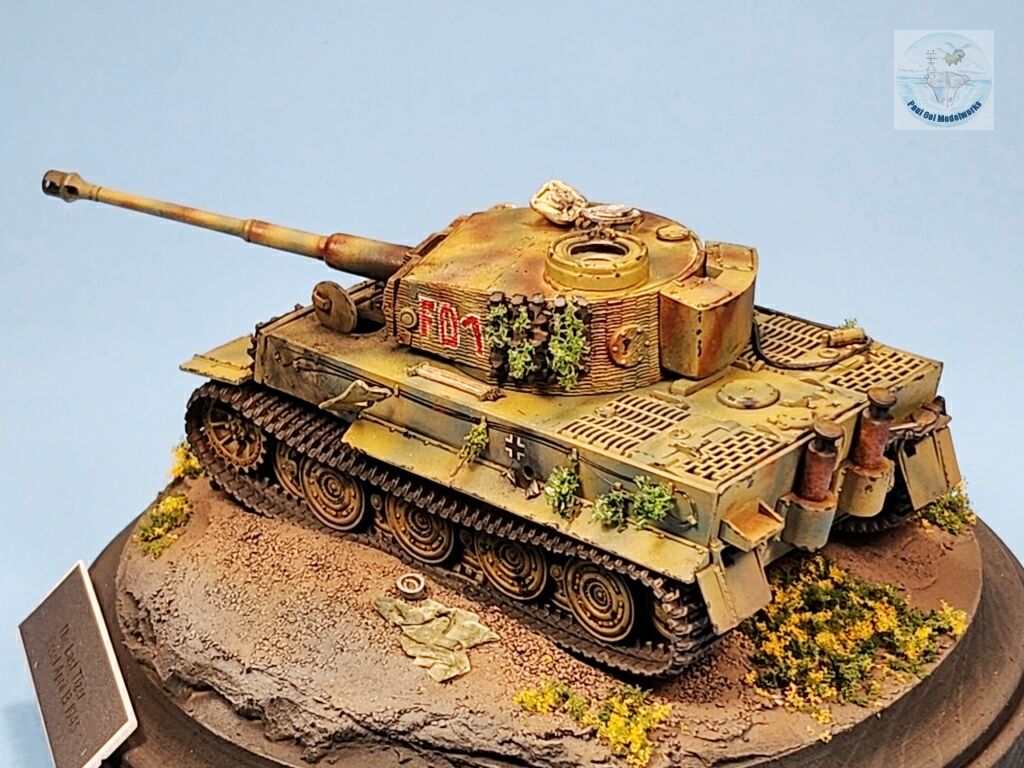
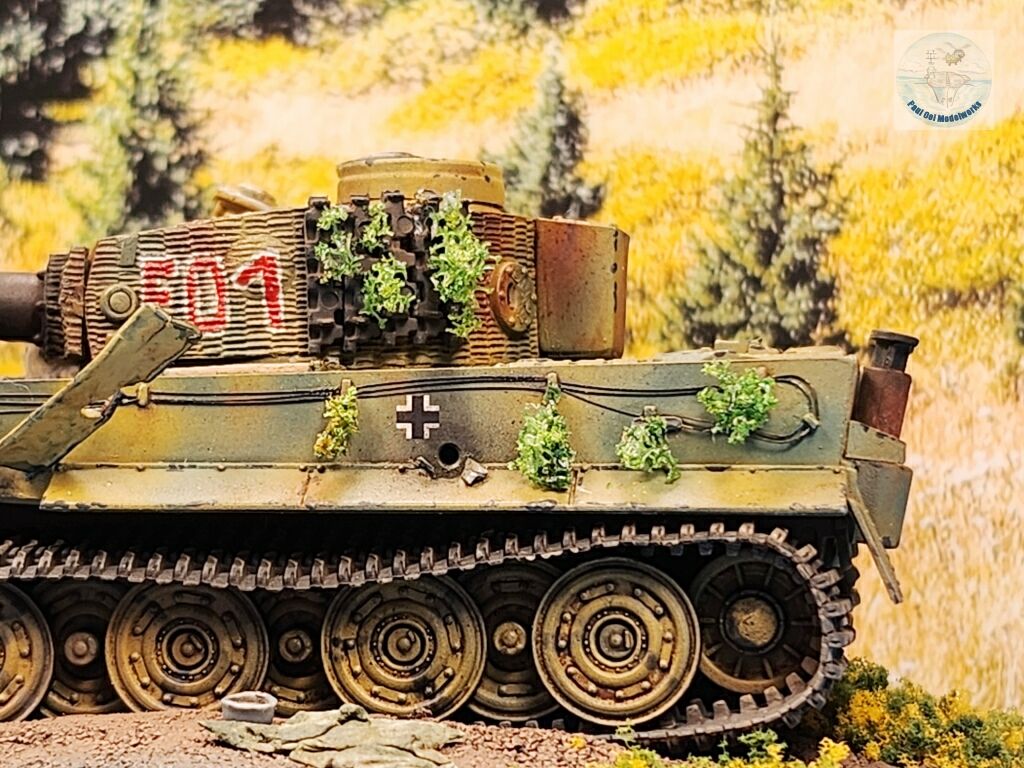
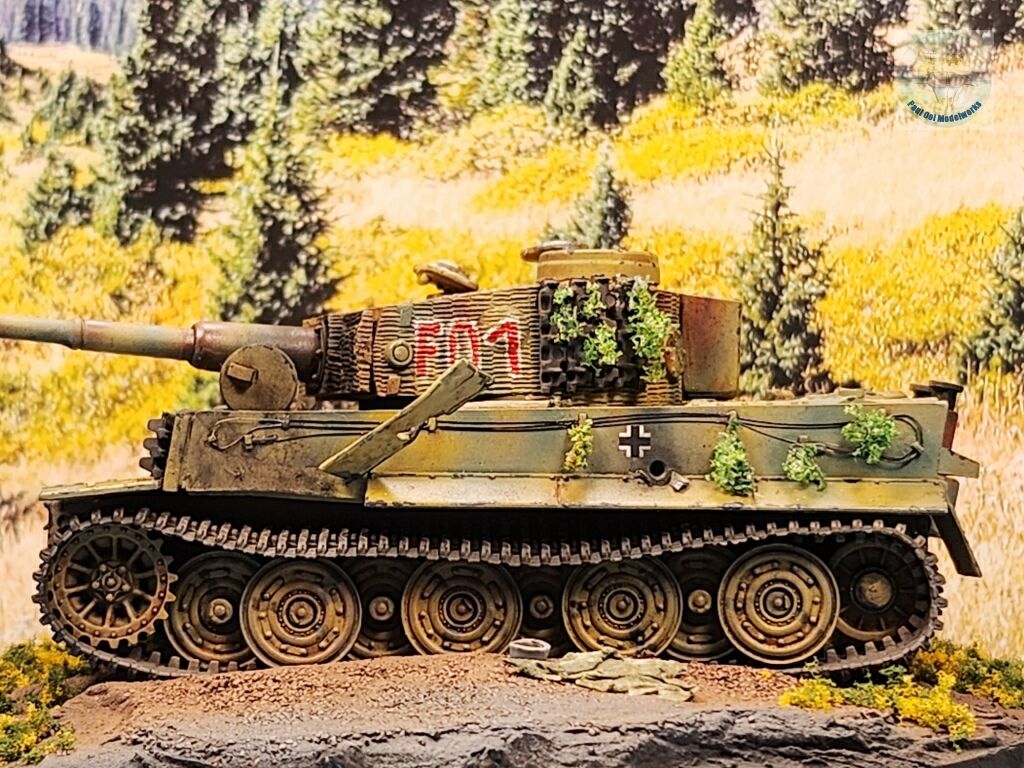
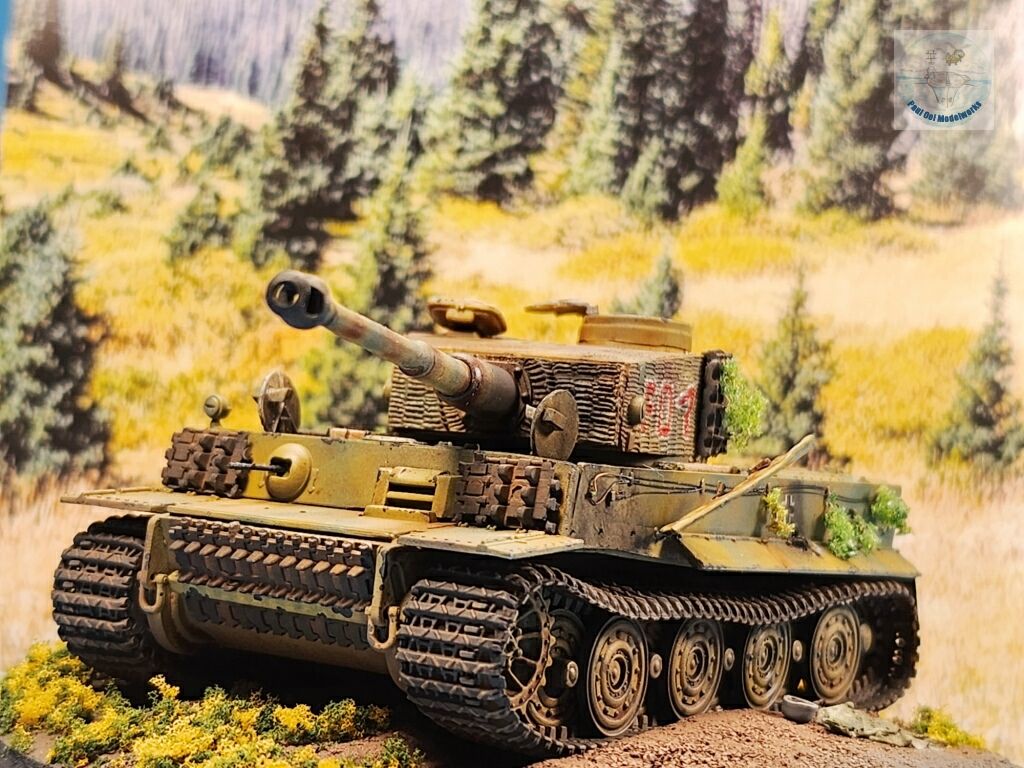
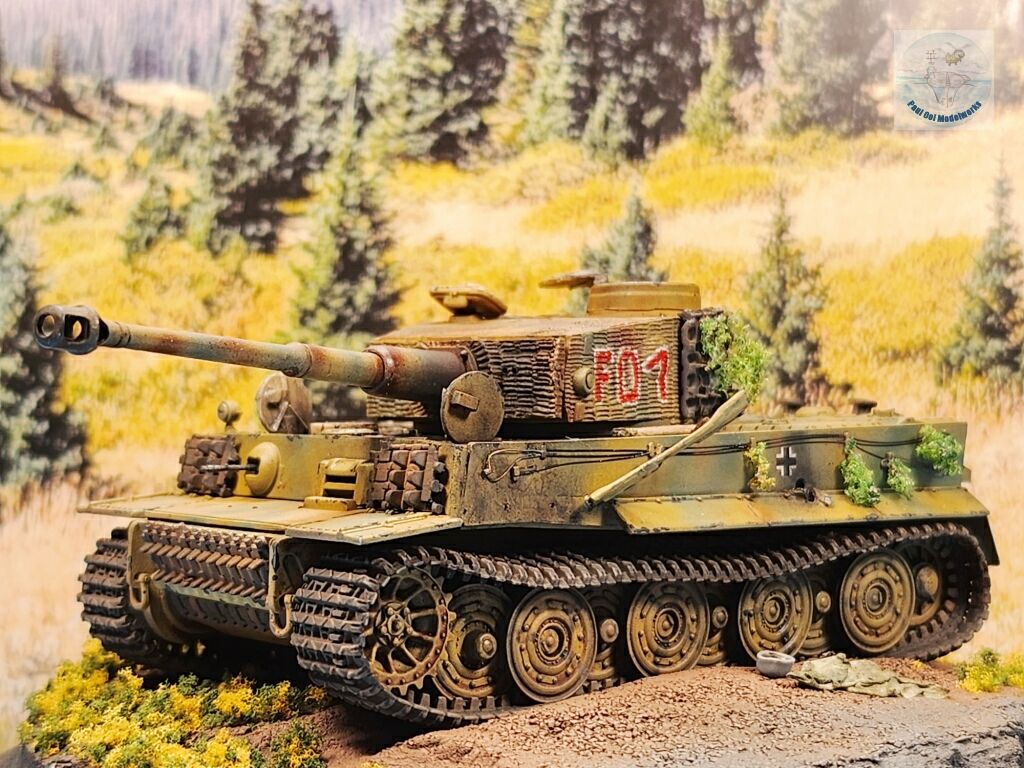
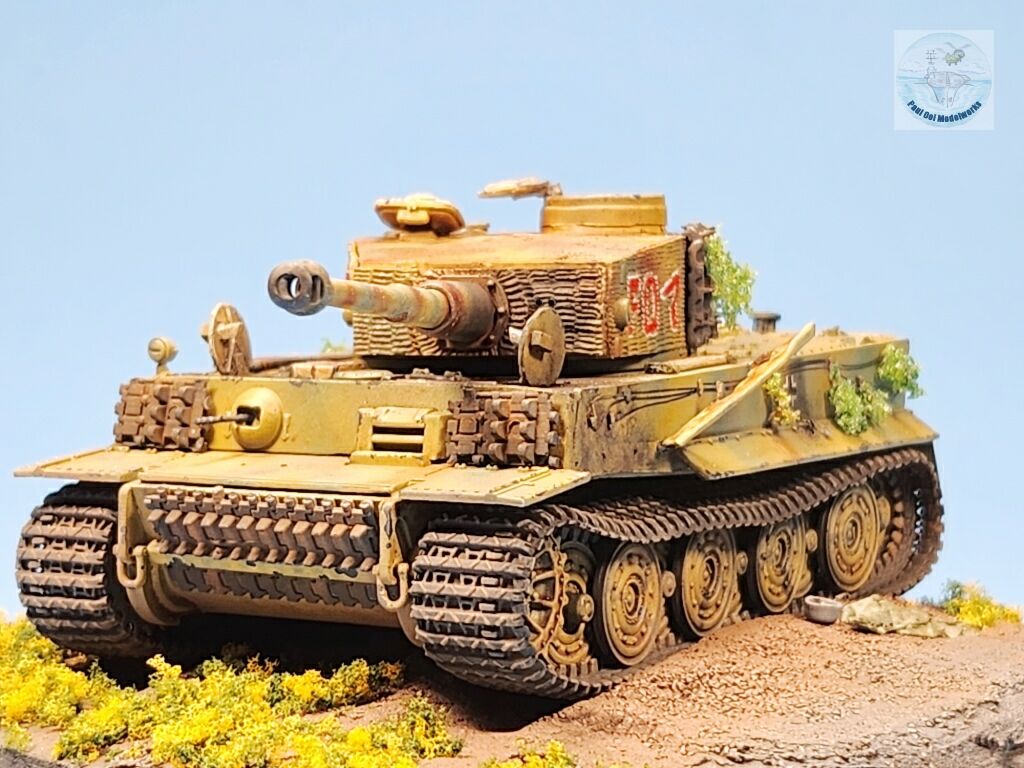
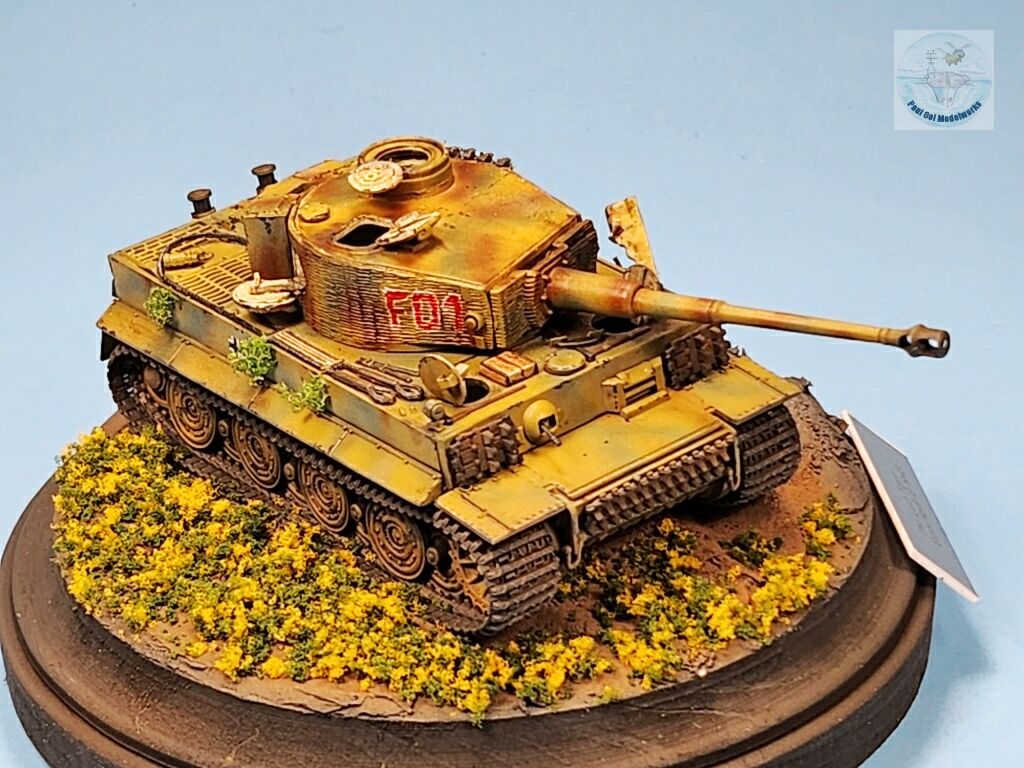
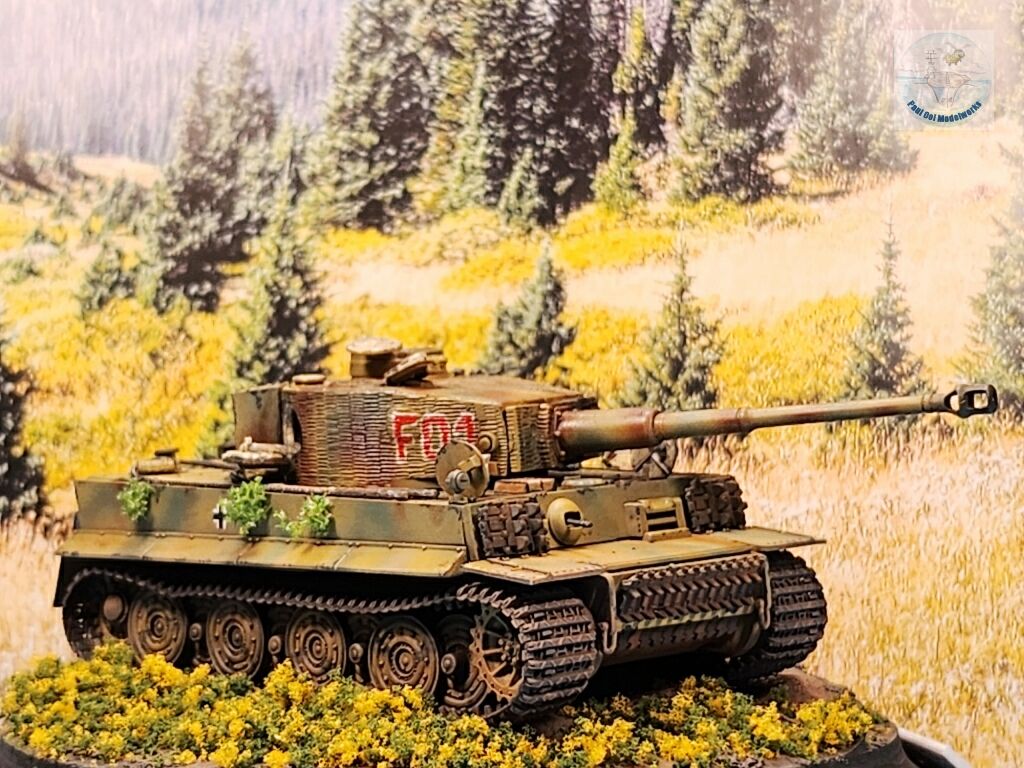
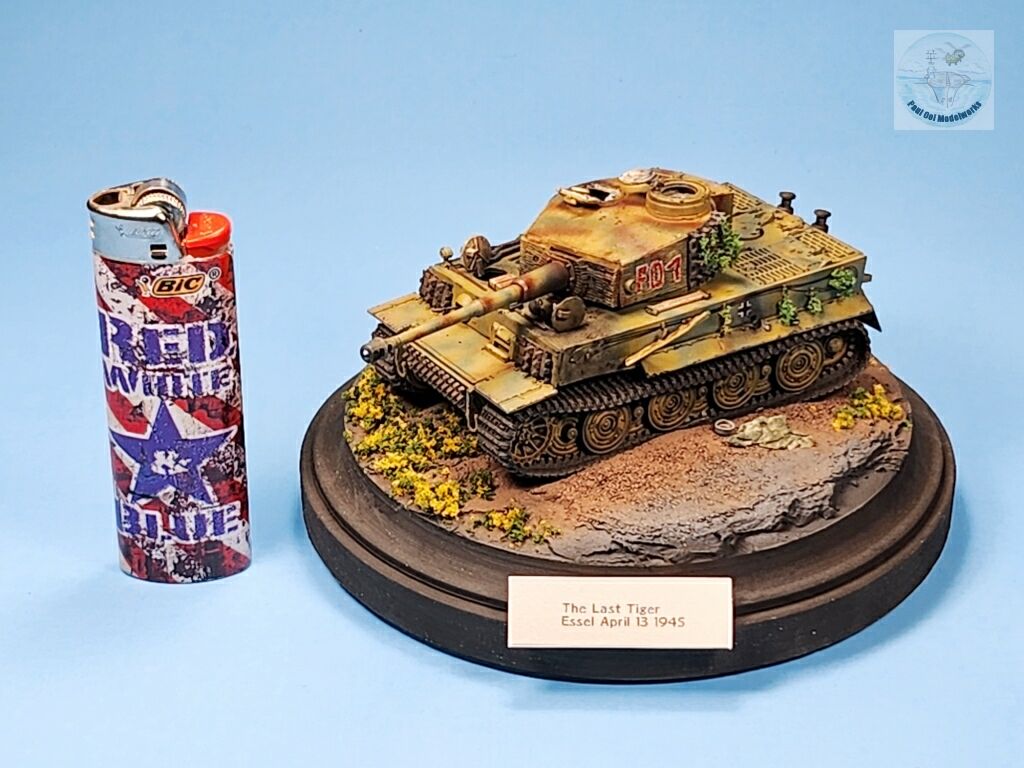
The Tiger 1 is a legendary monster in the annals of WW2, much feared by Allied tankers in both the Eastern and Western fronts. And so I found it very poignant to see pictures of Unteroffizier Franzen’s last Tiger in the Ruhr pocket in the closing days, abandoned and burnt out by a forest road. The history of the final encounter between F01 and a Comet from the 3rd Royal Tank Regiment can be found in this excellent account. I also built the Comet that took out this Tiger with its high velocity 77mm in the next blog. The F01 was really a hodge-podge Tiger cobbled together with a late production turret with a canister-style cupola onto an early production hull, but with steel road wheels. In short, its a Tiger chimera of sorts. The Tiger had sortied the previous day against the same Comet tank unit, and took out two Comets and one armored car. On April 13th 1945, Franzen had taken the Tiger down the same road but had to retreat after suffering an artillery strike. As it was idling at that road side, a Comet emerging through the woods managed to pierce it on the port side hull at 100 yards. It was the last Tiger that this unit, once part of the great Panzer Lehr Division that swarmed the Ardennes with King Tigers, could field in the Ruhr Pocket. They surrendered to US forces on 15th April 1945.
One foot note here about this incident. As the secondary fuel tank caught fire, Franzen and all his crew members bailed out of the Tiger in full sight of the Comet. The British chose not to machine-gun them down and they escaped with their lives. I am glad I can say that in this instance, “no crew were killed in the making of this diorama”. Even in the most terrible of times, there was room for human mercy.
Gallery
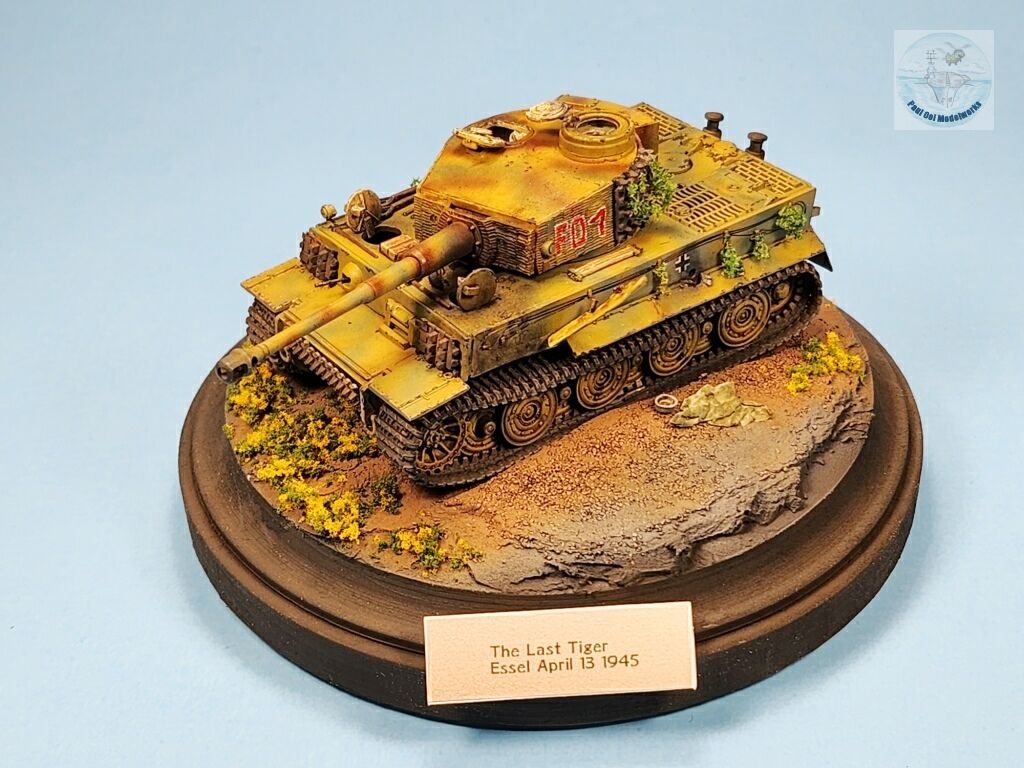
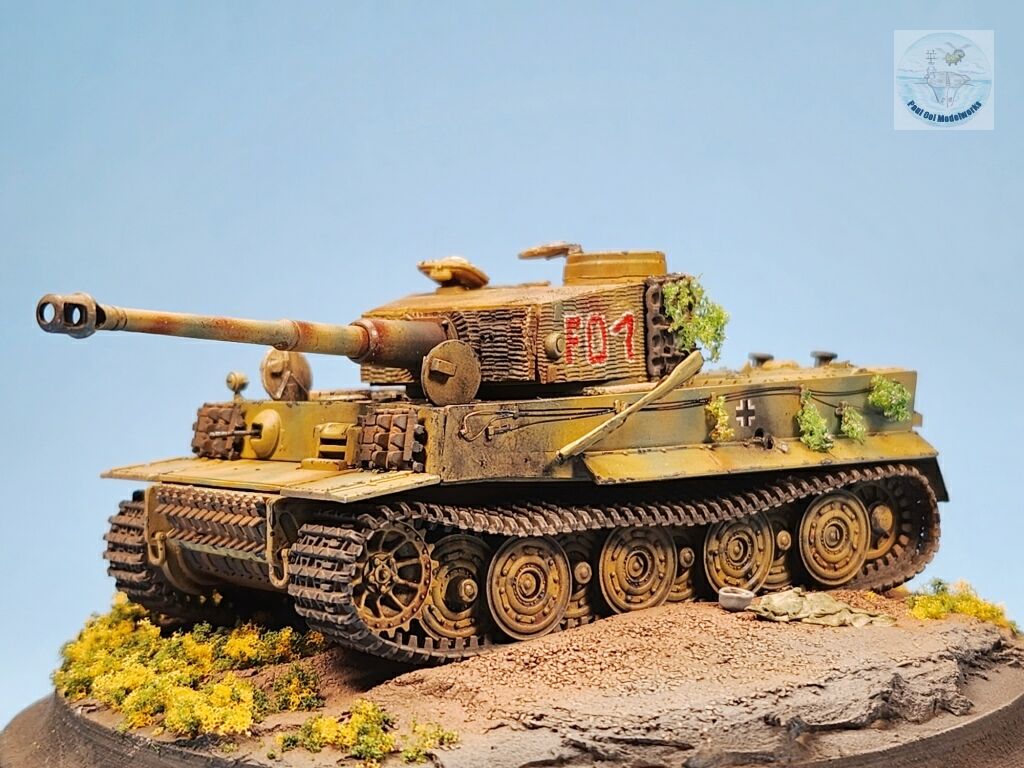
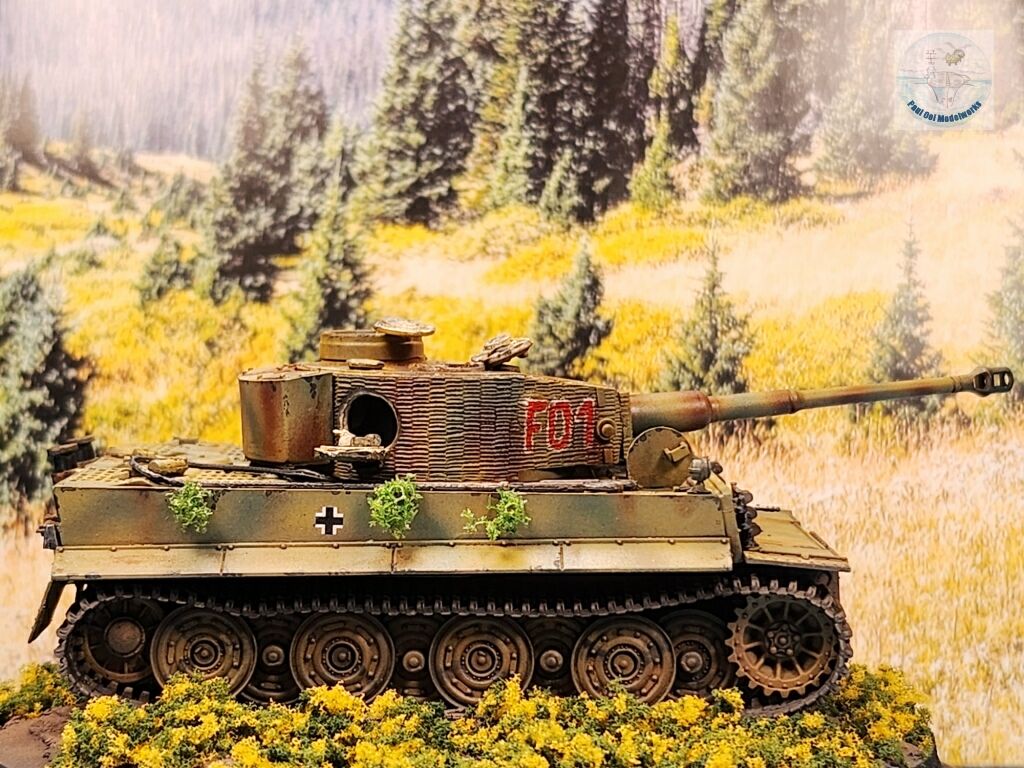
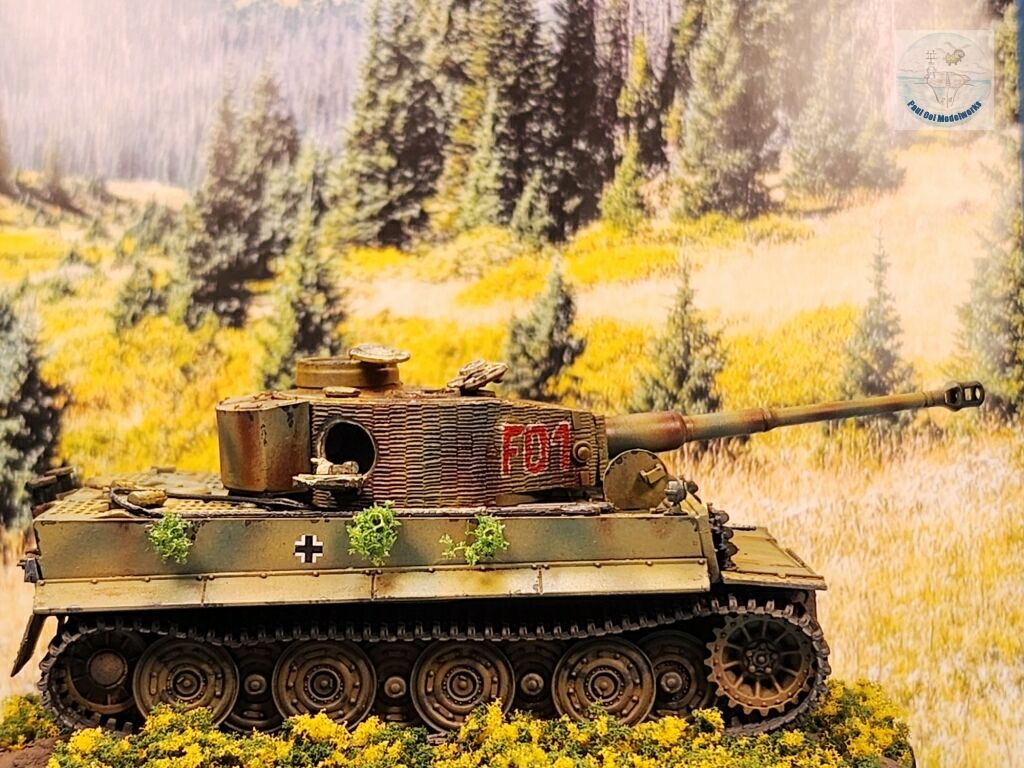
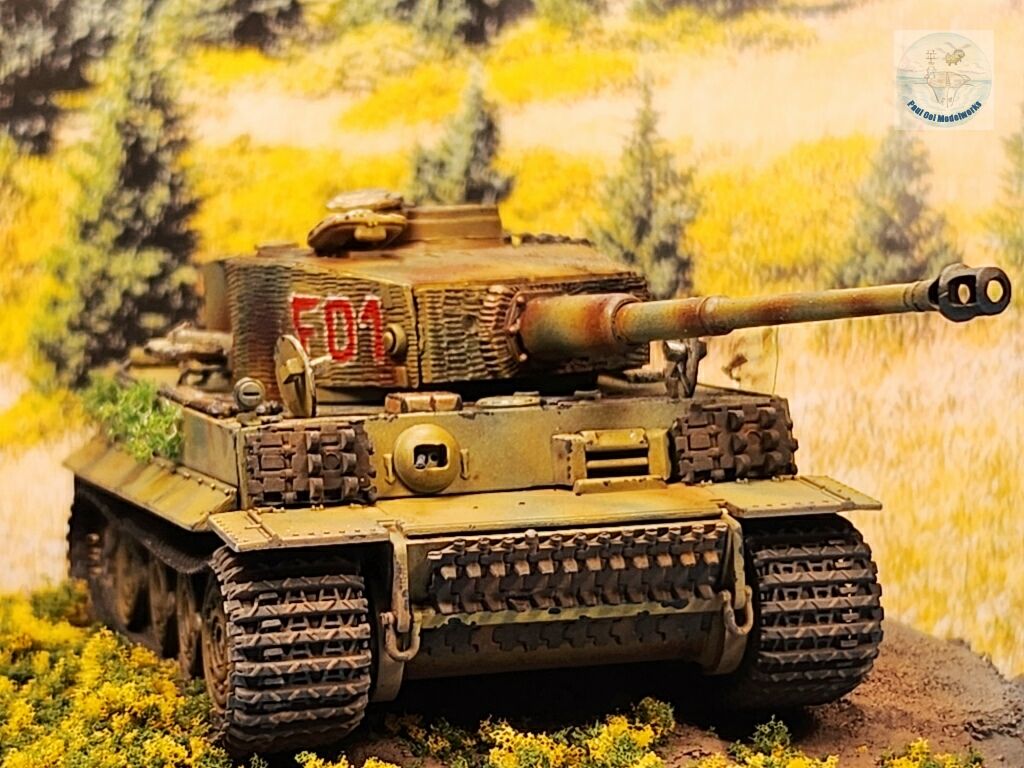
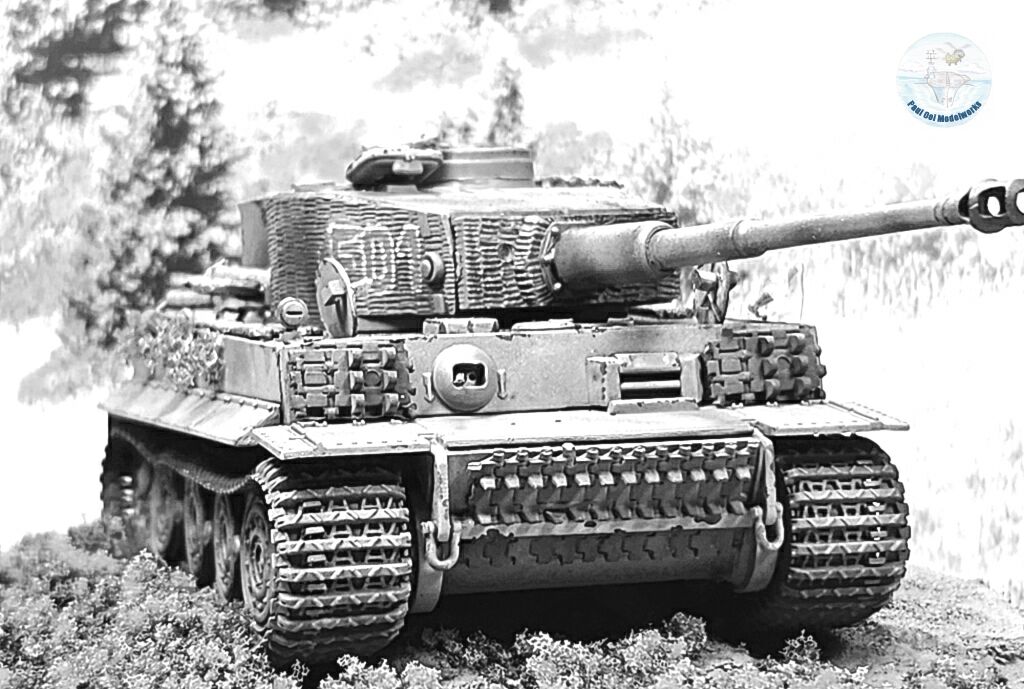
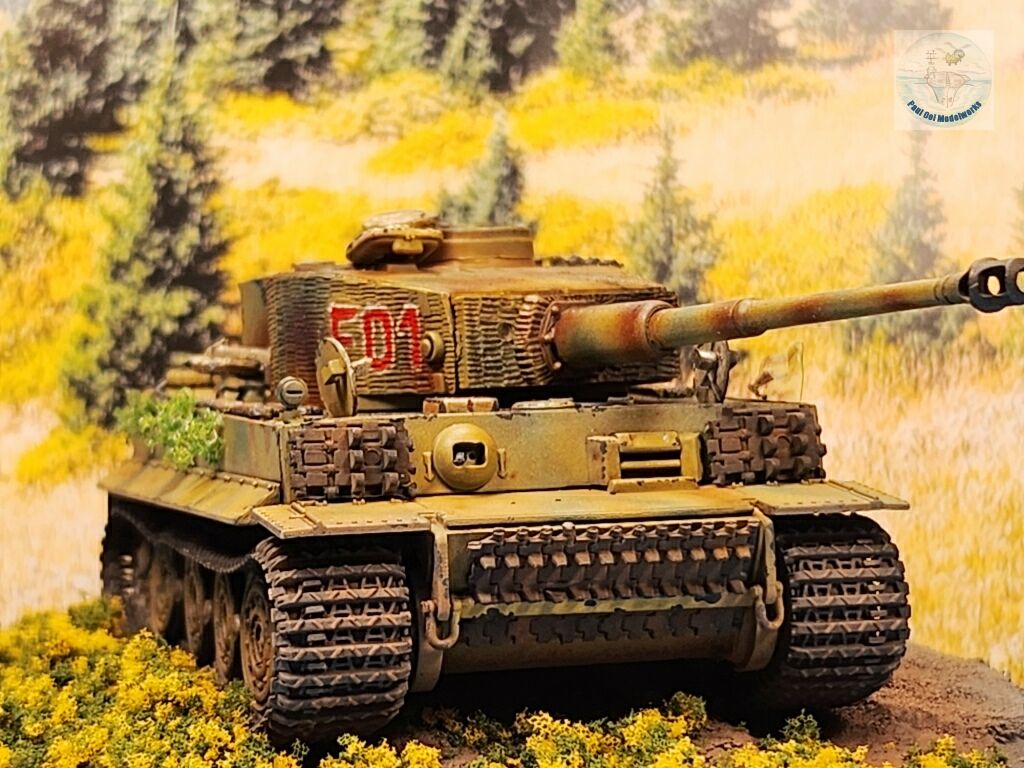
Construction Notes
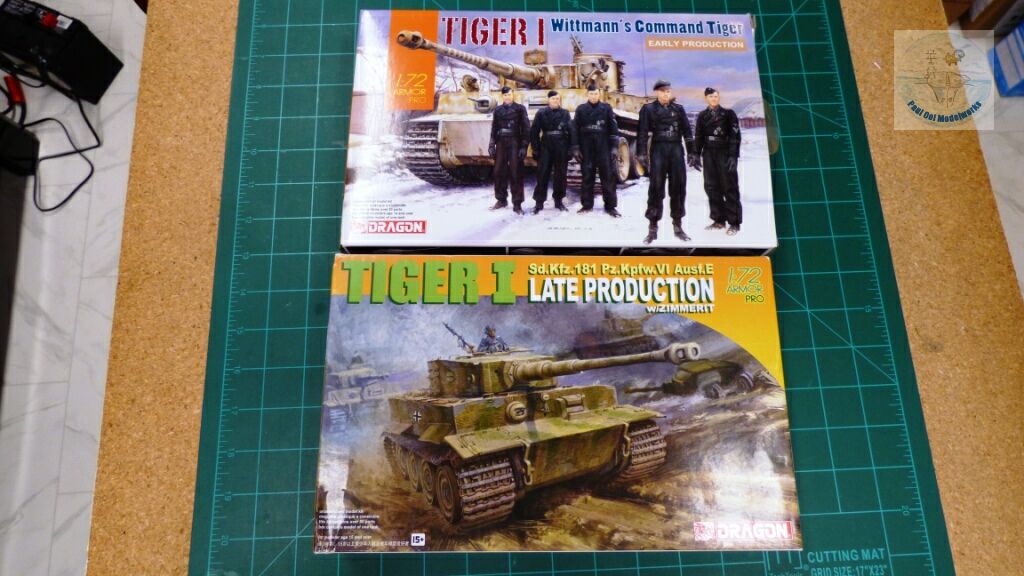
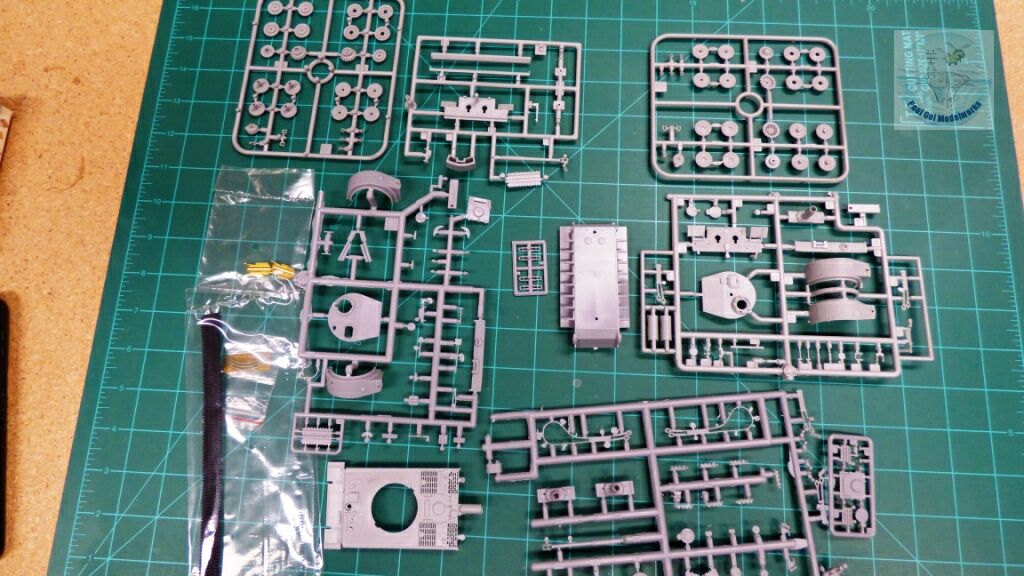
To build this hodge-podge Tiger, I bought two 1/72 Dragon Tiger kits. I needed the hull (without Zimmerit) from the early production kit, as well as the tall canister commander’s cupola. However, I needed the Zimmerit-covered side walls of the late production turret, as well as the steel road wheels, as well as the exhaust arrangement without the early air filters. This gave me a lot of leftover parts that I will be putting together for a future mid-production build for a Panzer Abteilung 505 in the Eastern Front. The fit for these kits were decent but not of the same standard as the latest Vespid and Meng 1/72 kits. The DS one-piece tracks need special note as these are the ones that cannot be painted with enamel or oil-based paints (see my misadventure with the Chi-Ha project).
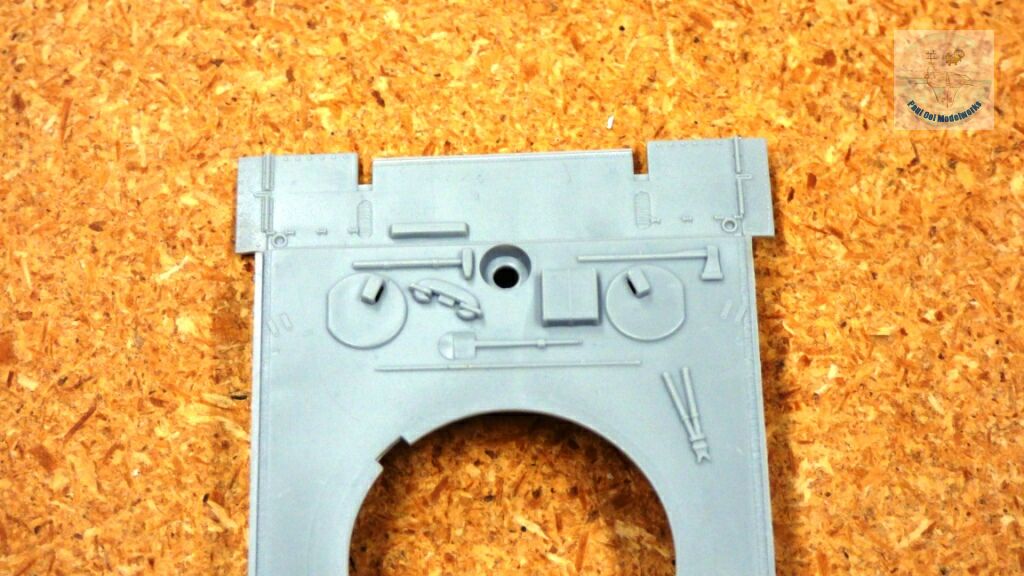
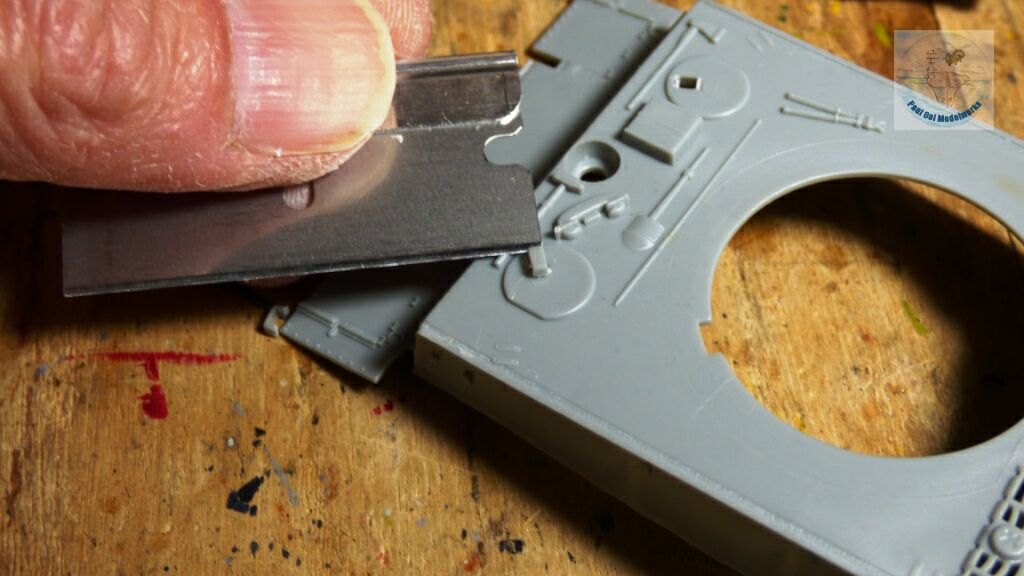
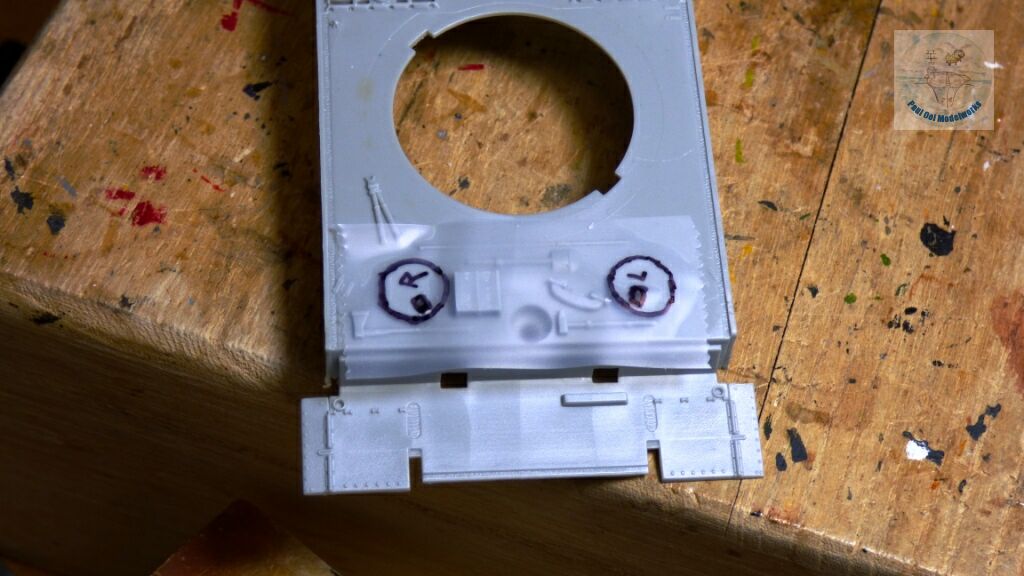
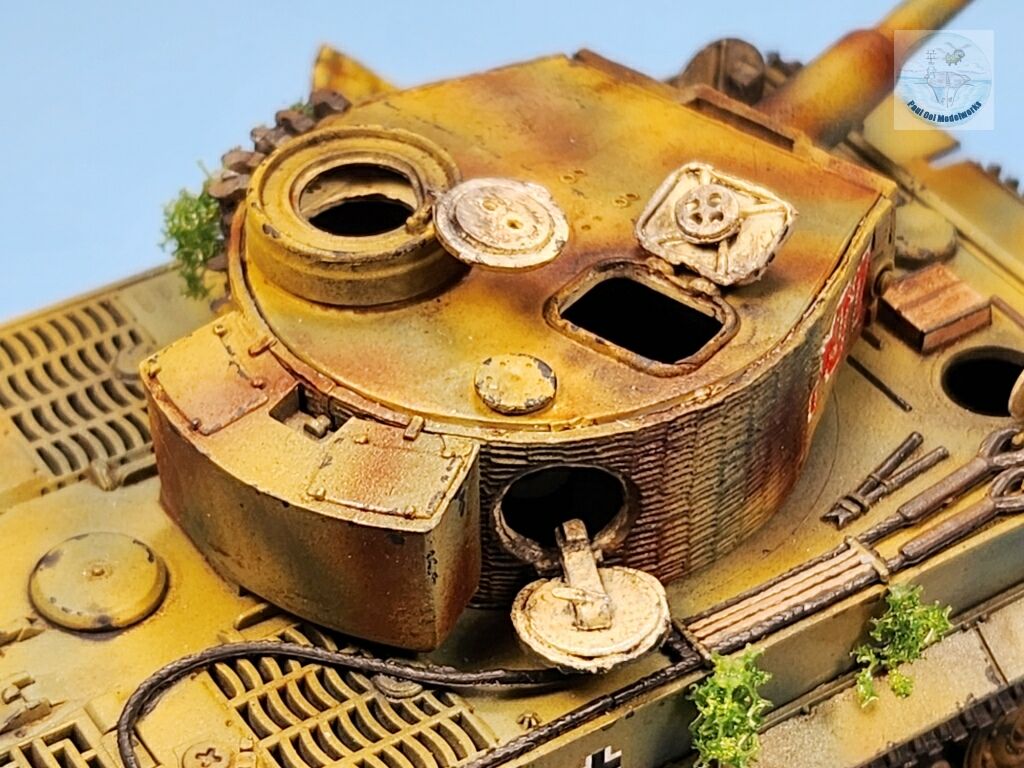
To accurately portray the tank in its abandoned state, I needed all the hatches to be opened. First I had to cut open the molded driver and radio operator’s hatches. I harvested the periscope housings off for later use with the scratch-built hatches. These are cut from the cellophane templates that I took off the molded hatches.
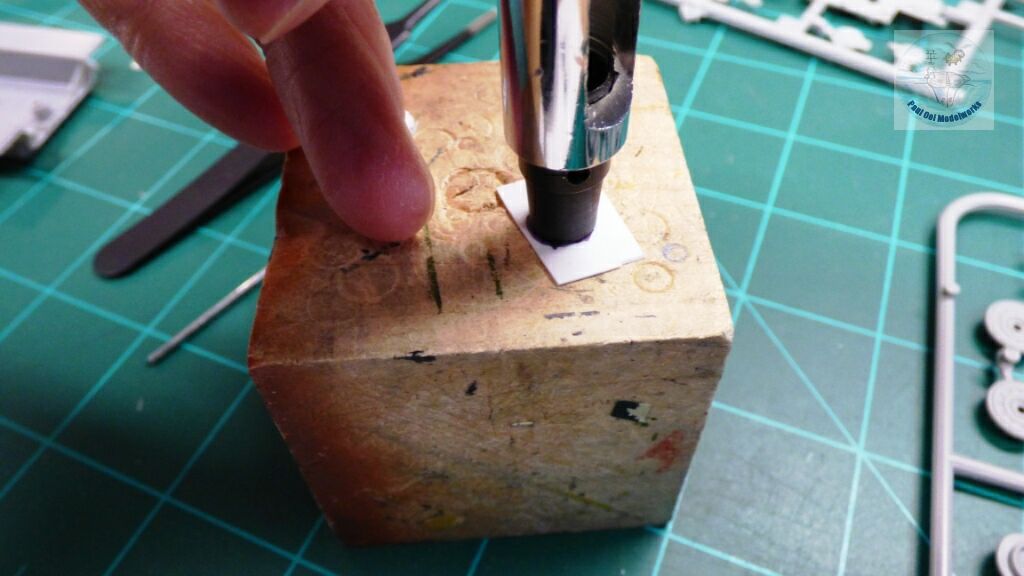
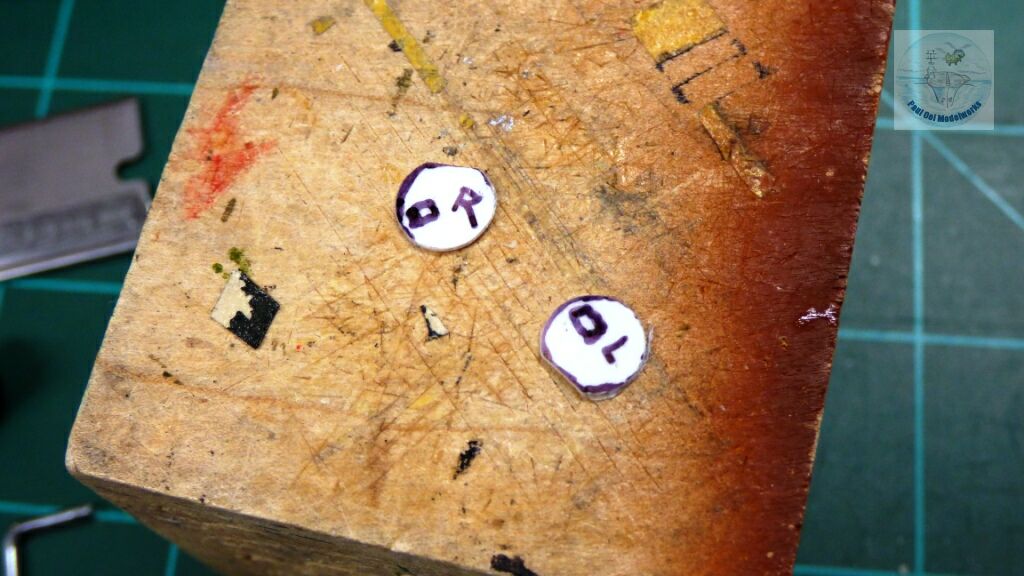
The replacement hatches are punched out with a leather punch set from plastic card stock. More details will be added later (including the harvested periscope housings).
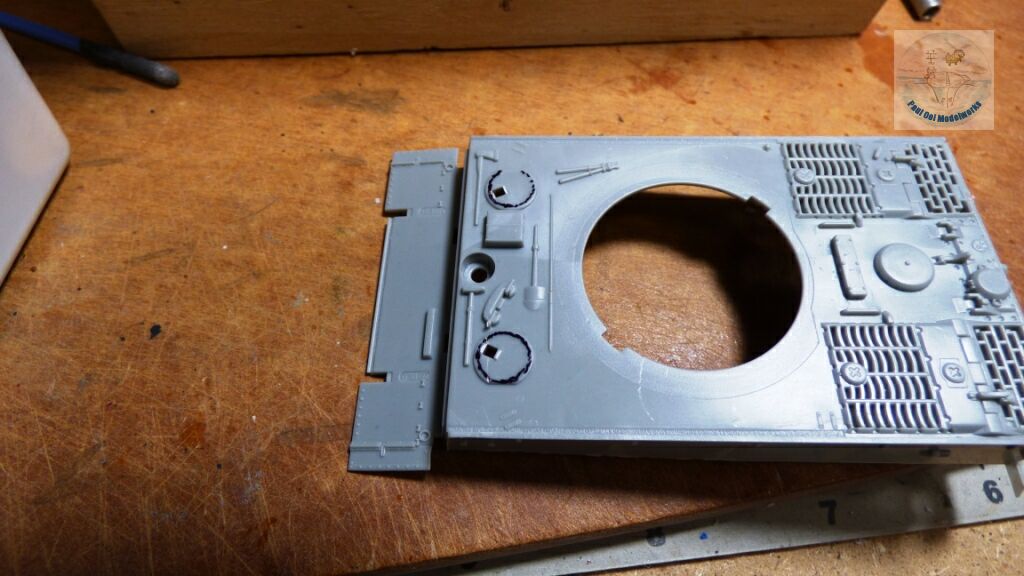
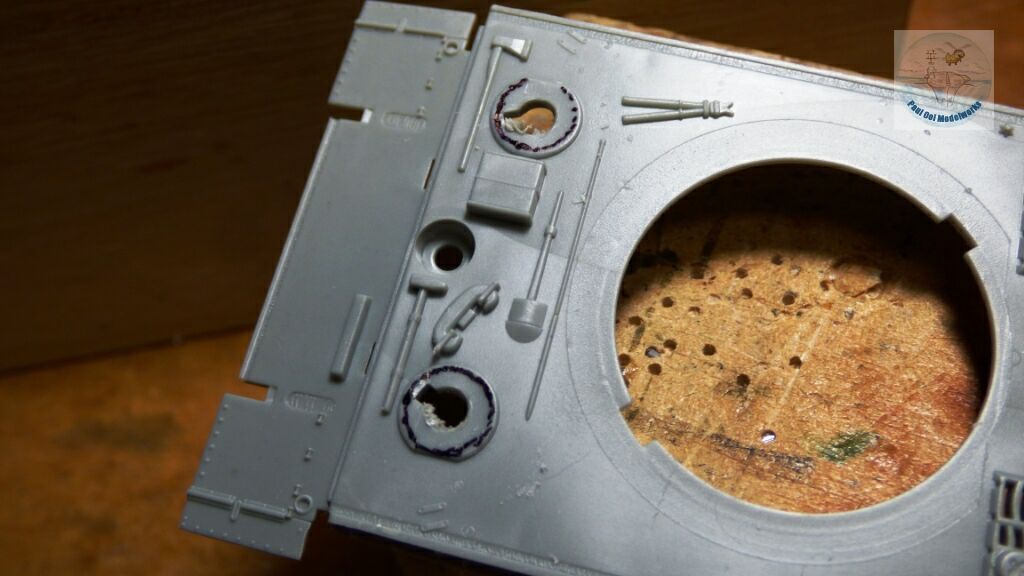
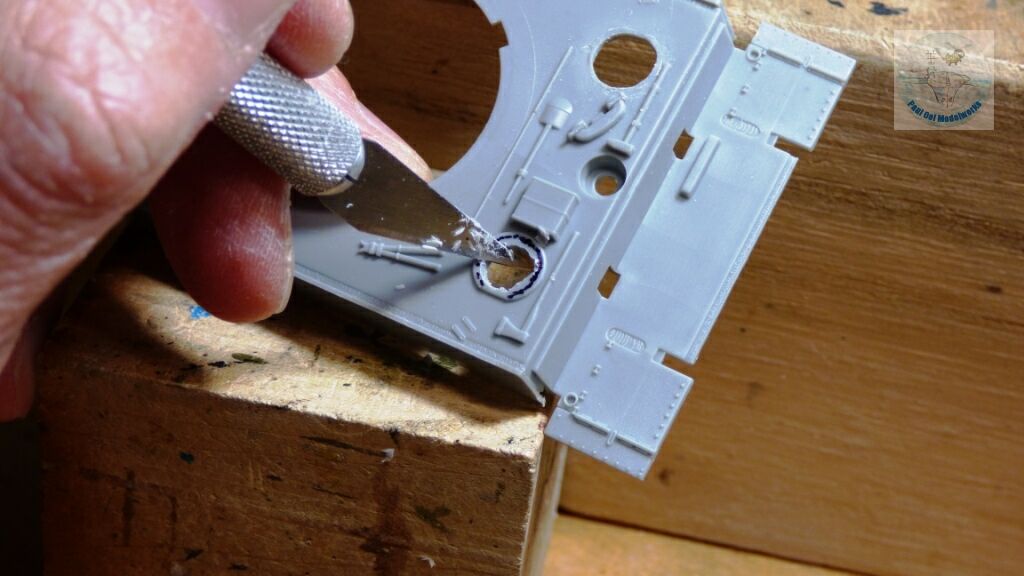
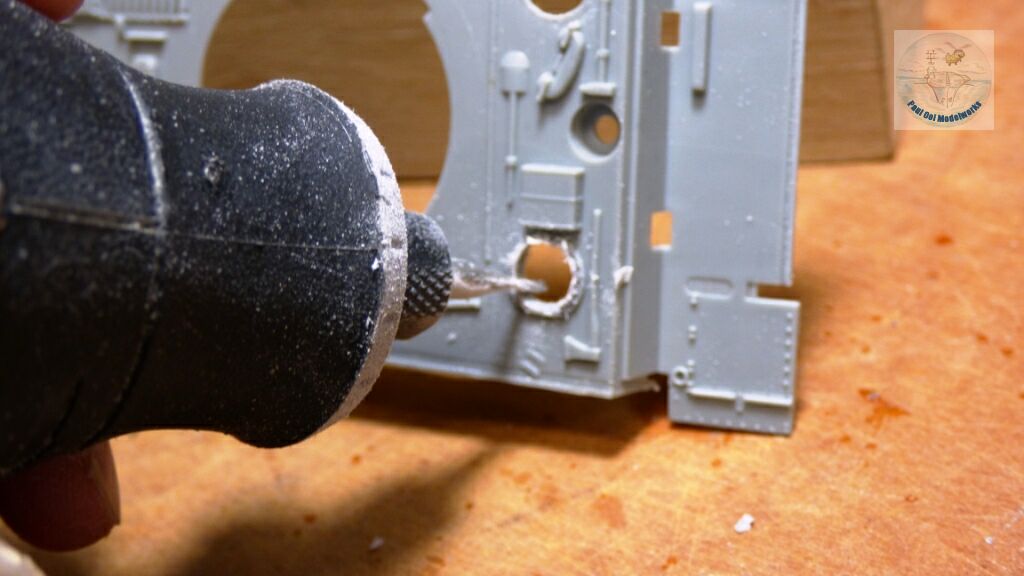
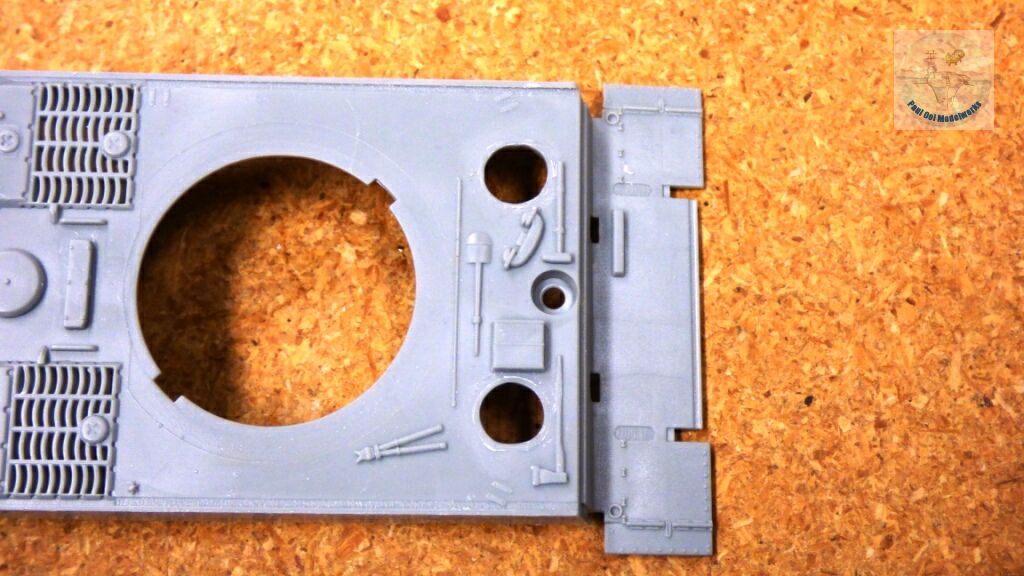
Cutting the hatch openings requires careful planning and execution. The boundary for the cuts have to be marked out with a marker first. Then a pilot hole using a 1/4″ diameter drill is drilled to start the process. That is followed by scrapping off the large expanse of material with an X-cto knife. And then, the fine reaming is done with a Dremel tool with a milling bit, checking frequently for the marked boundary. Hand files for fine turning and smoothing the rim finishes the hatch hole edges.
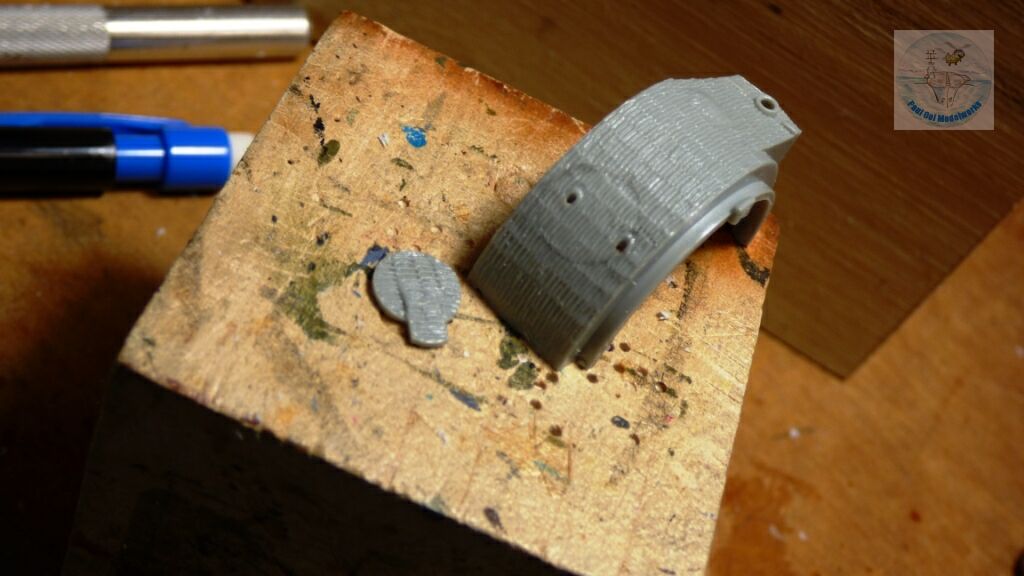
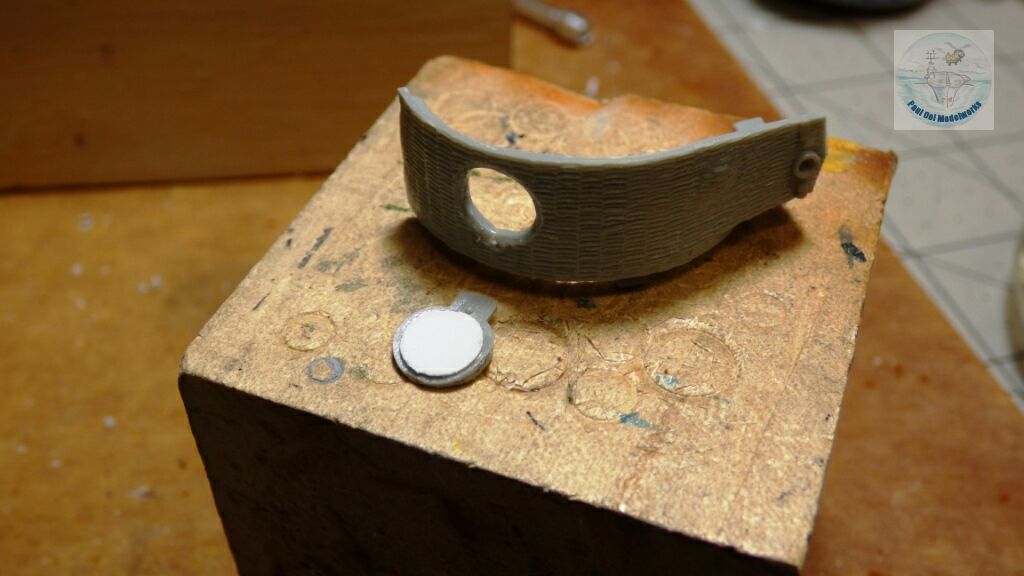
How silly of them to provide the escape hatch piece but not the hatch hole itself??? The same steps are used as above for cutting a precise hole opening into the side wall of the turret that matches the hatch door. I added a circular card stock piece to build up the hatch door a bit for future detailing.
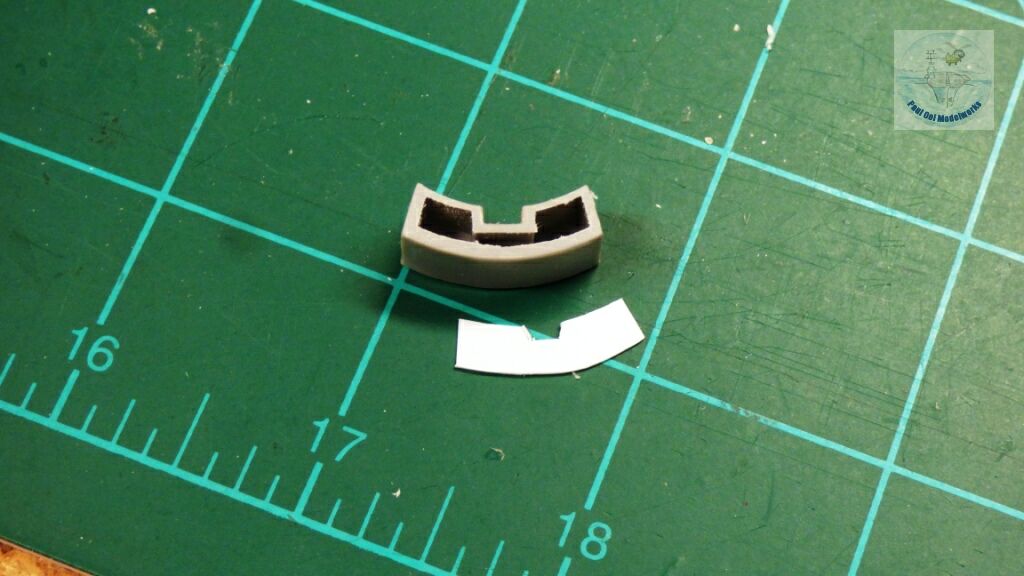
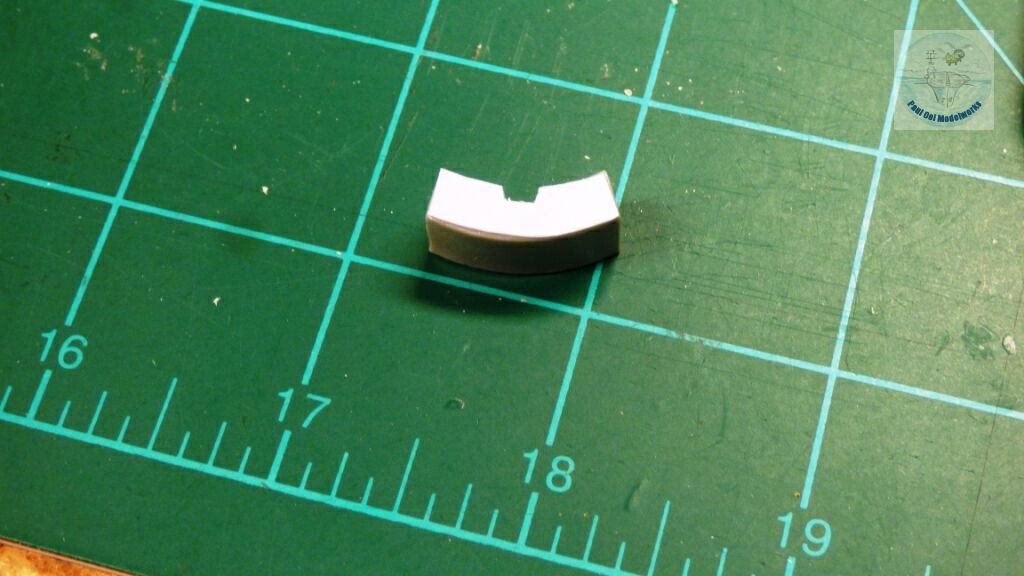
The stowage bin attached to the rear of the turret was a single-piece molded affair. However, they left bottom open, no wonder Tiger crews lose their stuff! No, this was more of a case of mold-designer fatigue. I sealed the bottom with a piece of card stock and smooth it out with a file.
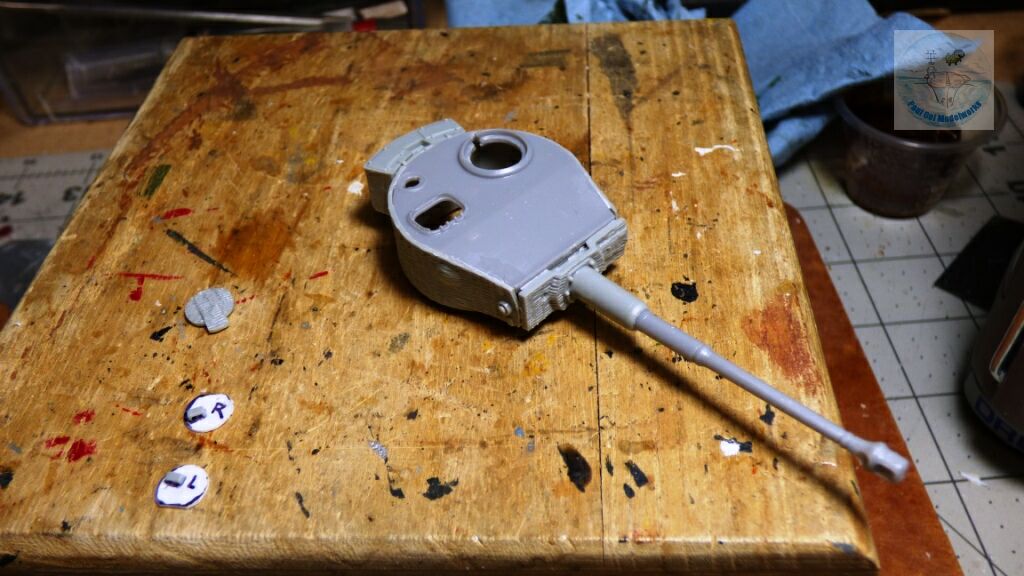
The early turret top was merged onto the late turret walls and gun mantel.
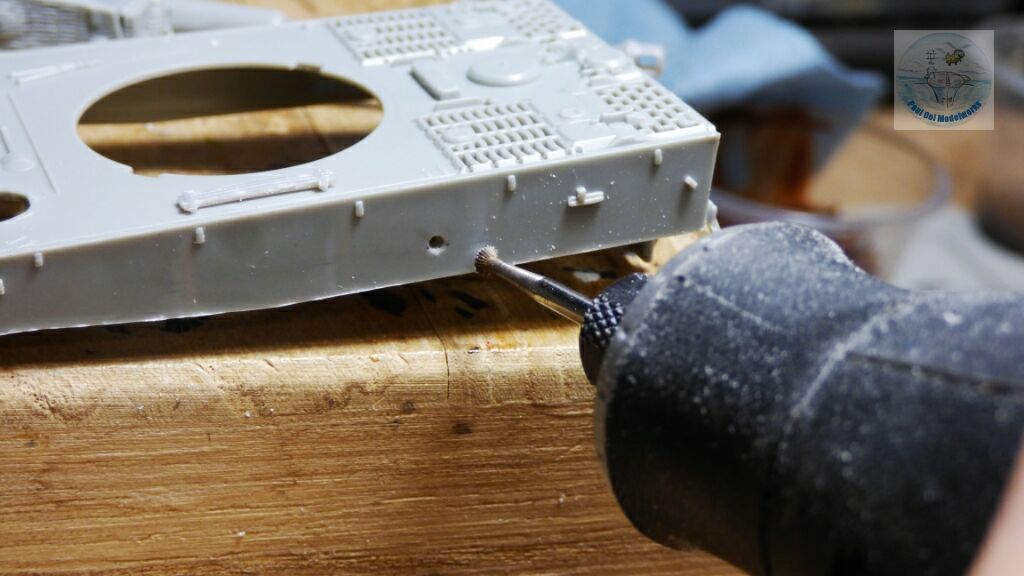
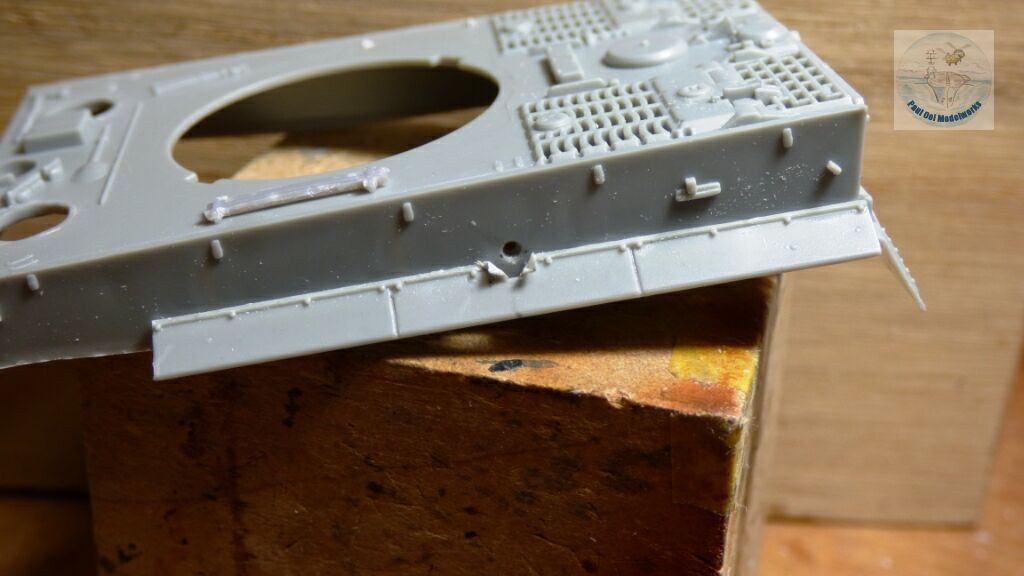
The shell penetration site had to match the historical picture of the F01. After the exact site was noted, I drilled a pilot hole with a 1/16″ drill bit, then upped a little to match the bore of the 17-pdr shell. The outside rim of the entry hole was then chamfered with a dentist’s chamfer bit. How did I get this wonderful tool, you may ask. I actually asked my dentist for their worn dentistry drill bits, and she gave me some! What is considered “worn” for human teeth use is actually plenty sharp for polystyrene. Also, the shot penetrated where the edge of the side skirts were, and so I thinned down that side enough to be able to bend them backwards to reflect the split and distortion of sheet metal when hit by the sabot round.
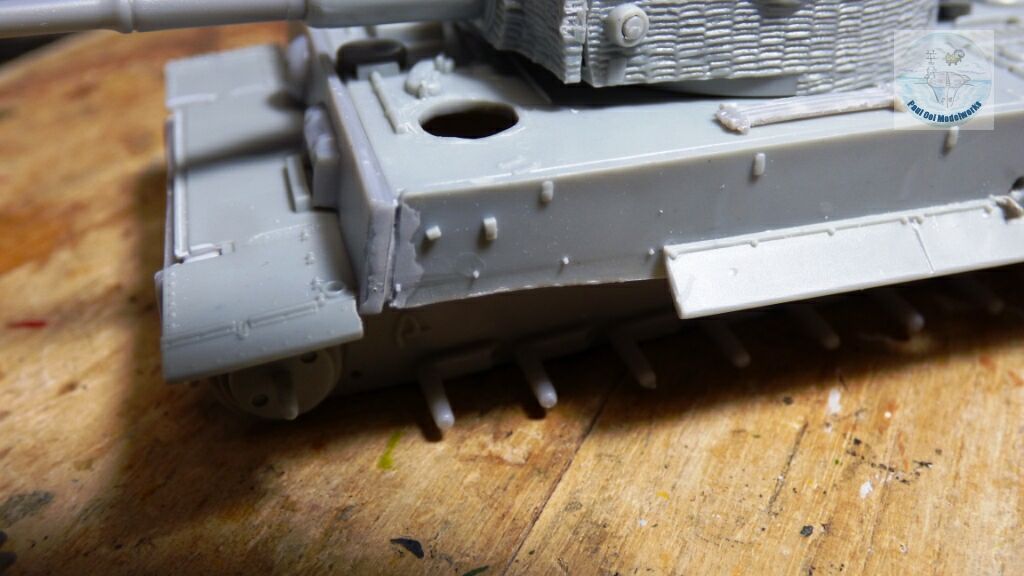
The front most fender was blow backwards in a previous encounter. That left a smooth wall which did not look right, so I attached plastic bolts (sprue), and trim them down to the correct length.
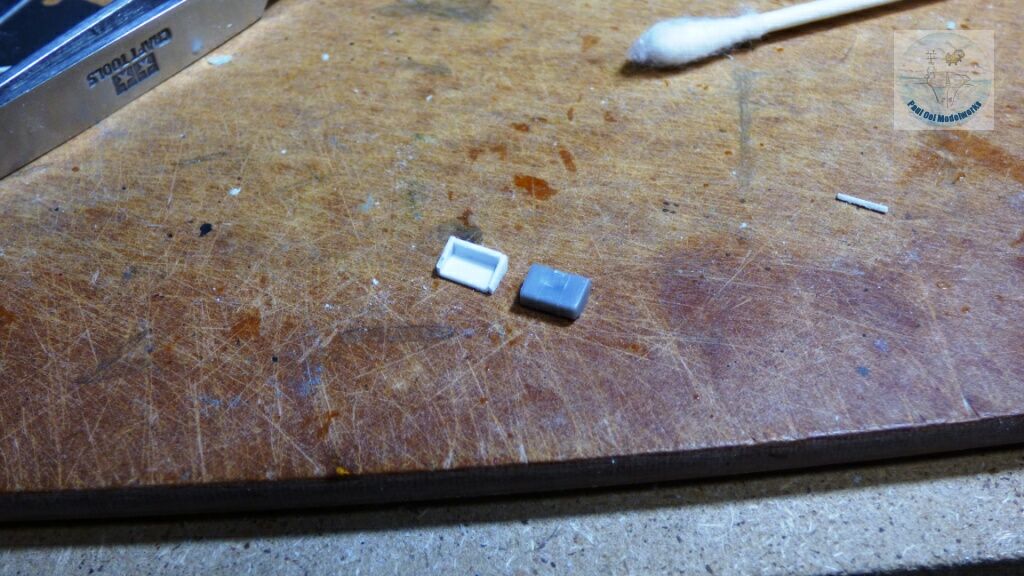
There is a tool box shelf at the port side rear of the hull. The kit came with the tool box and shelf molded together, and I scratch-built a shelf sans tool box out of card stock.
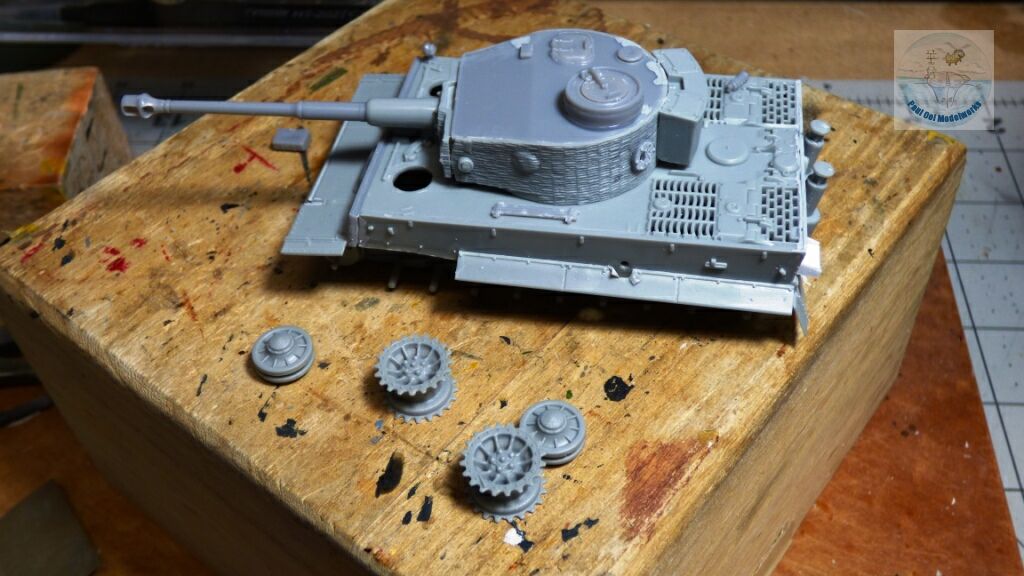
The parts and sub-assemblies are prepared for the paint booth.
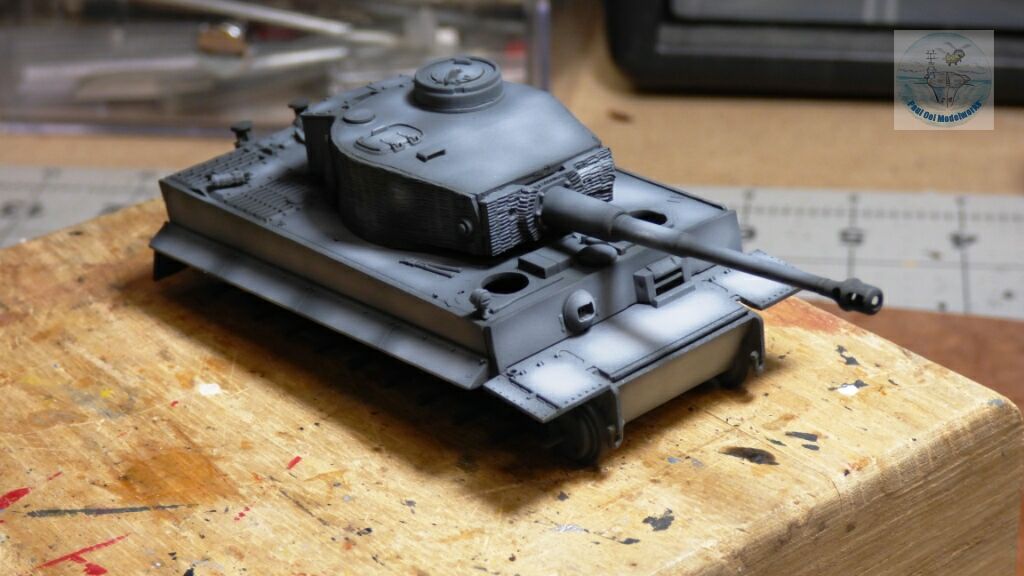
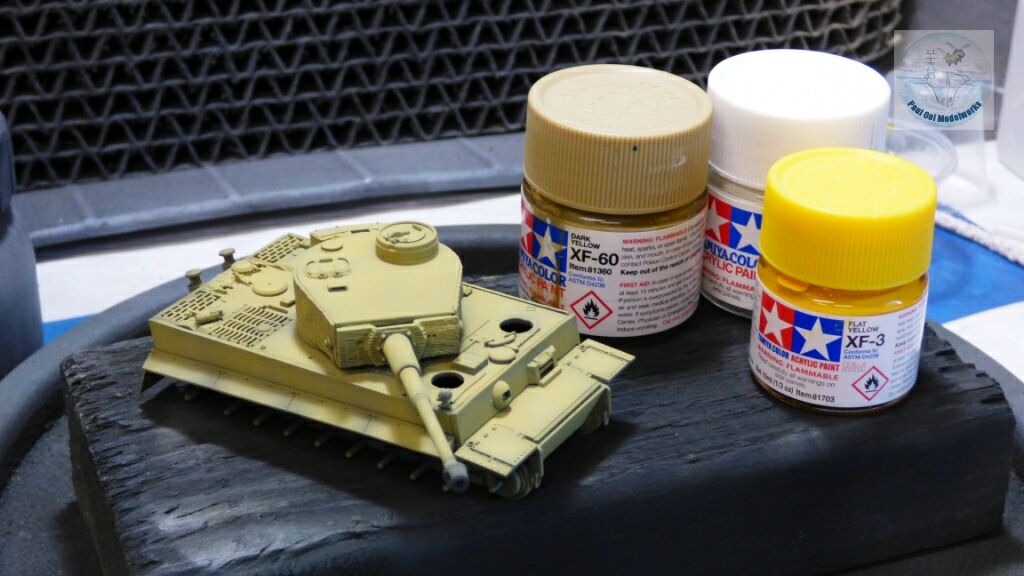
After the Tamiya NATO Black and Sky Grey under-shadowing, the main base color (lightened for scale effect: 60% XF60+20% XF2+20%XF3) is applied.
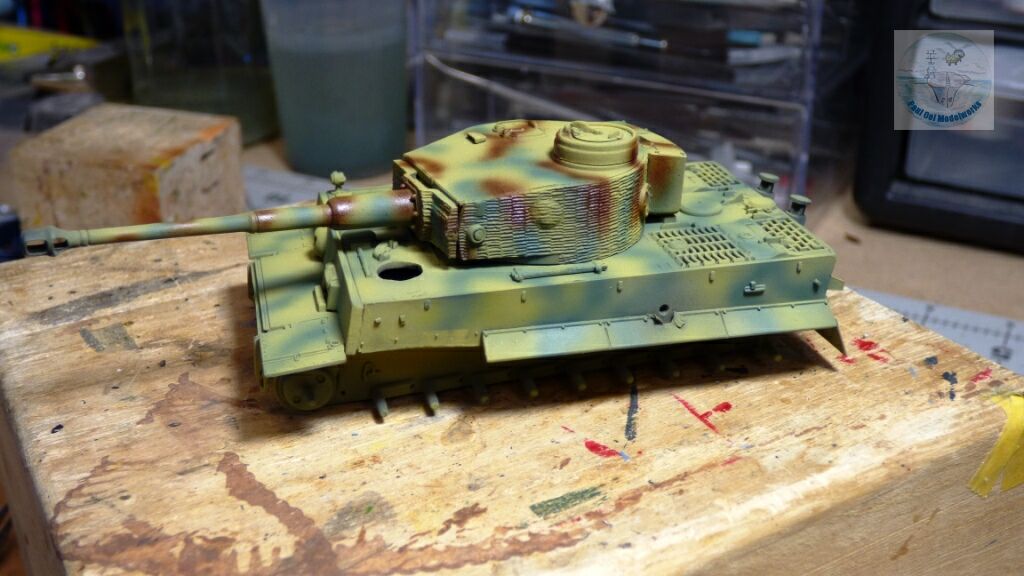
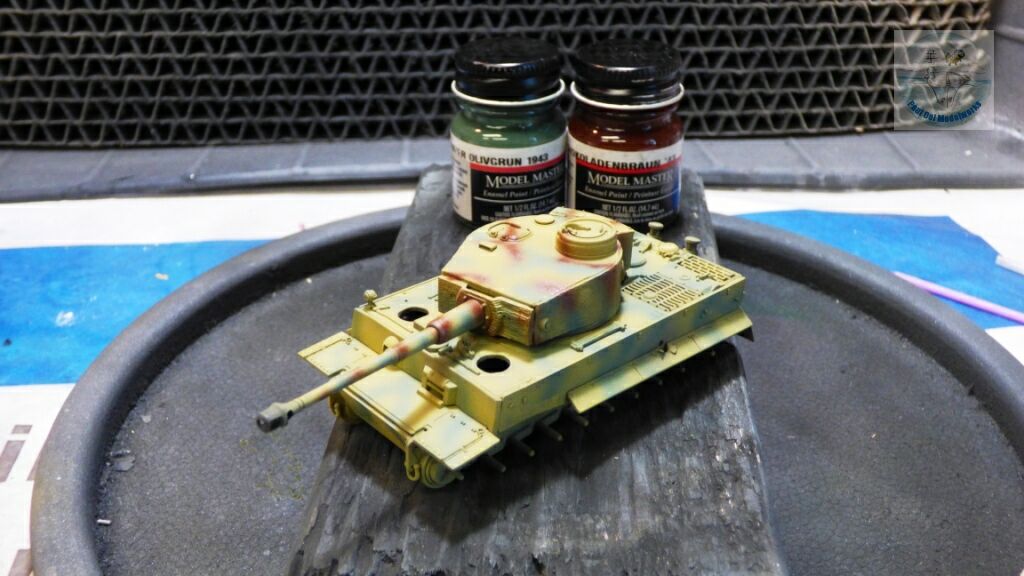
The striped camouflage pattern (three-tone on turret, only two-tone for the hull) are applied with the excellent (and sadly unavailable in stores) Model Masters Panzer Olivgrun ’43, and Panzer Schokoladebraun ’43.
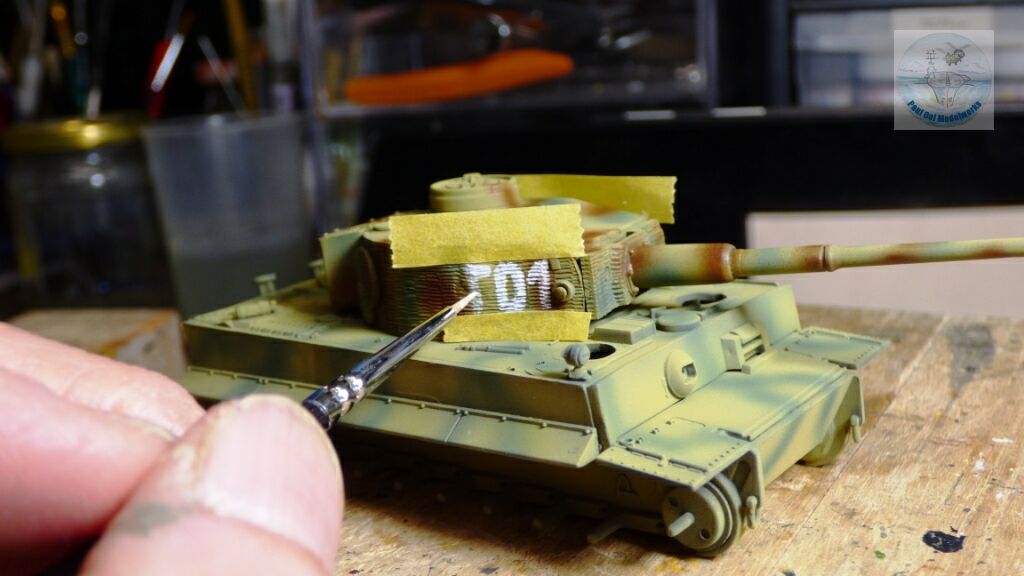
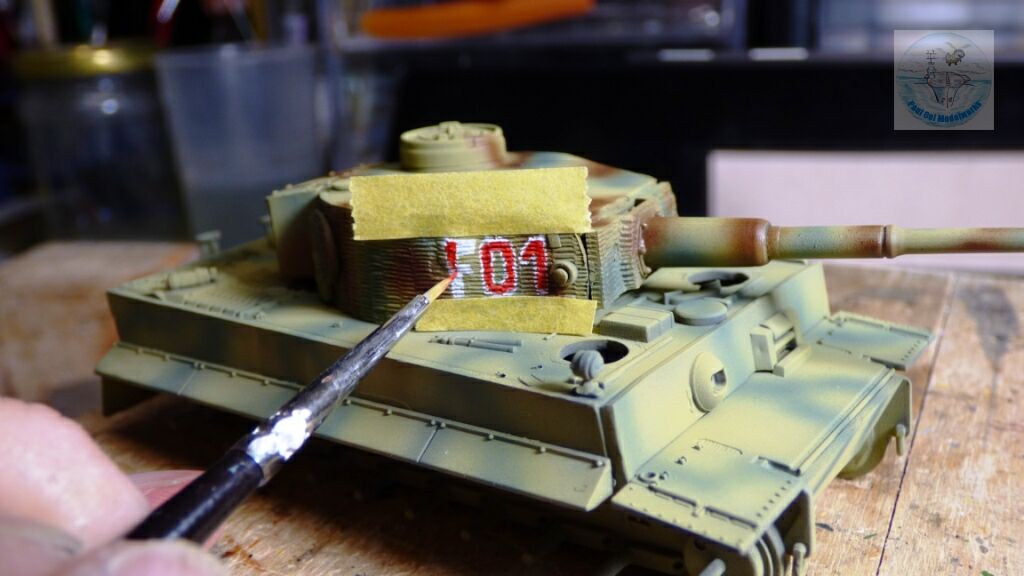
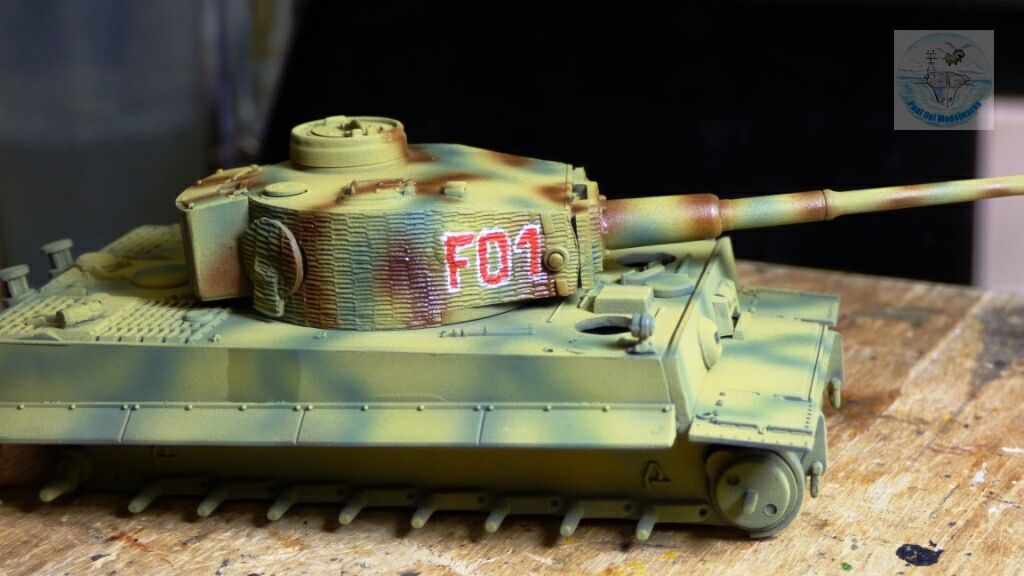
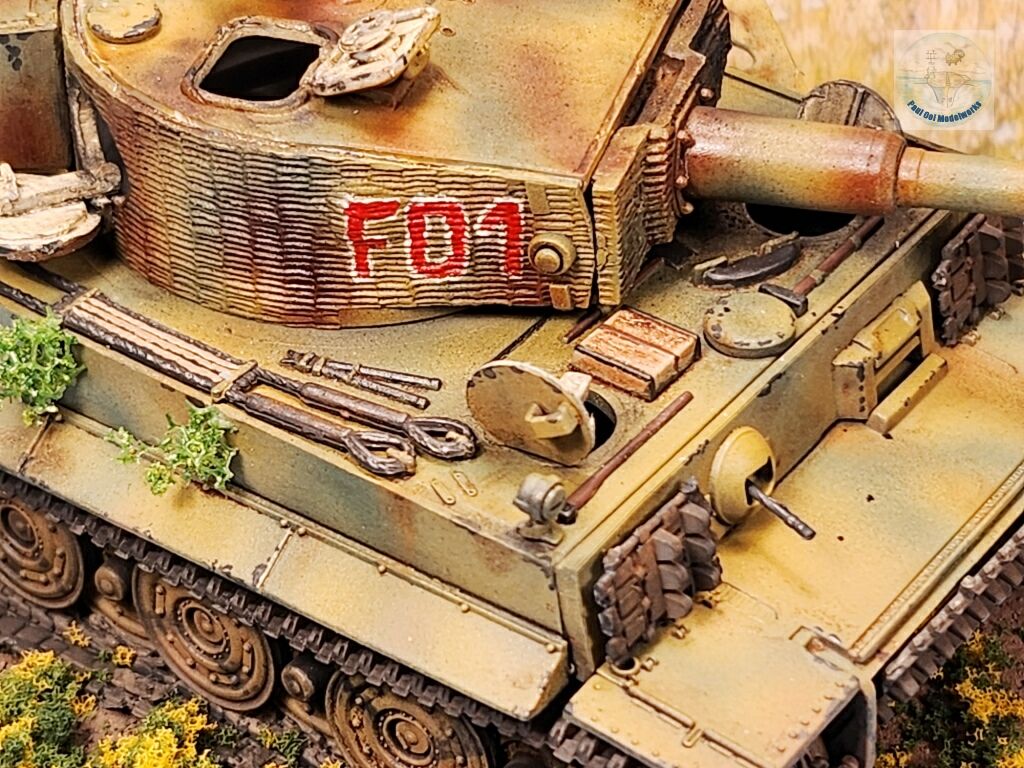
With numerals on Zimmerit, it is better (if possible) to hand-paint them as decals do poorly on the rough surface. Also, they were similarly hand-painted on the field in real life, and so hand-painting actually looks more real. Block off the top and bottom limits of the stencil to guide the alignment and position. Then start with the broader white section. I use Model Masters enamel Flat White. This is so that it will not interfere with the later Tamiya acrylic red paint and turn pink as similar paints tend to react and mix. After the white, I can carefully overlay the thinner red numbers to achieve the while boundary. I also added the black crosses decals on the side after wards. The whole assembly is then sealed with satin varnish.
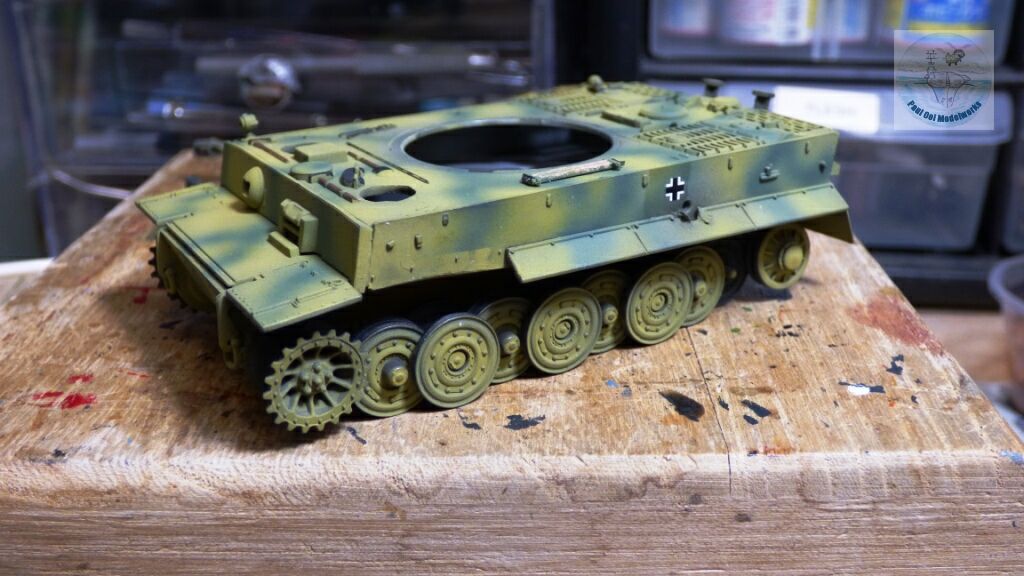
Now comes the critical part, the wheels and tracks. I inserted the front teethed sprocket but left them free to turn. Note that I skipped one last outer road wheel before the rear (un-toothed) sprocket. That last sprocket is actually removable, so that I can install the one-piece track into place by stretching the rear sprocket into its holding pin. Once the rear sprocket is in place, then I will install the missing road wheel to “seal” all the road wheels and sprockets in place.
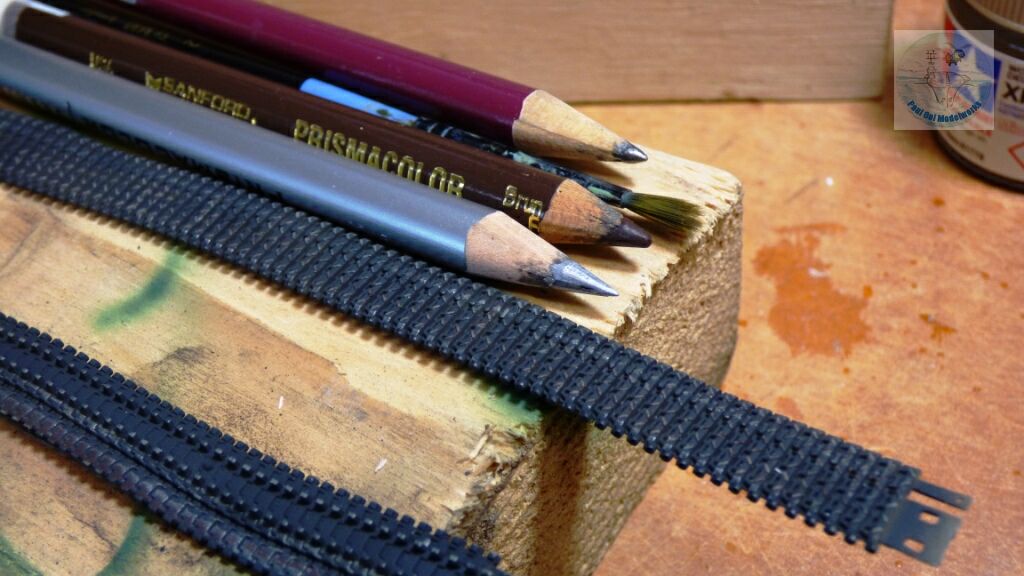
DS one-piece track is painted with acrylic Tamiya NATO Black, and then detailed with Prismacolor Silver, Brown, and regular pencil lead. The tracks are then bonded into bands using super glue, and a poly surface primer.
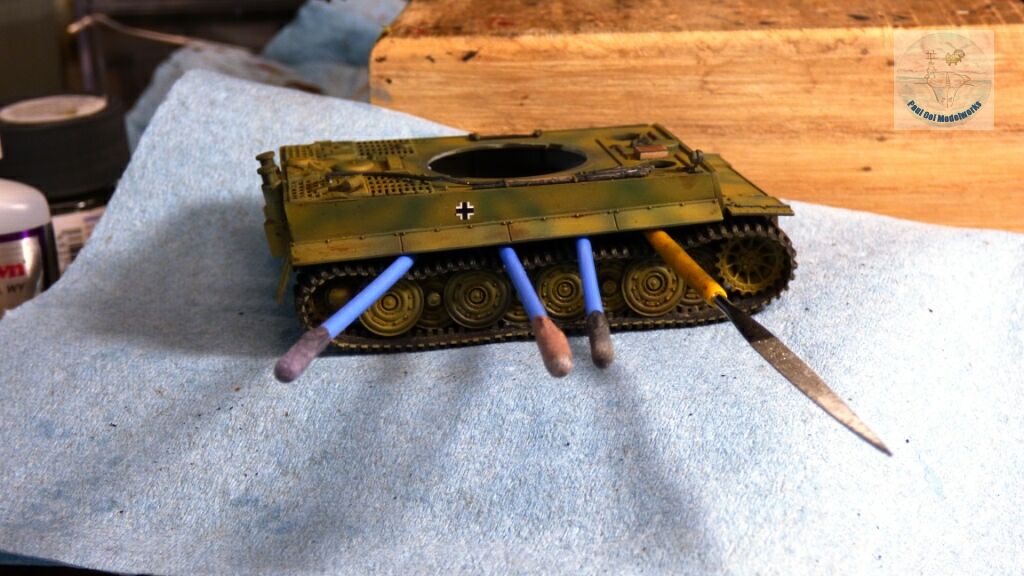
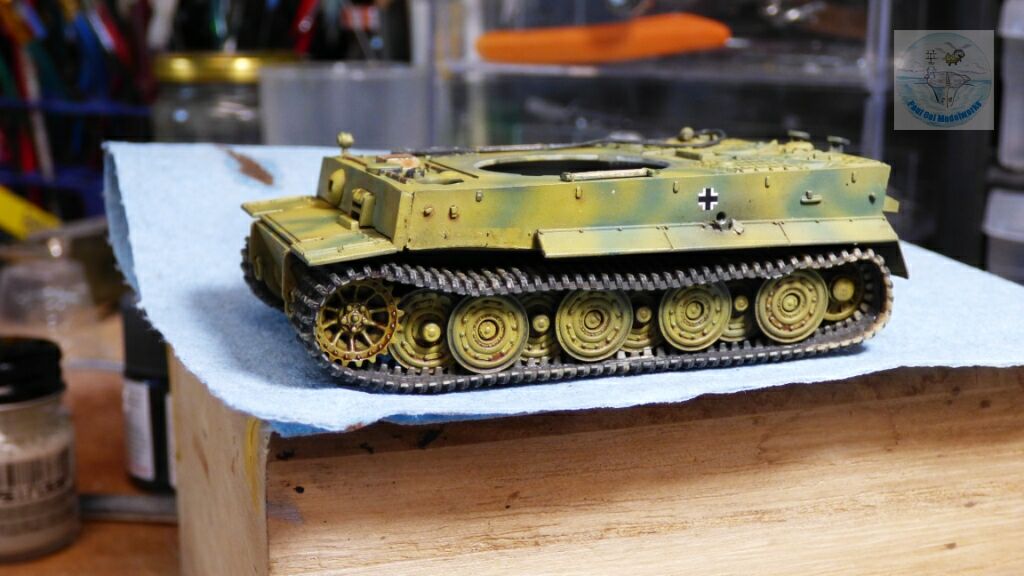
Once the rear sprocket has been installed with the track, I inserted pins to help the DS track to “settle” and give the proper sagged appearance like the real tracks. The tracks are fixed with liquid glue onto the road wheels. Once set and dried, the appearance is very good and convincing. The road wheels have been weathered with Burnt Umber oil wash prior BEFORE installing the DS tracks or the latter will disintegrate.
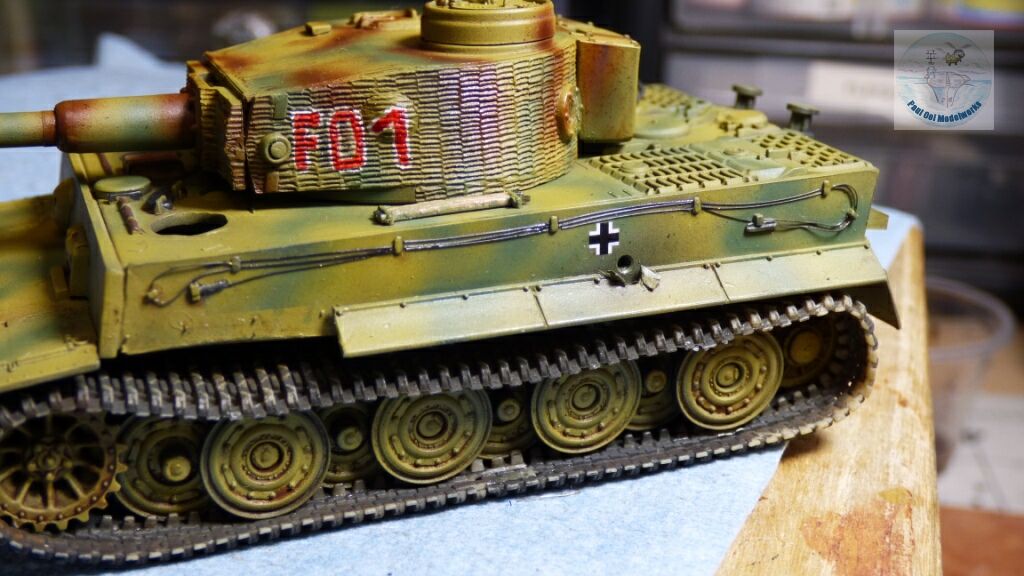
Somehow, the kit did not have the wire cables at the port side (clearly present in the pictures of the F01), and so I installed these from stretched black sprue and minute strands of steel cable (compare this side to the picture just before it).
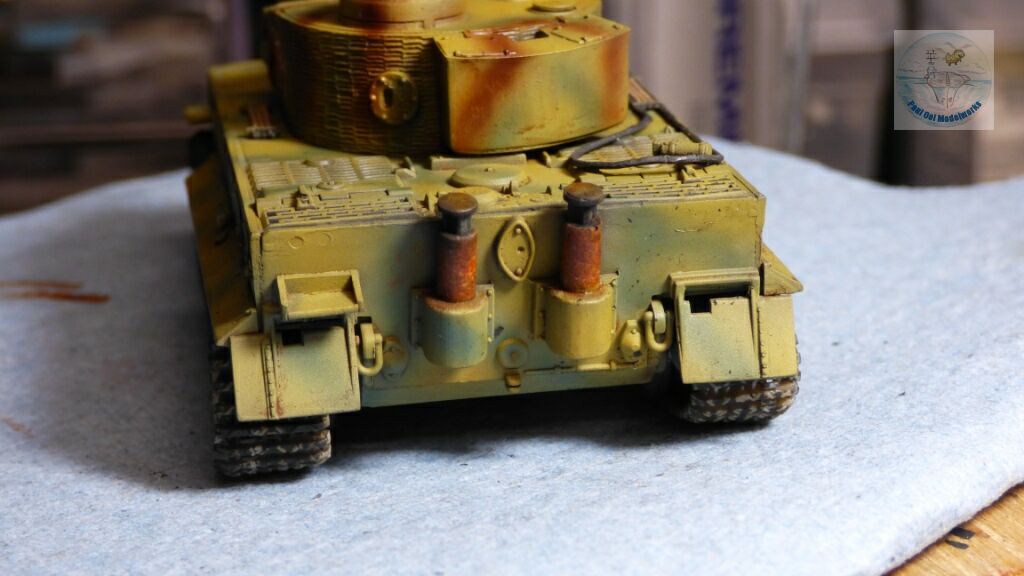
The exposed rear exhausts are painted next by a layering technique. I started stippling with enamel Light Grey and Off-White dots. Then I applied an oil wash of Burnt Sienna. The turpenoid will dissolve a little bit of the enamel dots, which is by design but don’t brush over it. Just let the the magic work and you will get lumps of paint and wash forming believable rust crusts. Once it is dried, apply a thin wash of Vallejo Sepia brown wash to tone down the orangey Burnt Sienna. Finally, apply pastel chalk powder of orange, and brown and black near the exhaust openings. It is well worth the effort and fun too.
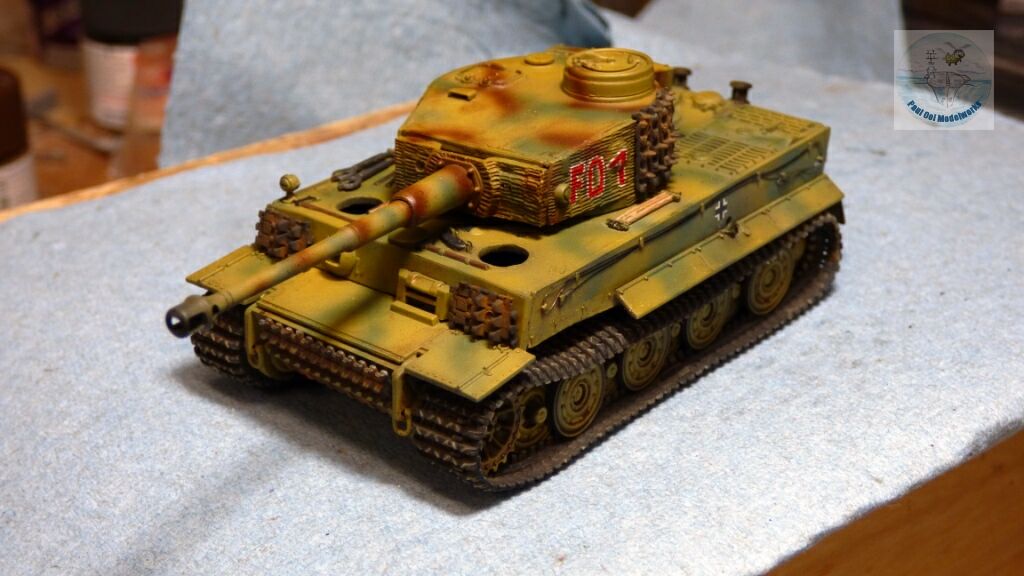
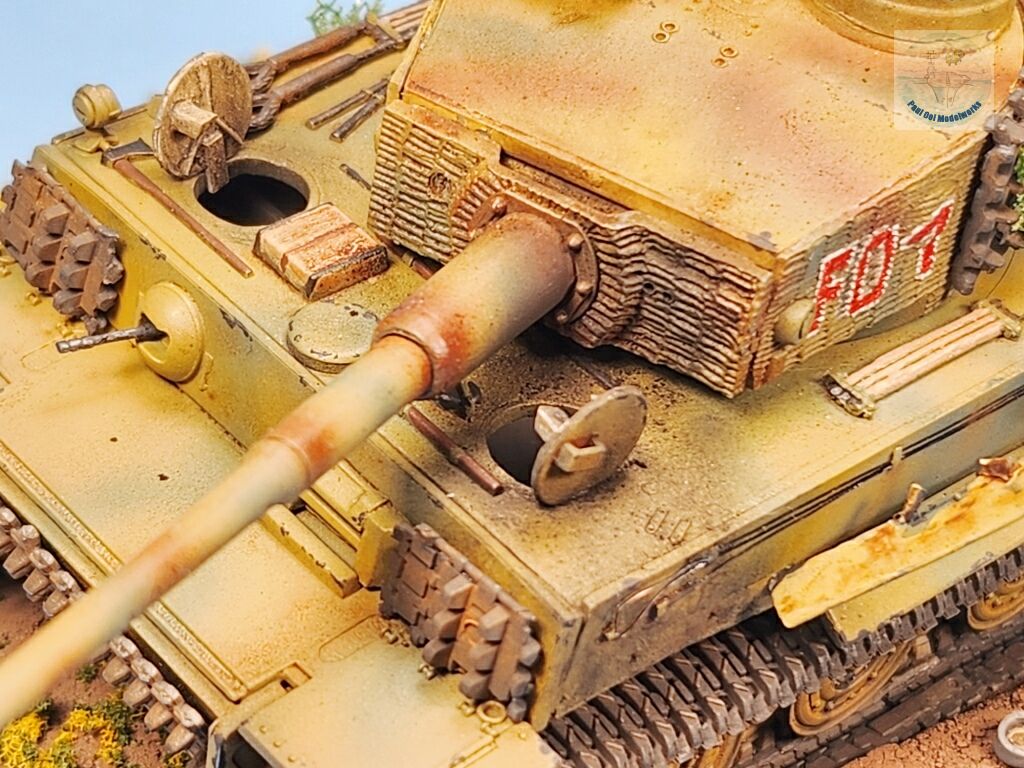
The additional protective tracks are applied to the front hull, glacis plate flanks, and the commander side turret walls as per the historical pictures of F01.The tracks are painted with a base of Tamiya NATO Black, and then different shades of orange, brown chalk pastels used for rust effect.
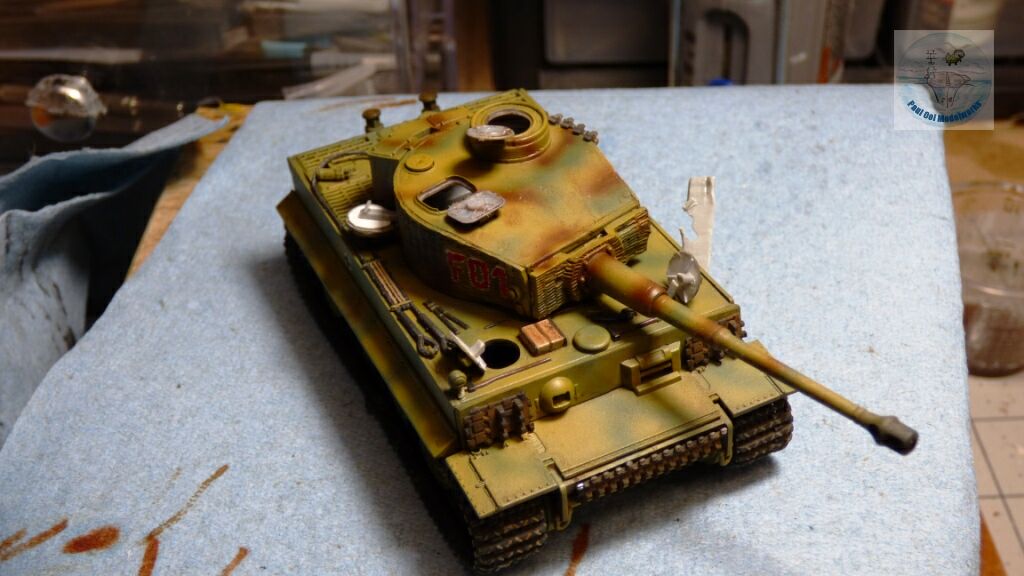
Hatches interior details are added in with plastic stock, and parts from the spare box. Almost all are scratch-built. Also, note the “flying” fender on the port front quarter. This is made from the fender section that I cut out, and then thin down with a Dremel tool, punched and punctured to match the historical photograph.
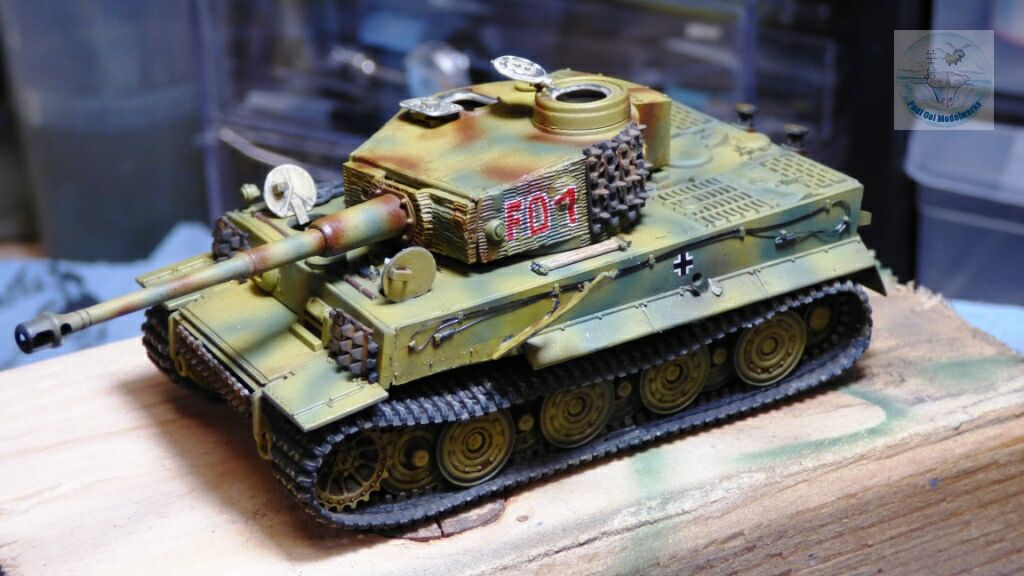
The panzer interior has a light cream color and I used Model Masters Radom Tan. A machine pin wash of Payne’s Grey is added.
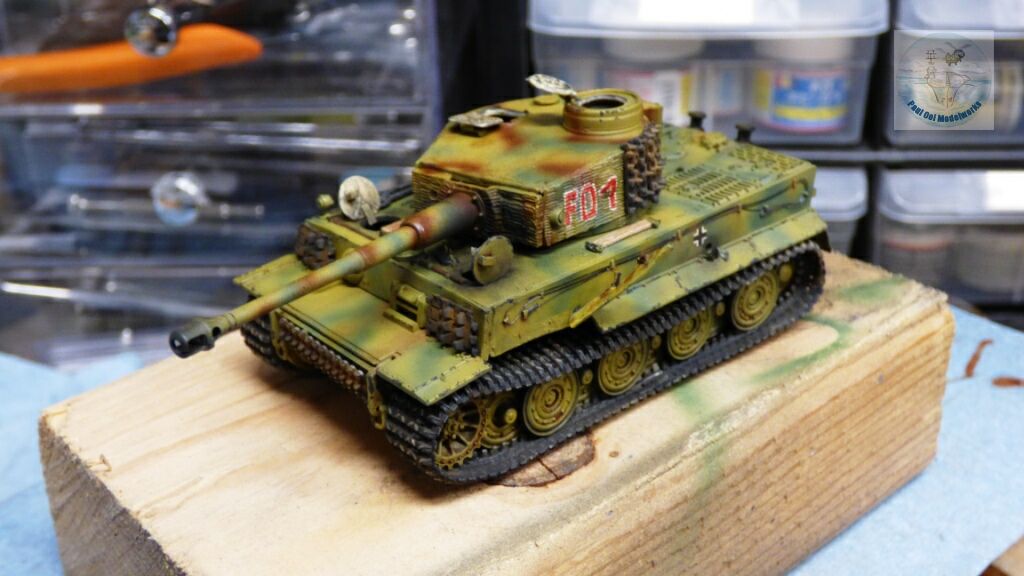
More weathering is added with burn marks at the hatches (black pastel chalk), rust stain and paint chips.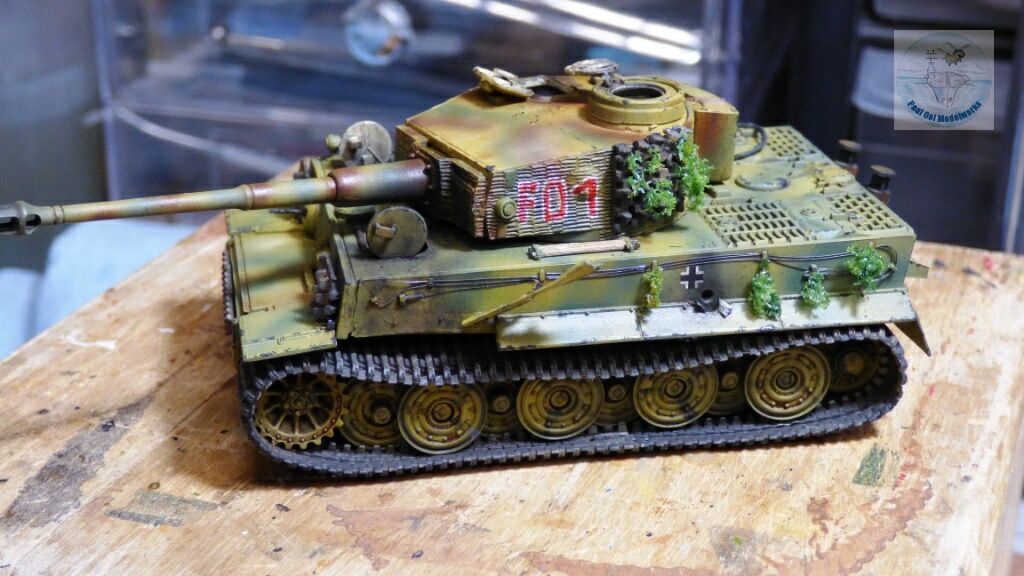
Last touches added are the vegetation attached to the sides of the tank (visible on the photographs), and radial grease streaks on the road wheels. The underside is dusted with Tamiya Flat Earth to match the display base.
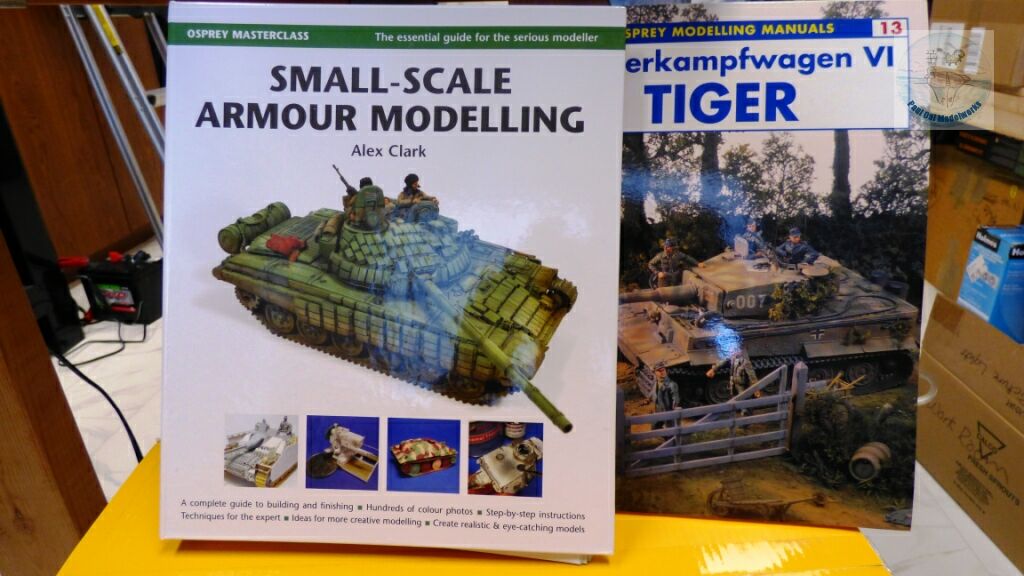
For those who are wondering how and where do I get my information on the Tiger 1 (since I do not have one in my garage), I recommend the Osprey Modelling Manual: Tiger and the Osprey Masterclass book by Alex Clark on Small-Scale Armour Modelling (it will knock your socks off!).


[…] last tank clash in the Ruhr pocket involved the lone surviving Tiger 1 of Gruppe Fehrmann F01 and the Comets of the 3rd Royal Tank Regiment. The encounter started on April 12th 1945 after the […]