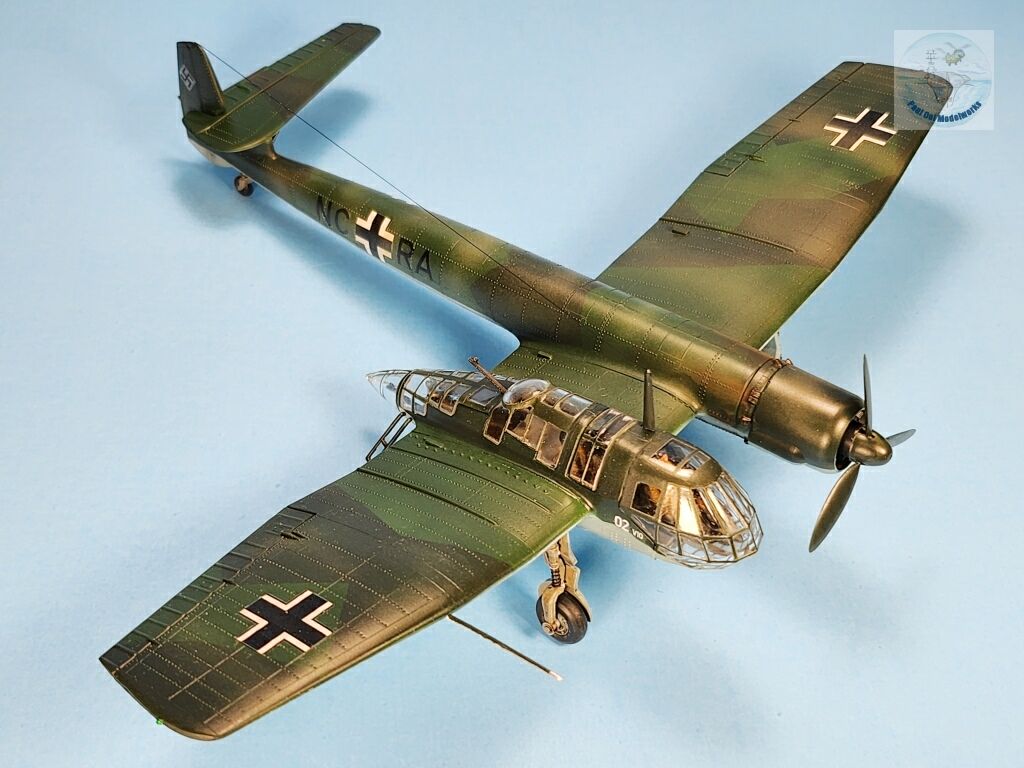
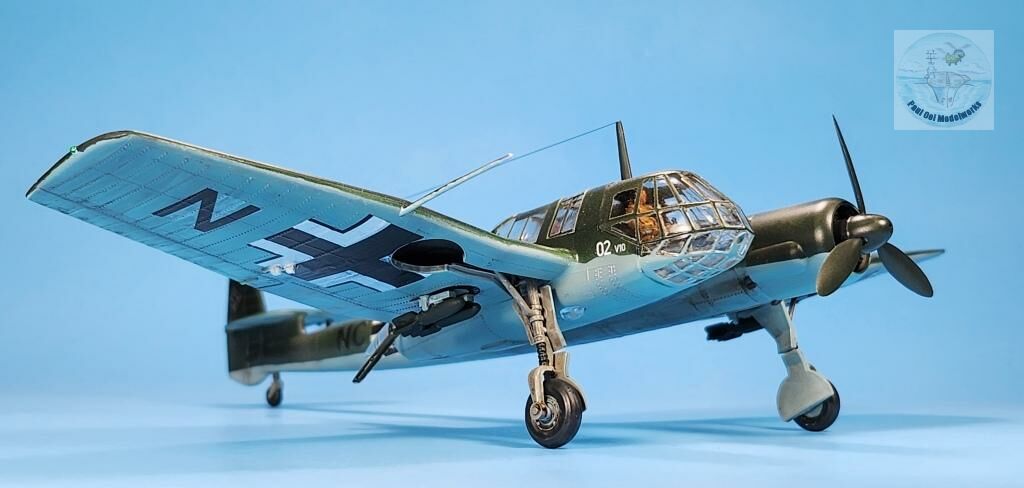
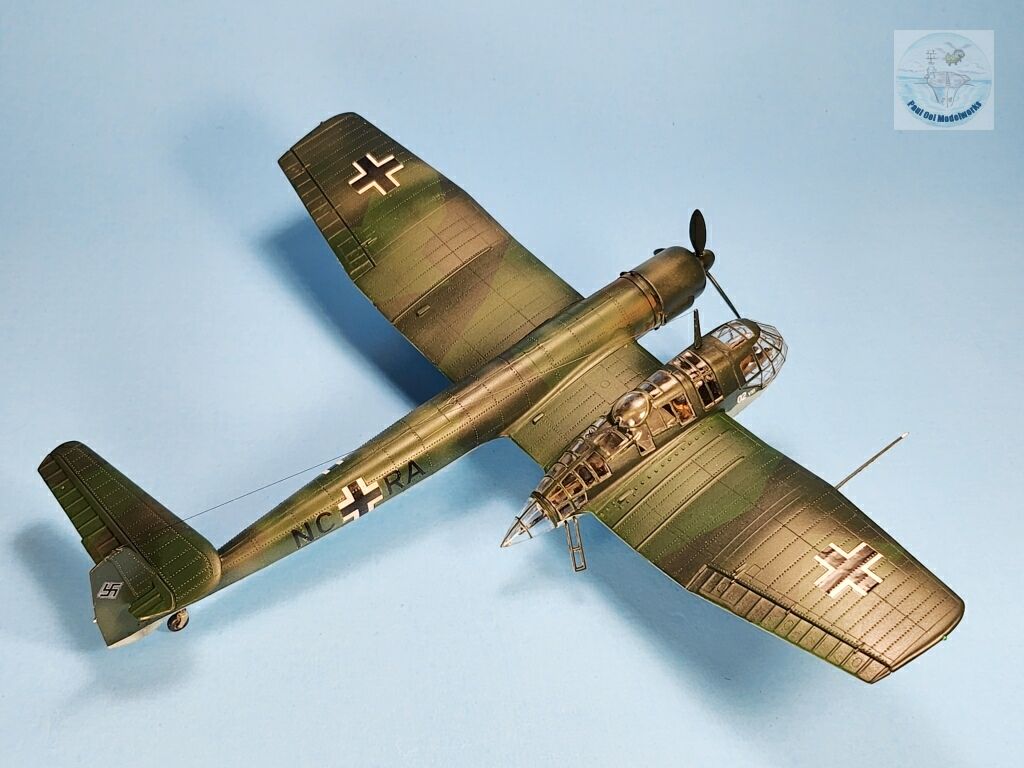
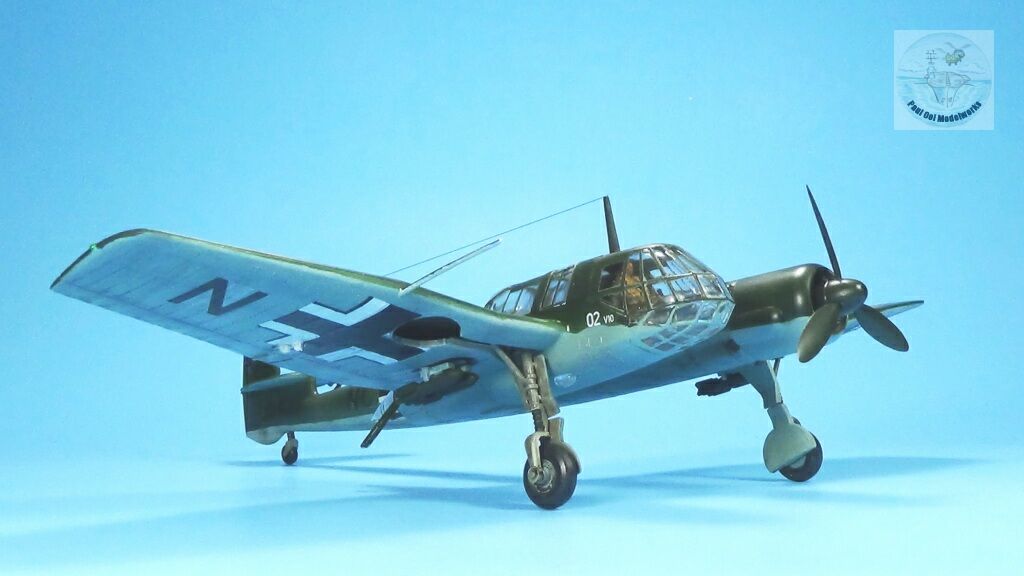
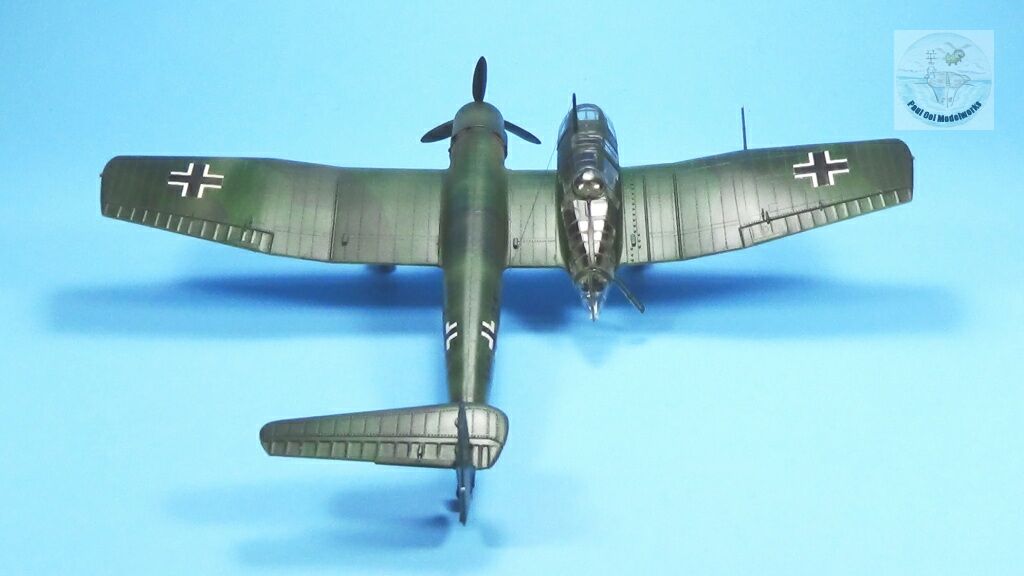
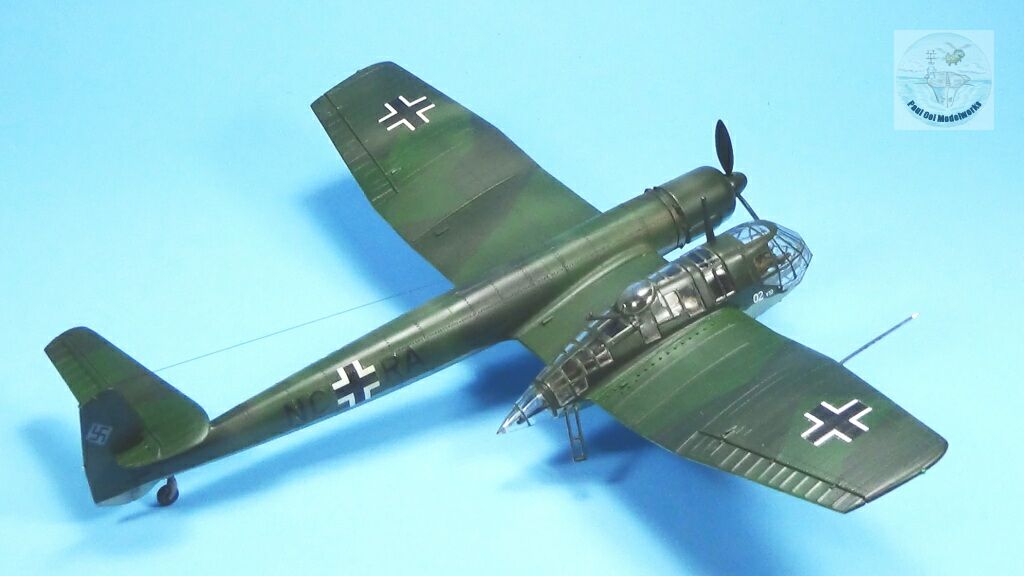
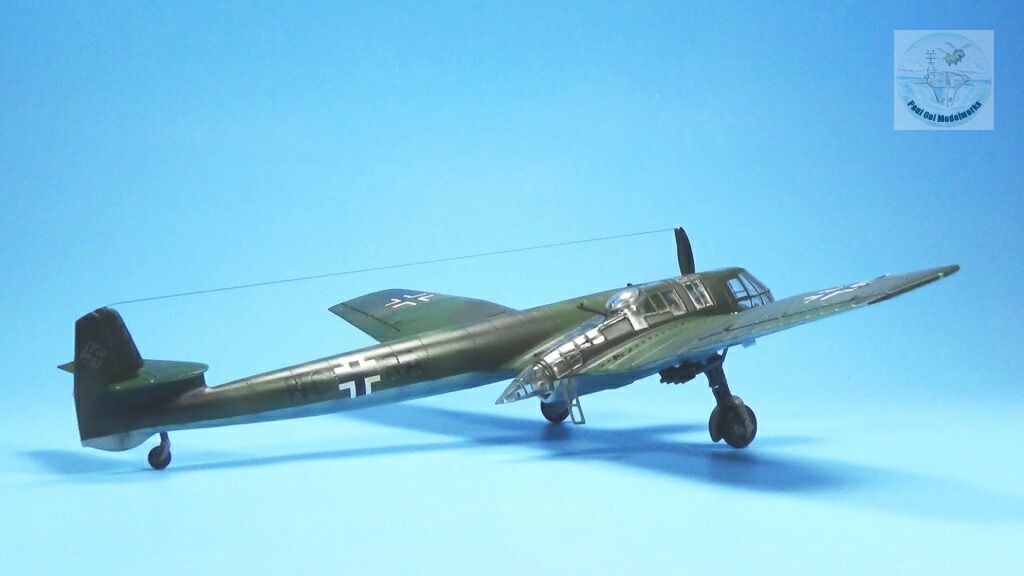
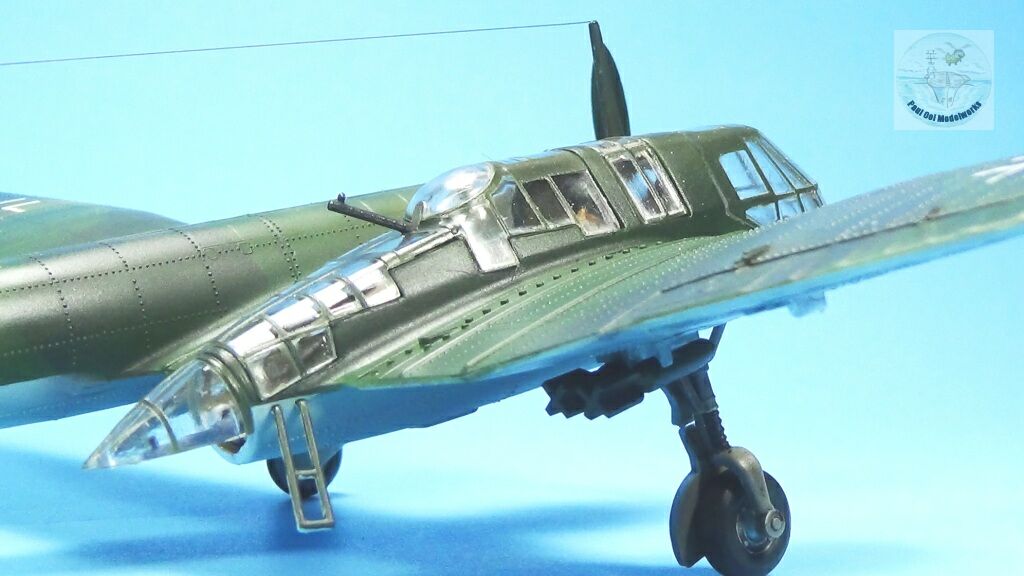
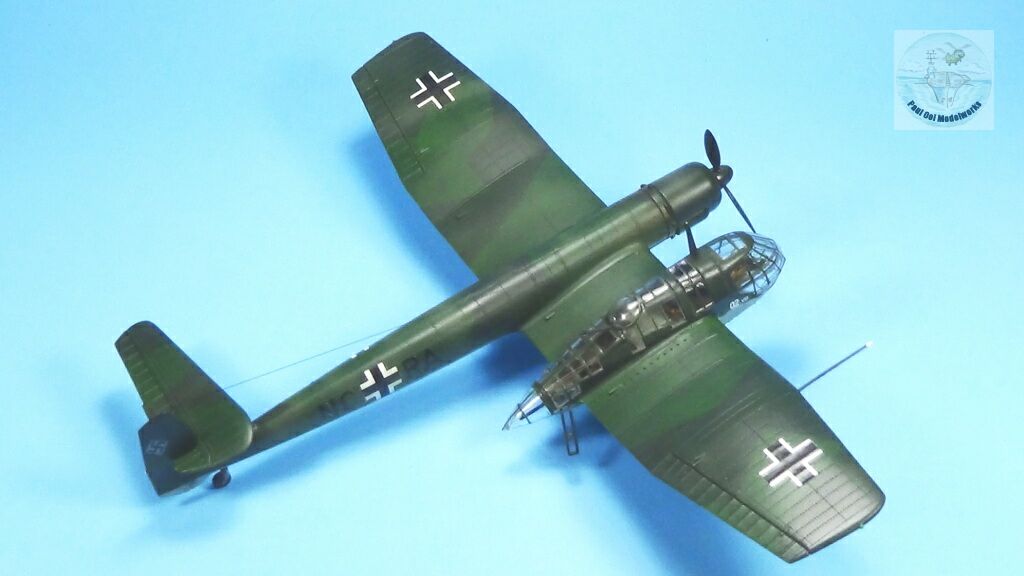
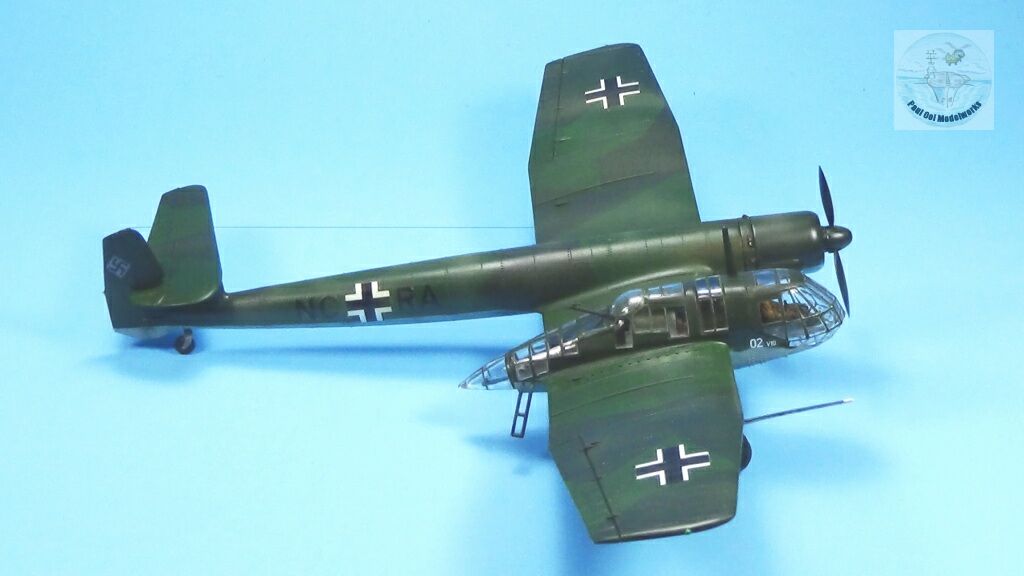
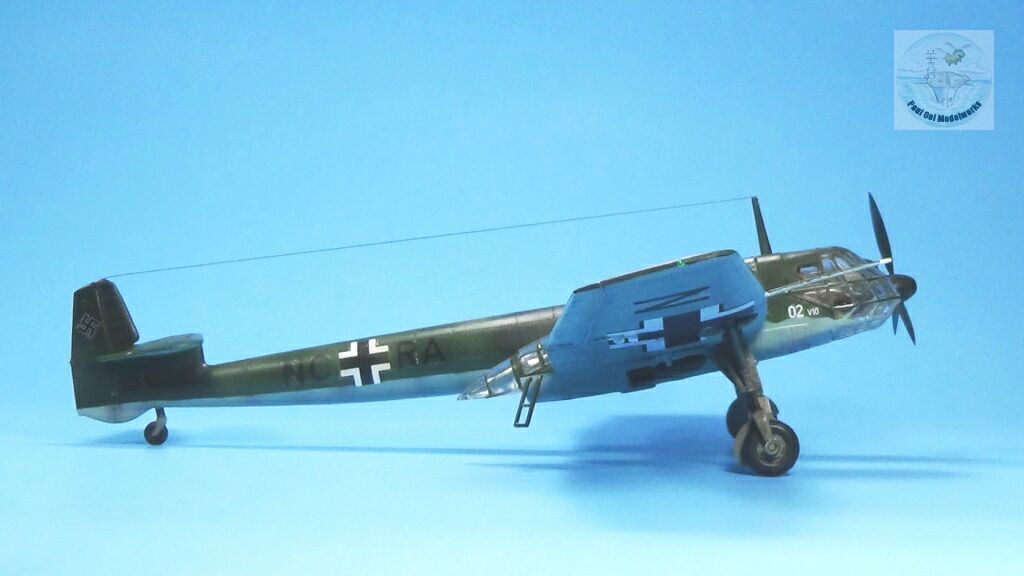
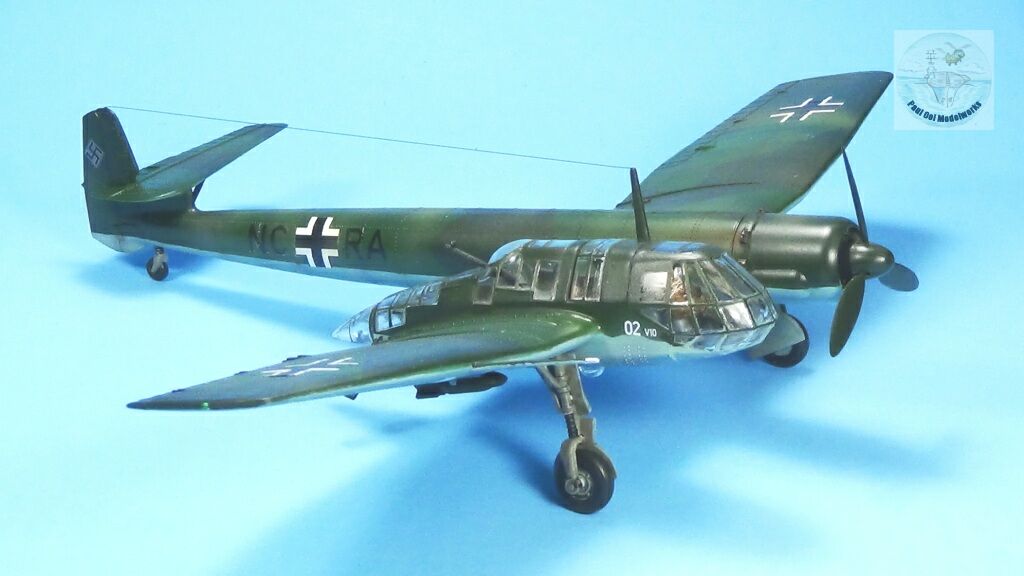
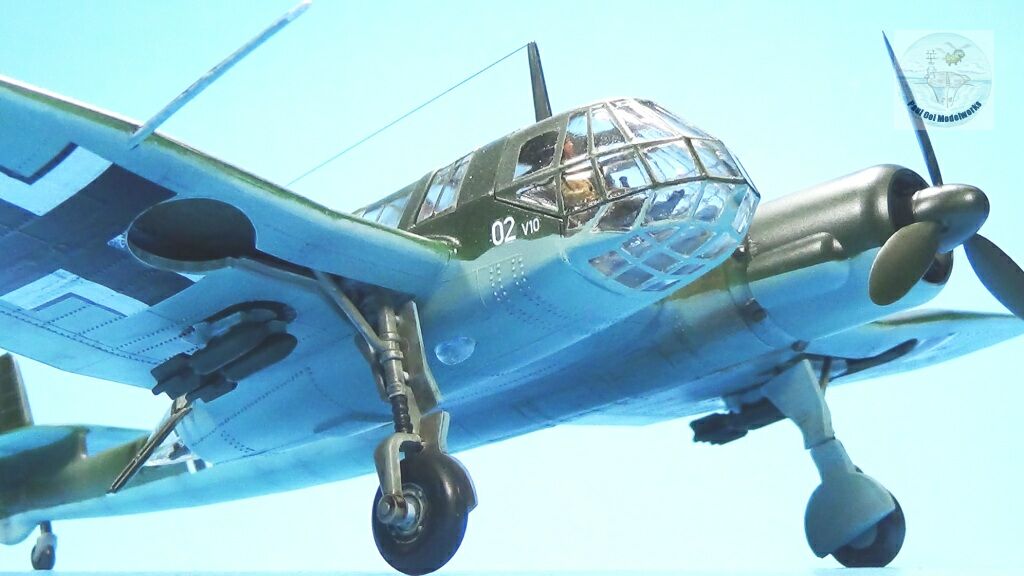
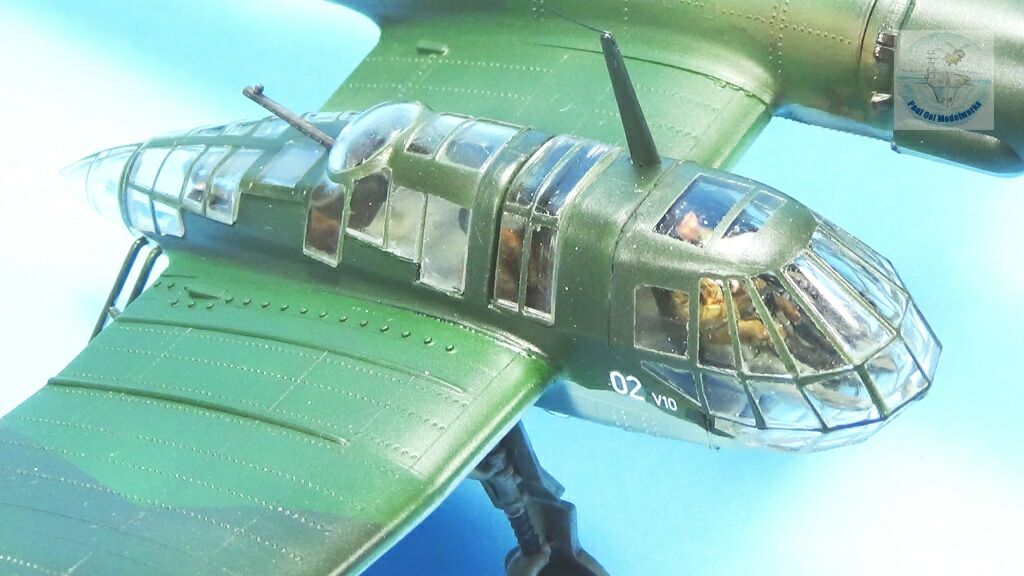
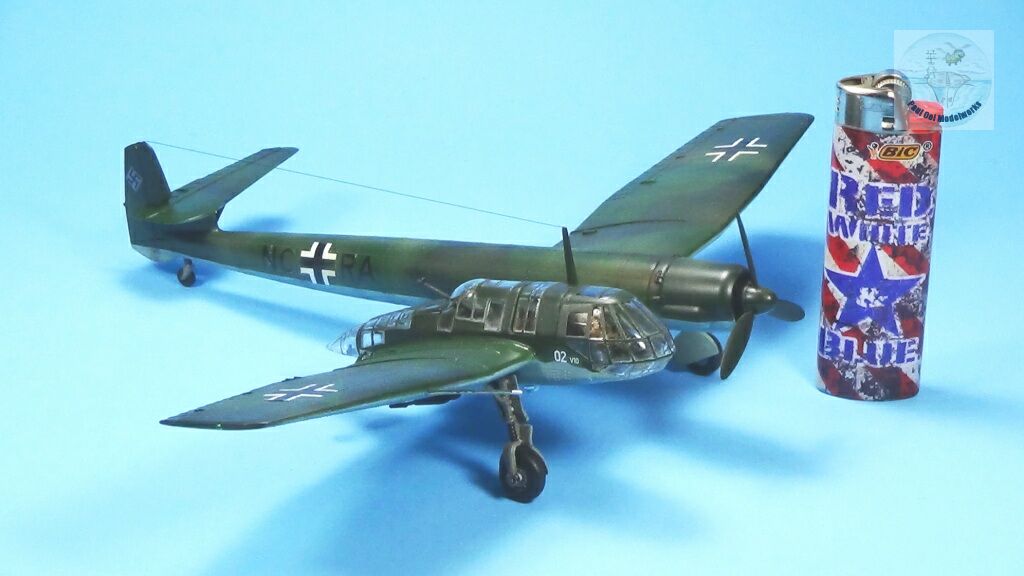
The German aircraft industry leading up to WW2 was very advanced and experimented with all kinds of unusual designs. The Blohm & Voss 141 was a unique asymmetrical design centered around a separate bird-caged fuselage for maximum visibility and a separate engine pylon. Initiated in 1937, this aircraft actually flew well and was ready for production by 1941. However, the Luftwaffe had enough conventional thinkers that rejected this radical design and the program was cancelled in 1942. There is a resemblance to the twin-boomed Focke-Wulf FW189 because of the fuselage, but this aircraft would have had a more powerful engine and a higher top speed. It would make for an ideal “what-if” Luftwaffe build, complete with Russian Front yellow identification markings. The markings I chose for this model was for the Bv141 V10 at the Test Center in Rechlin, 1941.
Gallery
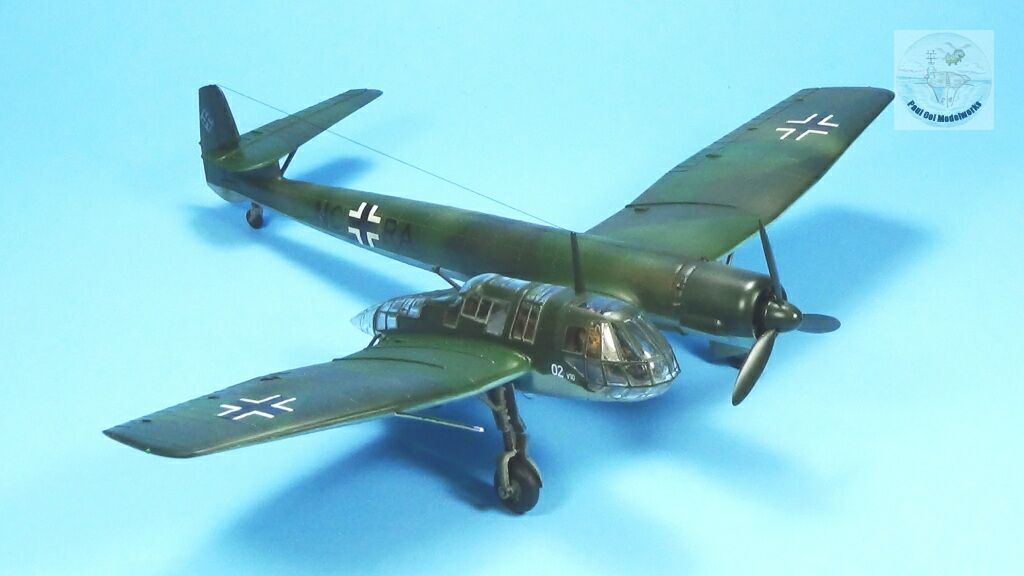
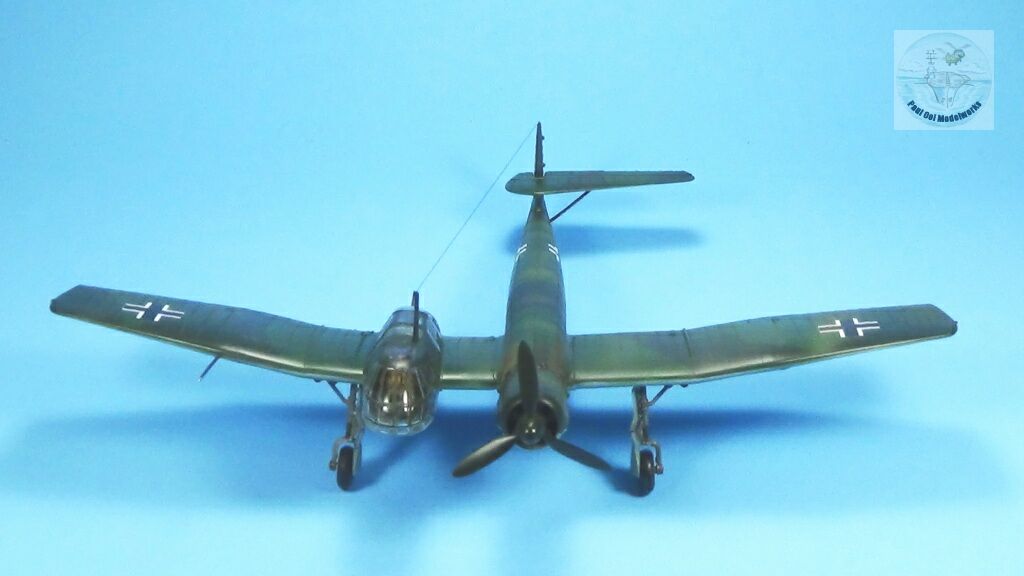
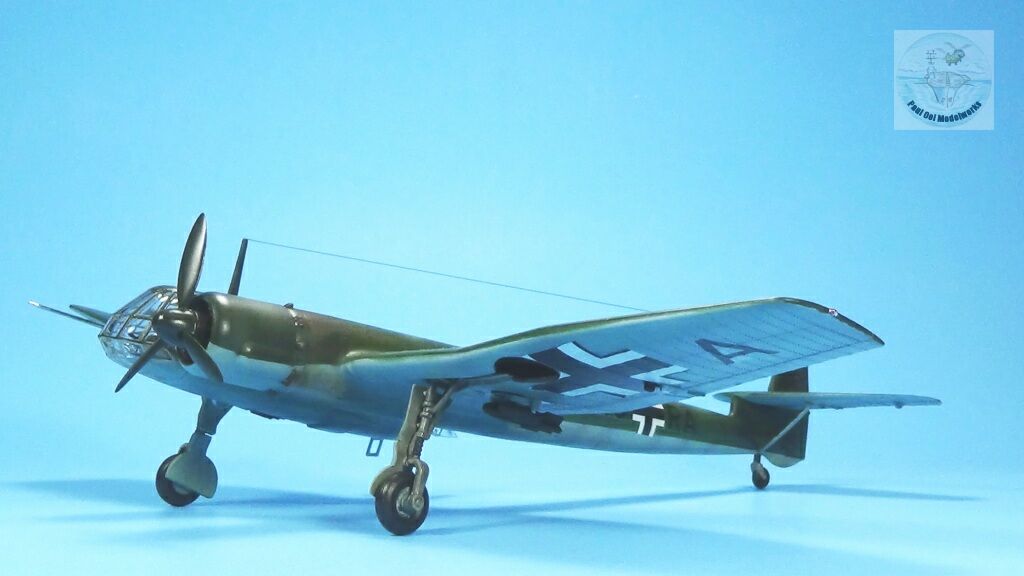
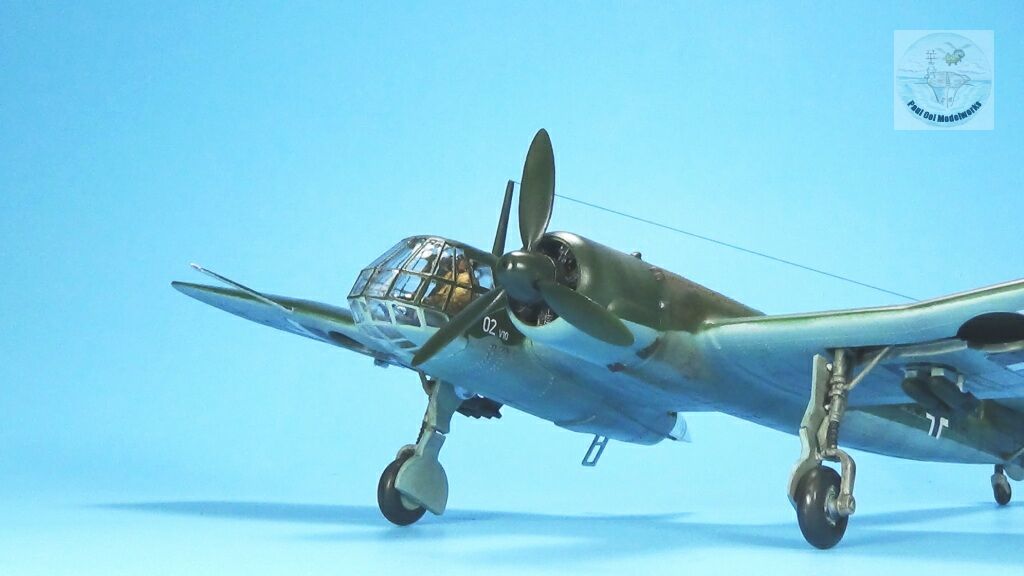
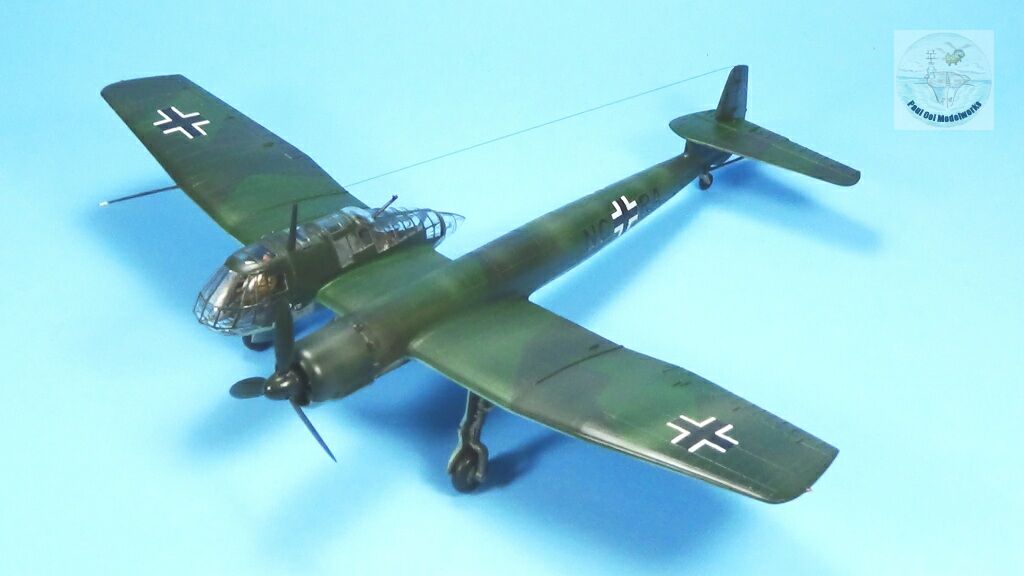
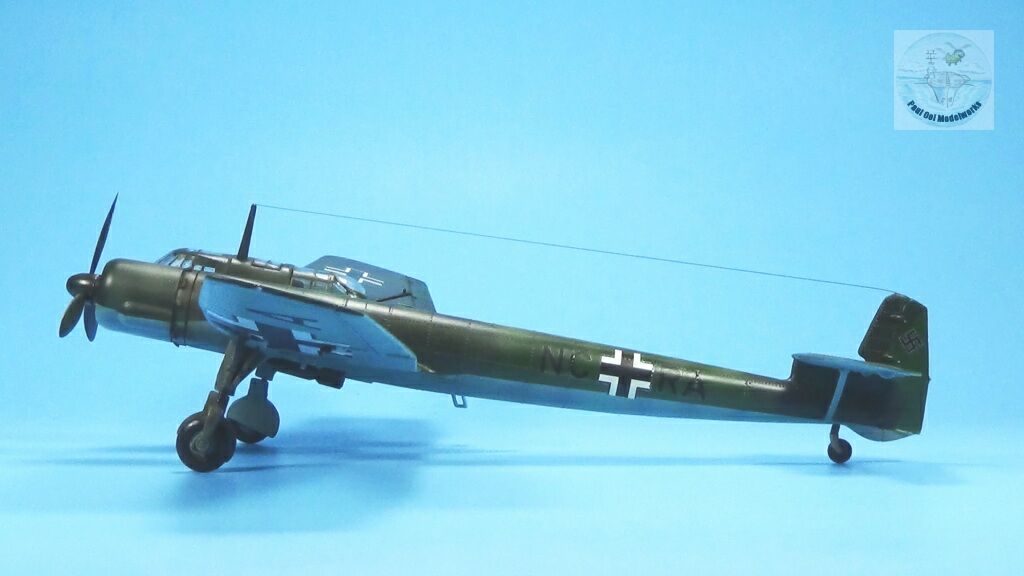
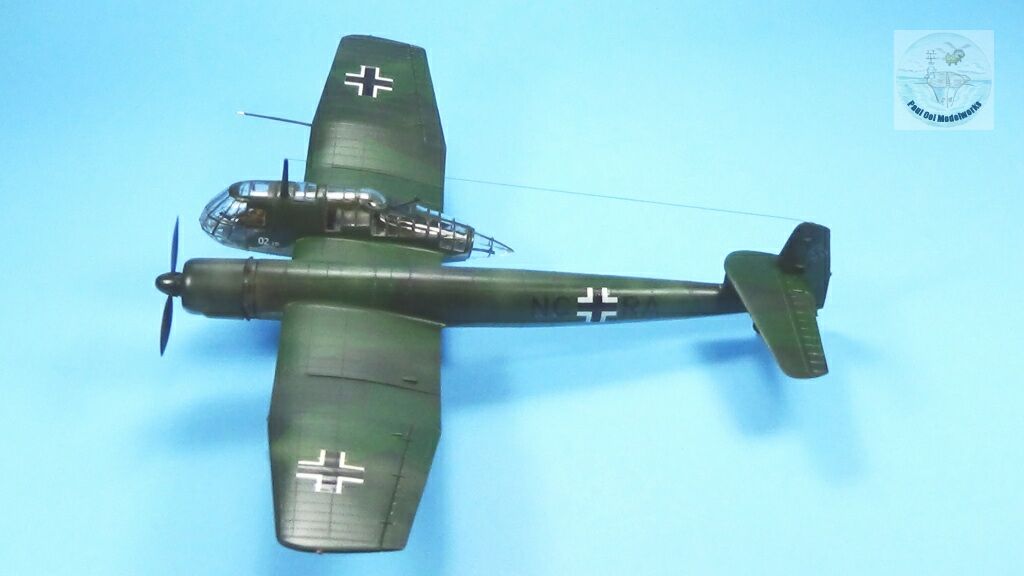
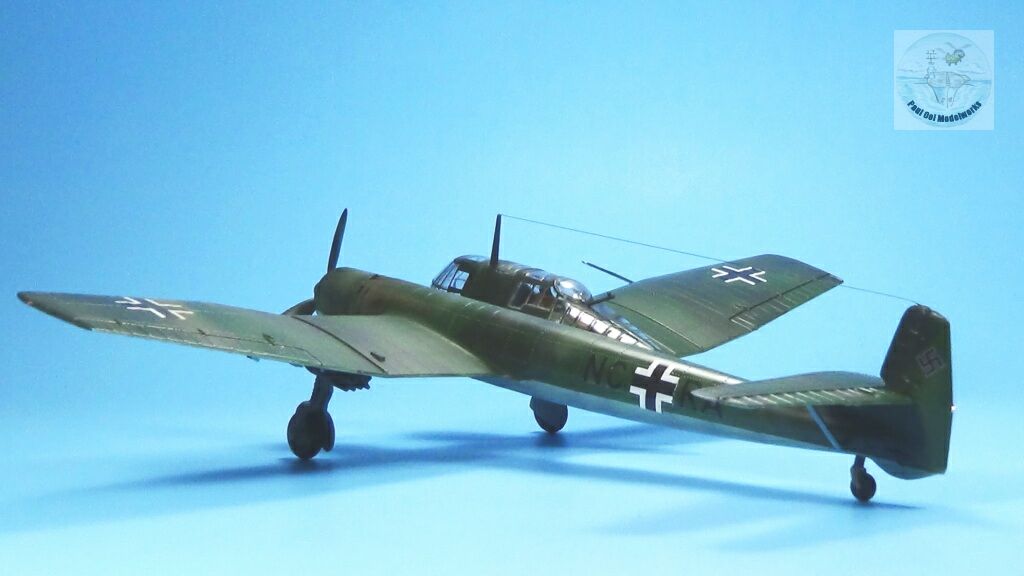
Construction Notes
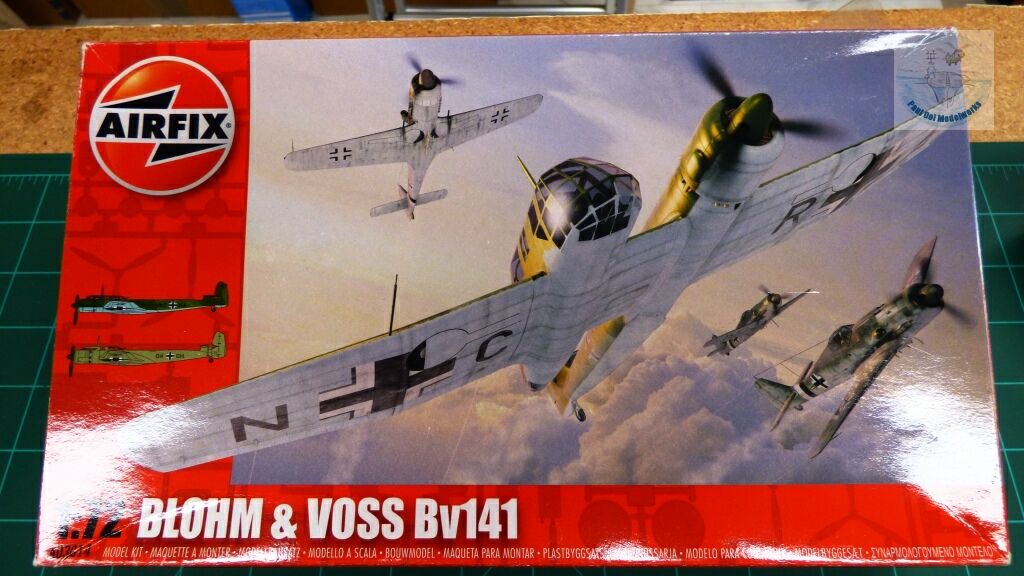
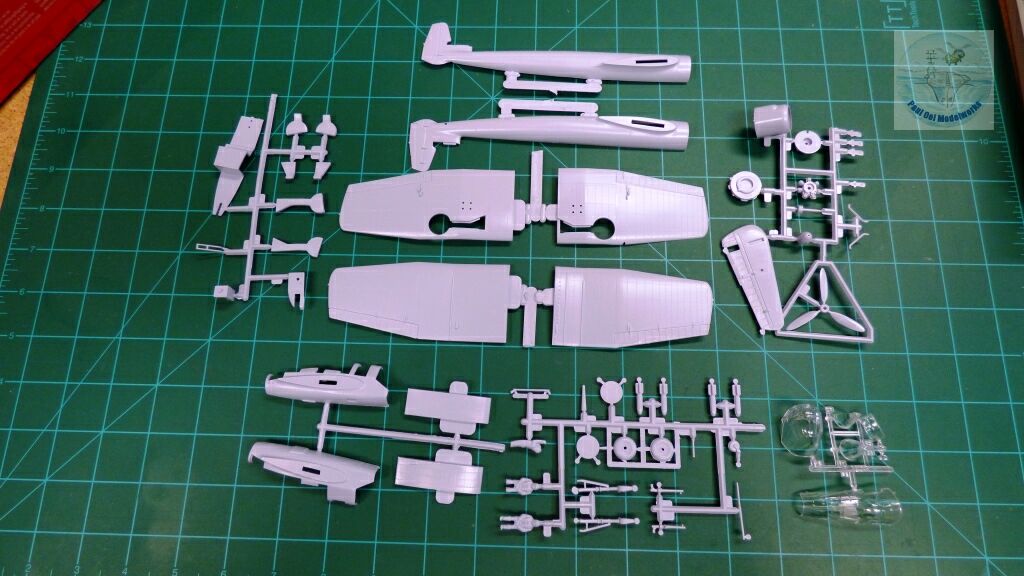
This is a really old kit introduced by Airfix back in 1975. I still remember the original release in the Airfix Catalogue and how excited we were about this unusual aircraft. The years flew by, and I encountered this kit again about twelve years ago when it was re-released in 2010. I bought it as a “maybe-one-day-I-will-build” category, and here we are! I actually built it and it is quite a challenge to get the parts to fit well, especially the large clear plastic canopy parts where the mold is not as crisp. The biggest problem I had was that the gate to the large clear mid-section canopy had huge bubbles and porosity that I could not clear up despite careful sanding and filling in with floor polish. The decals also had some silvering between the stenciled letters but I managed to paint those out. However, I am delighted that with careful modelling and painting, it turned out to be quite a beauty.
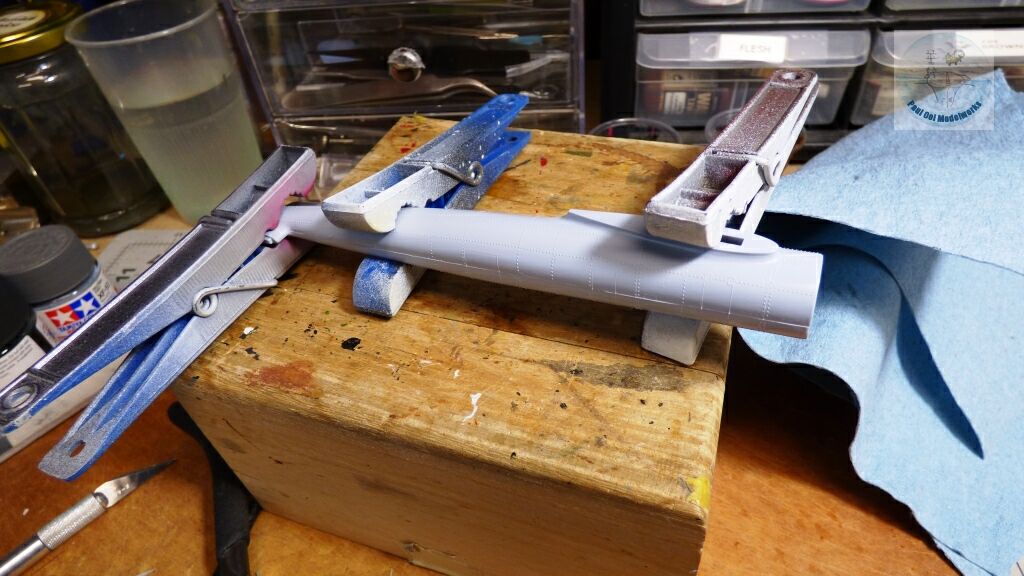
Instead of the cockpit, this kit starts with the main engine boom.
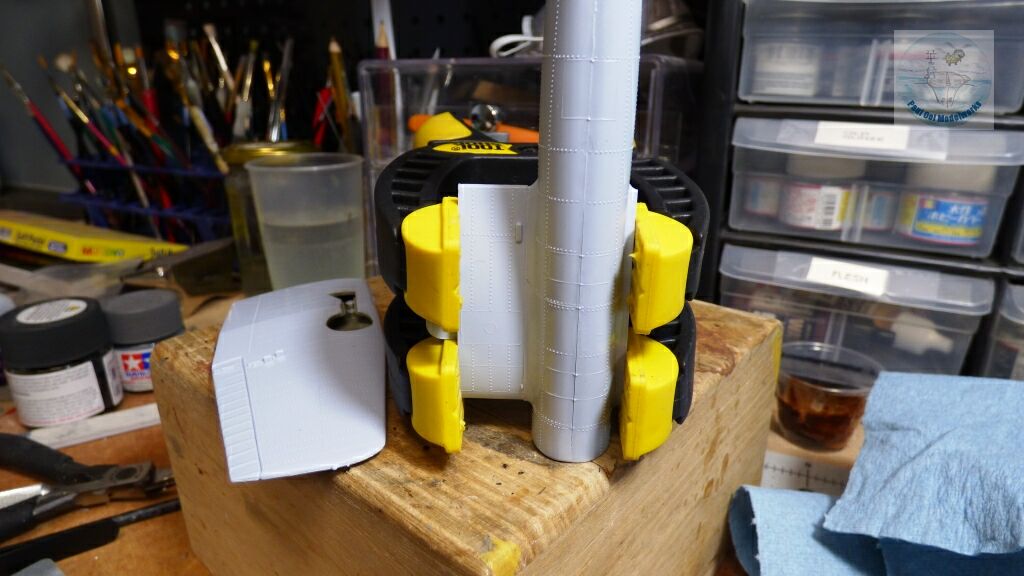
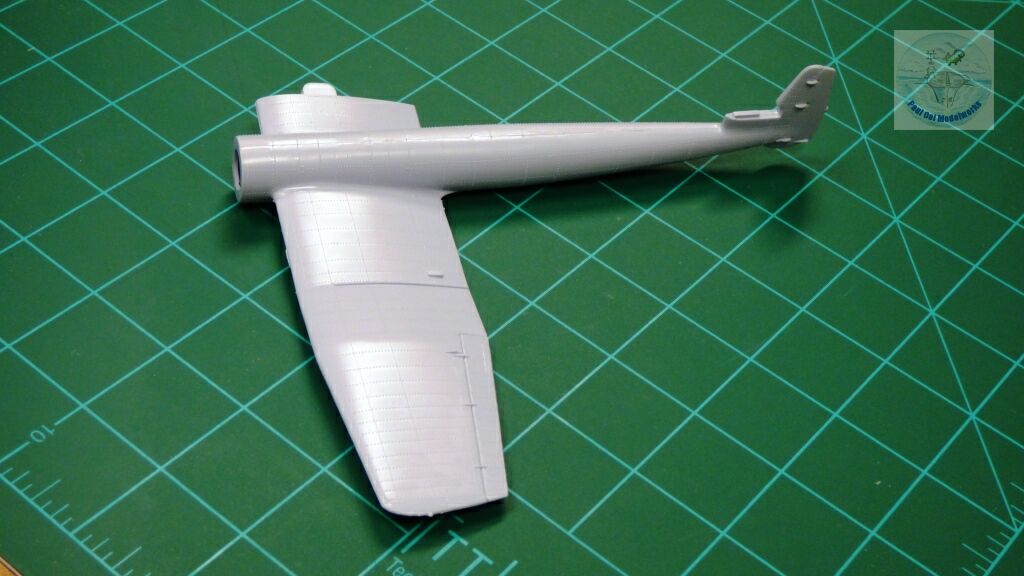
The port side wing, and the connecting section between the engine boom and fuselage are assembled next. These require quite a bit of clamping to overcome the gaps at each wing root.
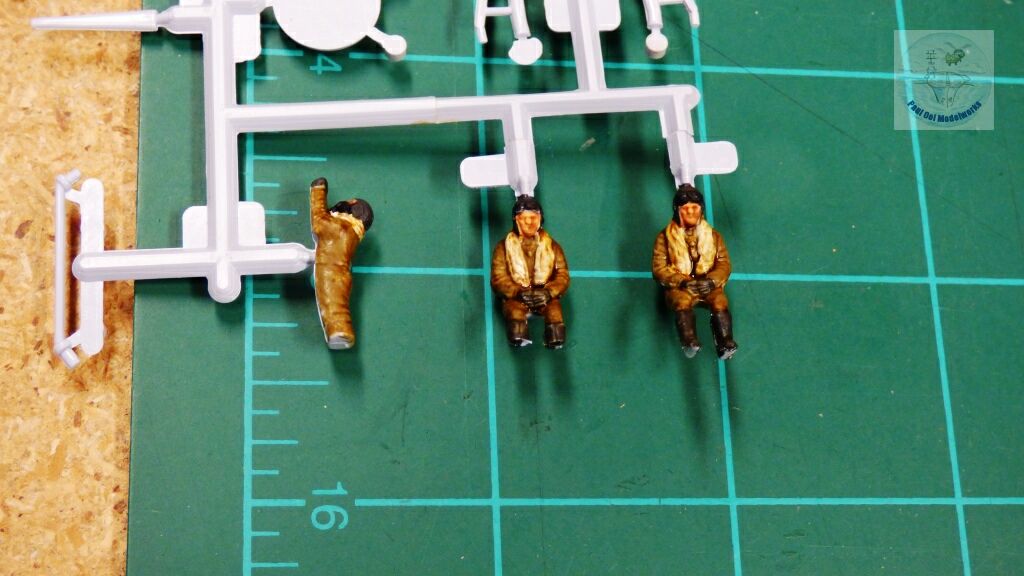
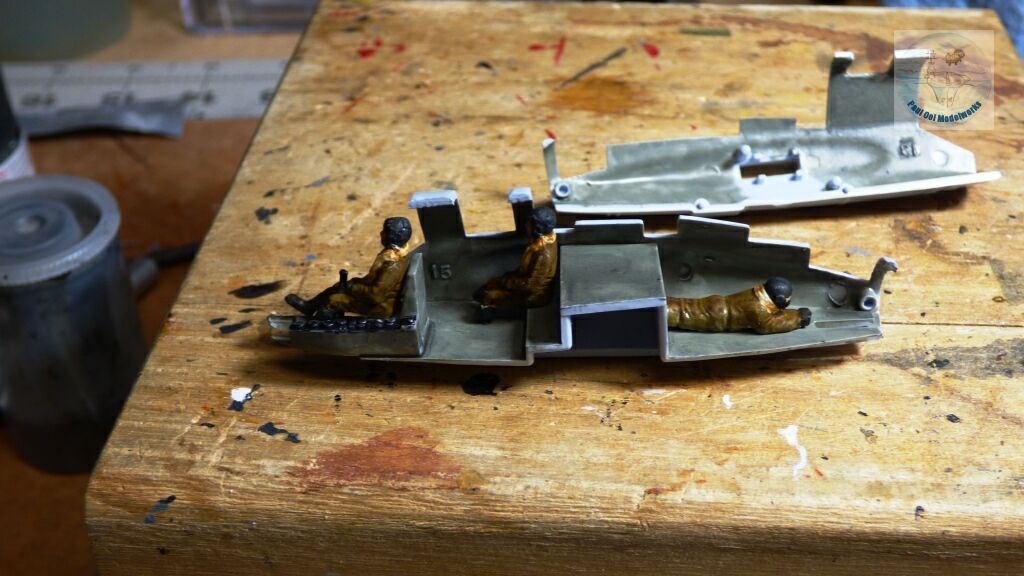
There was hardly any surface details inside the crew compartment, and no after-market inserts available. I decided to place the crew figures in there to fill up the space. The figures were painted in standard bomber crew colors for the Luftwaffe, with Tamiya Khaki XF49 overalls, Vallejo Ivory kapok life jackets, and NATO Black helmets and boots. Uniform shadows were done with Vallejo Sepia wash. The compartment walls and surfaces are painted Model Masters RLM02 Grau,
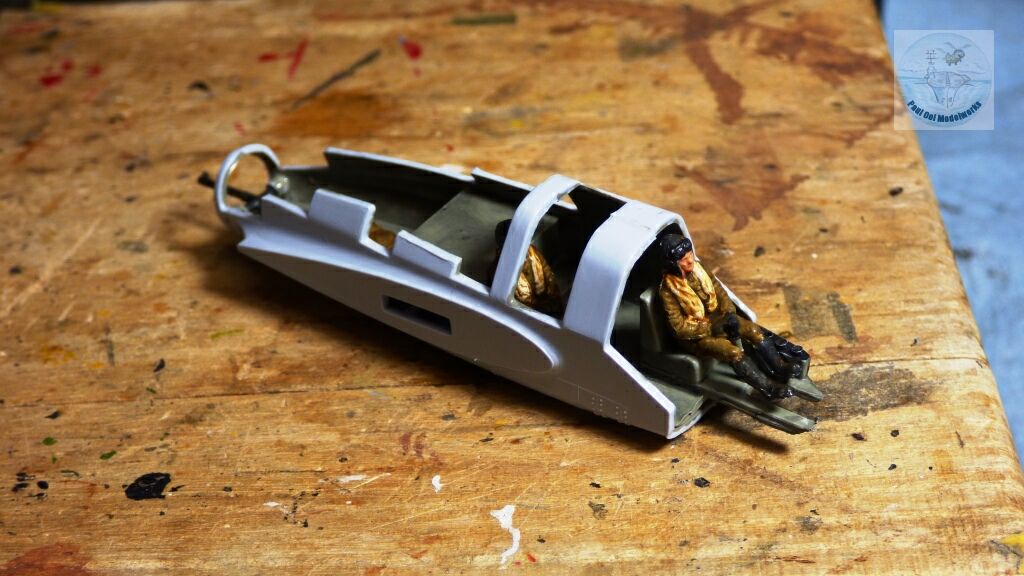
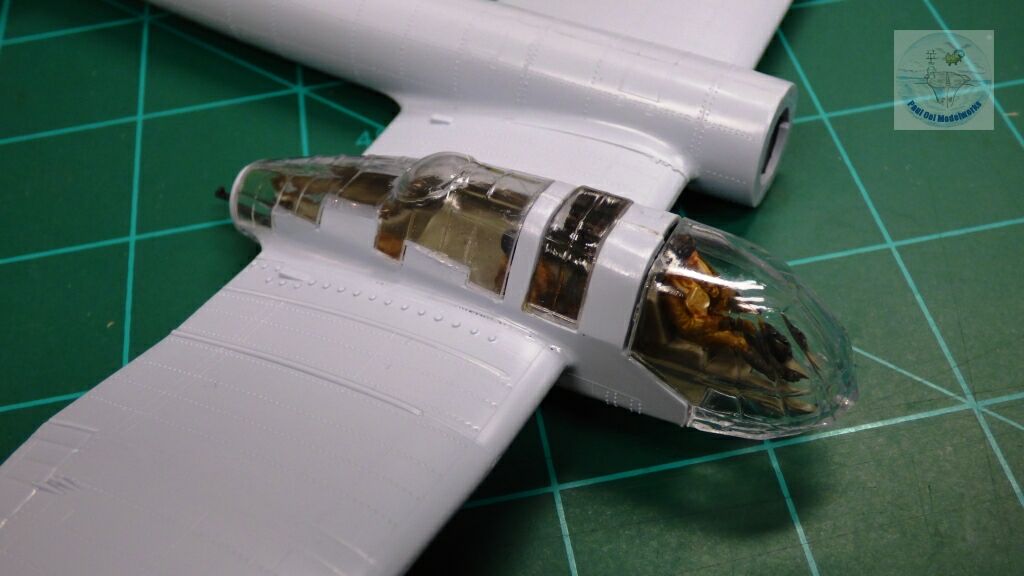
The compartment insert is then built into the fuselage halves. The fuselage is built into the wing and engine boom assembly. The clear parts have not been installed, as this is only a dry fit to try them out.
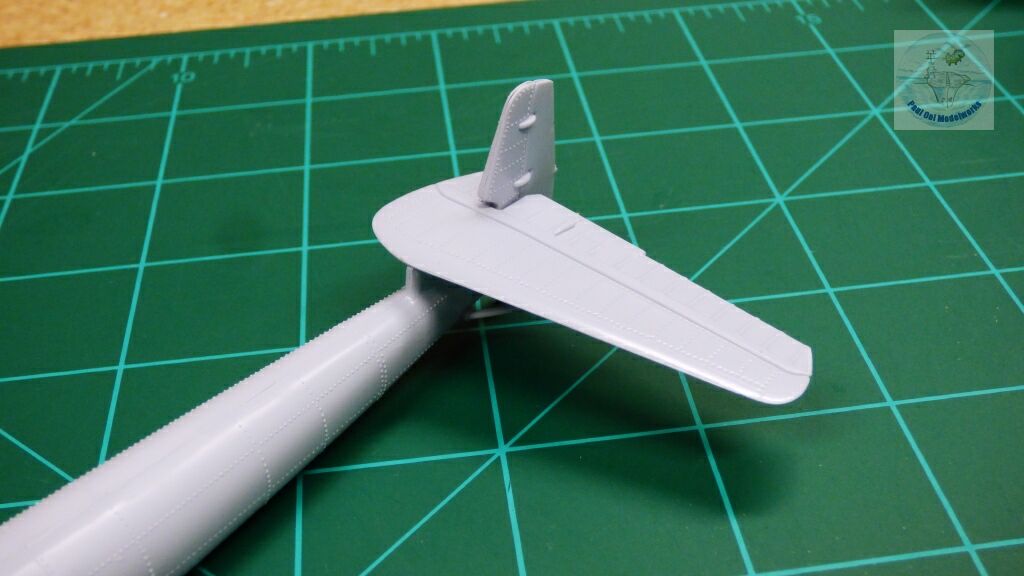
The offset tail stabilizer and its support strut is added.
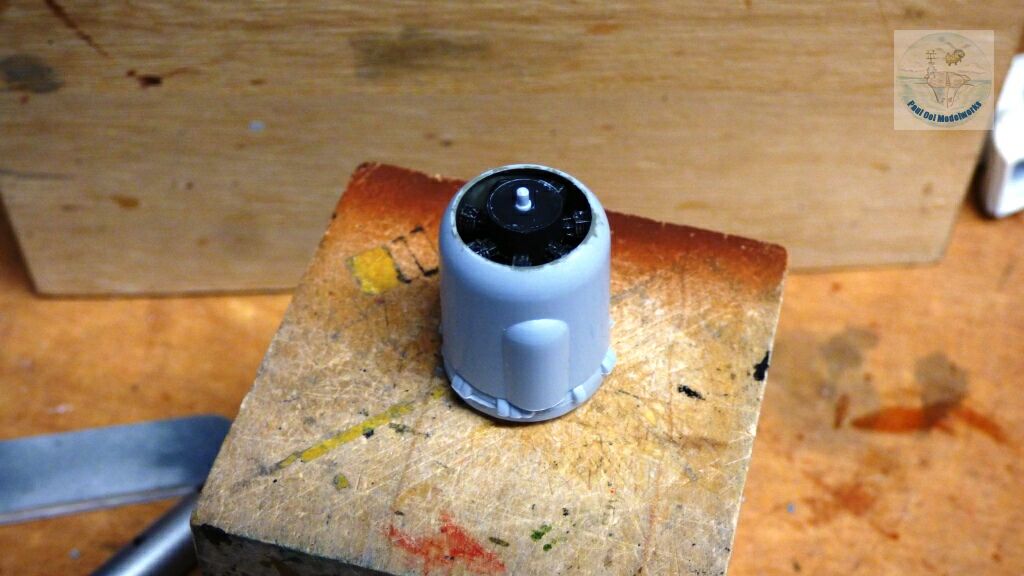
The engine nacelle sub-assembly has two layers of rotors that have to be carefully aligned in order for everything to fit in the housing. I pre-painted the inside walls of the nacelles RLM02 Grau, and the rotors are painted in Tamiya NATO Black base, and highlighted with Model Masters Gun Metal.
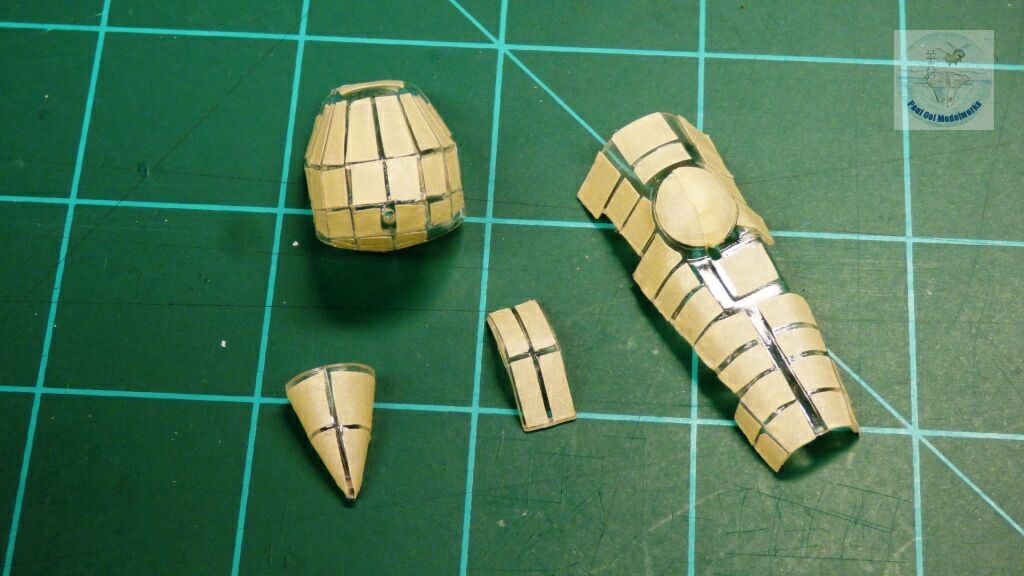
Masking the “bird-cage” fuselage using the technique from Tutorial 11, I covered the clear sections with 74 pieces of masking tape.
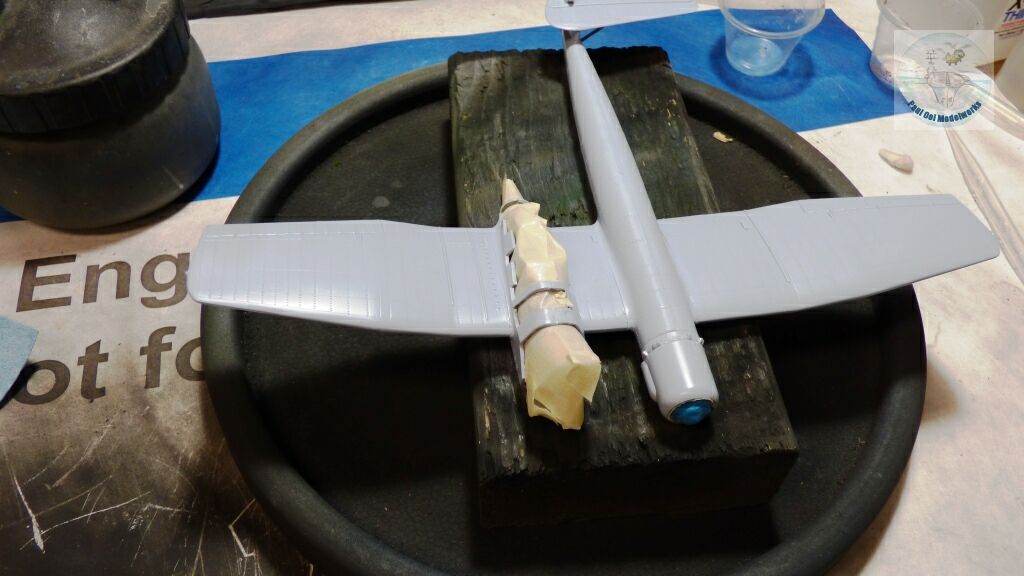
The fuselage compartments and the engine nacelle are protected with masking tape in preparation for spray painting.
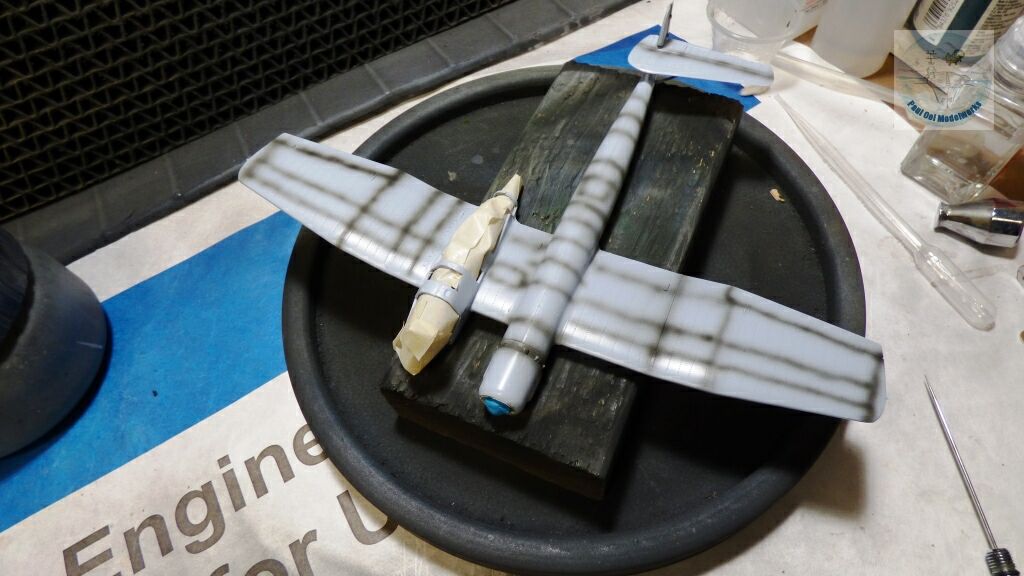
Pre-shadowing of Tamiya NATO Black over the light blue gray plastic.
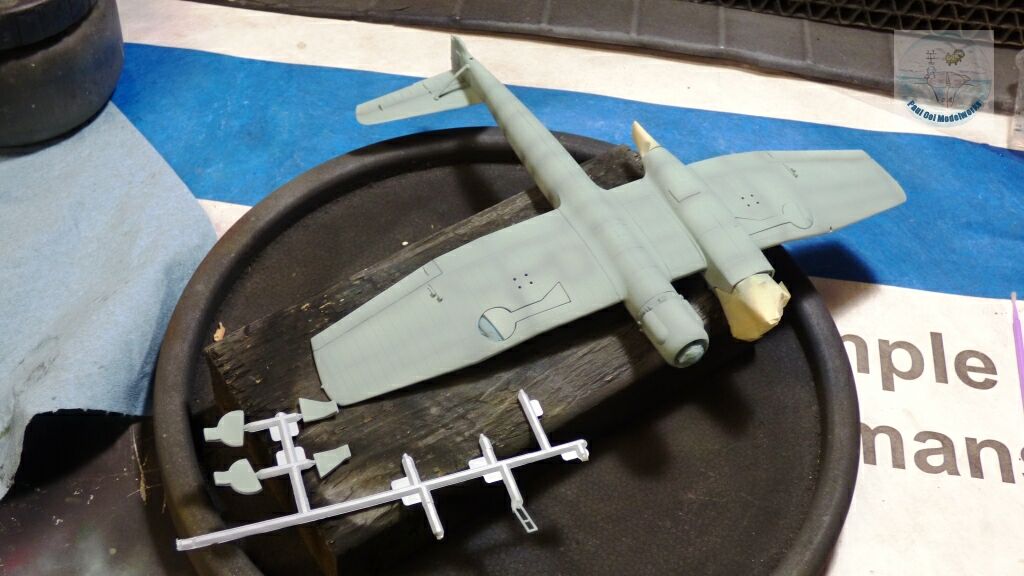
The underside is painted in RLM65 Hellblau which is close to Tamiya XF-23 Light Blue.
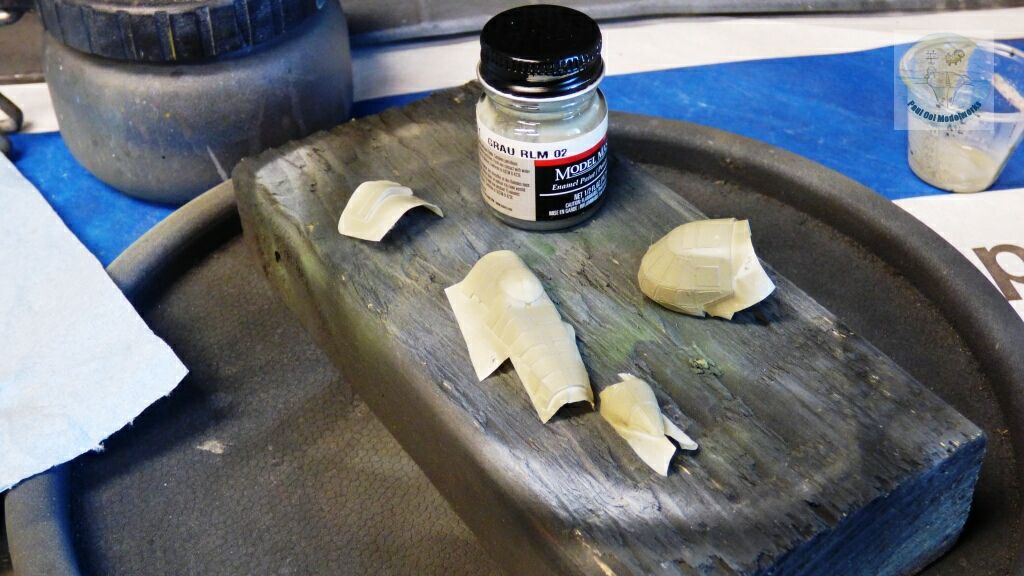
The clear parts are painted with RLM02 Grau for the interior color similar to the crew compartment.
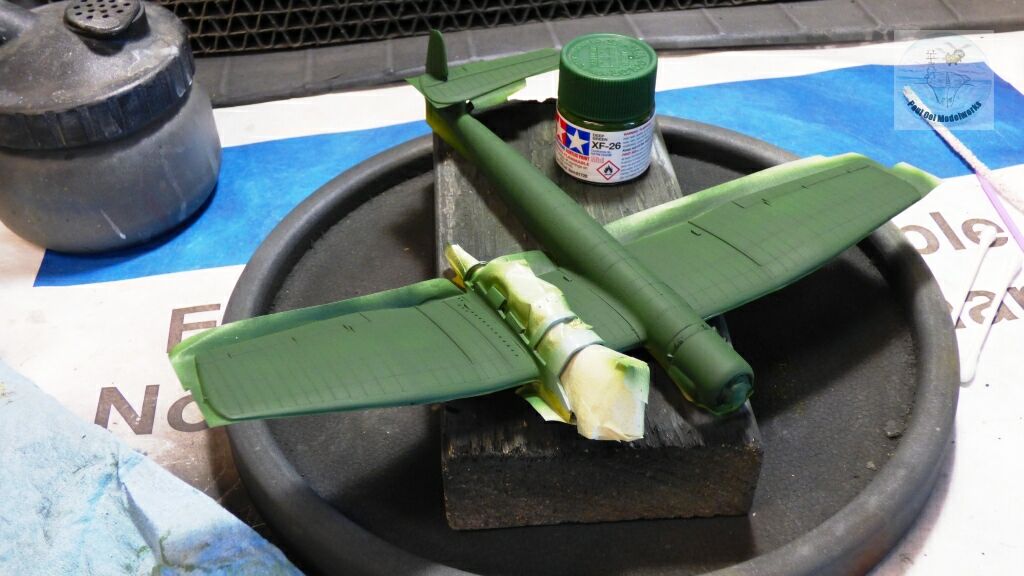
I used Tamiya XF-26 Deep Green as a close match for RLM71 Dunkelgrun.
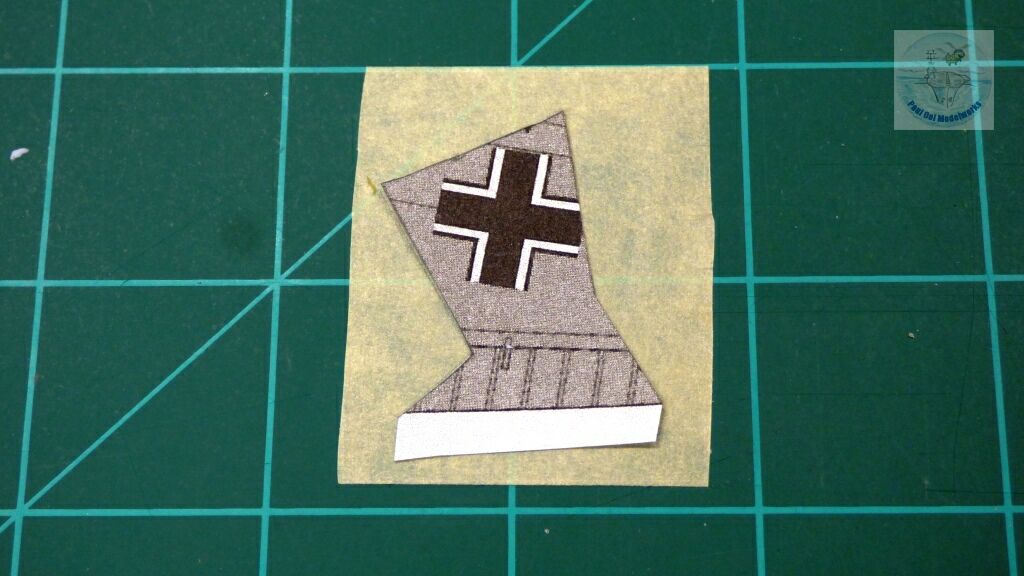
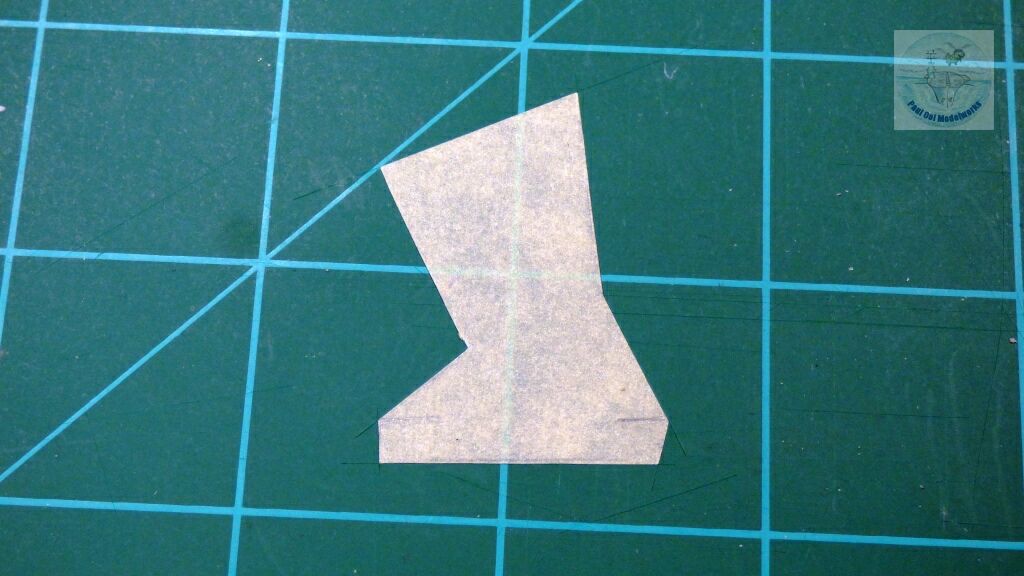
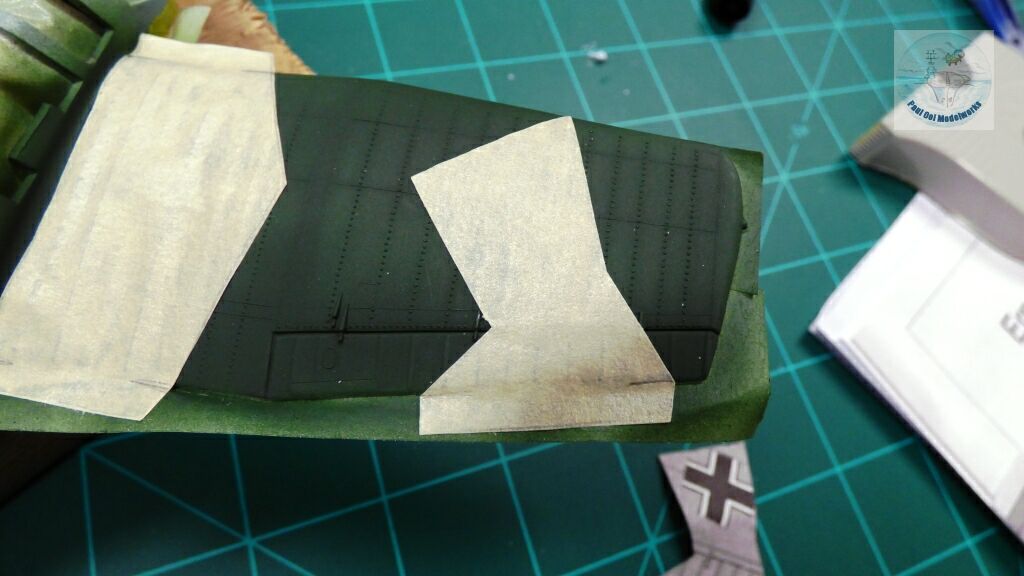
To get the proper shapes of the splinter camouflage, I blew up the paint diagram in the Airfix instruction sheet by 1.66X, and then cut out the exact shape to use as a template on the masking tape. Then the exact size shaped tape is transferred onto the model surface.
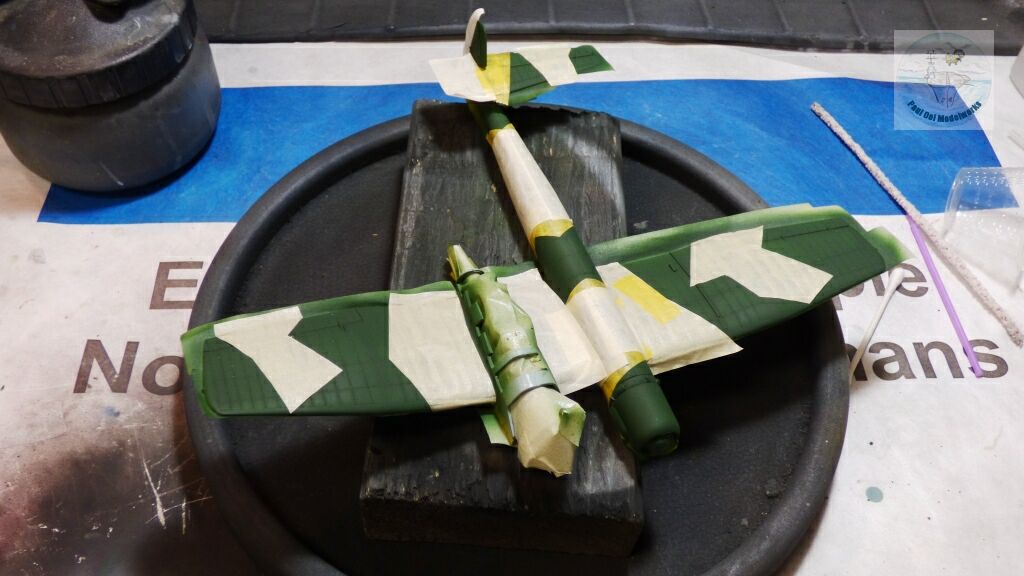
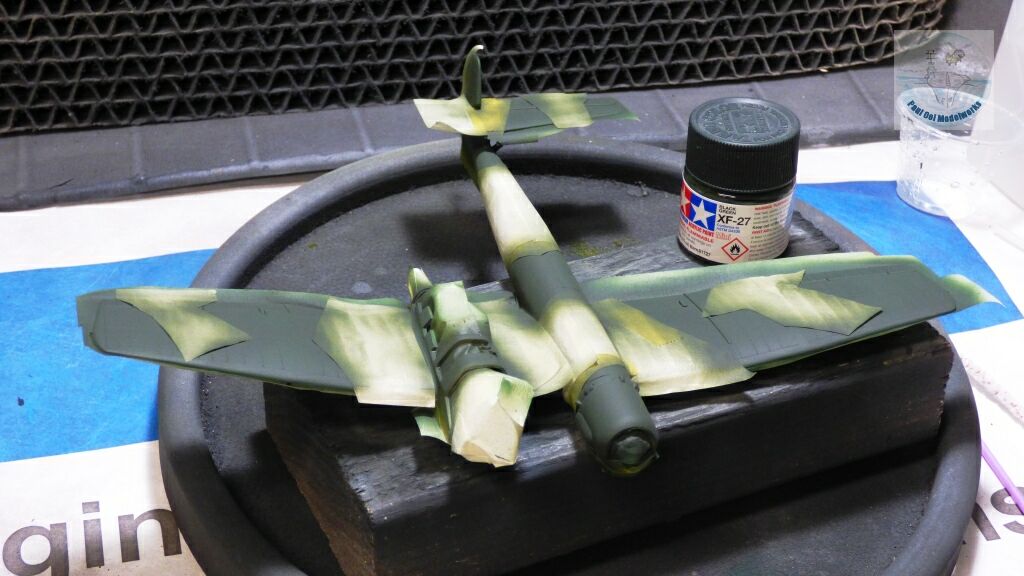
I sprayed Tamiya XF-27 for RLM70 Schwarzgrun.
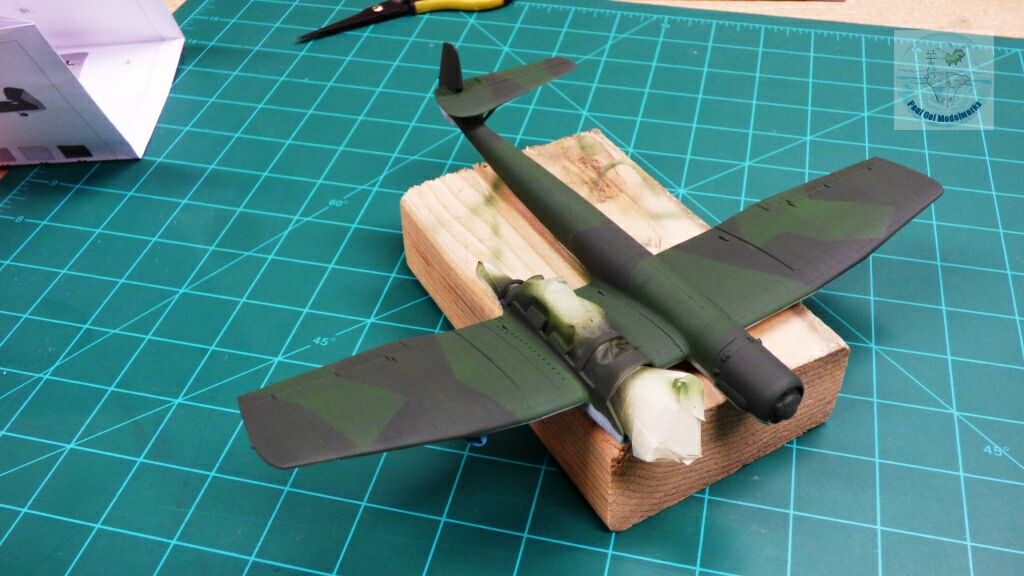
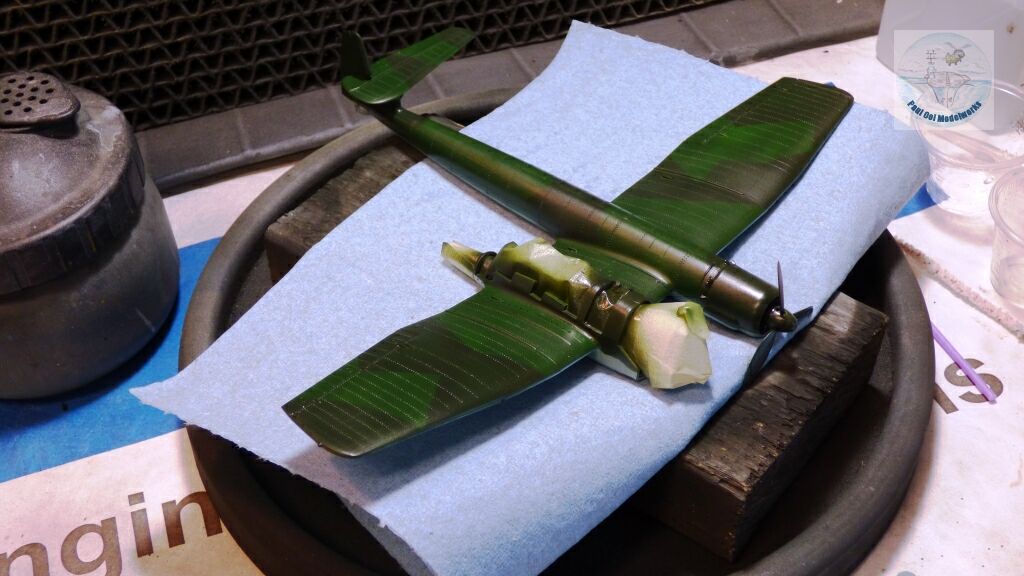
Once the splinter camouflage mask patterns have been removed, and oversprays corrected, I coated the entire model in floor polish.
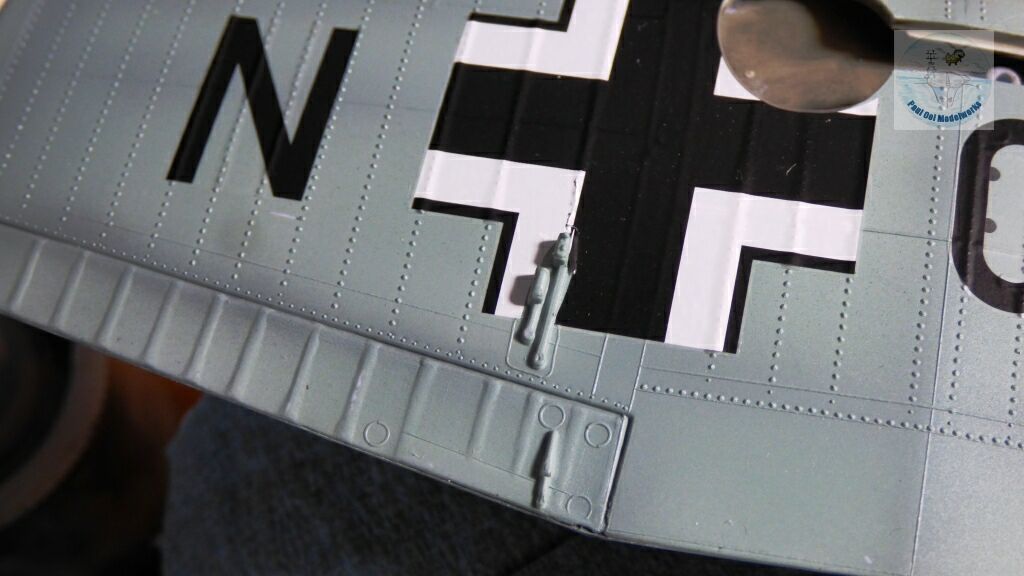
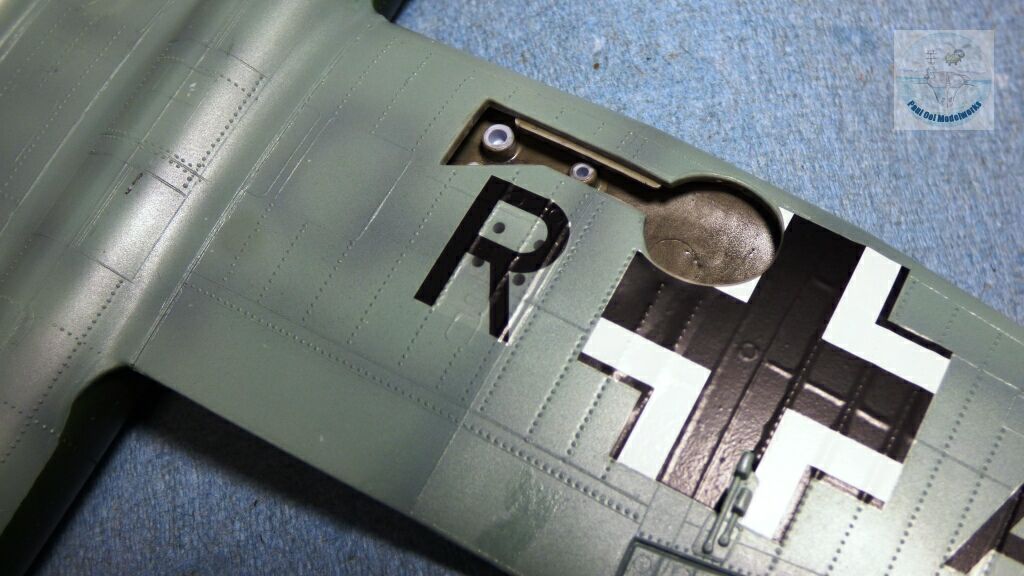
I started decal application on the underside first. The tricky part of the cross is that a significant part of it spreads over a protruding part of the wing hydraulics. To cater for that, a section of the decal has to be cut off, and then over-painted with the appropriate colors later on. The other part is that the alphabet decals for the call sign ID actually spread over the holes for the bombs (do not install the bomb racks yet!).
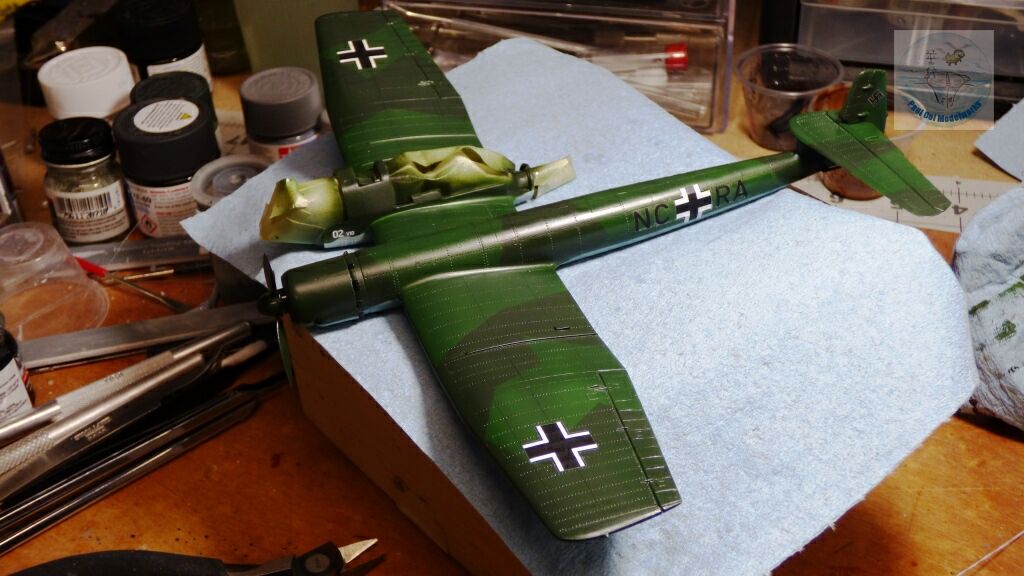
Once the decals are all applied, I seal them in with another layer of floor polish.
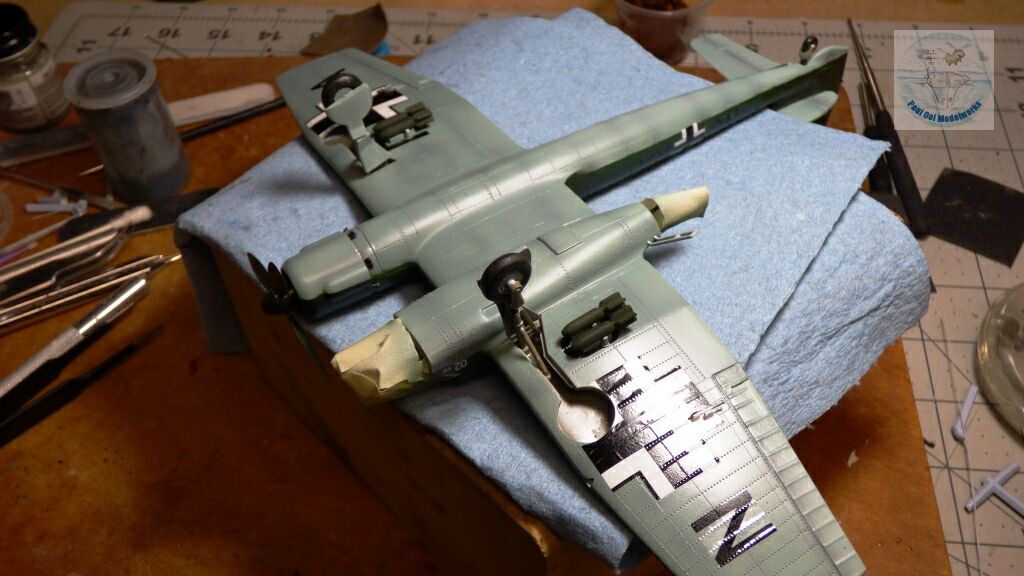
The undercarriage, bomb racks, and bombs are installed on the underside.
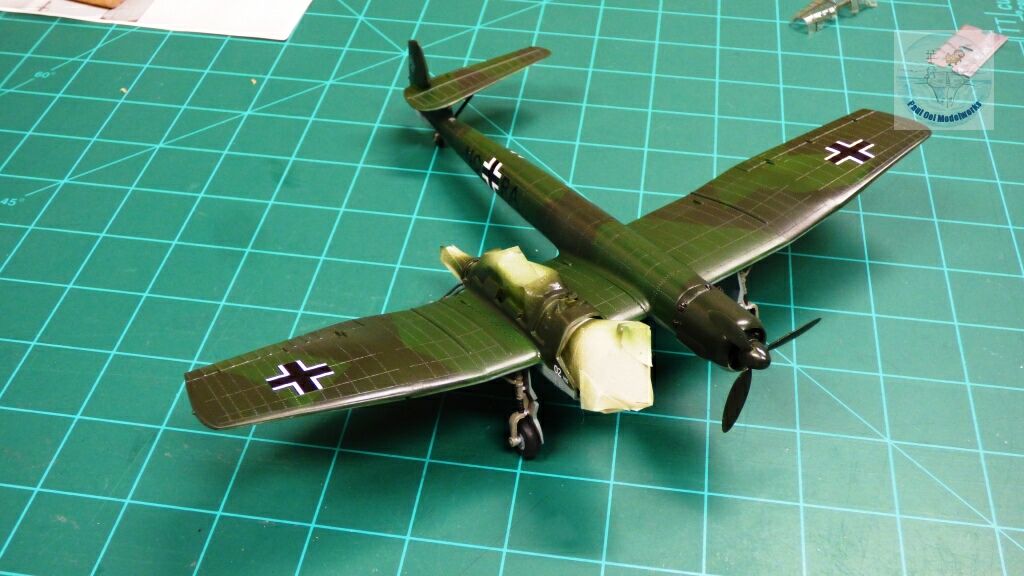
Once the wheels are firmly attached and set, I can set the aircraft onto its wheels. Notice that the clear parts have not yet been installed, as I am waiting to complete all spraying and varnishing.
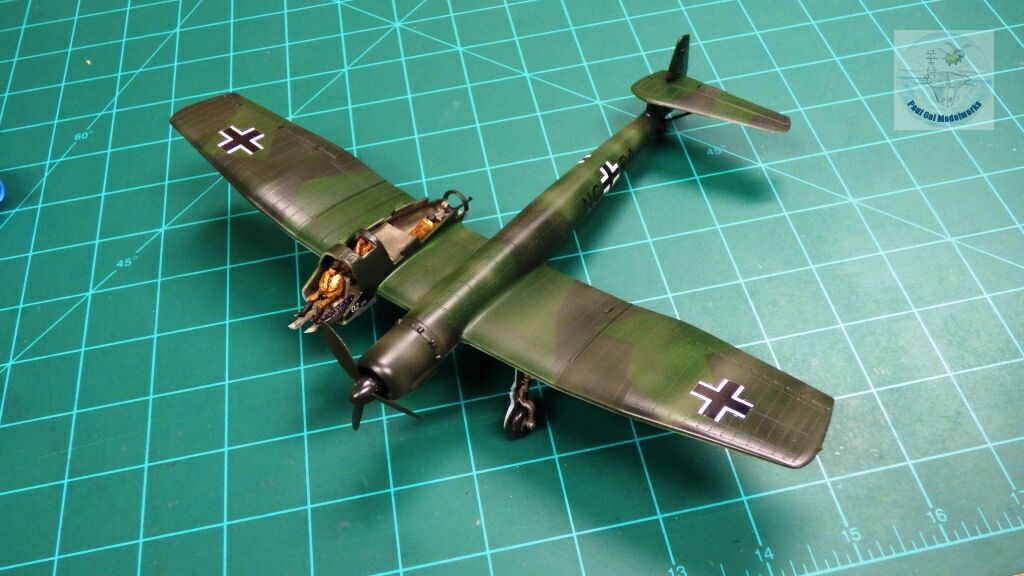
Weathering of the aircraft is done , first with the underside getting an oil wash of Payne’s Grey + Burnt Umber, and then the topside is misted in patches with Tamiya Dark Yellow (XF-60) lightened with some White (XF-02). The entire aircraft is then sealed with a satin varnish. After that, I could remove the masking for the crew compartment.
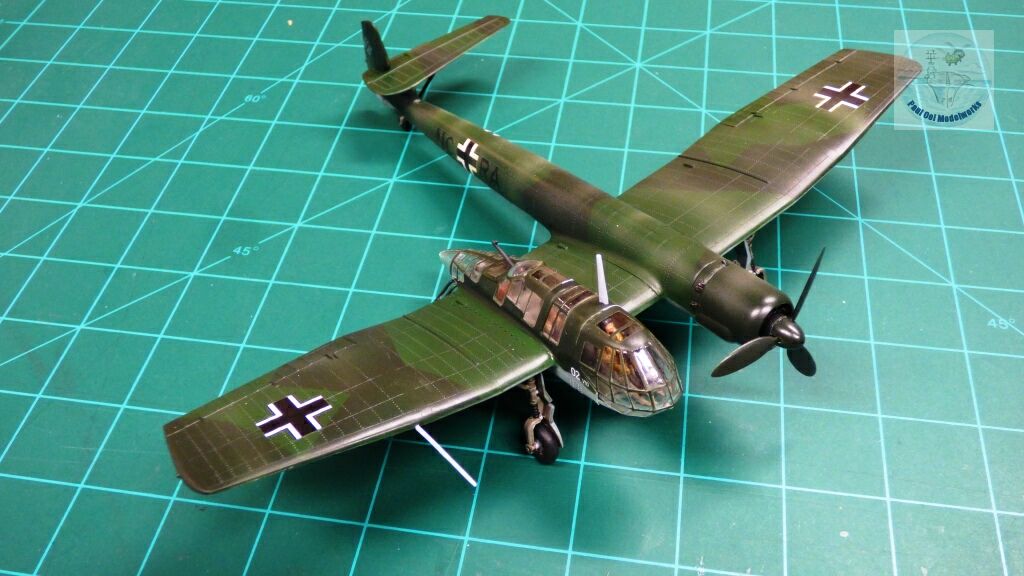
The clear canopy parts are finally added, with gaps filled with sprue, and then the bits of the wing pitot tube and aerial wire mast installed.


Leave a Reply