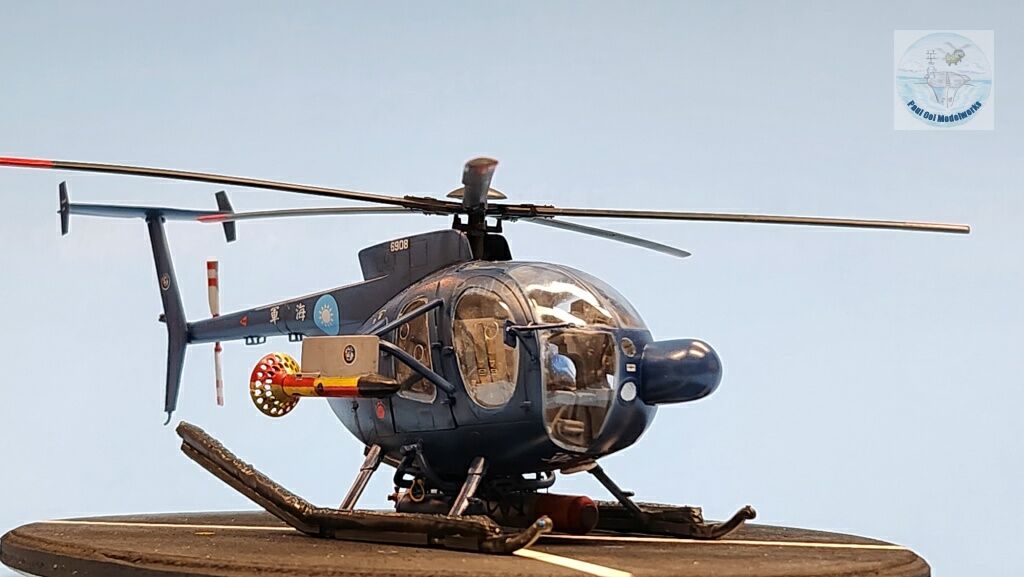
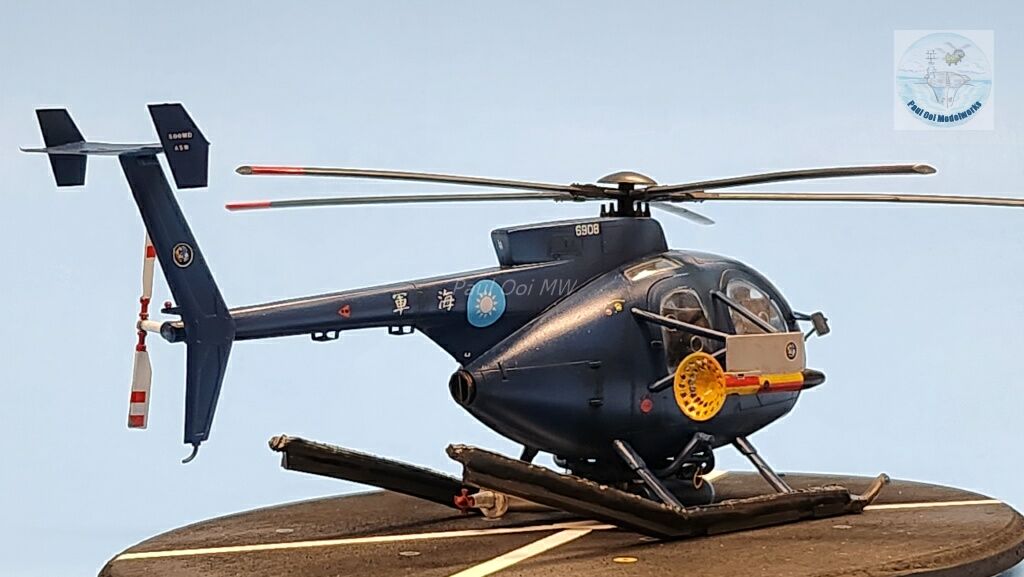
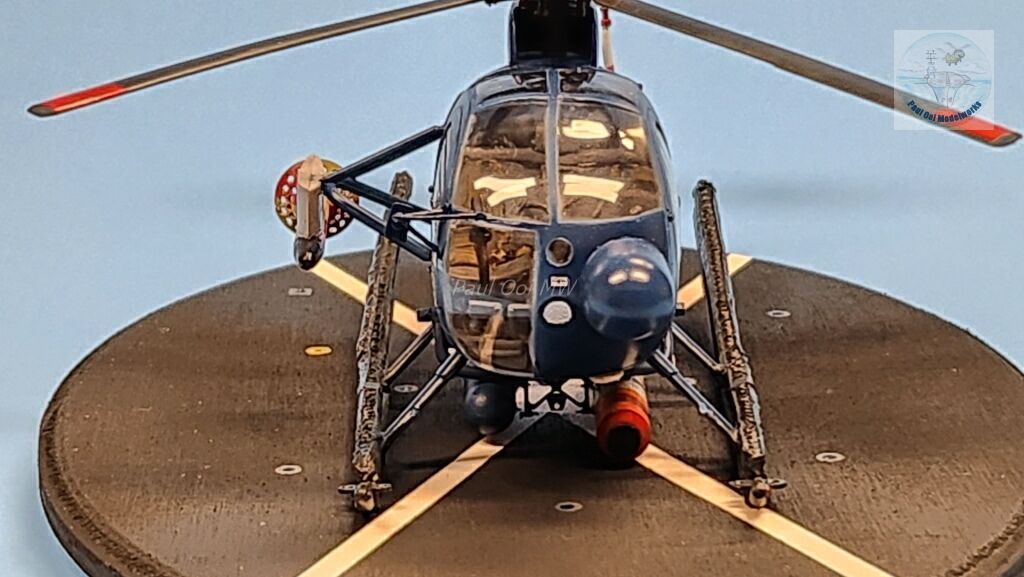
In 1980, the Republic of China (Taiwan) took delivery of the Hughes MD500/ASW Defender helicopters. These small helicopters were derived from the successful Vietnam War era Cayuse. Despite their diminutive size, the MD500/ASW packed a punch with a nose mounted search radar, a magnetic anomaly detector (MAD) mounted on the starboard side, a smoke marker pod mounted underside together with a Mk 46 torpedo. Everything needed to hunt down and kill a submarine. These little sub-hunters were assigned to the frigates in the ROCN and have been the mainstay of submarine hunting deterrence for the island nation these past decades.
Gallery
Construction Notes
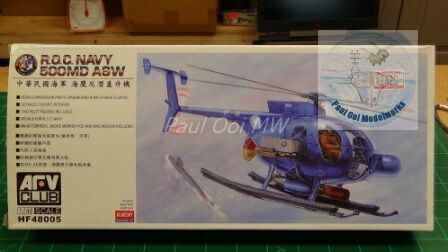
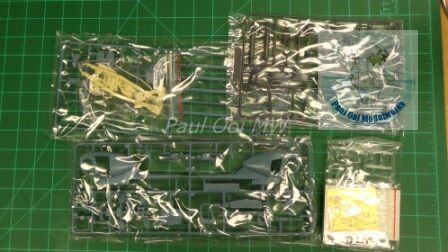
I found this multi-media 1/48 scale kit from Taiwan’s AFV Club during my last trip to Japan in 2019. The kit comprised of the grey blue plastic fuselage from Academy, a dark grey plastic tree for the ASW version of the MD500 Defender, resin parts and a photoetched fret for the Taiwanese ASW version. A set of excellent decals rounds off the kit. The fit of the kit is generally good, even with the mix of resin and plastic parts. My main complaint is that the clear plastic windows did not seal very well into the side doors. Also, it was a pity that the two front doors were not separate panels that could be posed open to reveal the interior as they were molded as part of the fuselage halves.
I started building the kit in May 2022, and then set it aside as I was too busy with home infrastructure projects. I did not return to it until October 2023, about 18 months later! Such a long time to build this tiny helicopter.
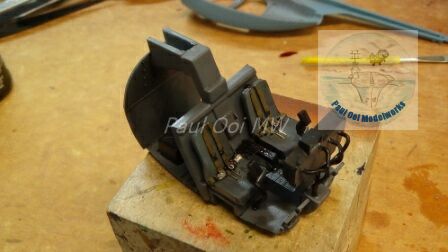
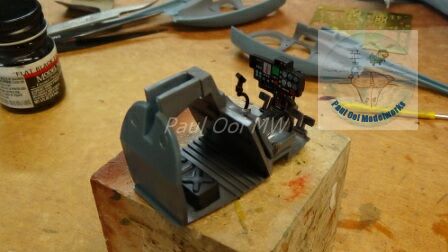
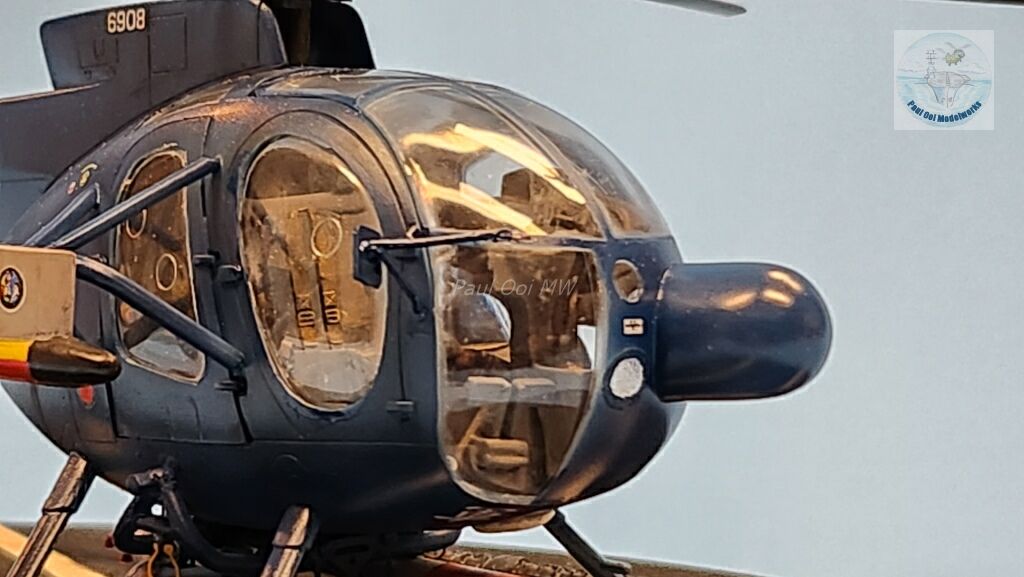
The cockpit and cabin is relatively simple with no frills. I chose to use the decal for the instrument panel since the space was going to be entirely enclosed. I built the seats with the photoetched seatbelts, as I decided not to put the pilot and co-pilot figures. The base color for the cabin was Tamiya Neutral Grey. Cables made from solder wire were added to the rear of the instrument panel and these are visible through the the front canopy.
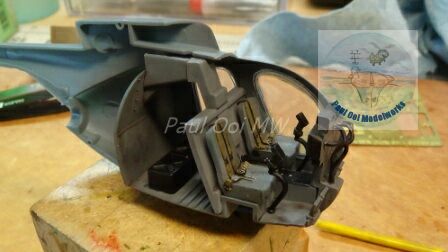
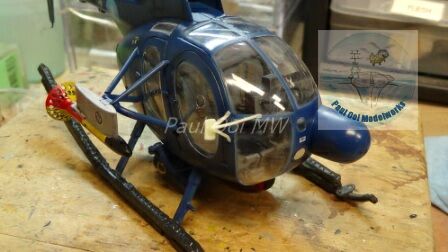
The clear window sections had to be installed from the inside. After the trial fit, I installed the cabin and the two fuselage halves together, clamping them together with a rubber band. The fit was problem-free and good.
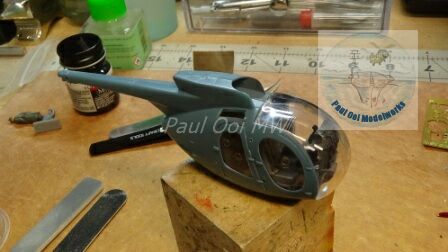
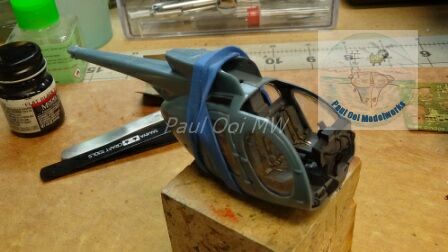
The all-important from bubble canopy was added after the fuselage halves have set. The fit was also good and there were no problems with open seams.
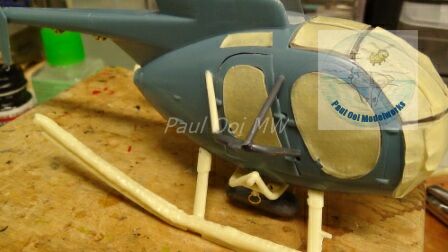
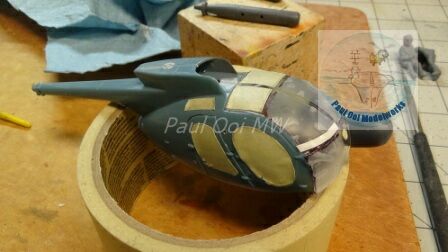 I proceeded to mask all the windows, tracing out the masking against the odd shaped windows BEFORE they were installed. This is the trickiest part of this build, as the egg-shaped canopy had big curved panels.
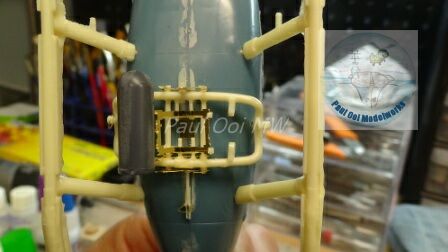
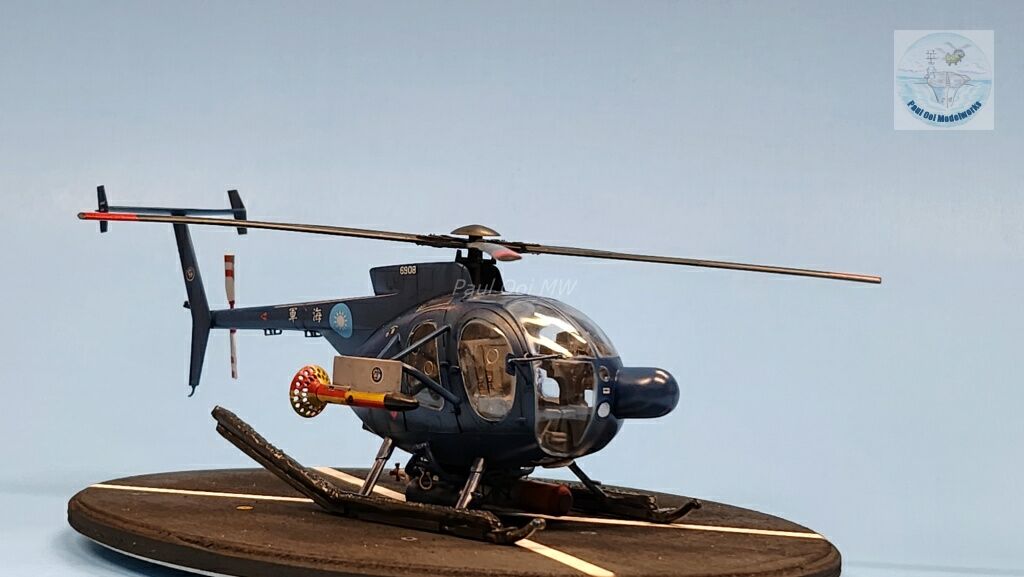
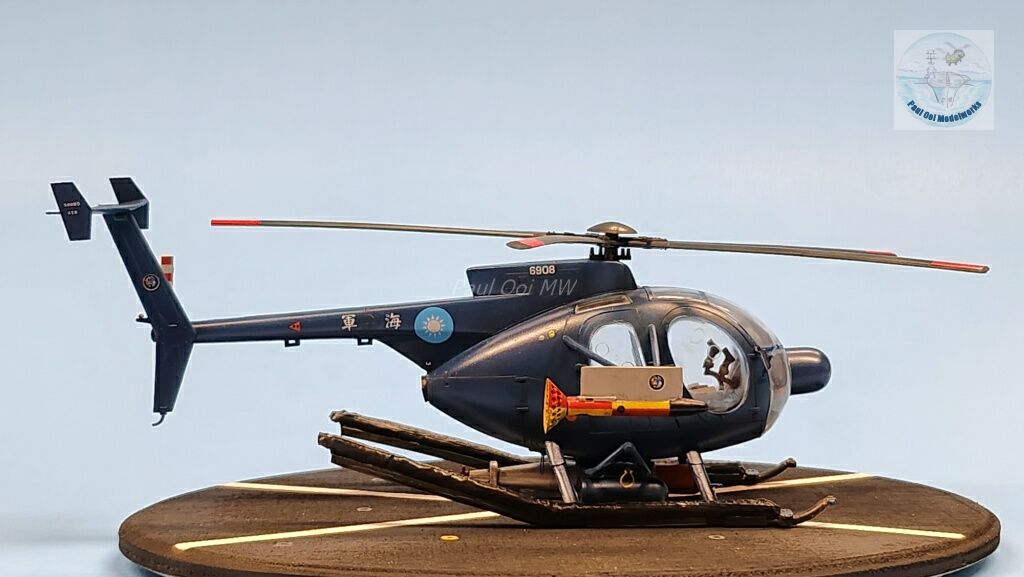
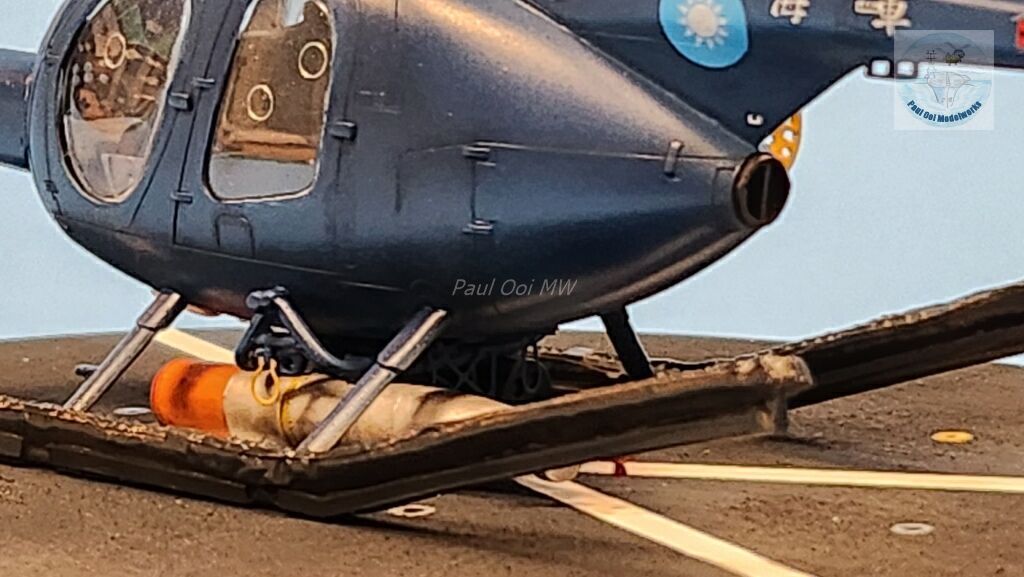
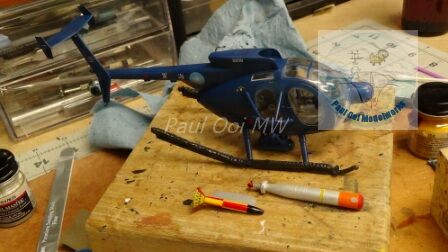
Next, I installed the underside details. These consisted of the (very) important pair of skids that had to be just right so that the helicopter was sitting level, and the torpedo cradle. The smoke marker pod was added as it has the same color as the main fuselage. I left the torpedo out until later.
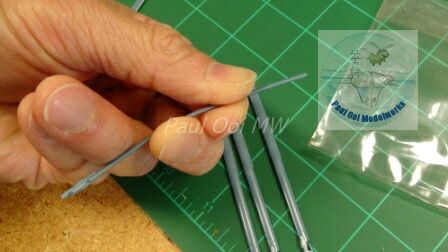
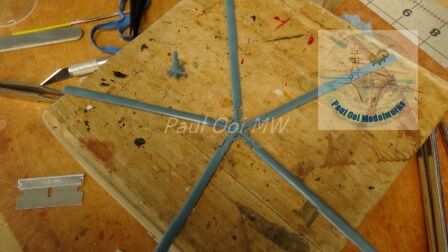
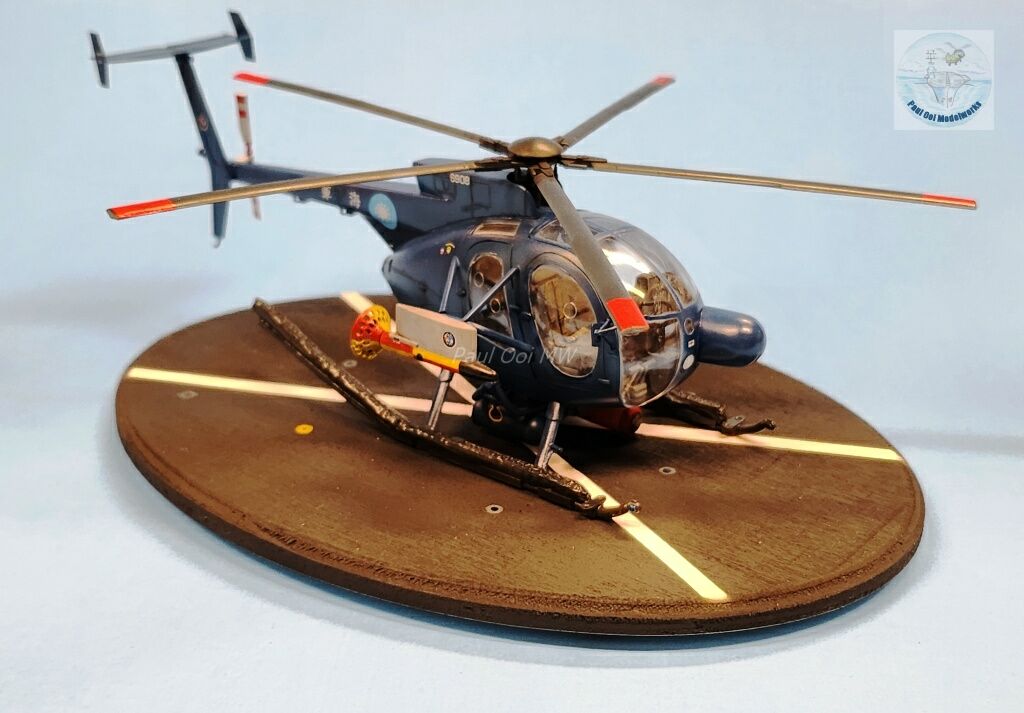
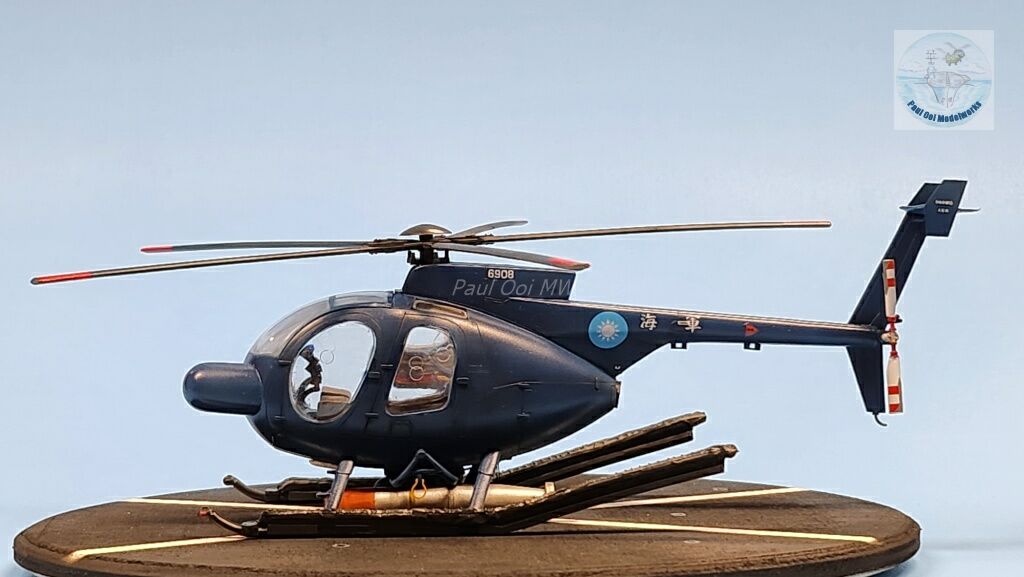
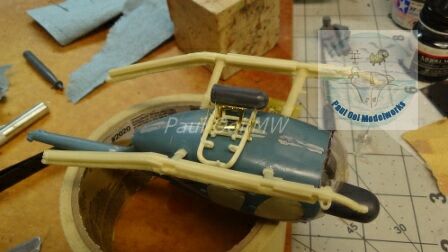
While the underside section was drying, I proceeded to work on the main rotor assembly. I bent the blades ever so slightly downward to create some blade tip sagging. Then the five-bladed rotor assembly was carefully assembled and allowed to dry.
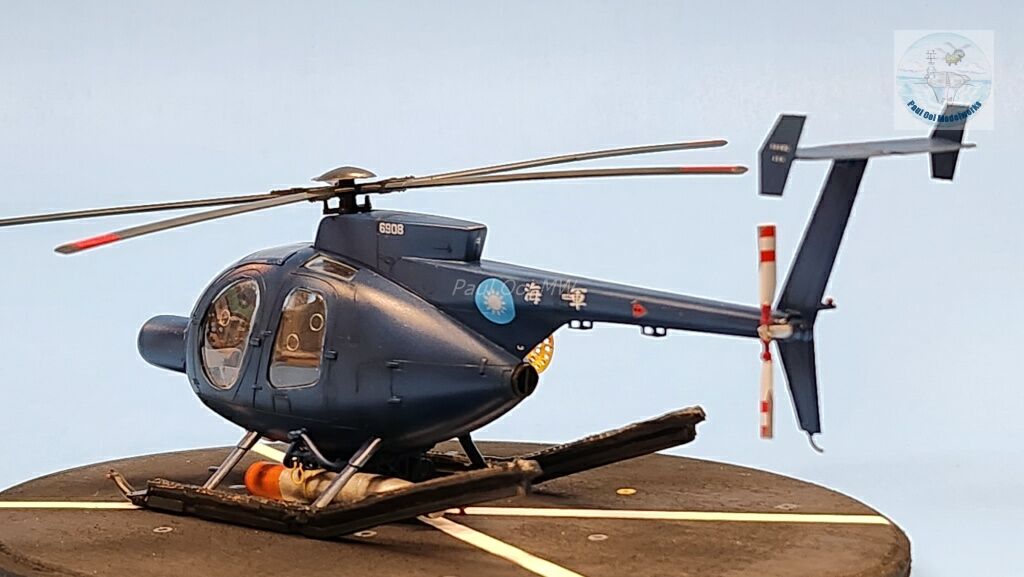
 The MAD bracket was added last. The main fuselage is ready for painting.
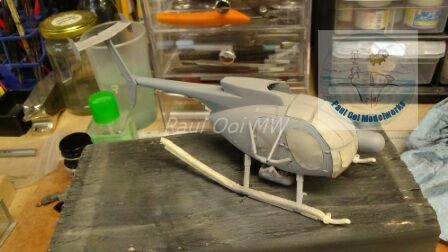
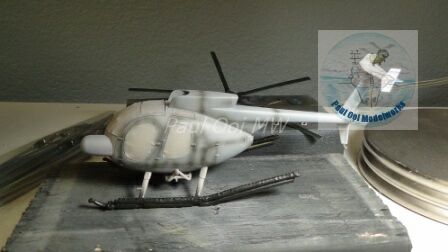
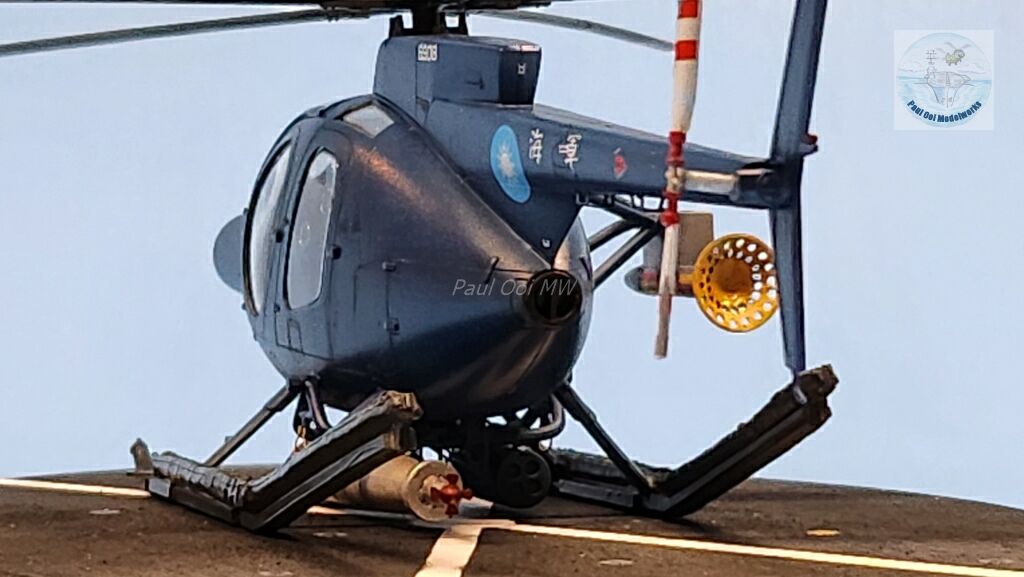
First the fuselage was primed with Tamiya Sky Grey. The panel under-shading was done using Tamiya NATO Black. The skids were fully painted in NATO Black as well.
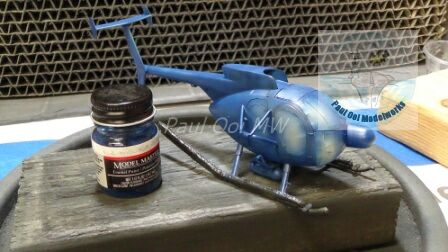
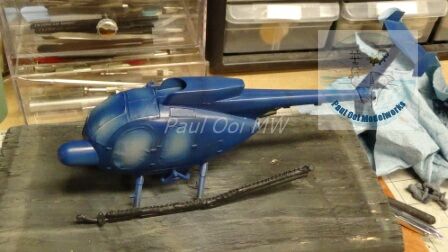
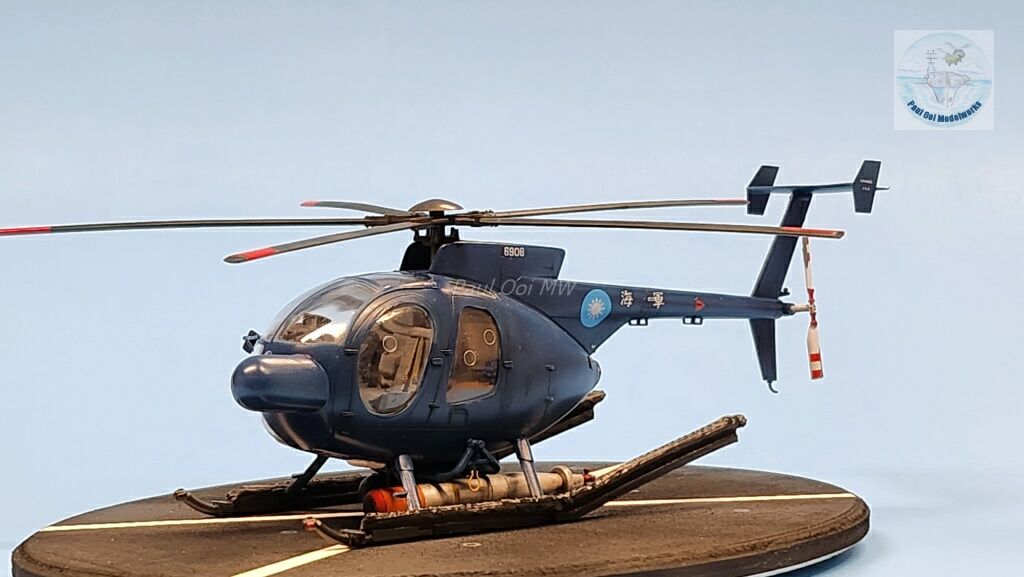
The main color for the fuselage is Blue Angles Blue FS15050. I still had my stock of Model Masters, but this same color can be found in Gunze’s Mr. Hobby range. The fuselage is then given a generous coating of Pledge Floor Polish in preparation for decal application.
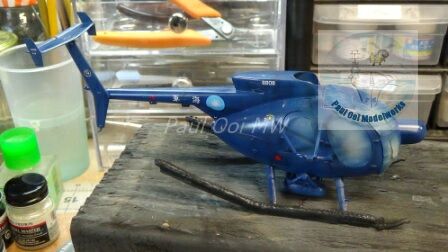 Decals are applied after the 24 hours drying time for the floor polish. The decals are very good quality, and did not have any problems adhering to the surface without silvering or tearing. I used Micro Sol decal setting agent. The decals are sealed with an overall layer of satin varnish.
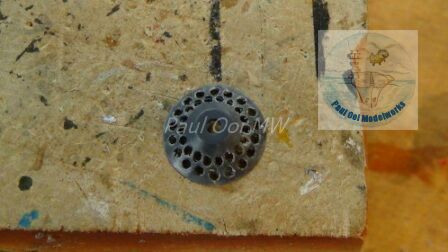
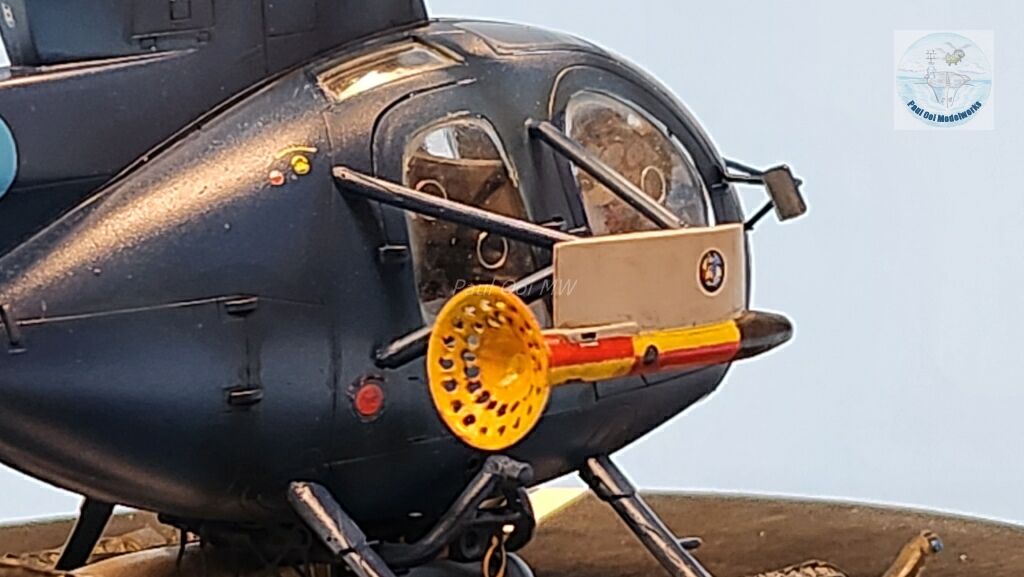
The colorful torpedo and MAD units are painted . For the perforated MAD fin, I had previously drilled out the array carefully using a set of microdrills.

The torpedo unit and the MAD tow unit were carefully attached to the fuselage. I took my time attaching these very fiddly little bits.
The last tiny detail, the rear view mirror facing the MAD module was added at the very end.
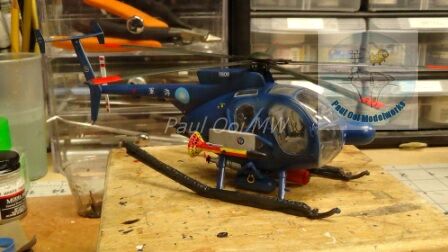
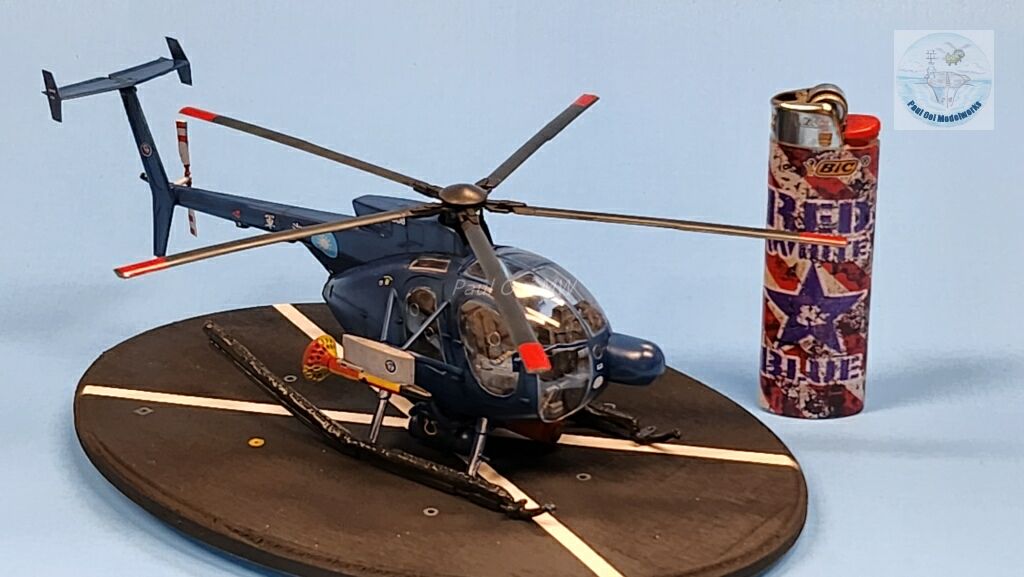
The main and rear rotor blades are added last. I gave the panel lines a small wash of oil with Lamp Black and Burnt Umber.
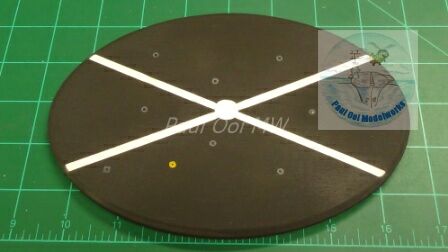 The display base shown here is a small vignette of a helipad on board a ROCN frigate.
Leave a Reply