
Spitfire. This aircraft needs no introduction. Its legend is forever emblazoned in the pages of history written across the summer skies over Britain in the summer of 1940.
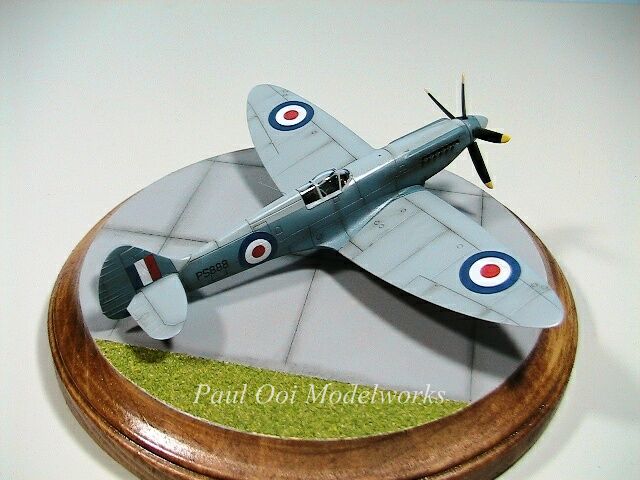
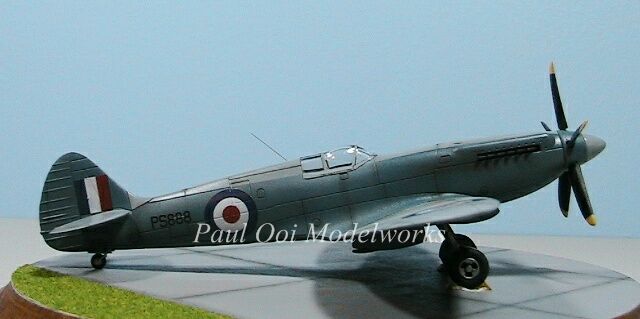
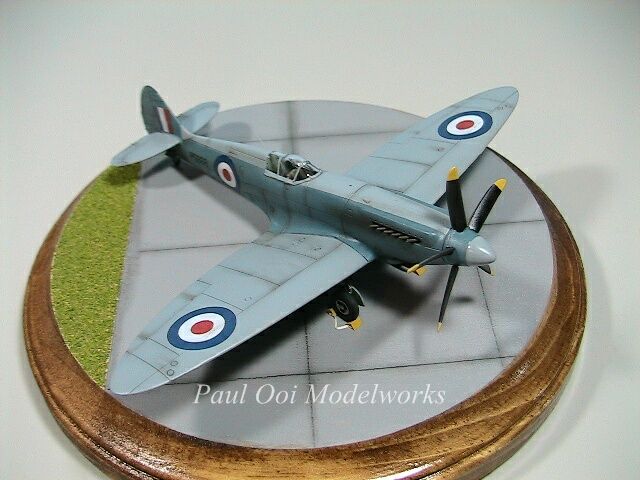
However, this particular Spitfire is a much later model powered with the Griffon engine giving the nose section a more muscled look. It is a reconnaissance aircraft equipped with 3 cameras, one facing the port side immediate aft of the cockpit and 2 more facing downwards used by the RAF in operation “Firedog”, the air campaign against Communist guerrillas in Malaya between 1948-1960. PS888 was destined to fly the last ever Spitfire combat sortie for the RAF on April 1st, 1954, although other air forces operated them well into the 60’s. Based out of Seletar airfield in Singapore, PS888 flew many missions over the remote Central Range of the Malay Peninsular to capture evidence of troop movement down the mountainous region.
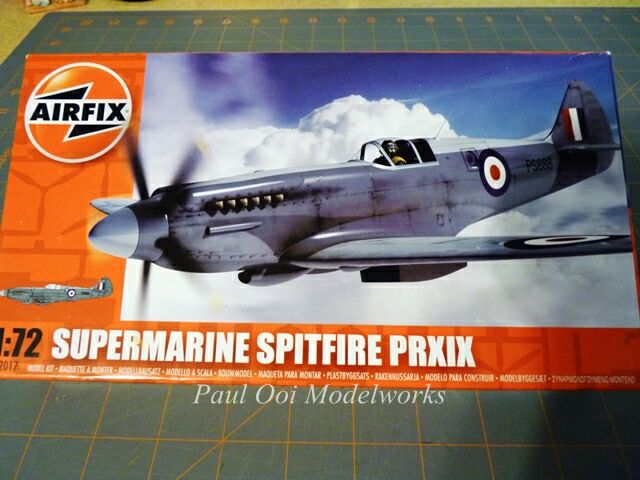
I decided to build this simple Airfix 1/72 scale kit pretty much out-of-box as a “break” between major projects, taking about 2 weeks in all to finish. The molding is pretty good although the panel lines are a bit deeper than I would like. My biggest gripe is the total absence of a molded instrument panel which was not even addressed with a decal sheet. I plunged ahead anyway since I was determined to get my relaxation project under way.
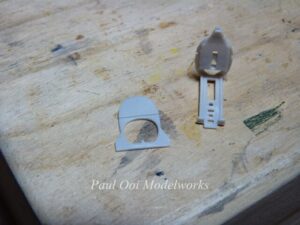
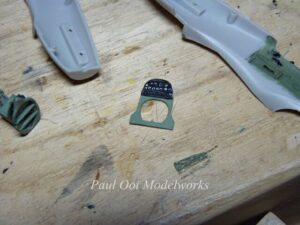
That last bit bothered me so much so I had to fix the instrument panel first. I used some photo etch sections from my spare parts box from a B17 project, cut them up to fit and fitted them on the Spitfire panel and painted the dials in on a matt black field. I painted the rest of the interior surfaces using Pactra RAF Interior Gray Green. This is such a useful color for RAF projects but unfortunately it is no longer available and the next best color is Tamiya XF71 cockpit green. I also added photo etched seat belts from the same spare parts box.
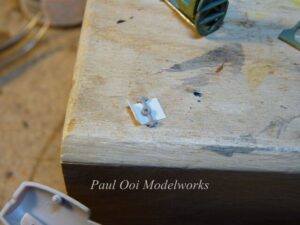
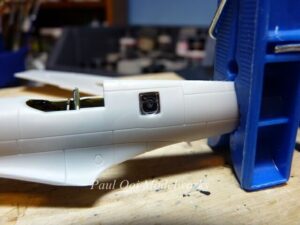
The port side camera window has no detail behind it so I decided to add a scratch-built camera to fill in the space. Using plastic card stock and a plastic part from my scrap box, I assemble a passable “camera”. I painted the whole thing black , and then highlighted the lens with silver color pencil. The assembly is then attached against the port side fuselage. Alright, alright, from this point on, everything ELSE will be strictly out-of-box.
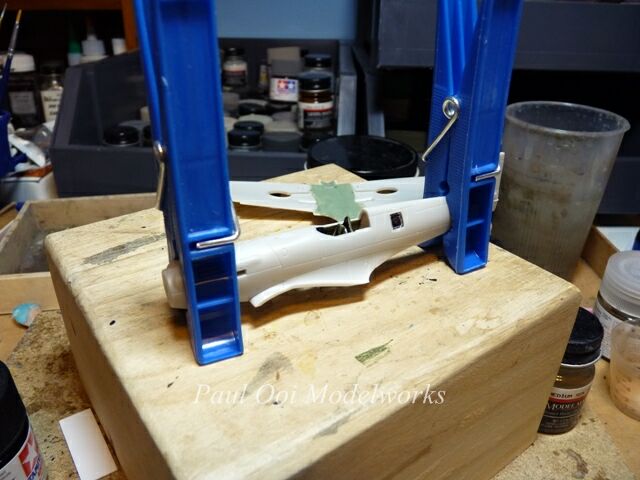
Once the cockpit parts are fully painted, it is time to seal the fuselage halves together. The parts fit very well and there was little to no seal gap that needed any fixing.
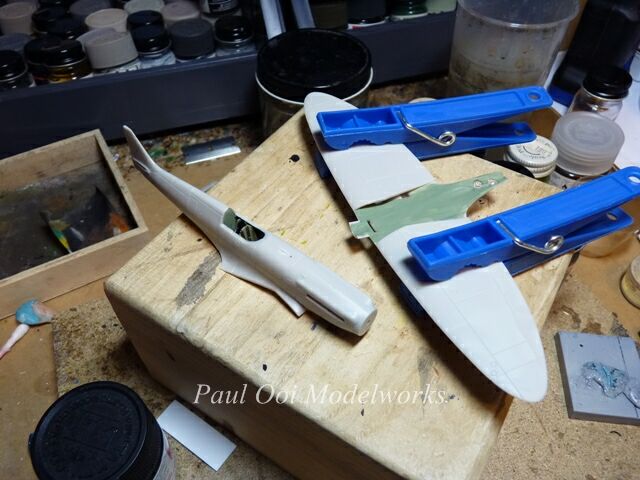
While the fuselage is drying, I get to work on the elliptical wings. Special care has to be taken in cutting out the wings since the curvy profile will easily show any nicks or dents. Because the wings form a pronounced 6 degree-dihedral, one has to really clamp down the wing halves to make sure that the seams are good.
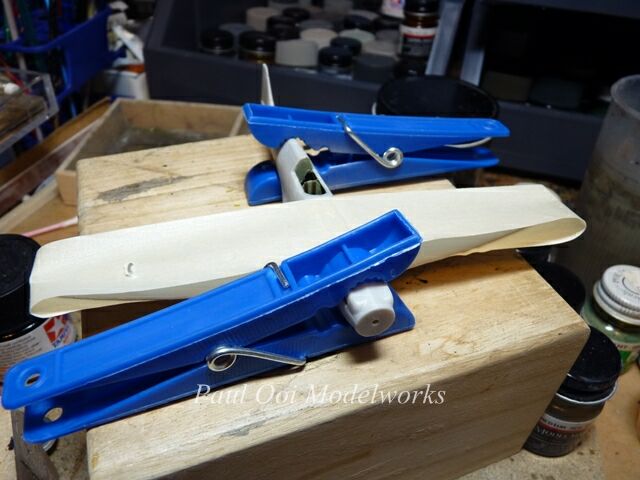
To ensure a good fit at the wing root, masking tape is used to provide tension between the wing tips relative to the fuselage. Pardon the dust while we clamp this air frame together. I left this to dry for a fairly long time.
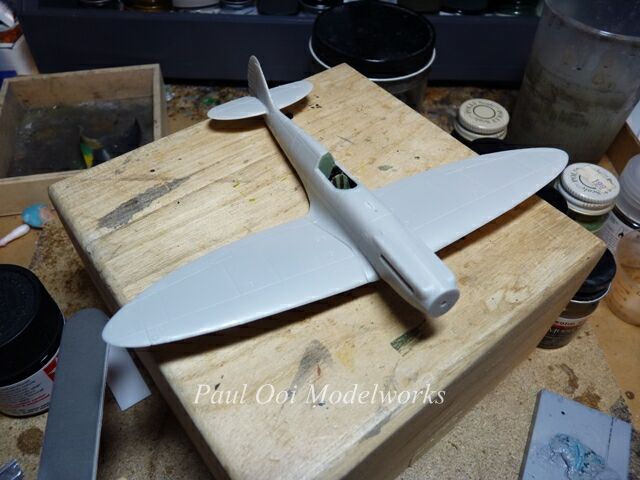
Once the fuselage was dry, followed by the routine clean up of the seam and some minor filling at the wing root, it is time for the paint booth.

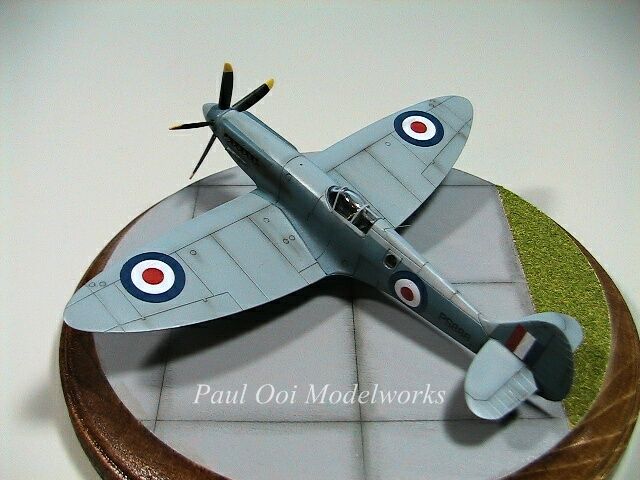
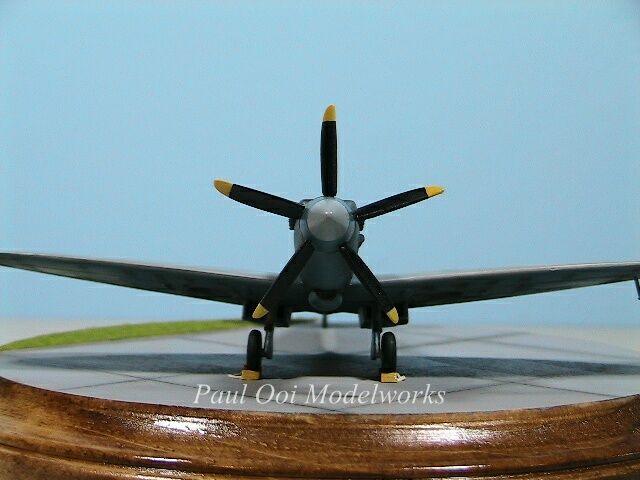
The fuselage is painted in the 2-tone post-war camouflage of RAF Medium Sea Grey upper side and PRU Blue underside found among Far East squadrons until 1960. The 5-bladed propeller assembly was finished in black and Trainer yellow. All these colors can be found in Testors and Humbrol. All the sections are coated in clear gloss varnish for decal work.

The decals were easy and conform to the surface without much need for decal setting solution. Then, they are sealed under a satin varnish layer. After this, the main canopy is attached and the masks remove from all the camera port windows. The main canopy frames are tape strips painted with RAF Medium Sea Grey, and then carefully attached to the clear part.
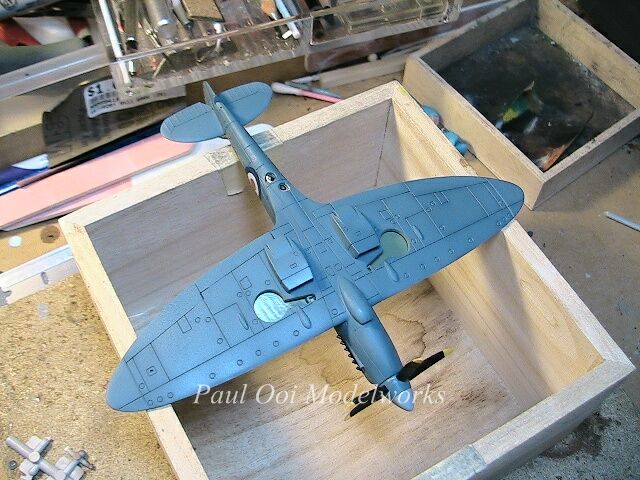
Then I flip the assembly over to finish the underside. Paint touch-up was needed for the wheel wells and air scoops.
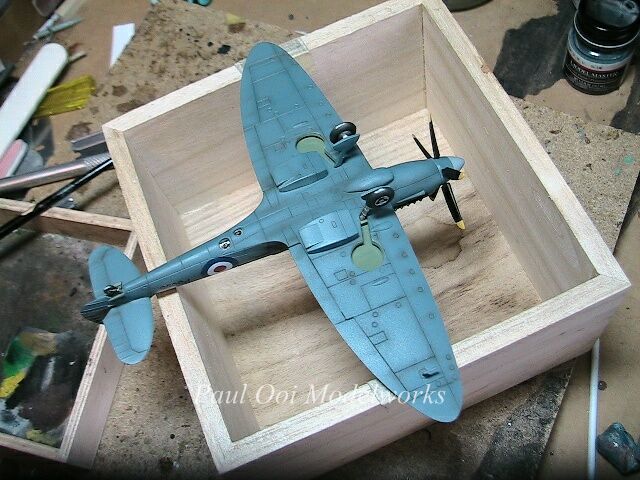
Finally, the main under-carriage assemblies are attached to the aircraft and underside weathering is done using artist’s pastel chalk.

Weathering for the top side using pastel chalk and also airbrushing of the soot stains running down the side of the fuselage.

I also prepared the base made from a 7 inch diameter pine plinth to simulate a concrete tarmac with a grass edge on one side to break the monotony.

Place the aircraft on the tarmac, and voila, the project is finished. Well, not quite, I still have to add the yellow chock blocks under the wheels…..Maybe, there is no such thing as a ‘simple” project.





<




[…] post on a subject from Operation Firedog, the air campaign in Malaya.The previous post on the Spitfire also comes from this […]