While the British came out with the first deployed combat tank in World War 1, the French arguably pre-dated the British in kicking off a tank design to break the trench stalemate as early as November 1914 by Jacques Quellenec. Col. Jean-Baptiste Eugene Estienne conceived the idea of an armored tractor to carry squads of soldiers across barbwire defenses, impervious to machinegun fire. By 1915, together with engineer Eugene Brillie, the first French tank prototype based on a Holt tractor chassis was being tested. The result, the Schneider CA1 (Char d’Assault) was first deployed in April 1917 at Berry-au-Bac. It may also interest my readers to know that today, a survivor is the oldest running tank in the world, regularly attracting crowds at its running in Saumur, France.
I am always fascinated with obscure subject matters, and when Hobby Boss came out with the 1/35 scale kit of this very early tank (as opposed to the over-exposed British Mk. 1), I took an immediate liking to it, especially with its funky camouflage scheme. However, I much prefer smaller scales for tanks, so I found this resin and white metal kit made for the wargaming crowd in 15mm scale, I snapped it up and built it within a week (a rare feat for me) as a relaxation project. I set it in a diorama vignette showing exactly what this little van-sized tank was supposed to do, break barbwire barriers in a slow advance on German lines.
Gallery
Construction Notes
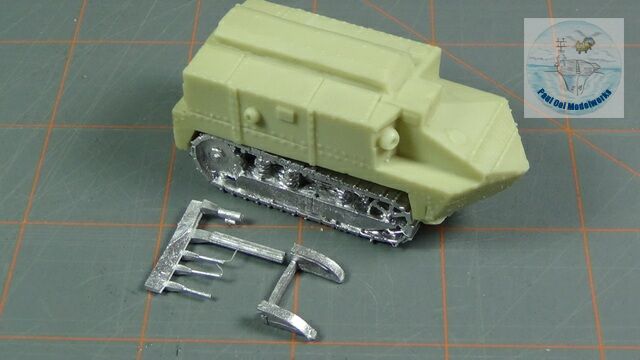
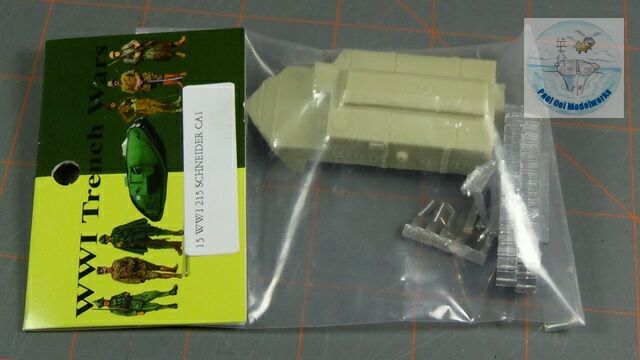
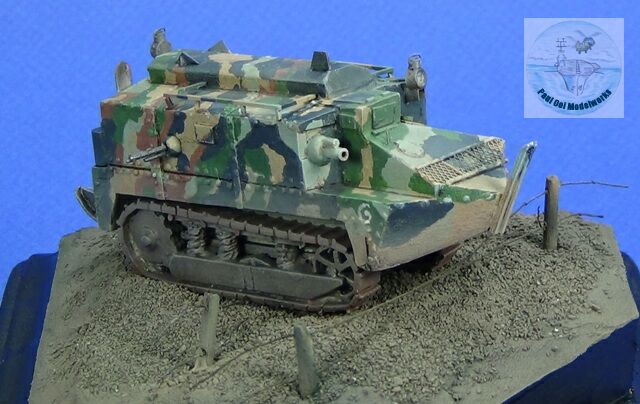
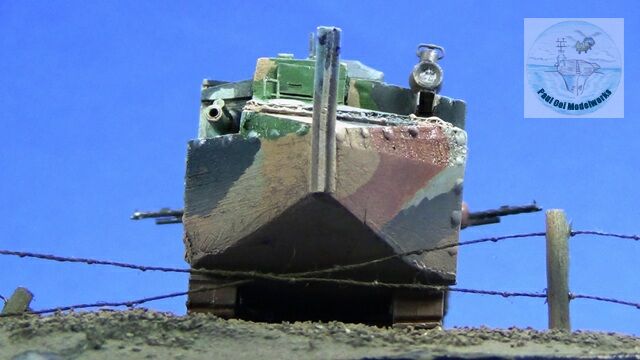
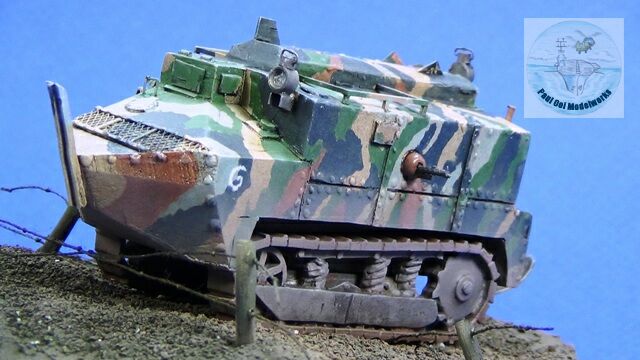
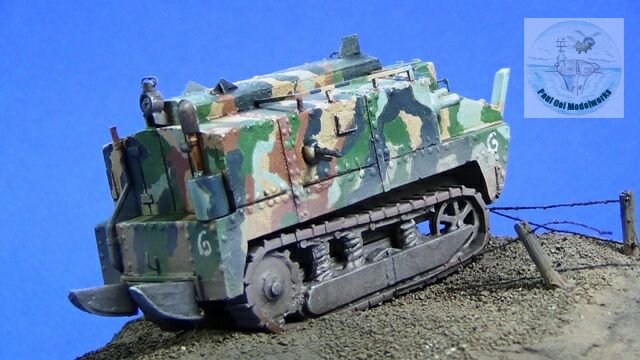
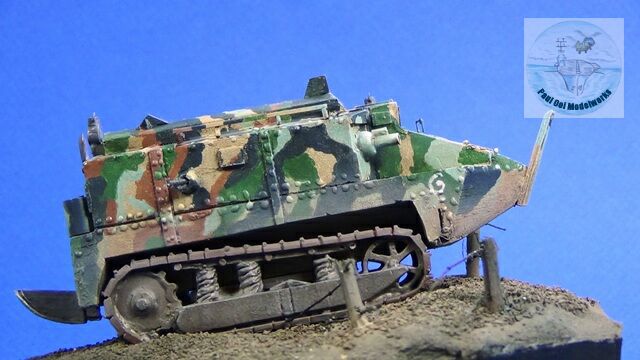
This 15mm scale kit comes from Blue Moon Manufacturing, who specialize in white metal and resin wargaming pieces. After comparing the actual height of people around the tank in WW1 photographs, this kit is really much closer to 1/76 scale. For the robust handling needed in wargaming, the kit is relatively simplified with very few surface details. As one can see here, the boat-like hull is a single piece of resin, with one piece molded white metal track-and-wheel assemblies. The only other separate pieces are the front T-bar wire cutter, rear and short white metal wires for the two machine guns sticking out the sides.
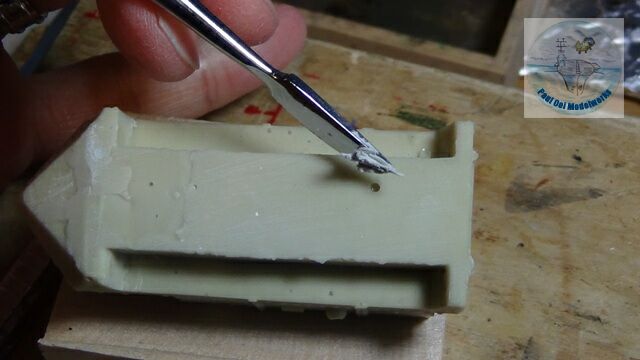
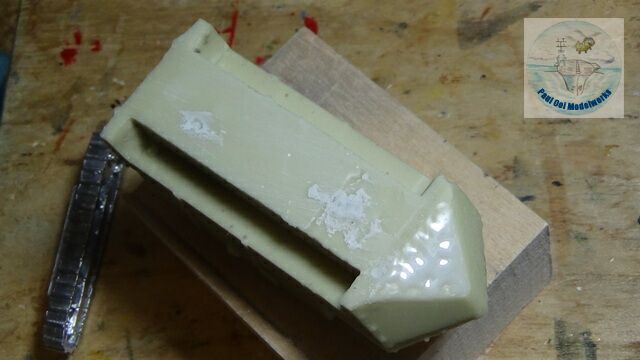
With resin kits, after the washing and scrubbing to get rid of mold oils I start with filling in blowholes with putty, normally found on the underside of resin parts. I also used liquid putty to help re-surface some of the rougher parts of the casting.
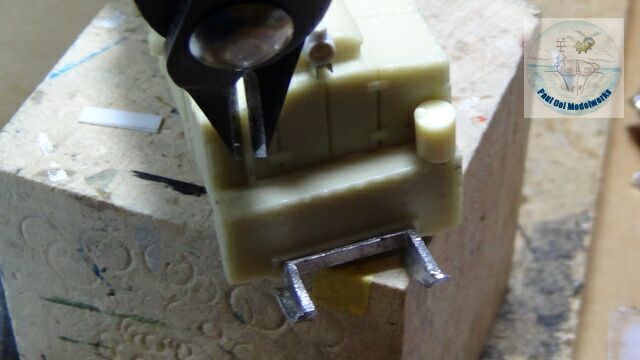
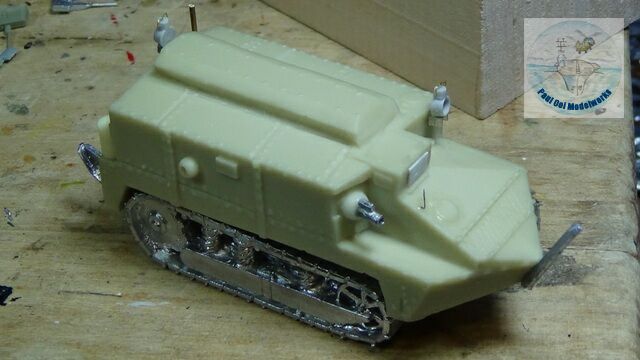
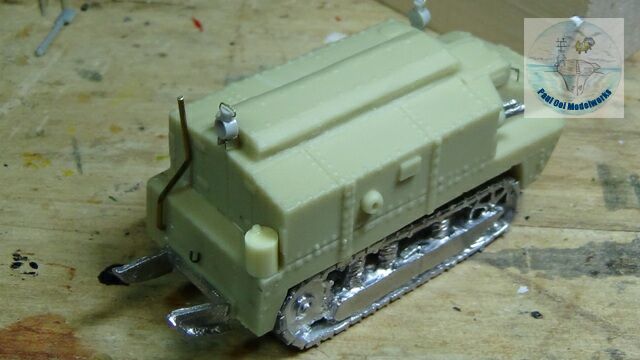
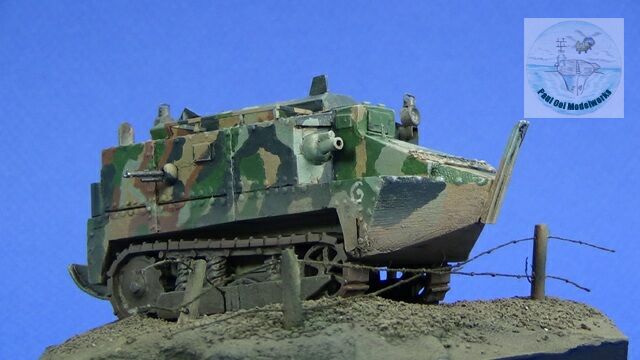
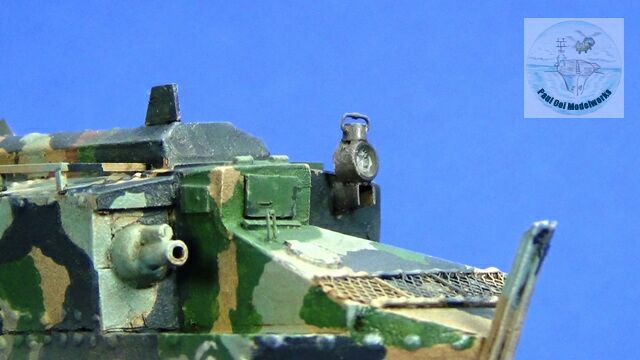
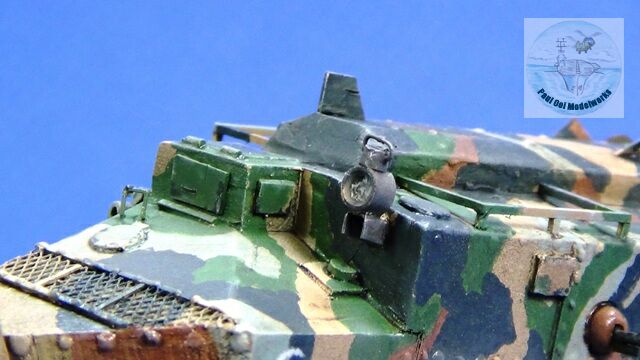
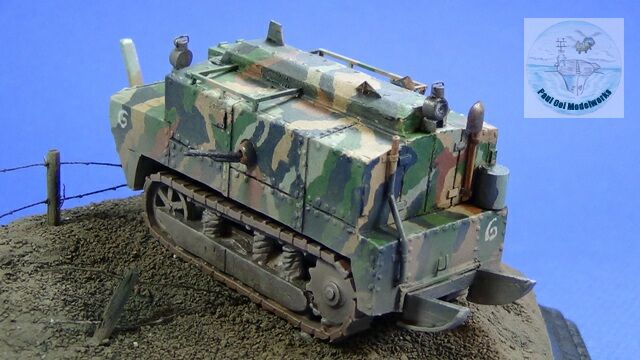
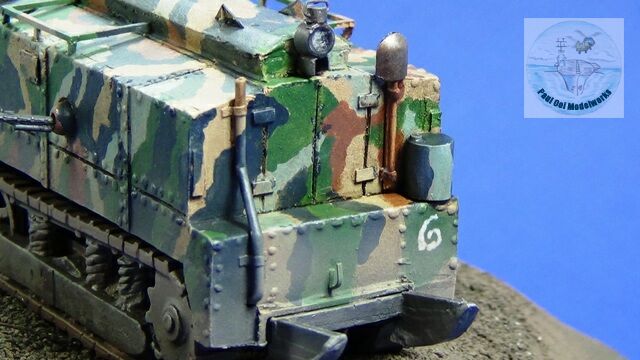
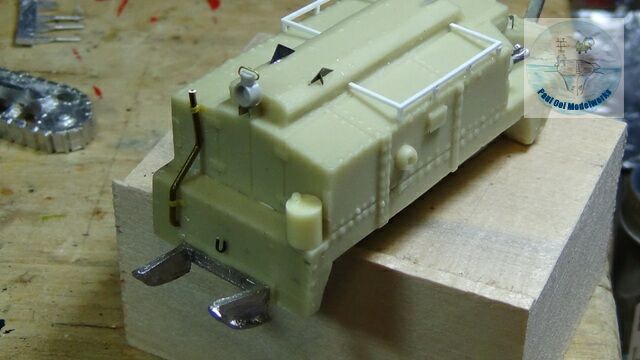
Since the kit lacks many notable exterior features, I started adding these. First there was the exhaust pipe at the rear to be replaced since the feature was shown simply molded on but leading from nowhere to nowhere. I replaced this with a piece of brass wire of suitable diameter, bent to shape and fitted to a opening in the hull that I drilled. I also scratch-built the front and rear lamps complete with their wire slings. Hatches were added at the front and left hand side of the driver’s compartment and a cylindrical resin fuel can (from my spare parts box) was added at the right hand side rear.
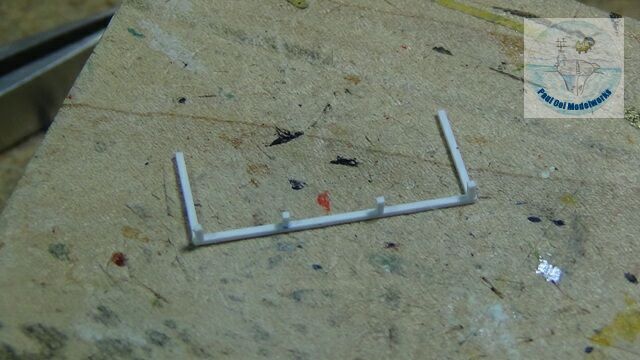
I made the two top racks from 0.5mm x 0.5mm square plastic rods.
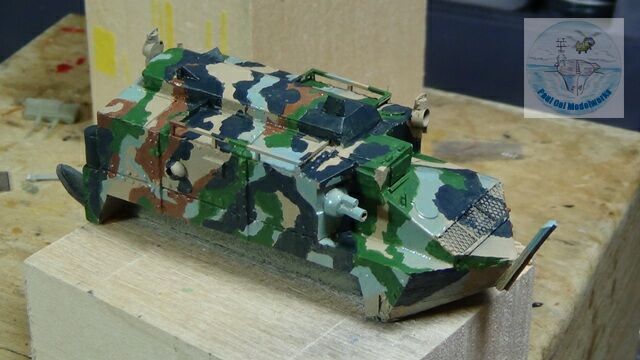
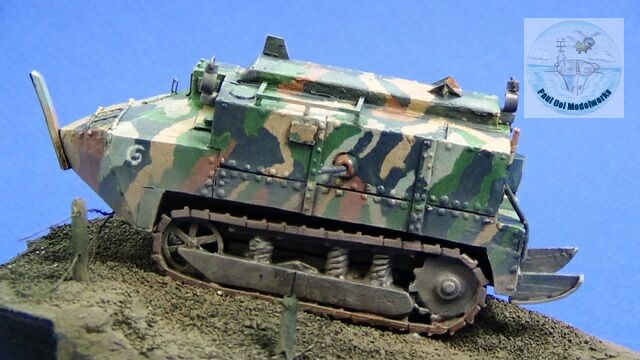
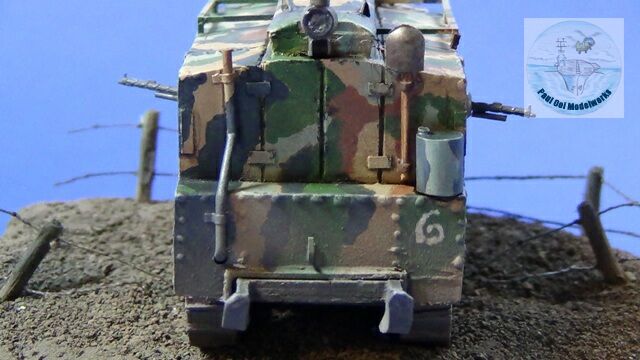
Painting the vehicle was the biggest challenge as the early camouflage scheme had five different colors: sand yellow, light blue, dark sea blue, deep green and red brown. It is interesting that contemporary French accounts stated the scheme was totally useless in the field as the gaudy colors stood out against the muddy grey brown of no-man’s land. I’m sure the German artillery observers found them very useful for targeting (which explains the heavy losses from artillery fire).
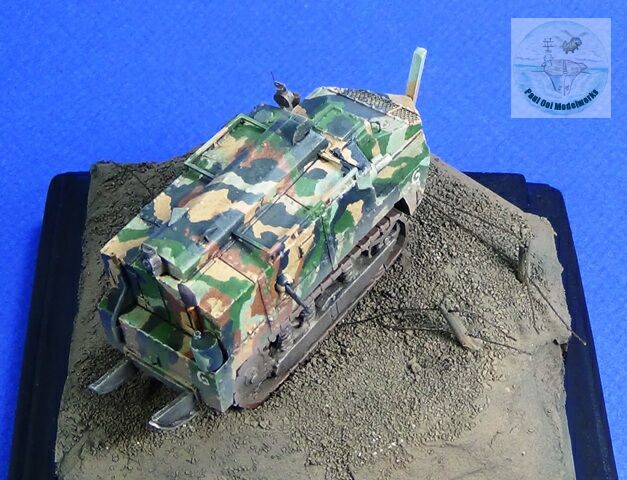
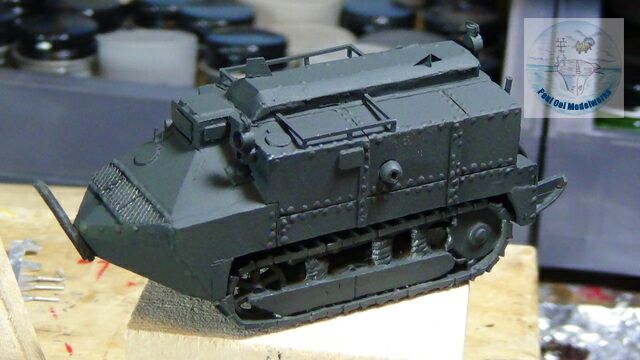
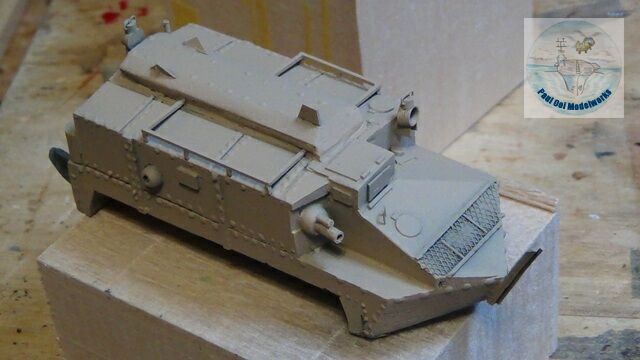
I started as usual with a prime layer coat of Tamiya NATO Black XF69. Then I sprayed the entire hull (but leaving the tracks out) with Tamiya Wooden Deck Tan XF78, lightened with 20% Flat White. The rest of the camouflage pattern was hand-painted in the following sequence: Testor’s Acrylic Hellblau RLM78, Tamiya Deep Green XF 26 (lightened with 20% White), Tamiya Red Brown XF64 (lightened with 20% White), and finally with Tamiya Sea Blue XF17 (lightened with 20% White). By the time I was done, I had my doubts because the whole structure looked more like the tropical reptile section of a zoo. It was so bright and un-militarily gaudy, I pitied the crews who were assigned to these vehicles back in 1917.
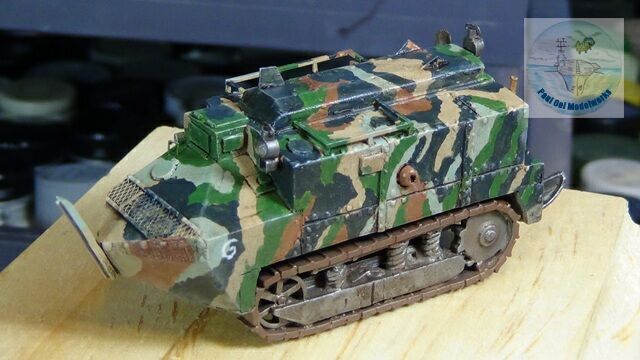
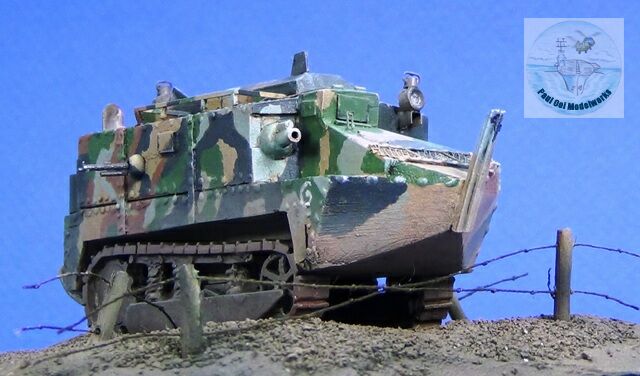
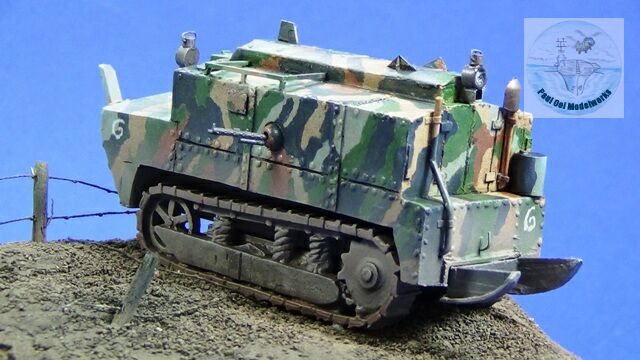
I painted the tracks and other steel parts with Testor’s Metalizer Burnt Metal, since the latter has a much toned down stressed steel. The unit marking were hand-painted in Insignia White (see the while swirl pattern that look like eyes for the hull). The whole vehicle looked better after I gave the camouflage pattern an ink-wash of 50%:50% Burnt Umber:Lamp Black. I stained the tracks with diluted Tamiya Flat Earth XF52. The whole job was given a coating of flat varnish. I added the Hotchkiss gun barrels at the end of this process. Instead of using the sticks provided by the kit, I hunted down some replacement parts from by spare parts box that looked more like machine gun barrels.

Finally, I misted the underside with thinned down 70%:30% mix of Tamiya Flat Earth and Flat White. The upper side were more thinly misted with the same mix to give the vehicle that used-in-the-field dusty look.
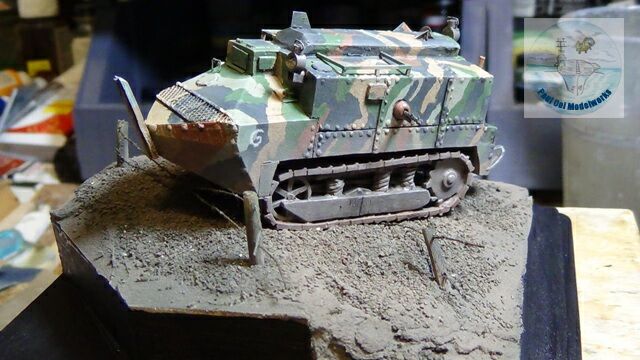
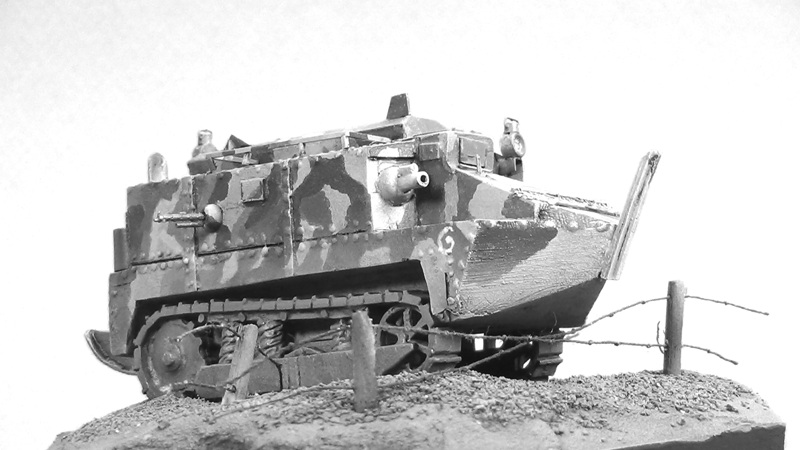
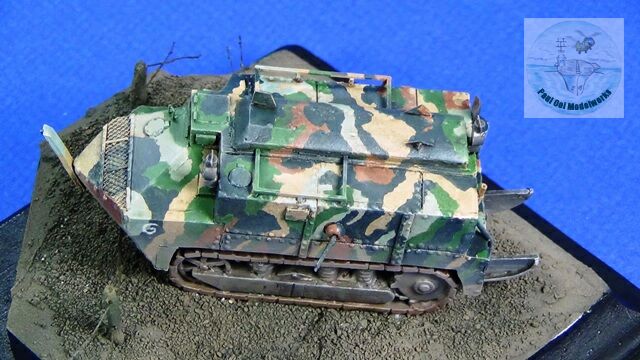
I prepared a small sloped base to look like a muddy field in France circa 1918 fully populated by barbwire posts. The Schneider has grounded down one layer of barbwire and about to start on another fence. Marche avant, mes amis!
Leave a Reply