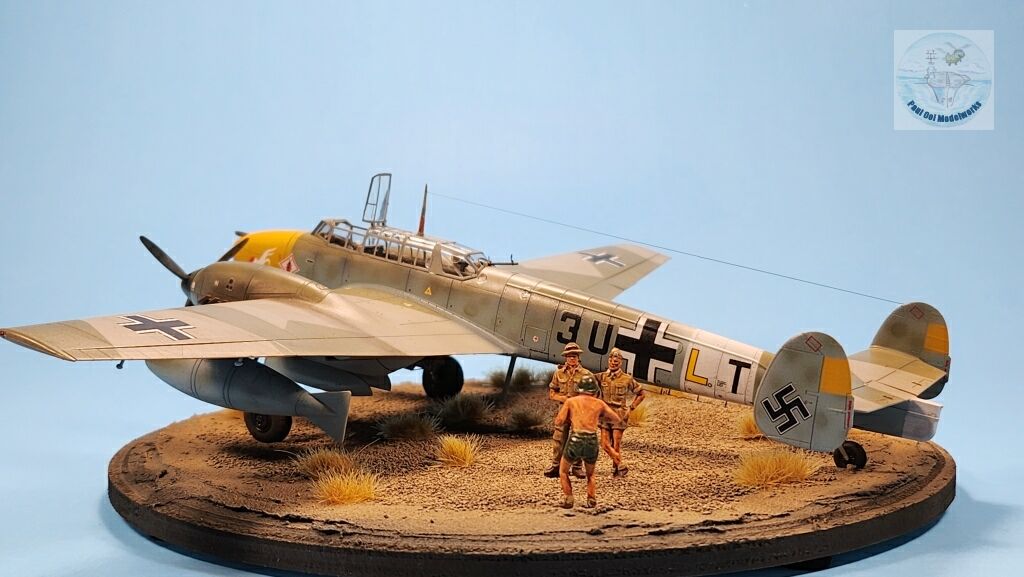
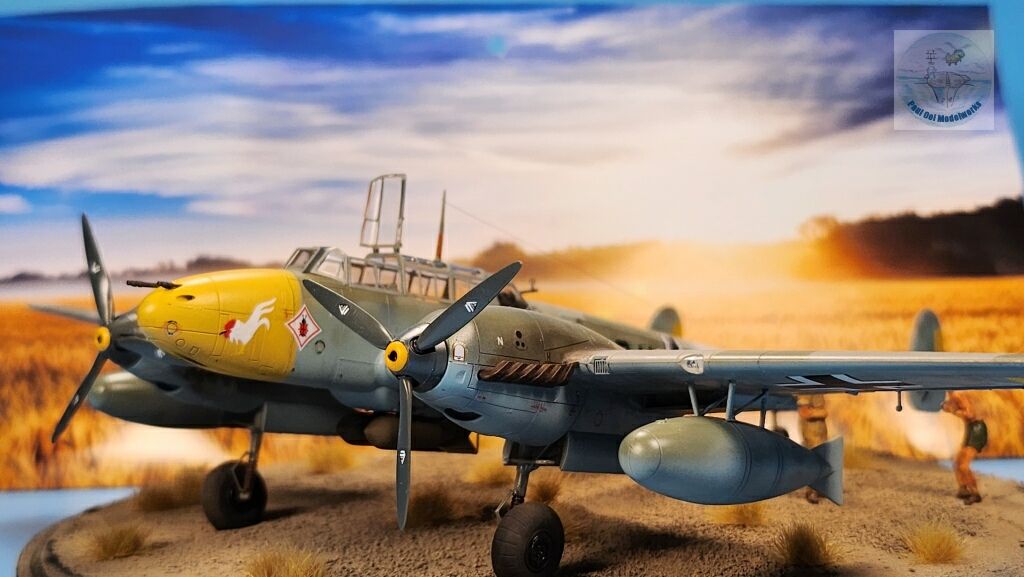
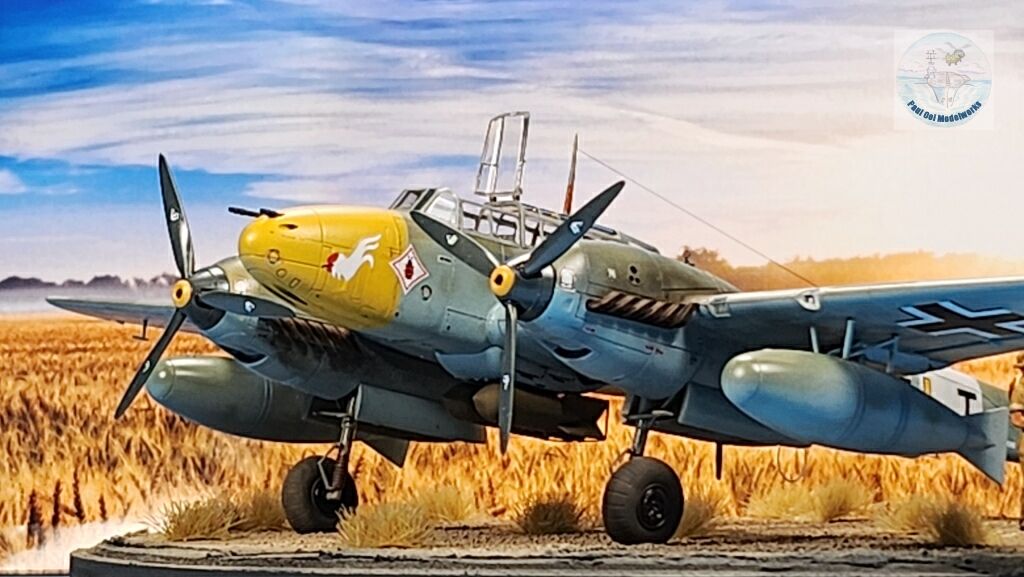
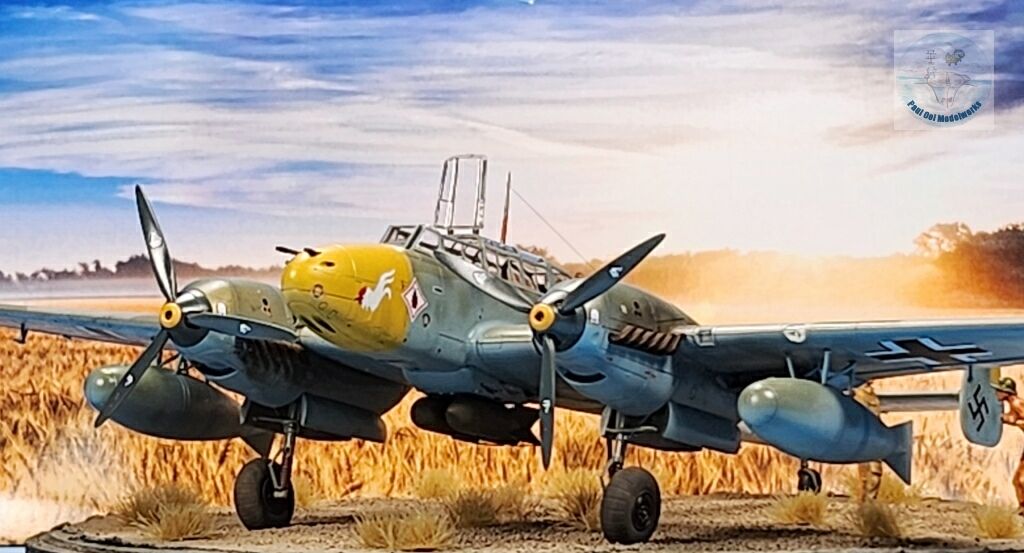
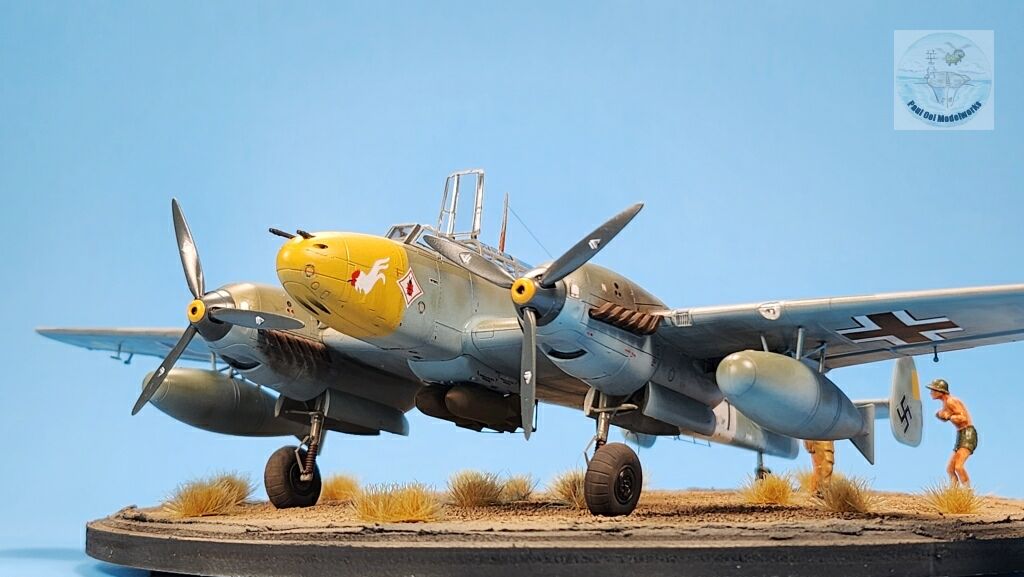
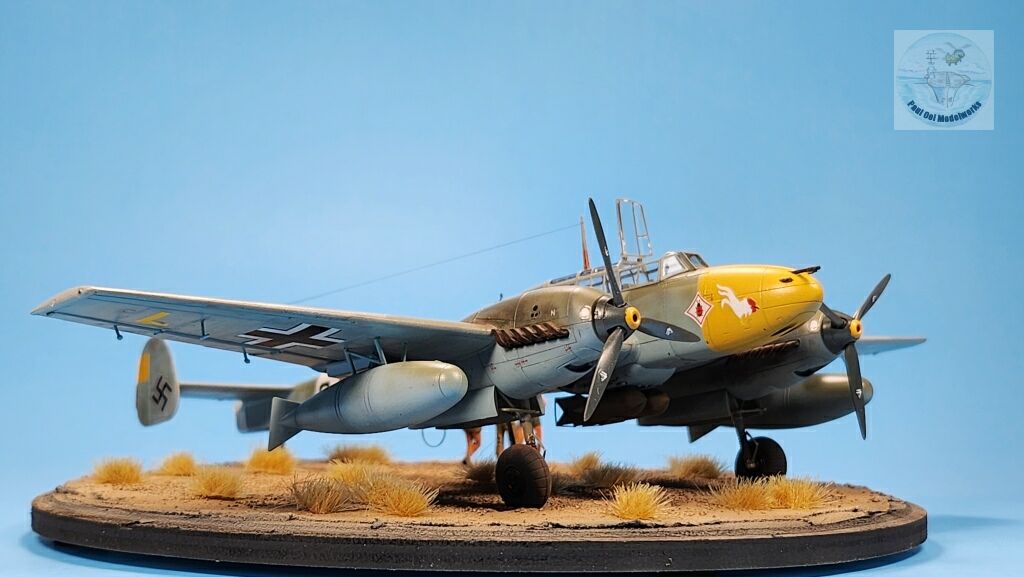
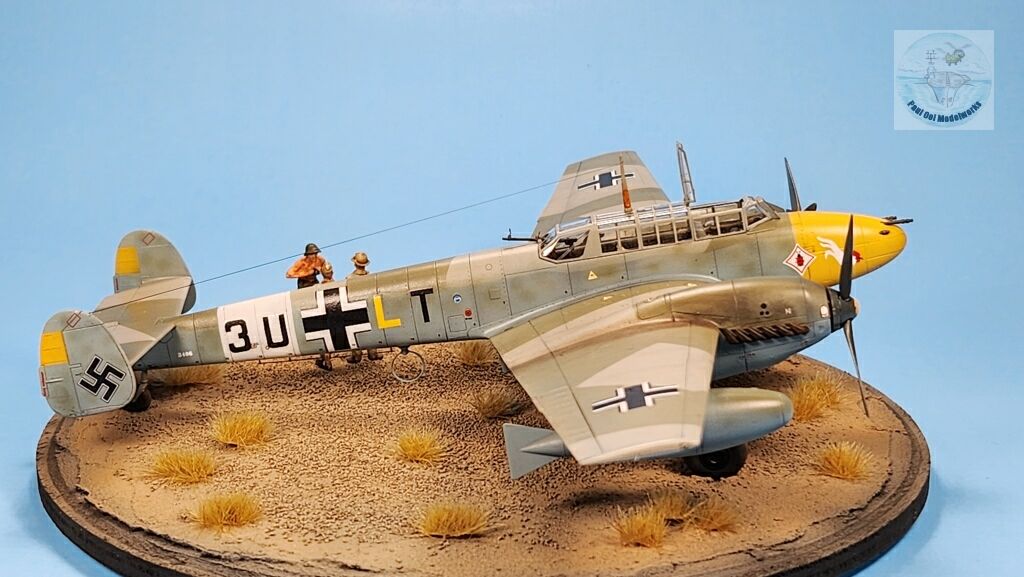
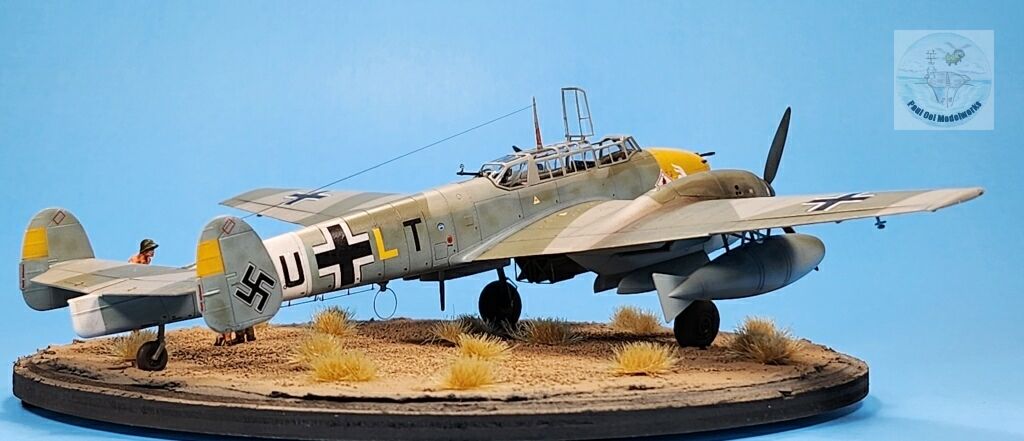
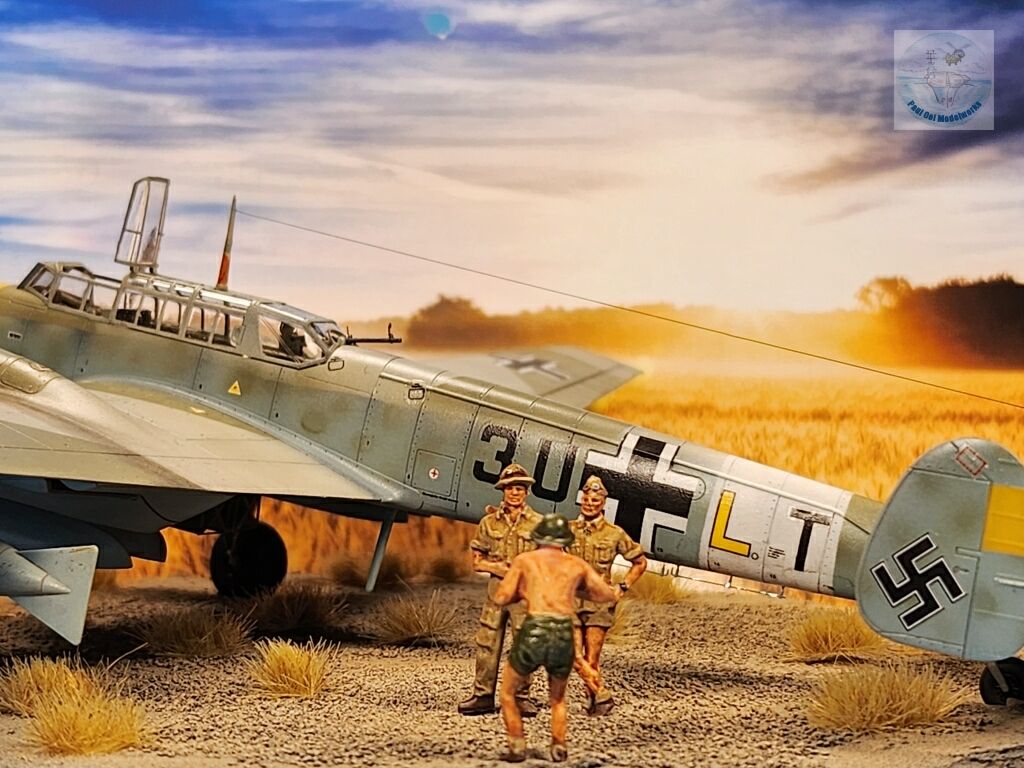
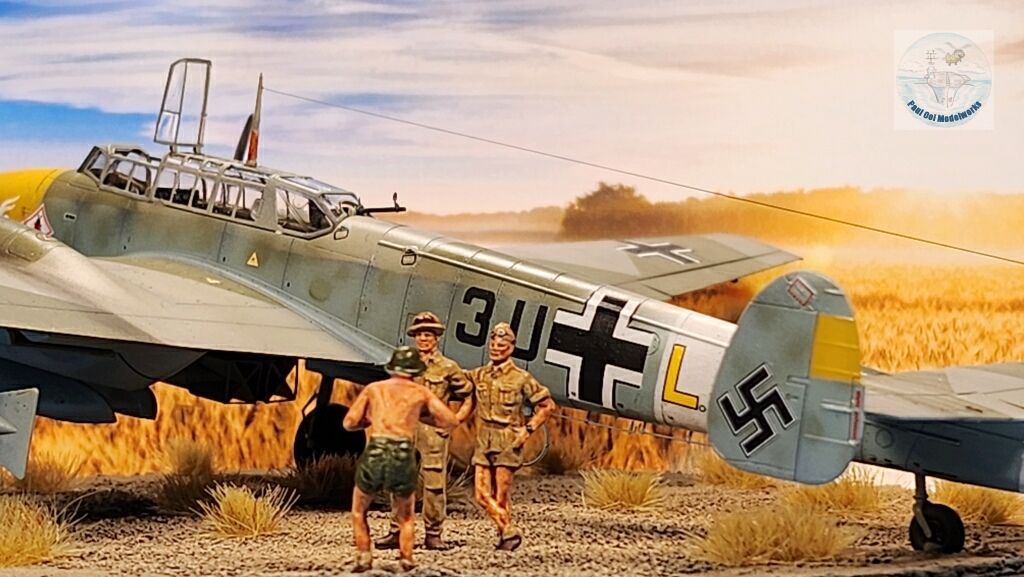
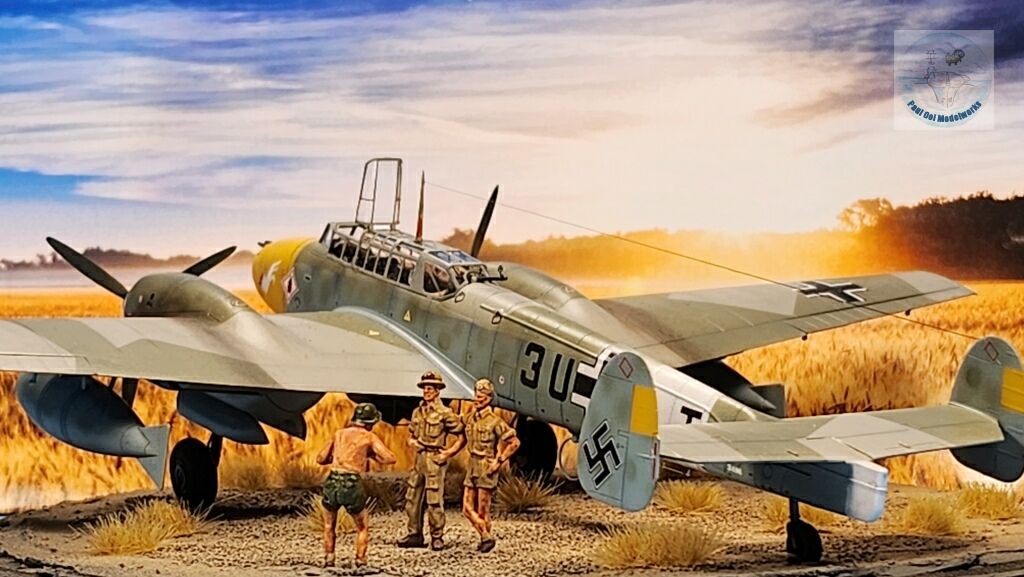
The Messerschmitt Bf 110 was originally conceived as a heavy fighter, but the model suffered heavily in the opening days of the battle of Britain. However, it went on to be very successful in the roles of fighter bomber, and night-fighter in other theaters of war. Zerstörergeschwader 26 was equipped with Bf 110D with extra external fuel tanks to extend the range for convoy escort duties covering the stretch between Italy and North Africa. This unit operated out of Trepani on the island of Sicily from the spring of 1941 until withdrawn in 1943. The Zerstörer was very deadly against surface vessels of the Royal Navy, carrying two bombs and equipped with twin cannons and four machineguns in the nose.
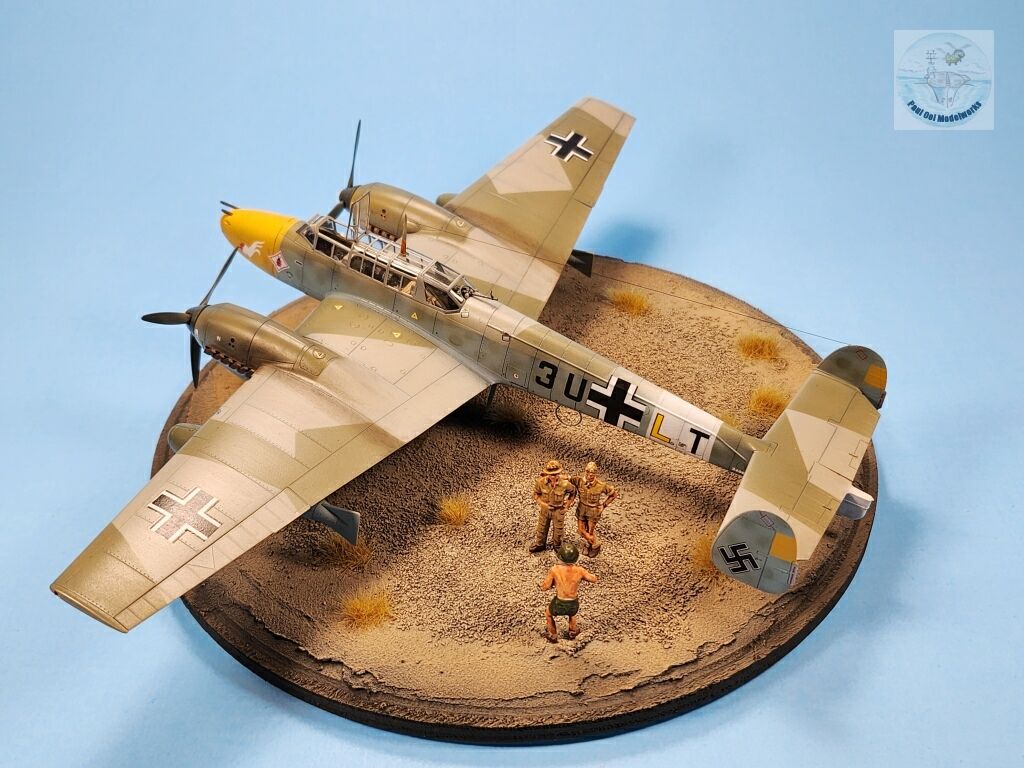
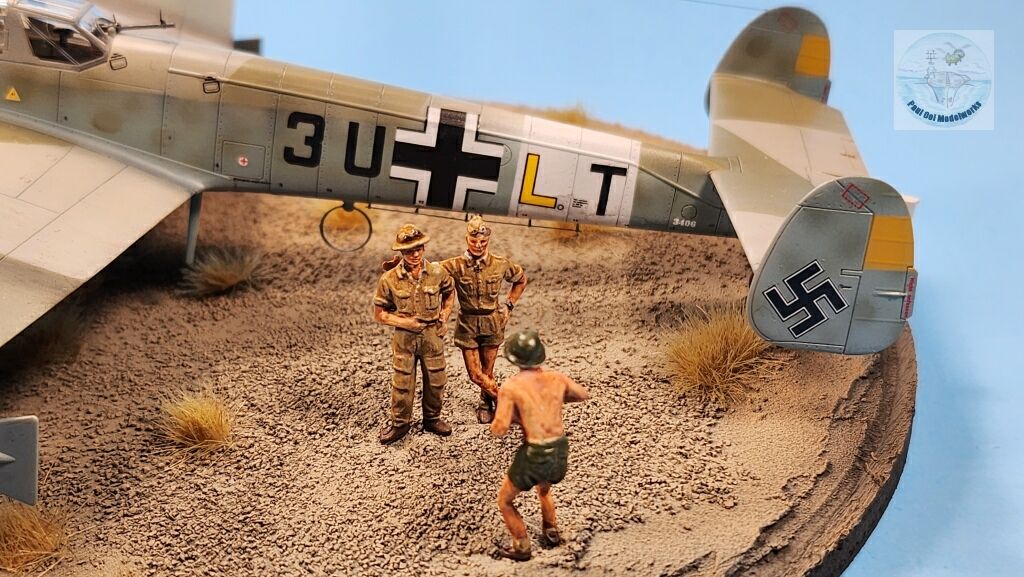
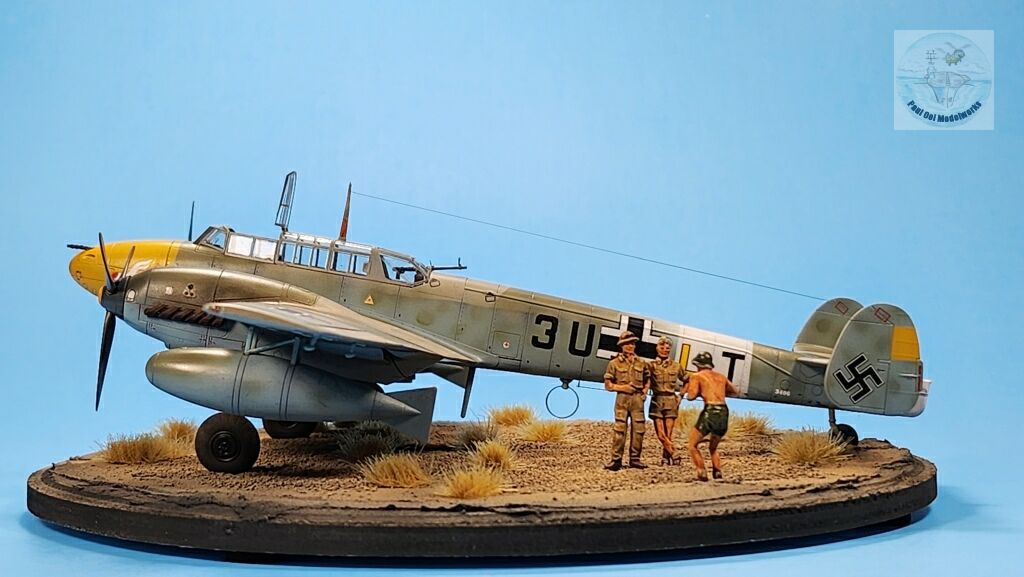
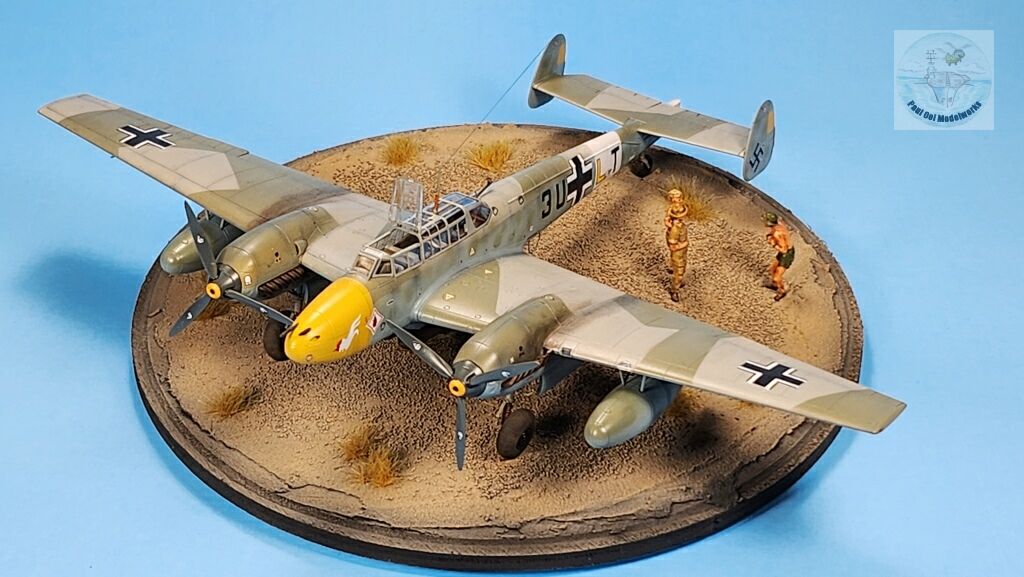
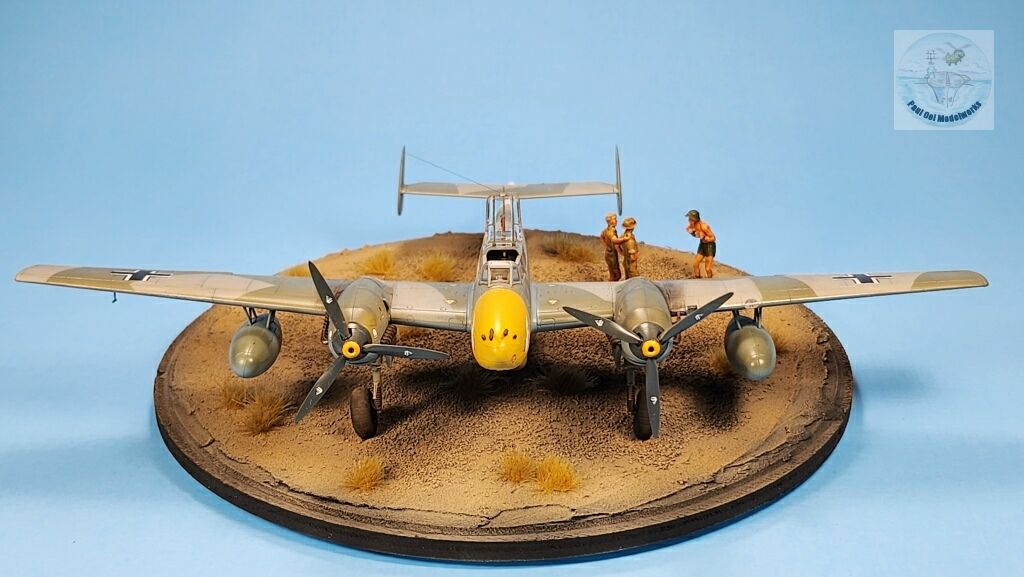
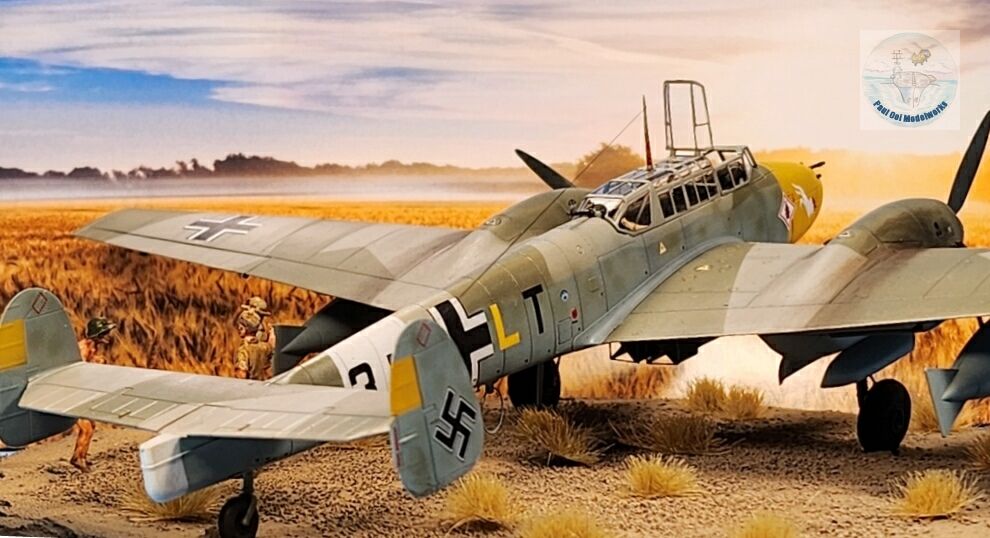
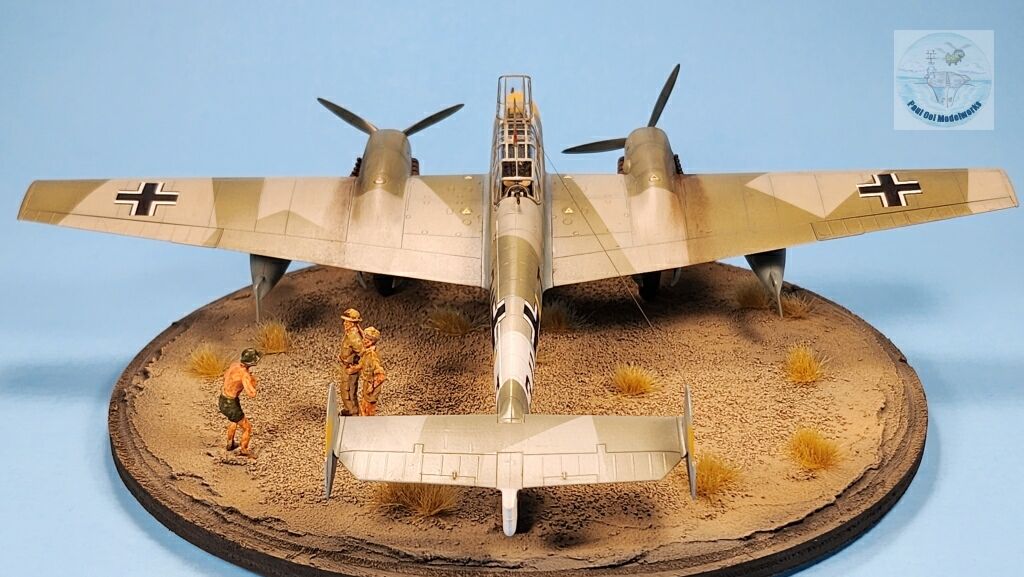
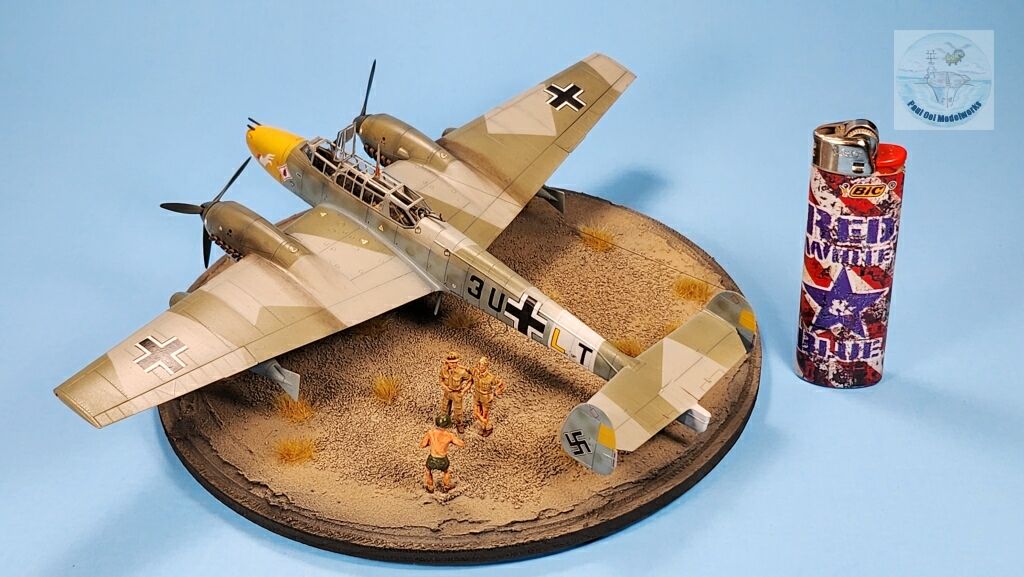
The diorama portrayed here shows two crewmen having their picture taken by a member of the groundcrew in front of their aircraft. They wore Luftwaffe tropical uniforms similar to those in North Africa while the ground crewman was wearing olive green Afrika Korp denims and tropical helmet. Figures came from an old Preiser kit for various Luftwaffe personnel.
Gallery
Construction Notes
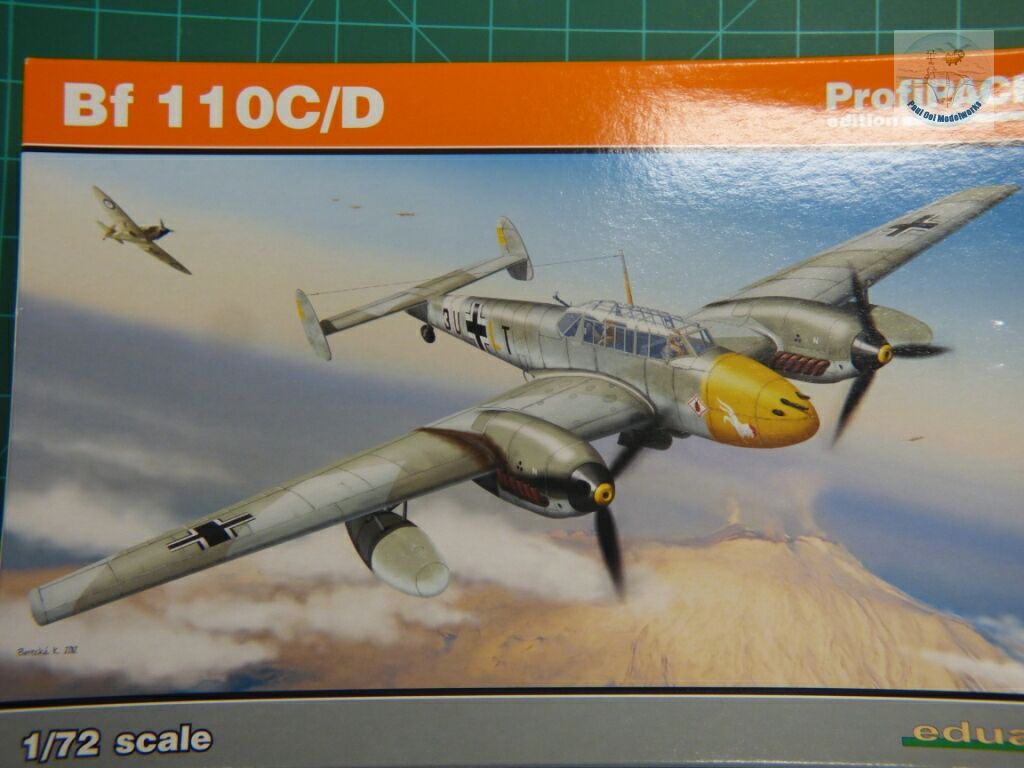
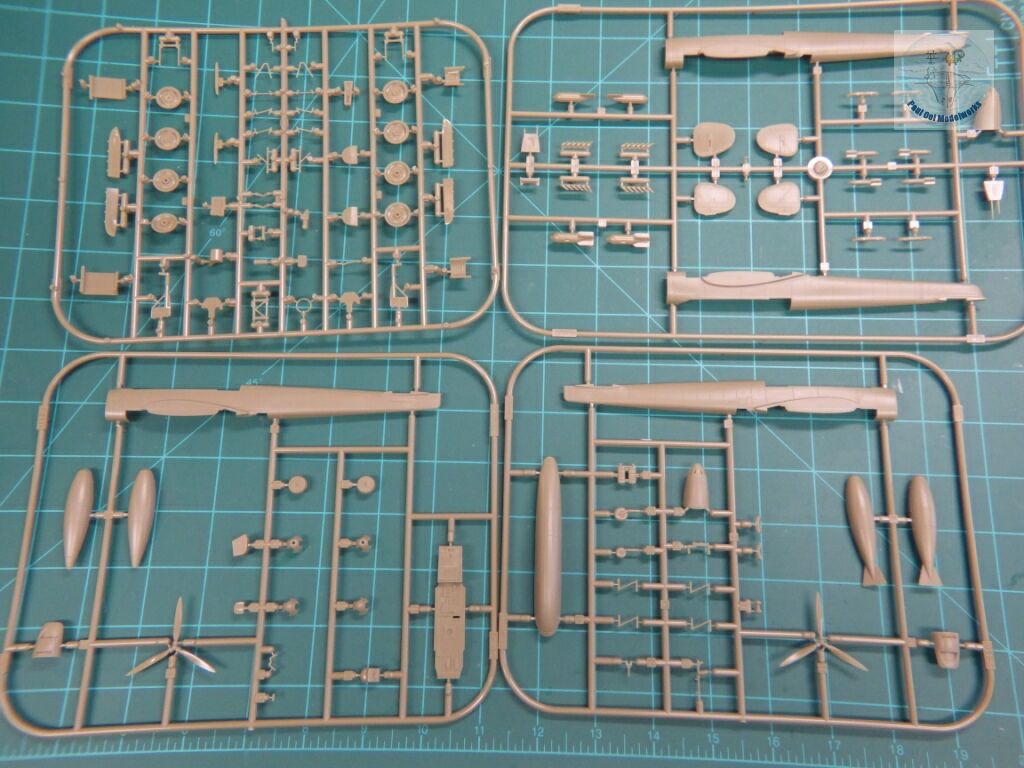
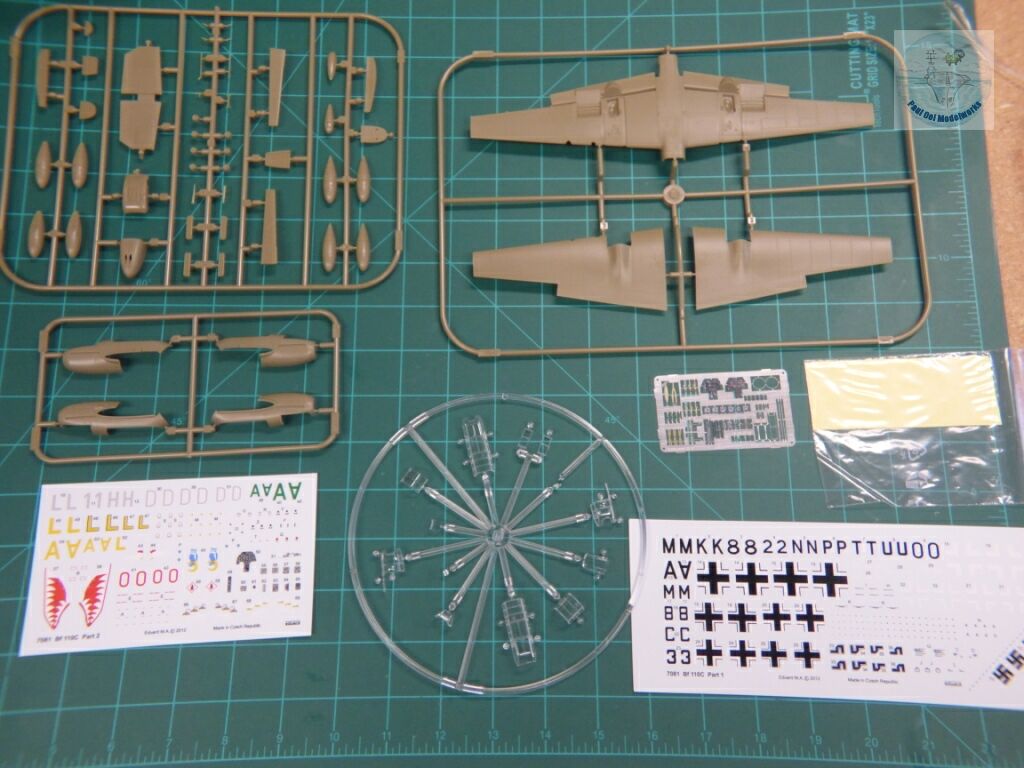
I built this Me 110 from the excellent 1/72 Profipack Eduard kit. As you can see, there are a lot of parts in the kit, almost like having two aircraft kits in one with a lot of alternative parts. Eduard provided the masking sheet, and the photoetch fret for super-detailing the model. There are markings for 5 versions, and alternative markings for the swastikas as well, although I ended using the Aero Master’s swastika as I found the ones here to be out-of-register. The fit is very good, and the details are crisp. You do have to be careful with some of the plastic parts, as they are very delicate and fine.
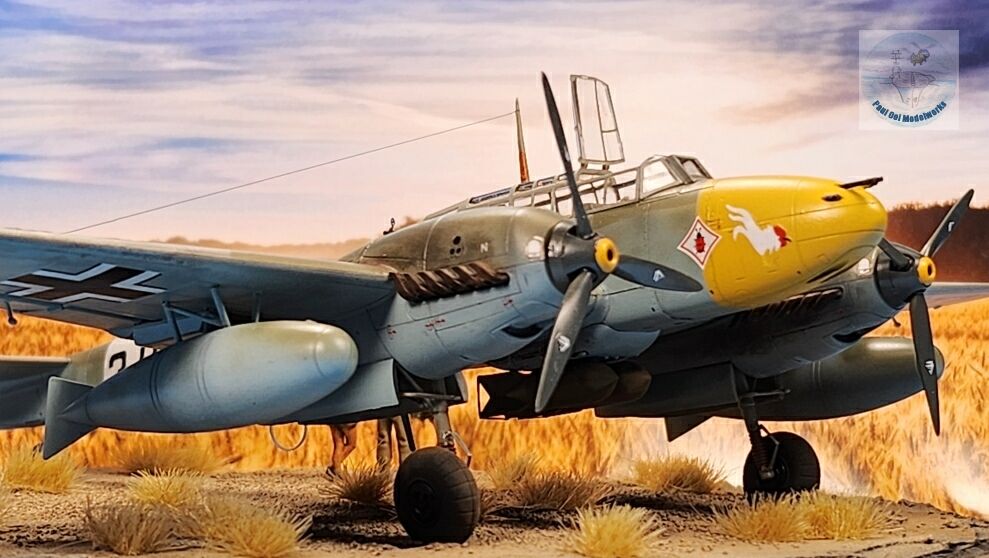
I chose to build the Bf 110D based in Trepani, Sicily with the extended fuselage for a life raft at the rear, external fuel tanks, and a very striking paint scheme with a bright yellow nose.
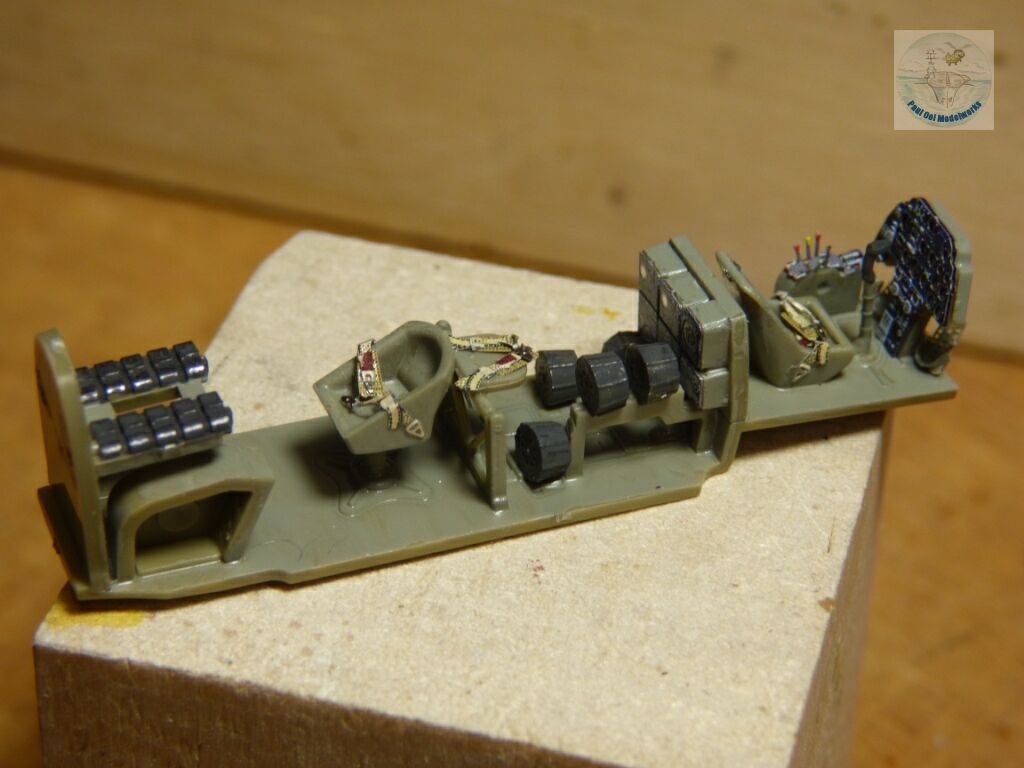
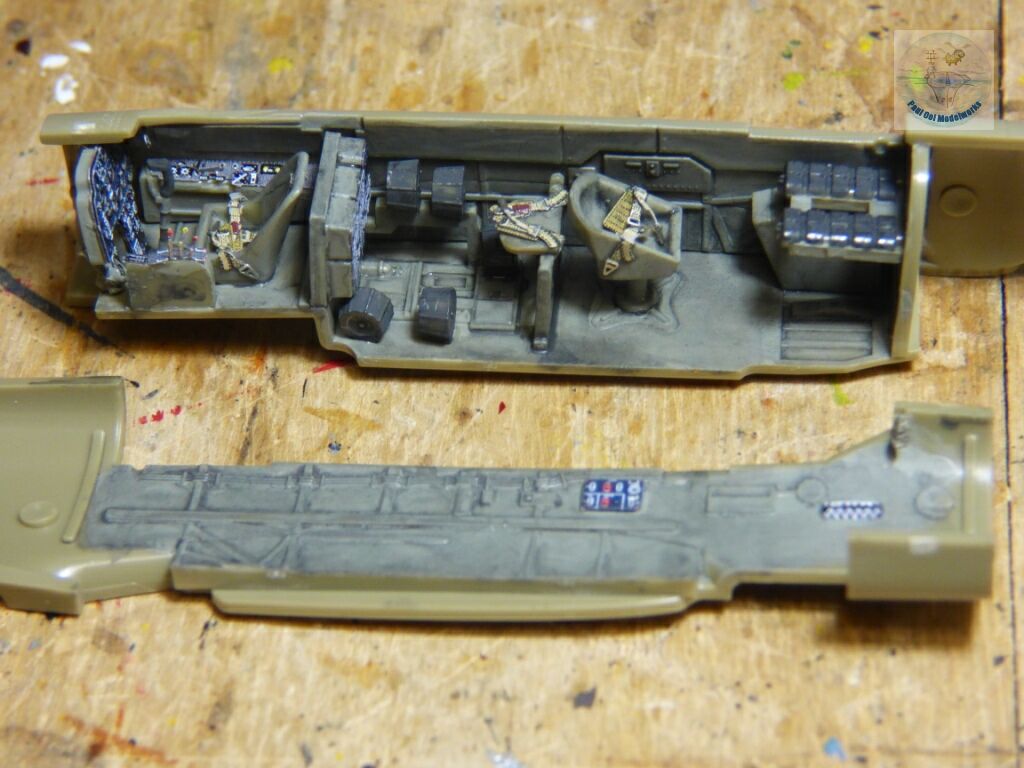
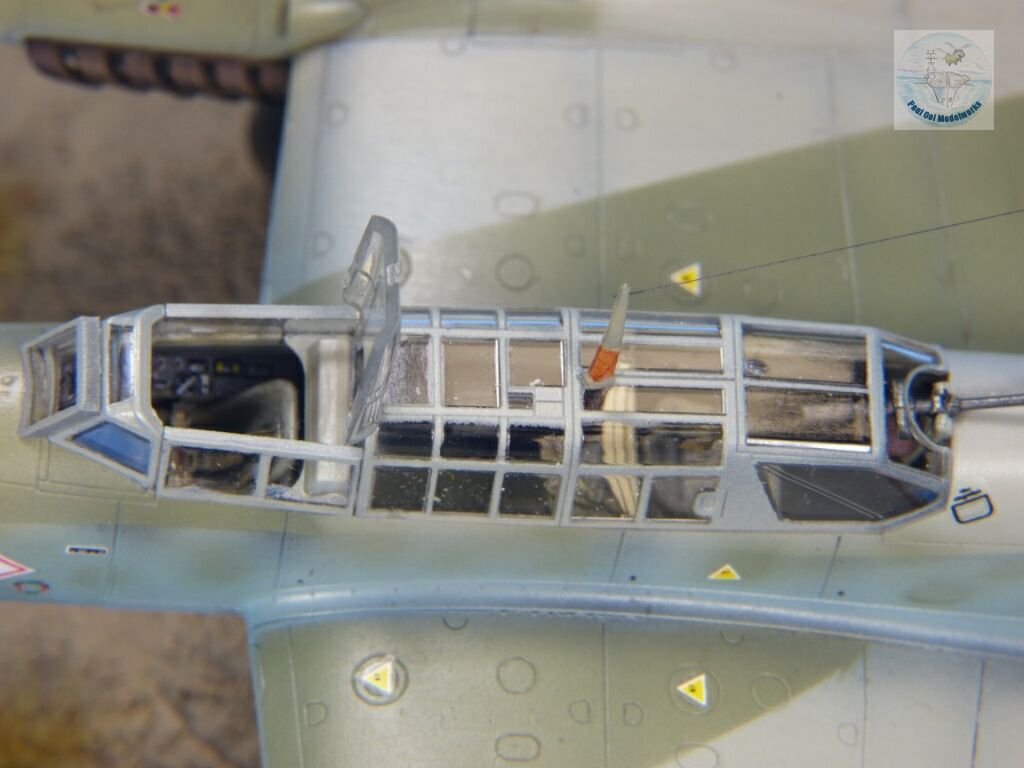
We start with the cockpit tub stuffed full of details . The Eduard instrument panels and seatbelts certainly brought out the complex arrangement of the rear gunner/radio operator layout. I painted the interior with Model Masters RLM02 Grey.
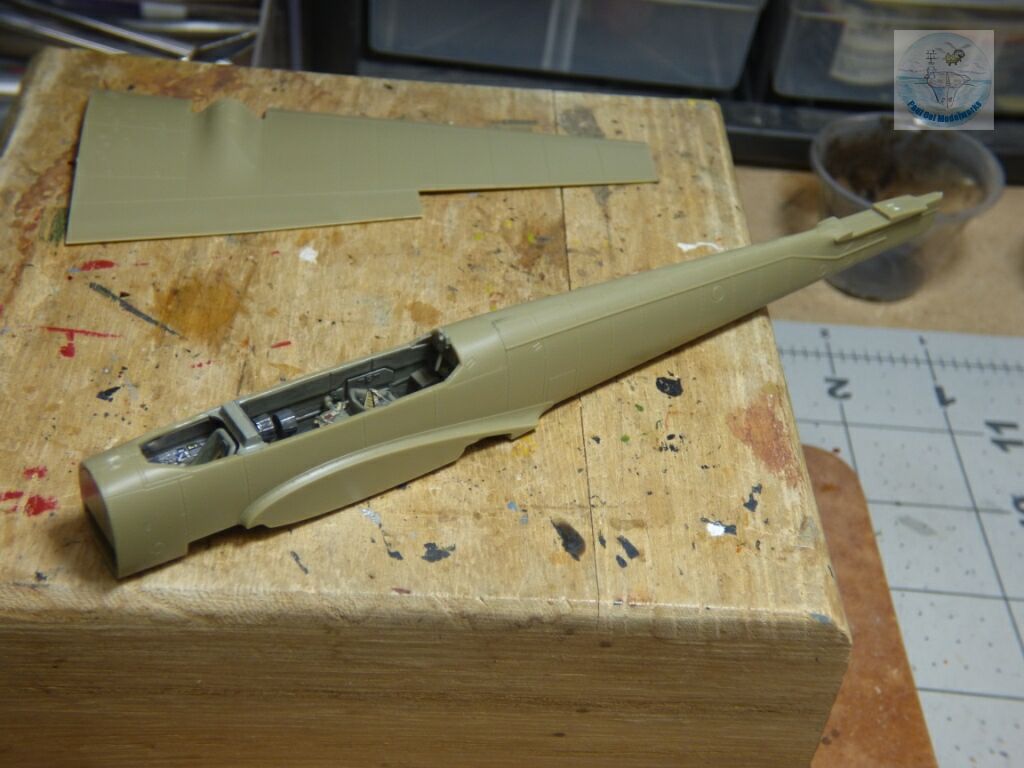
It was a snug fit between the cockpit tub and the pencil-shaped narrow fuselage. The halves join together very nicely without any open seams.
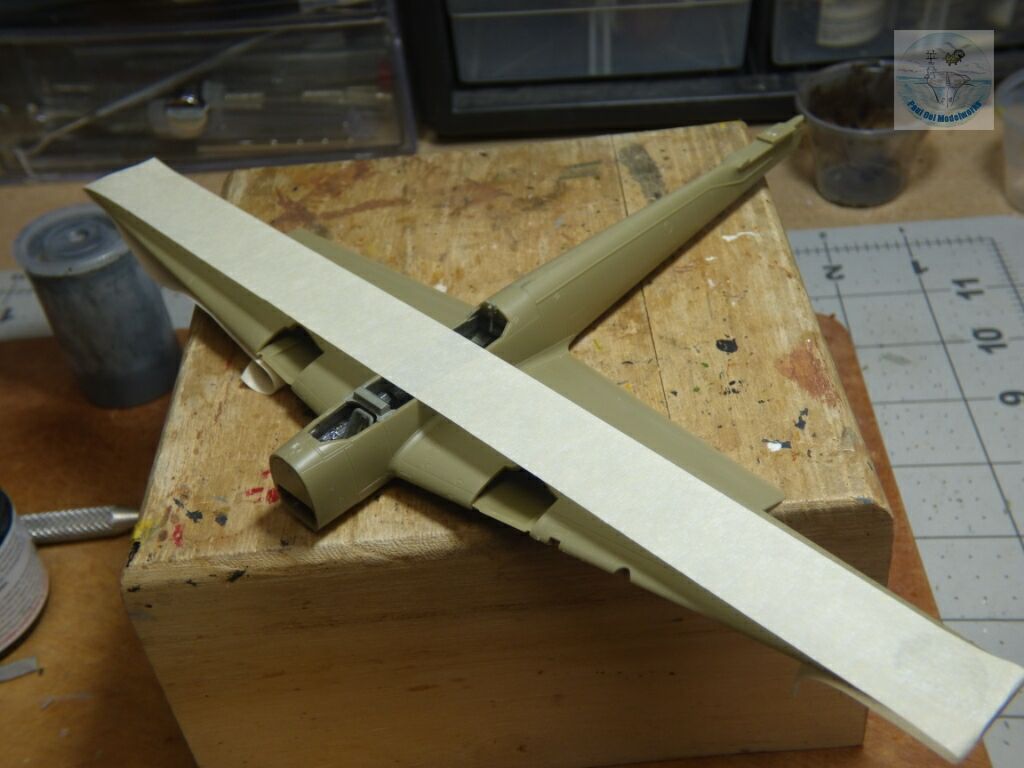
The wings fit very well, and I use my usual tape method to achieve the diahedral angles.
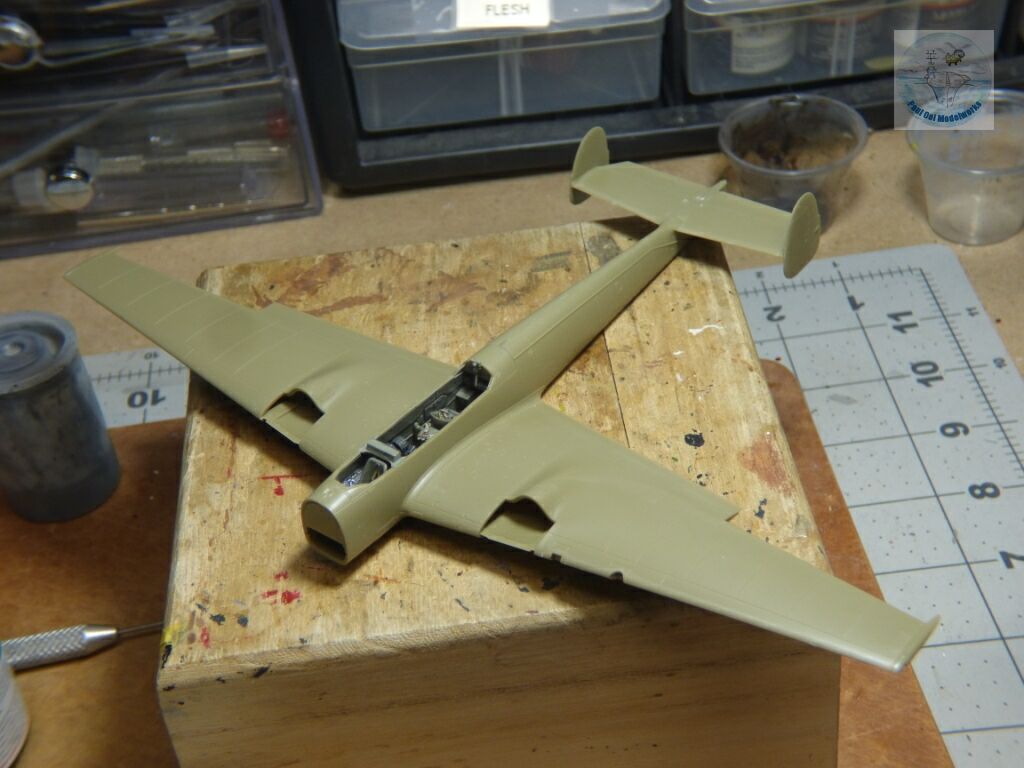
The rear stabilizers were added after the tape across the wings was removed.
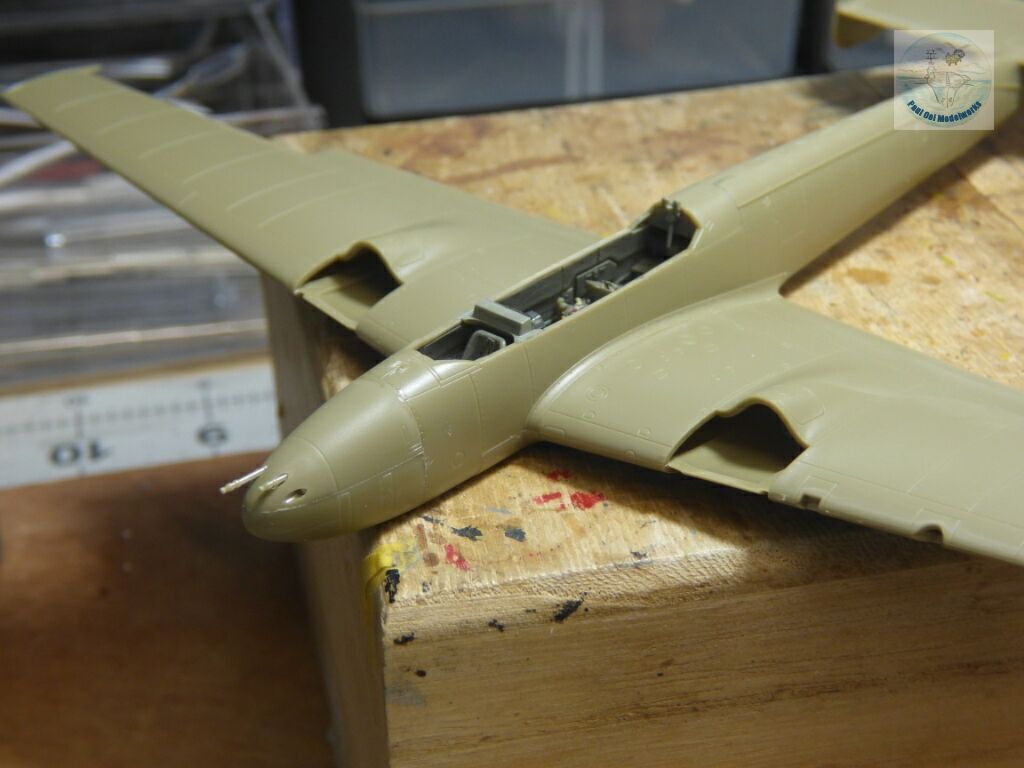
Once the nose with the machineguns were added, the aircraft suddenly looked a lot like the Me 110 at last.
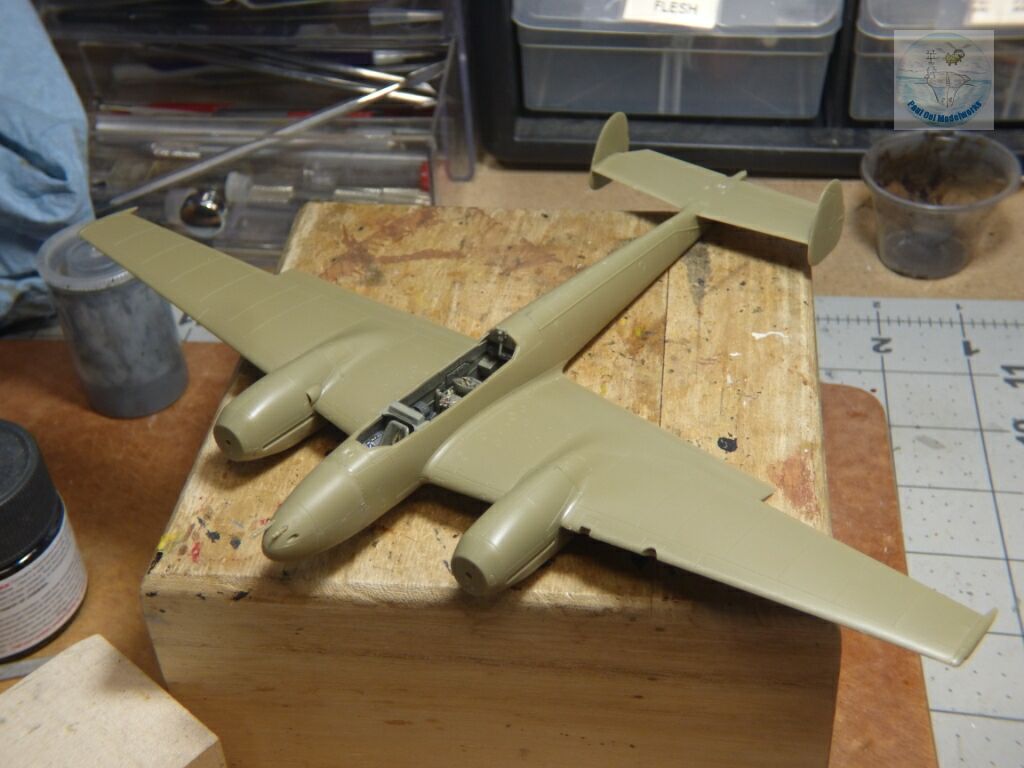
The engine nacelles fitted very snugly into the wing sections.
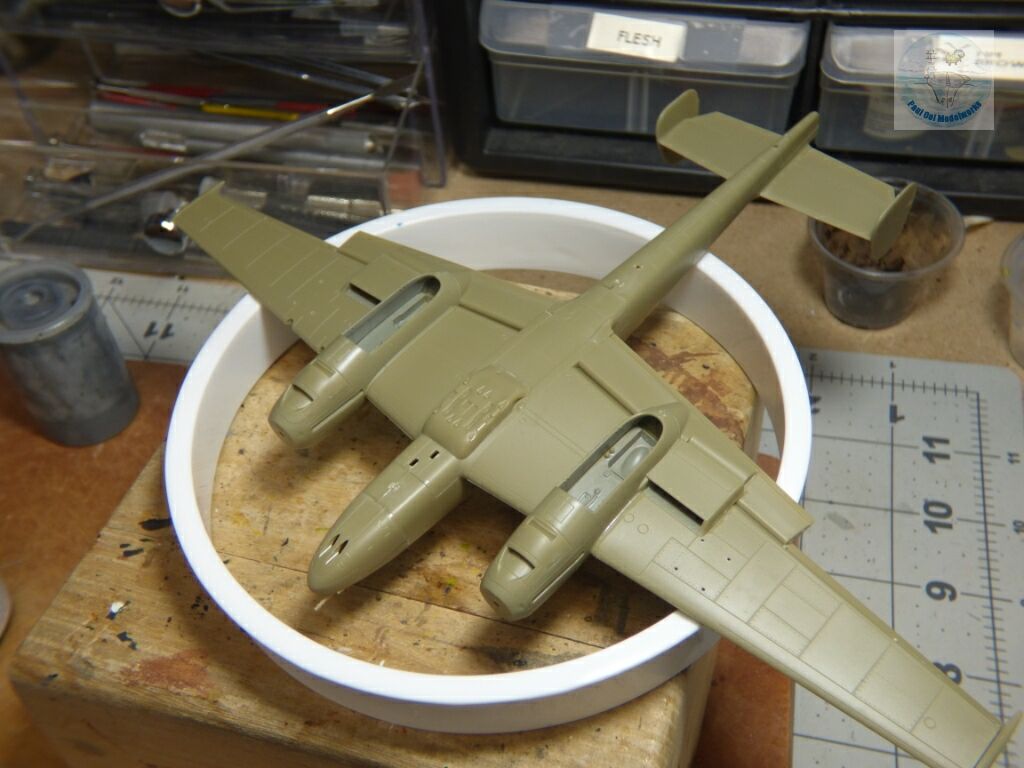
Under side details like the oil coolers and the bomb rack were added . The two shell ejection holes just ahead of the central bomb rack had to be manually cut open with a sharp Xcto knife.
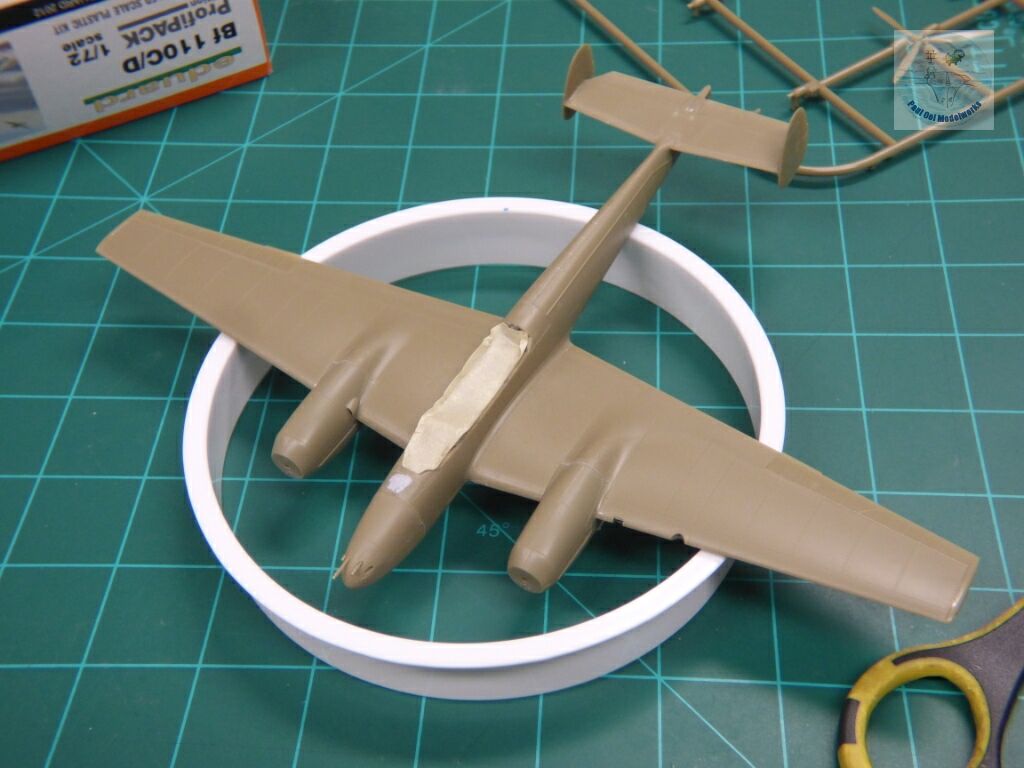
Once the fuselage openings have been sealed with masking tape, we were ready to head to the spray booth.
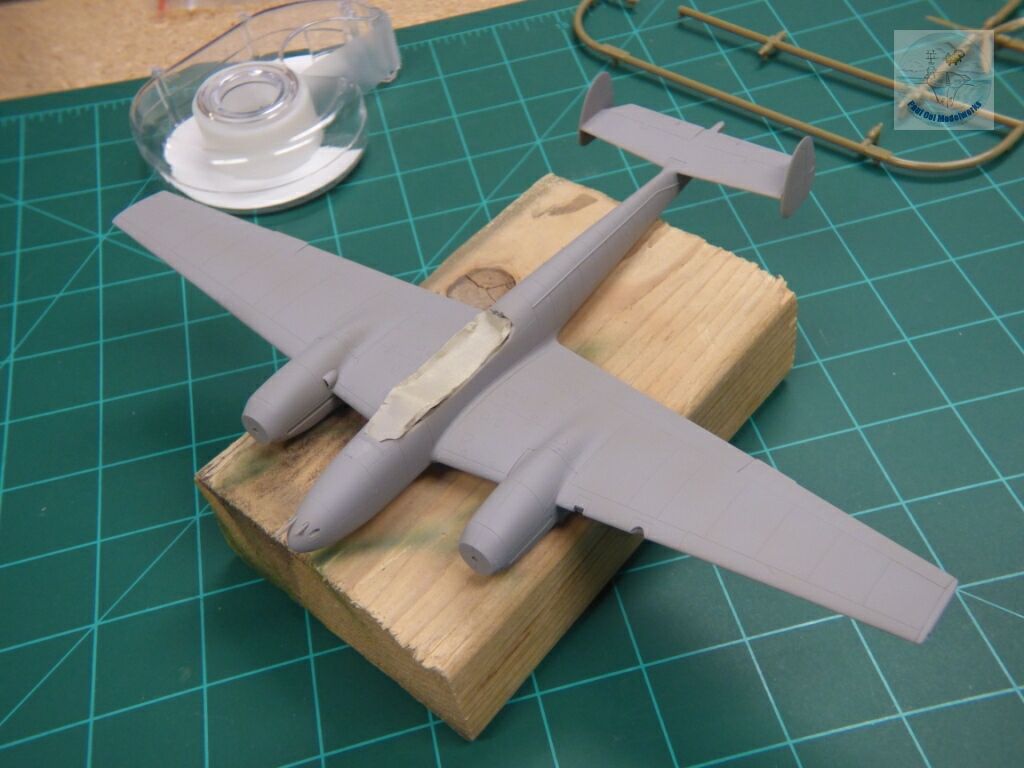
I primed the entire fuselage in Tamiya Sky Grey.
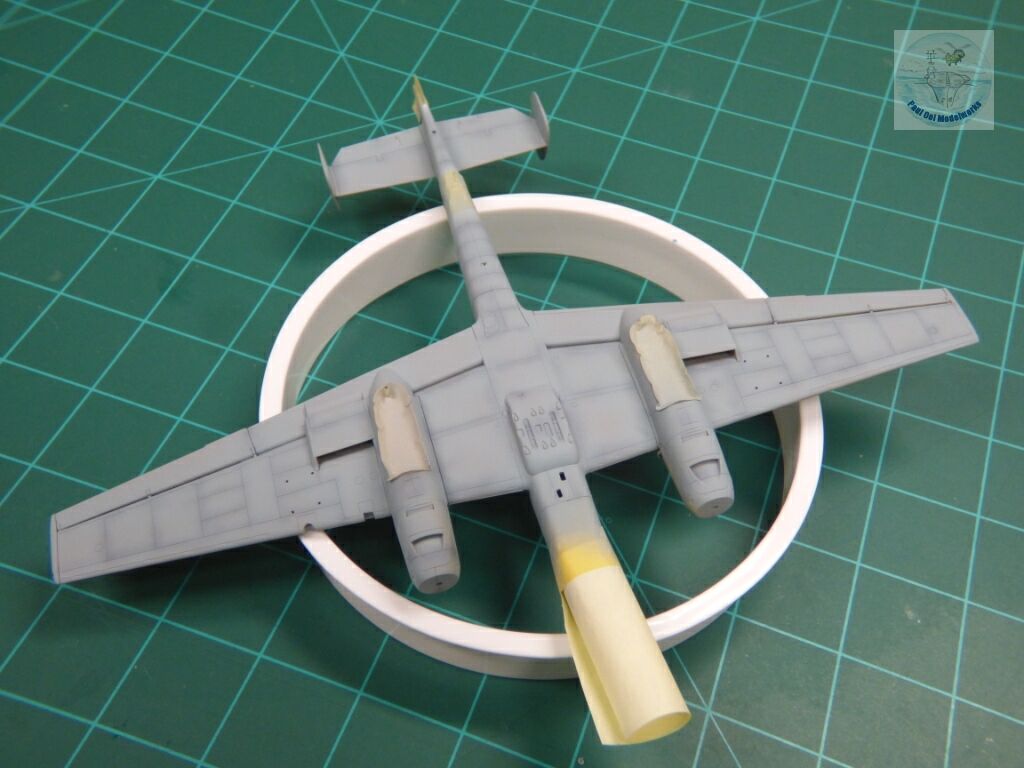
After the usual under-shading of the panel lines with Tamiya NATO black, I painted the Flat White fuselage bands, and the RLM04 Gelb yellow nose, masked them over, and then painted the underside with Vallejo RLM65 Hellblau.
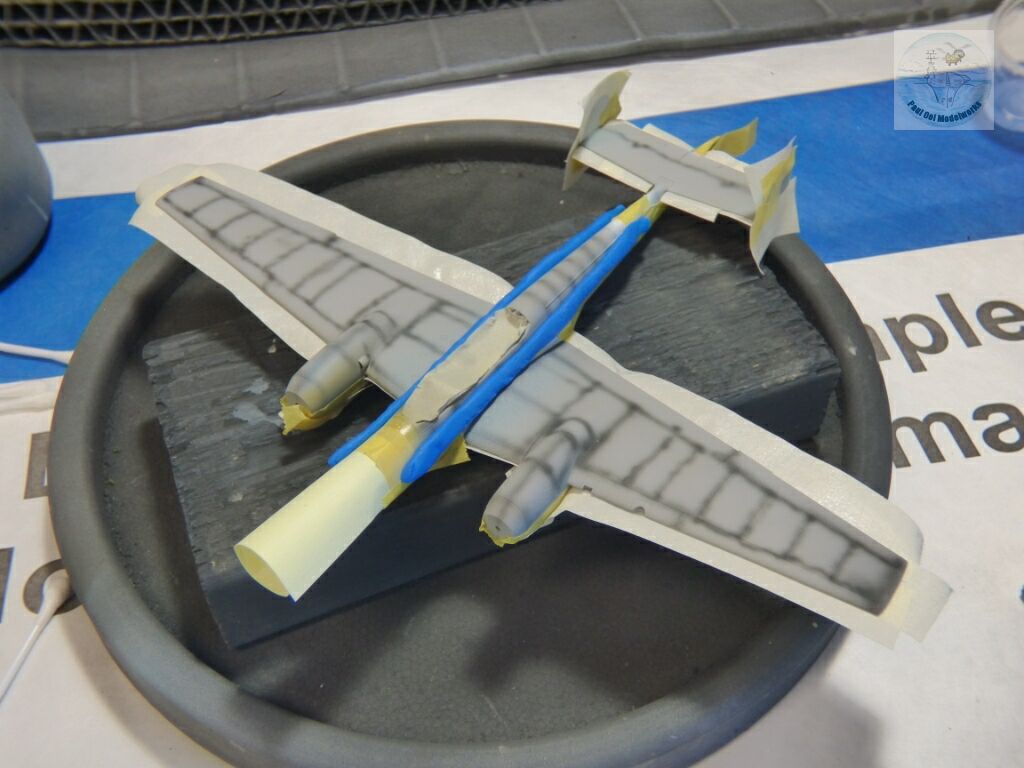
Then I masked most of the underside, as well as using Blutack for the soft edge of the camouflage pattern along the length of the fuselage.
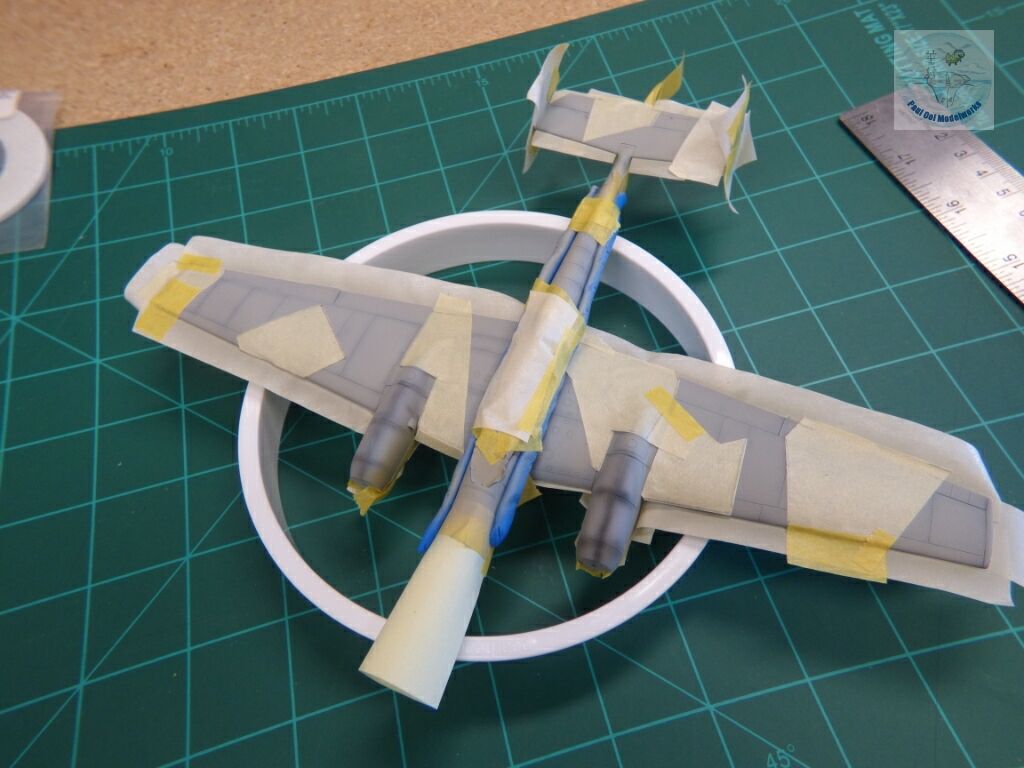
After covering most of the top side with Model Masters RLM02 Grey (lightened 20% with Flat White for scale effect and better contrast with RLM71Dunkelgrun). After that layer had dried properly, then I applied masking tape patterns lifted directly off the paint guide enlarged by 2.25X.
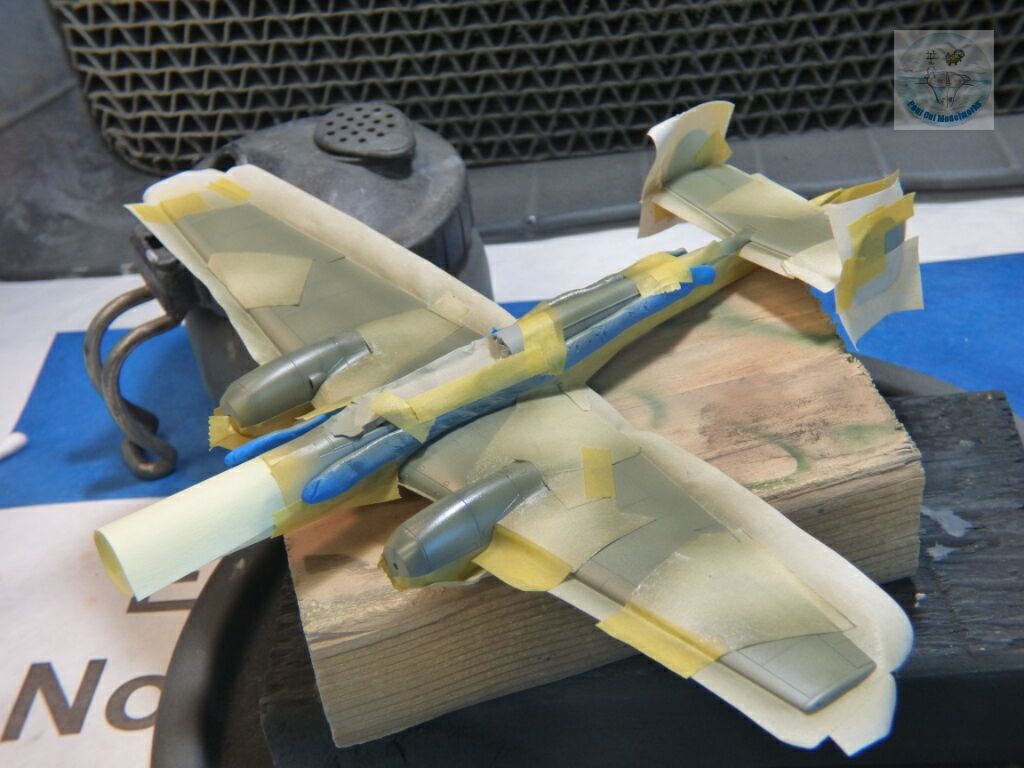
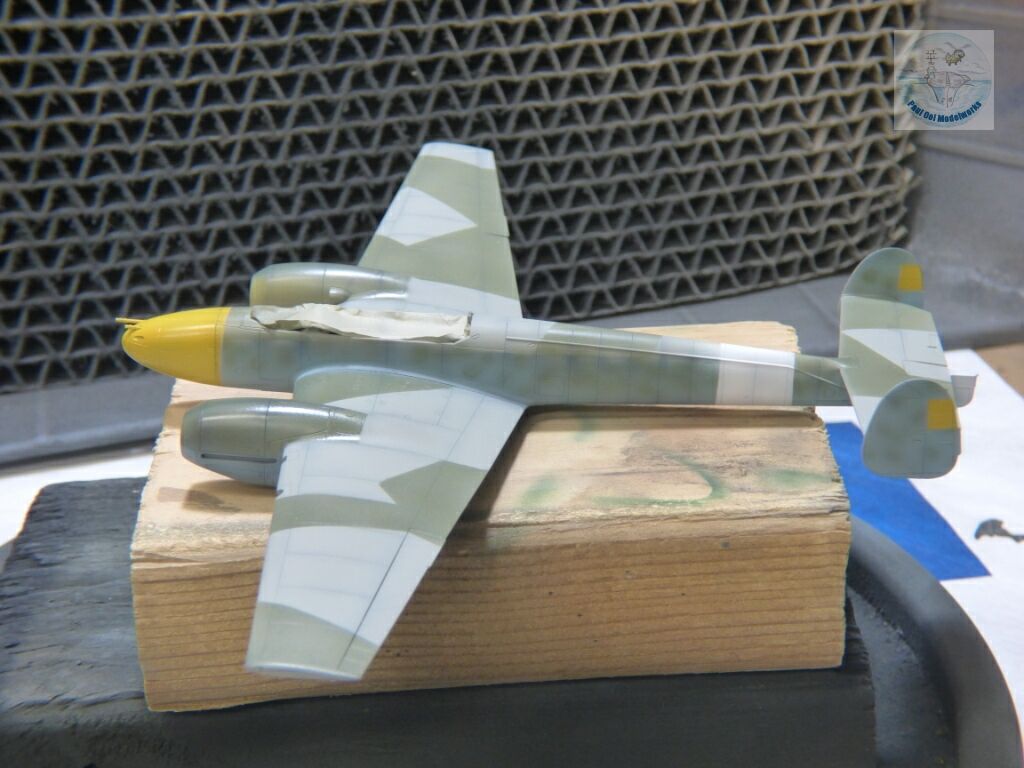
The I spray painted Model Masters RLM71 Dunkelgrun on the splinter camouflage pattern first, and then went back with a more precise airbrush to get the mottling effect down the sides of the fuselage., also using RLM71. The camouflage pattern was sealed with Pledge Floor Polish in preparation for decals.
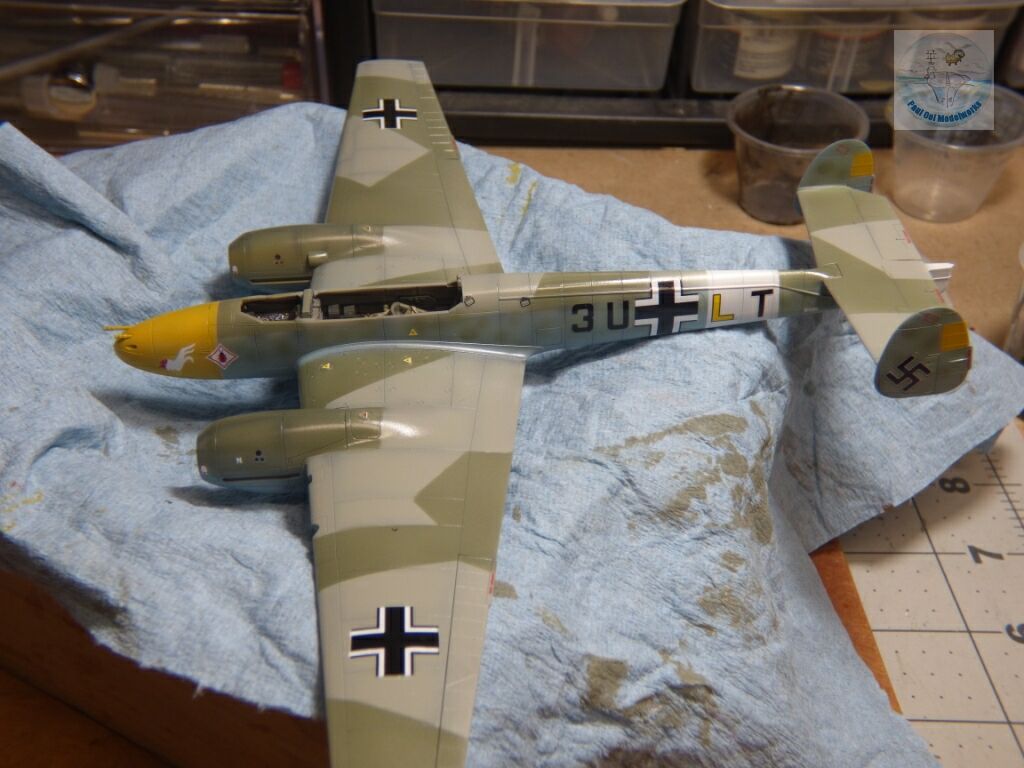
This model has a lot of decals, from large crosses to very tiny frame numbering 1-19.
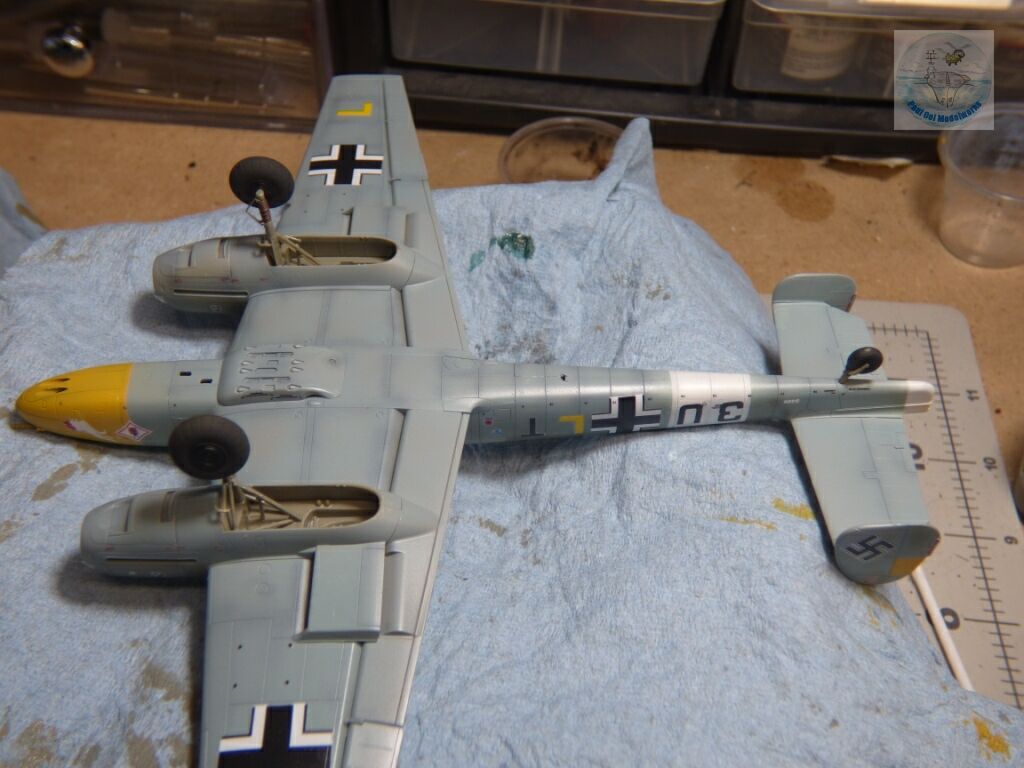
The undercarriage wheels have a lot of small connecting rods. Exercise plenty of care putting them together, and check the alignment against the instruction sheet illustration.
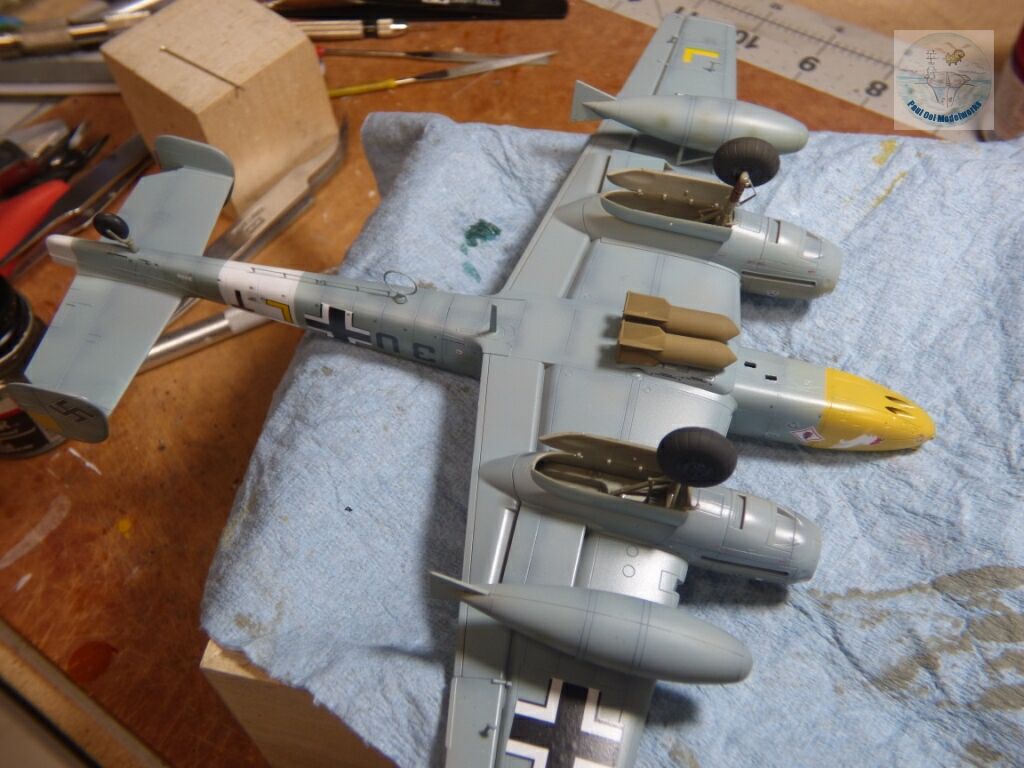
All the delicate stuff on the underside gets added. Note the photoetched transmitter ring, and underside wire antenna array. The two external fuel tanks are especially delicate since they are resting onto these thin support struts.
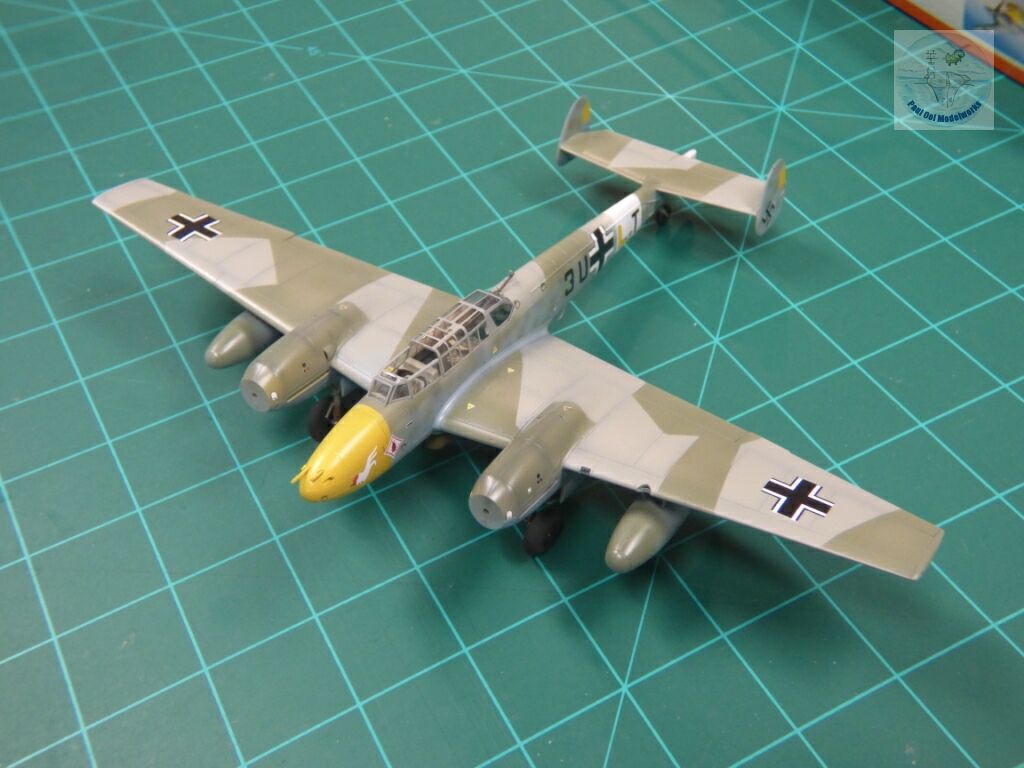
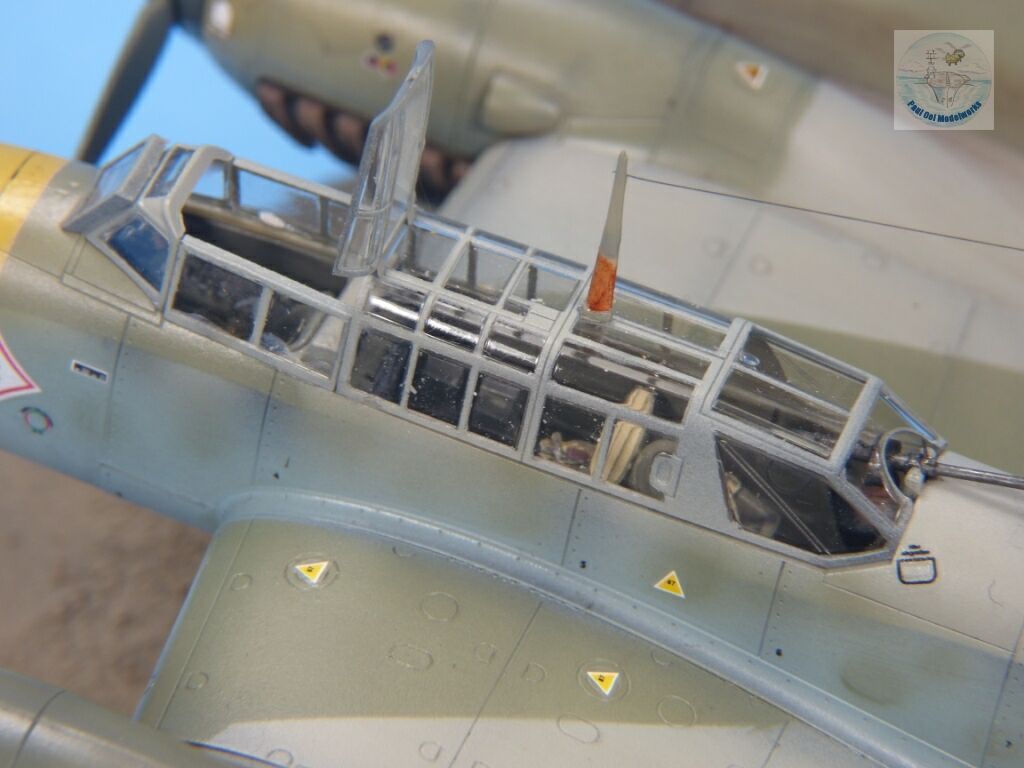
Once the model sits on its wheels, we can complete the topside details. First came the clear canopy parts, leaving out only the pilot’s entry hatch. After this, I gave the entire aircraft an oil wash of 70% Payne’s Grey + 30% Burnt Umber.
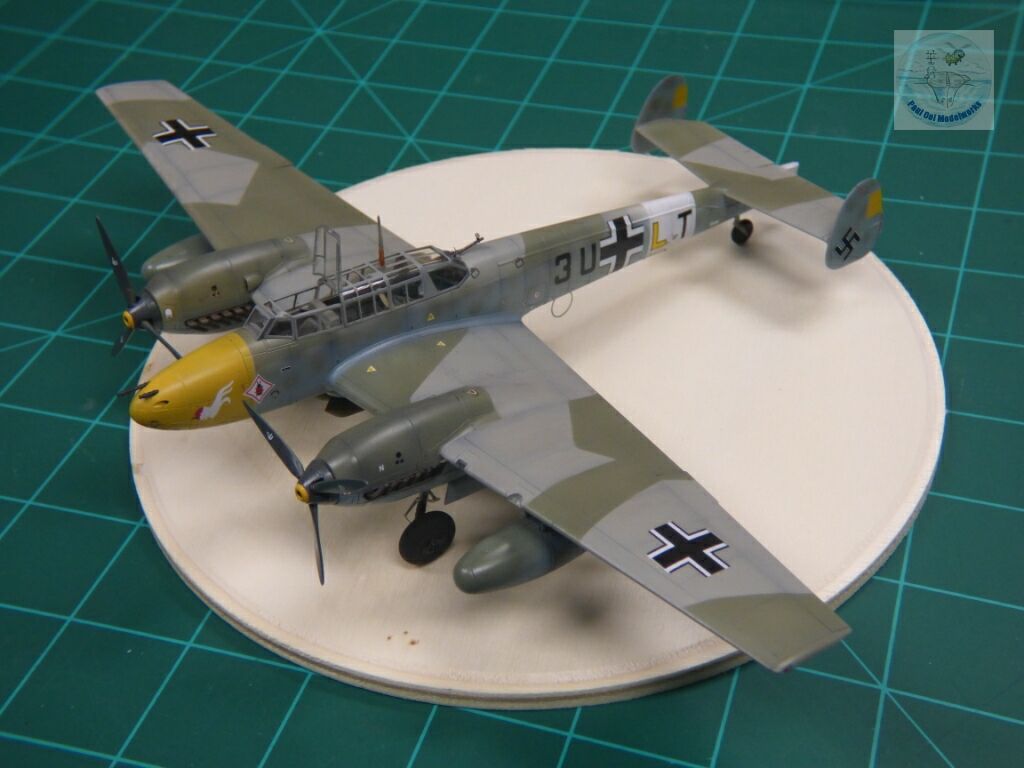
The propellers are painted in Model Masters RLM70 Schwarzgrun. Note the opened pilot’s hatch and the transmission wire antenna mast. At this point, the aircraft is pretty much completed.
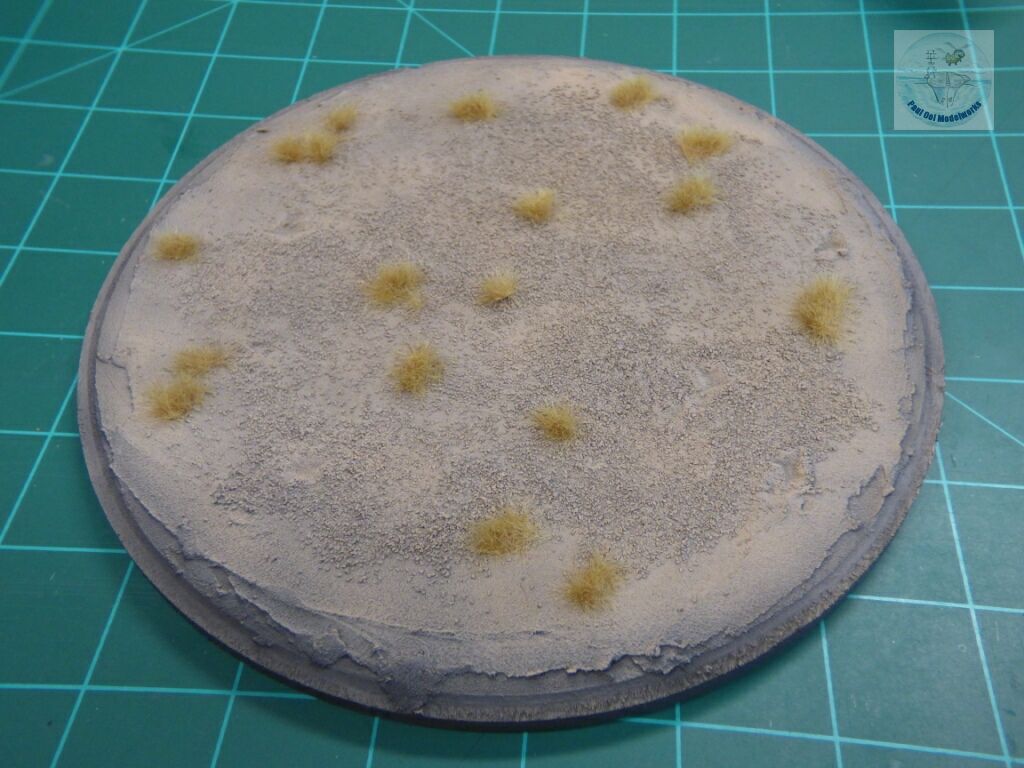
Lastly, the display is made to portray the dry saline fields outside of Trapani (well know for its salt flats outside the city).


Leave a Reply