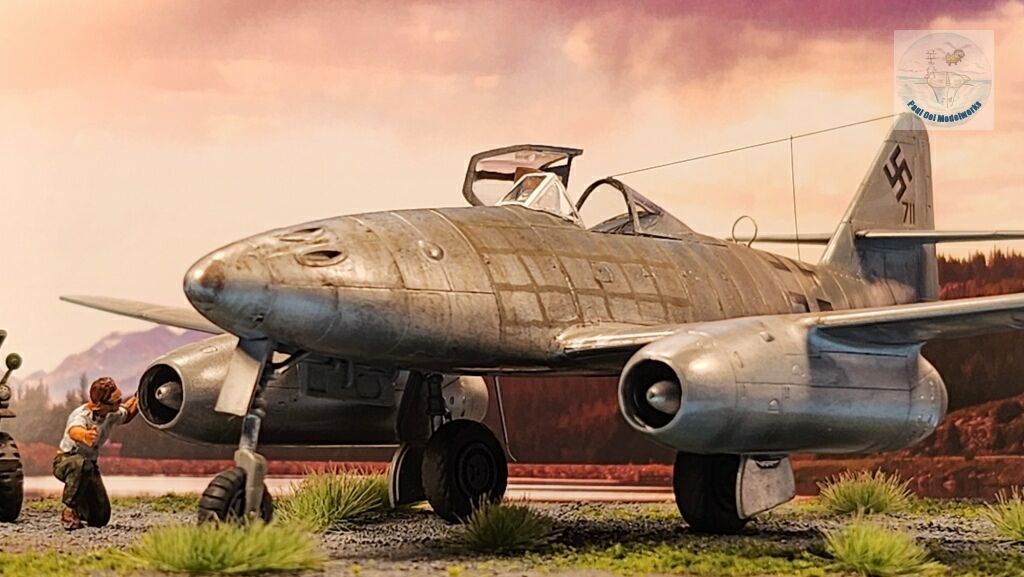
The Me 262, the world’s first operational jetfighter is truly iconic. The shape and design was way ahead of its time. It was such a nasty surprise to the Allied bomber crews in 1944, and at its attack speed, there was no weapon system that could counter it. Towards the end of the war, as German airfields were being overrun by Allied ground forces, the Luftwaffe was desperately trying to keep the jetfighter out of enemy hands. In one of these transfers, Hans Fay, a German test pilot decided that he would take his aircraft directly to the Americans instead. On March 31st 1945, Hans took an unpainted factory model number 111711 from Schwabisch-Hall and flew it towards another designated German airfield, but then diverted his flight towards Leyer-Speyerdorf . However, he was short of fuel, and finally he made a safe landing in American held Rhein/Main airfield near Frankfurt.
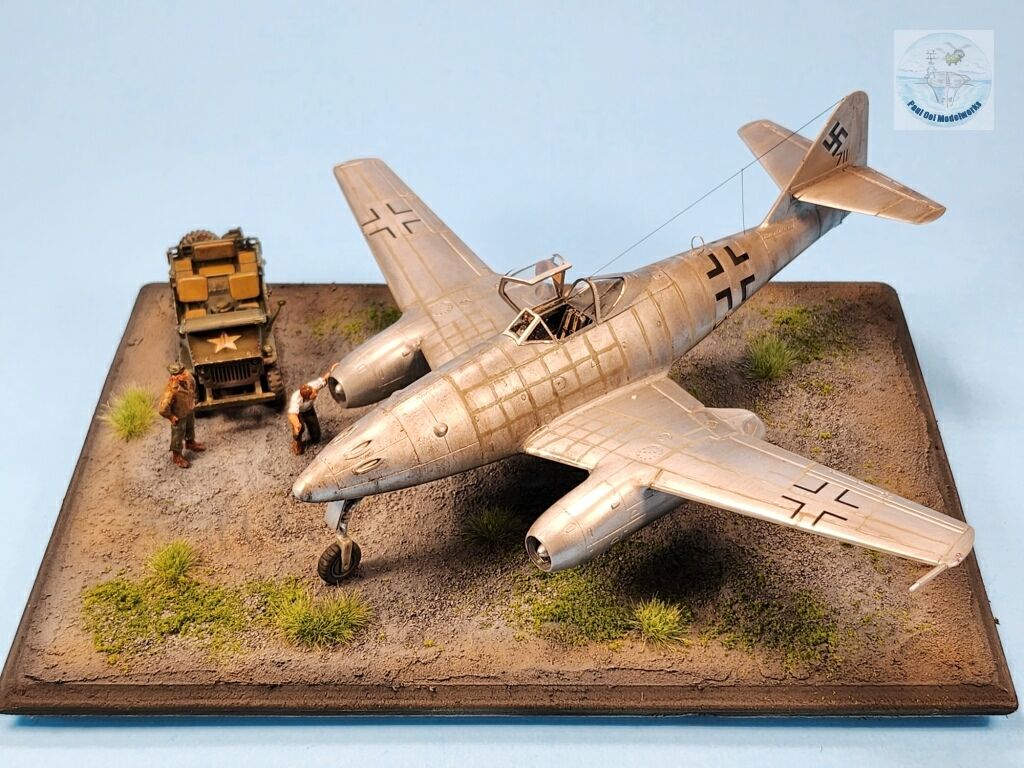
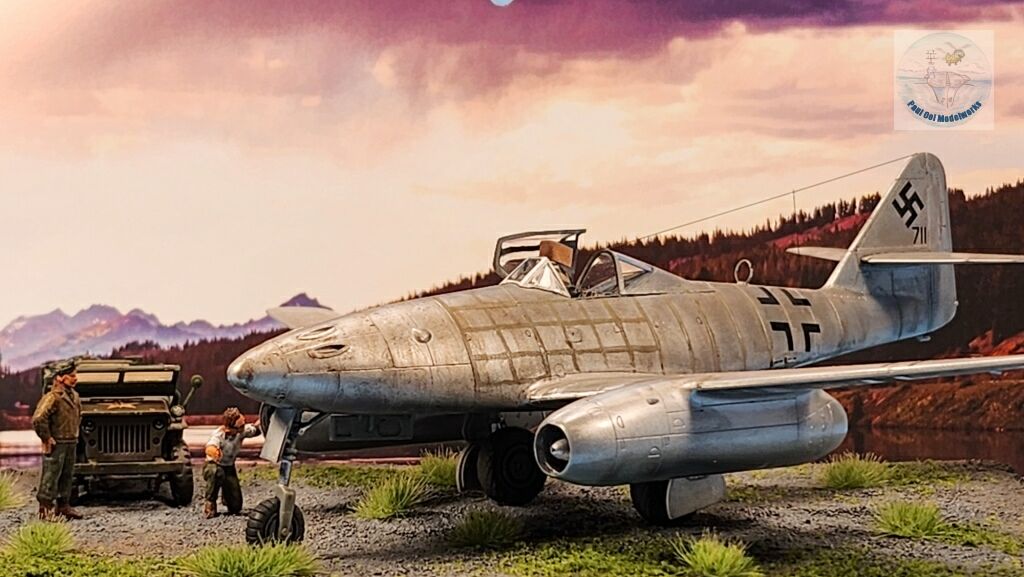
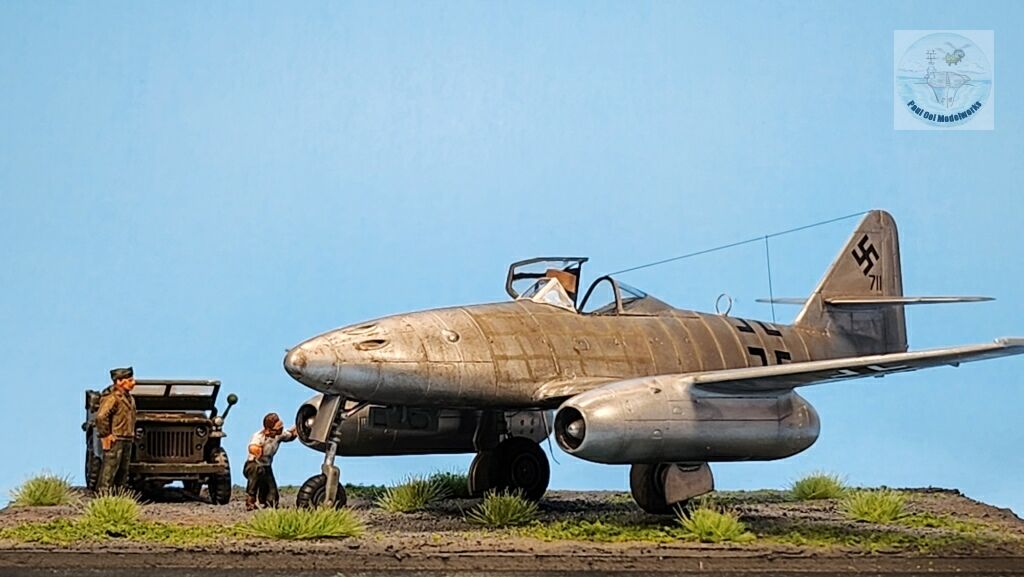
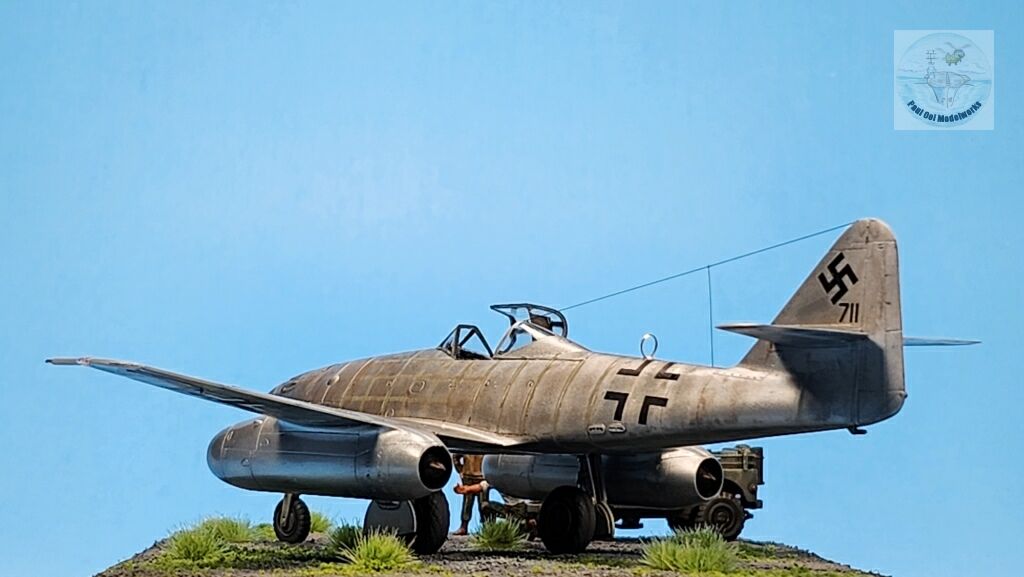
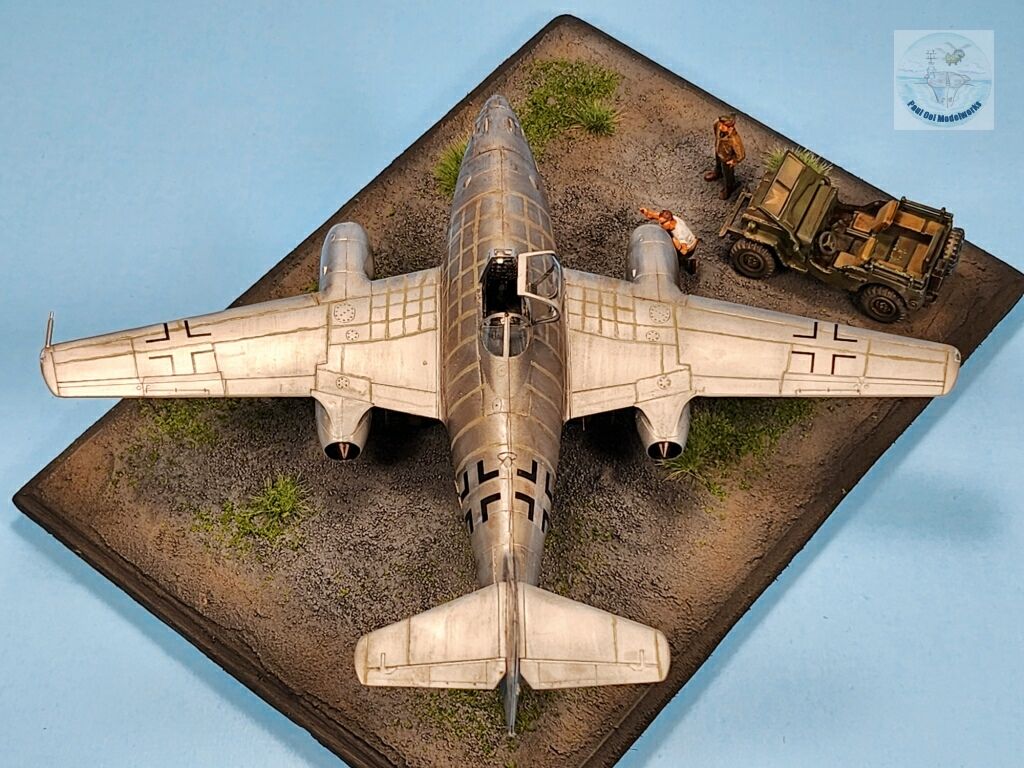
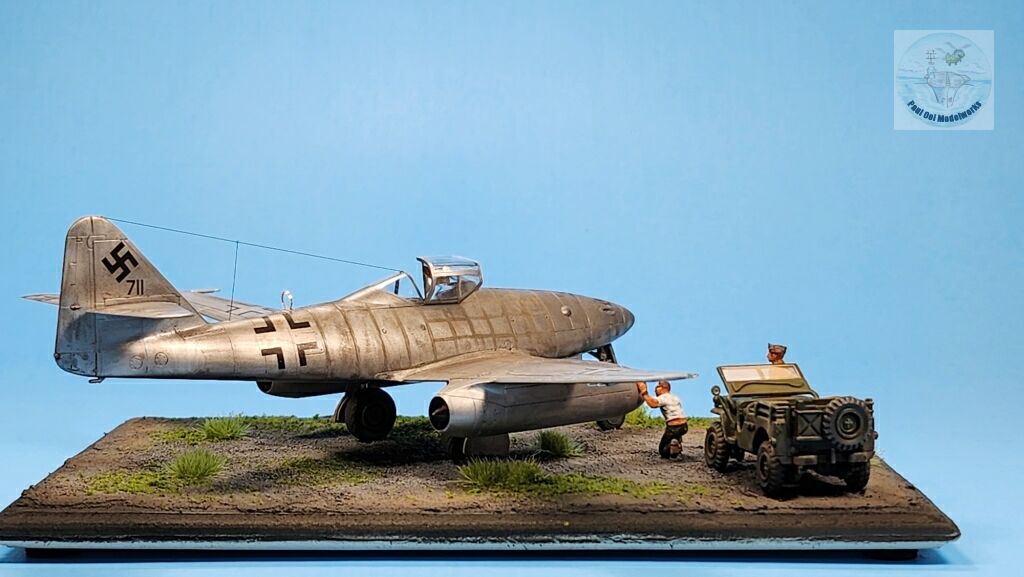
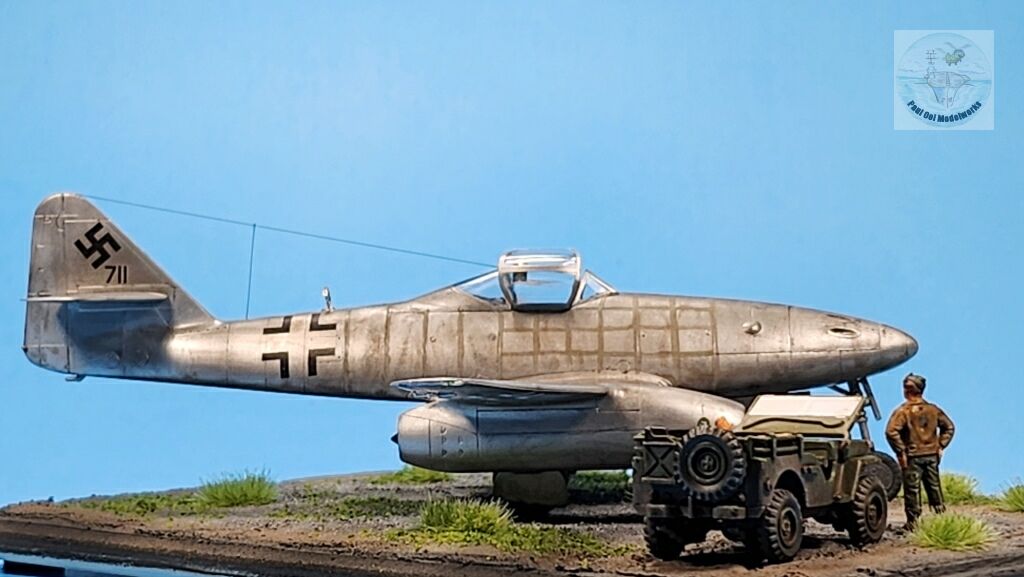
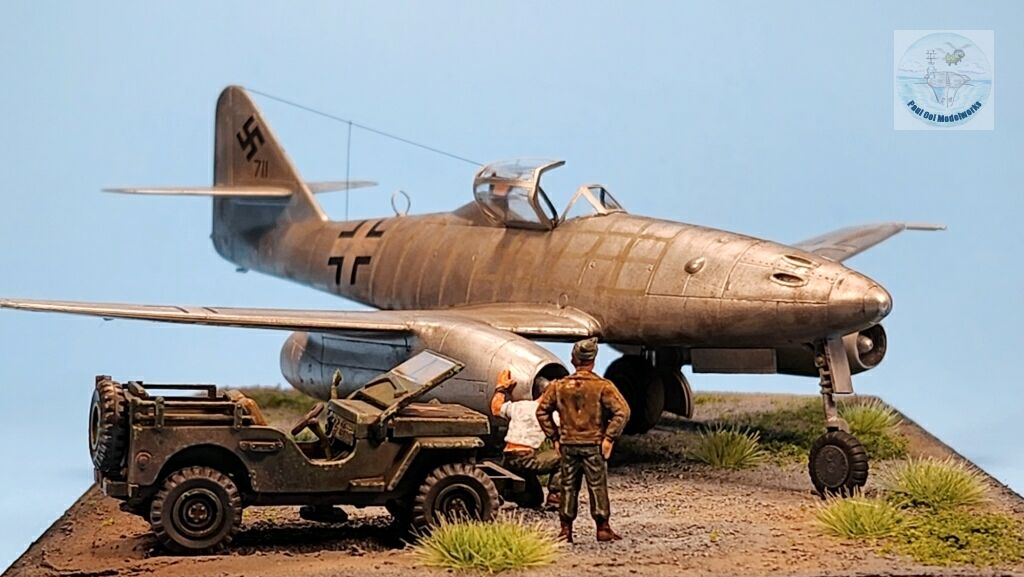
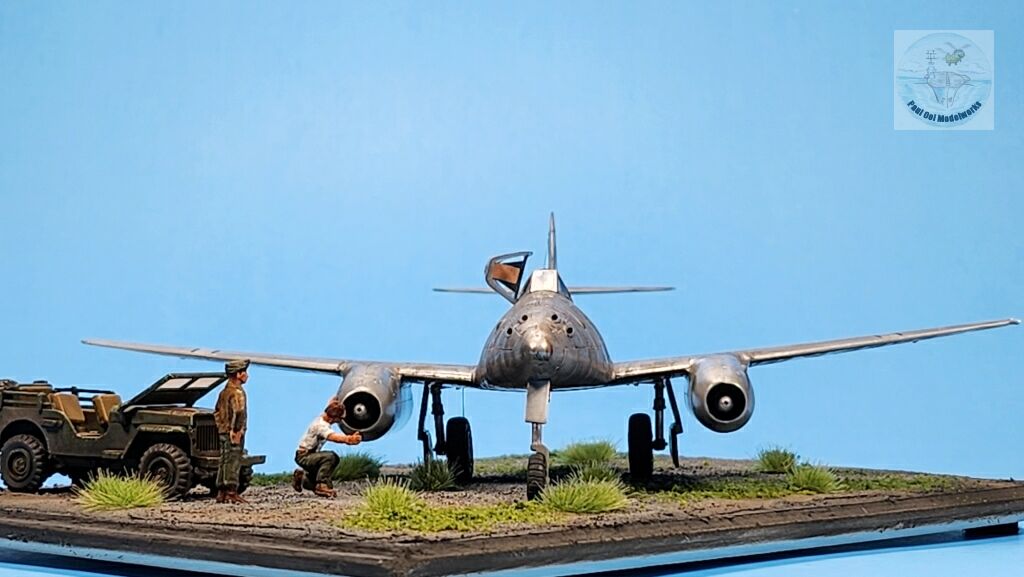
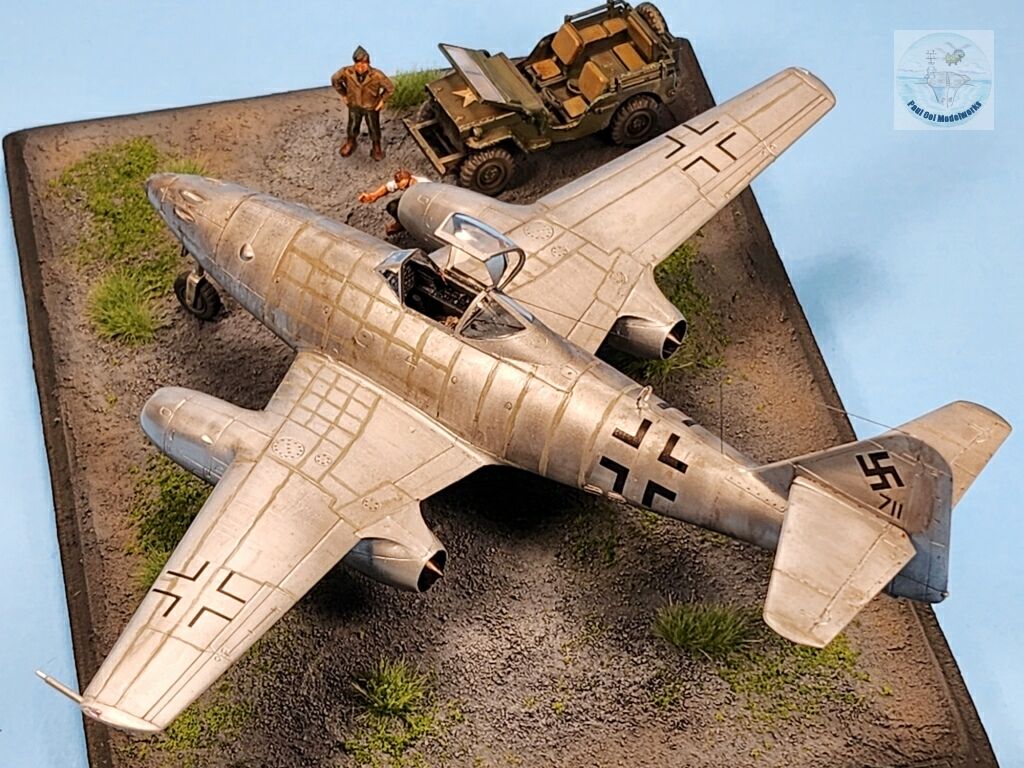
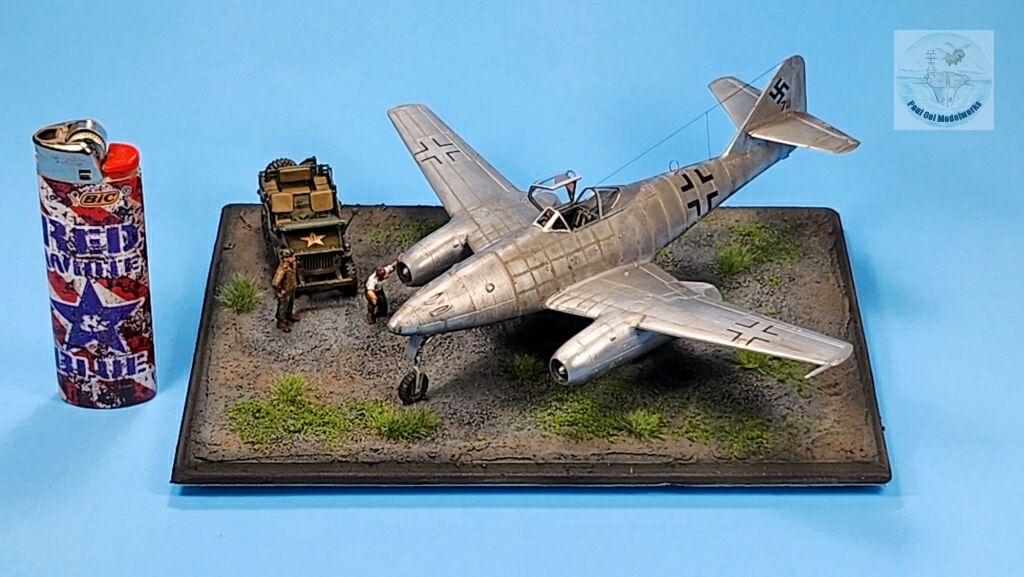
The Americans were surprised and delighted to receive this spanking new jetfighter fully intact and in running condition, together with an experienced pilot to tell them how to use it. Also, in its factory condition, they could see the actual skin preparation for the airframe. In a matter of weeks, the specimen was packed off into crates and sent over to Wright Field in Dayton, Ohio for USAAF assessment. This diorama shows two members of the US assessment team arriving to take a first look at the jet. We are so used to jets now, but to the people in 1945, an aircraft without propellers was a wonder. The technician in the diorama cannot help but peek into the engine intake while his NCO takes in the whole sleek shape, unlike anything the two of them had ever seen.
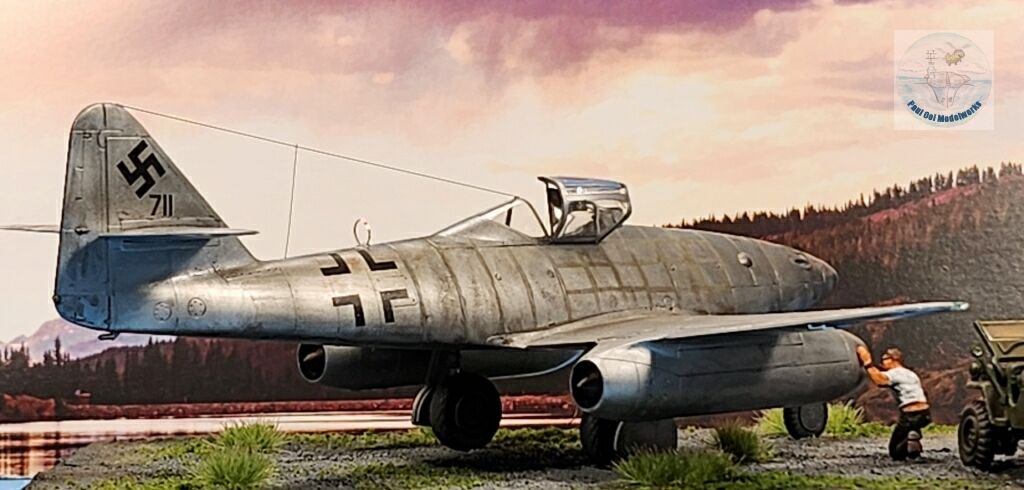
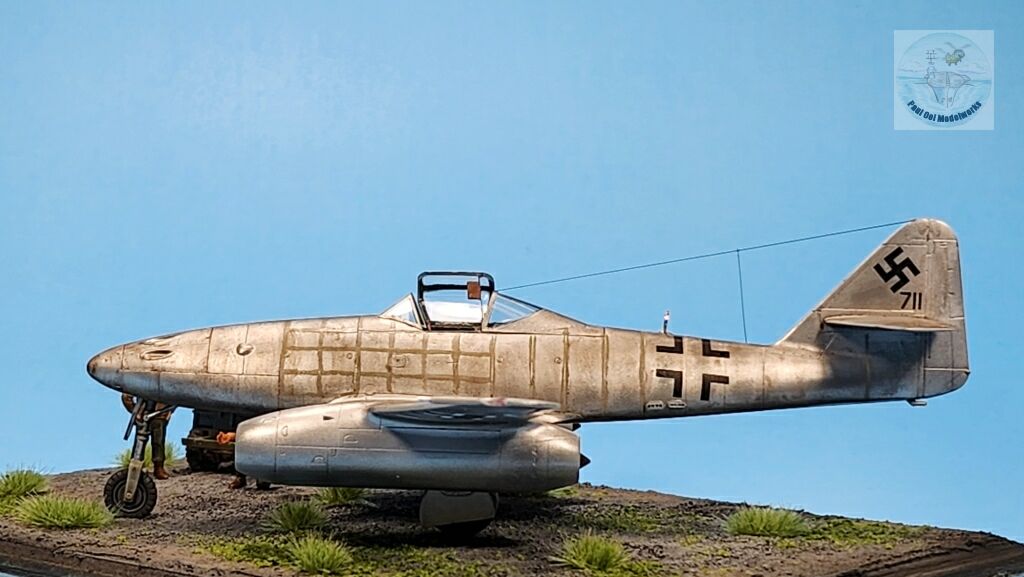
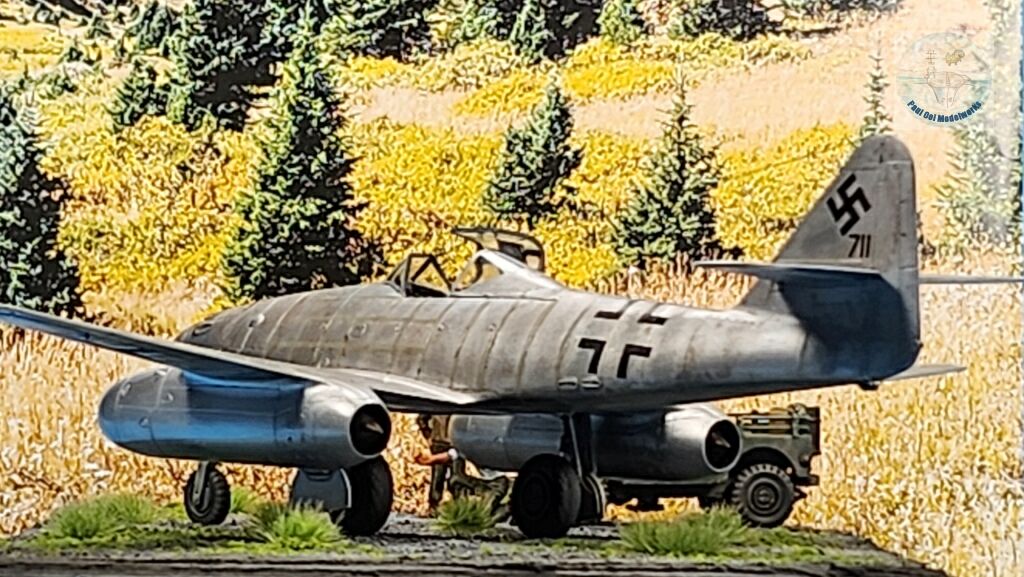
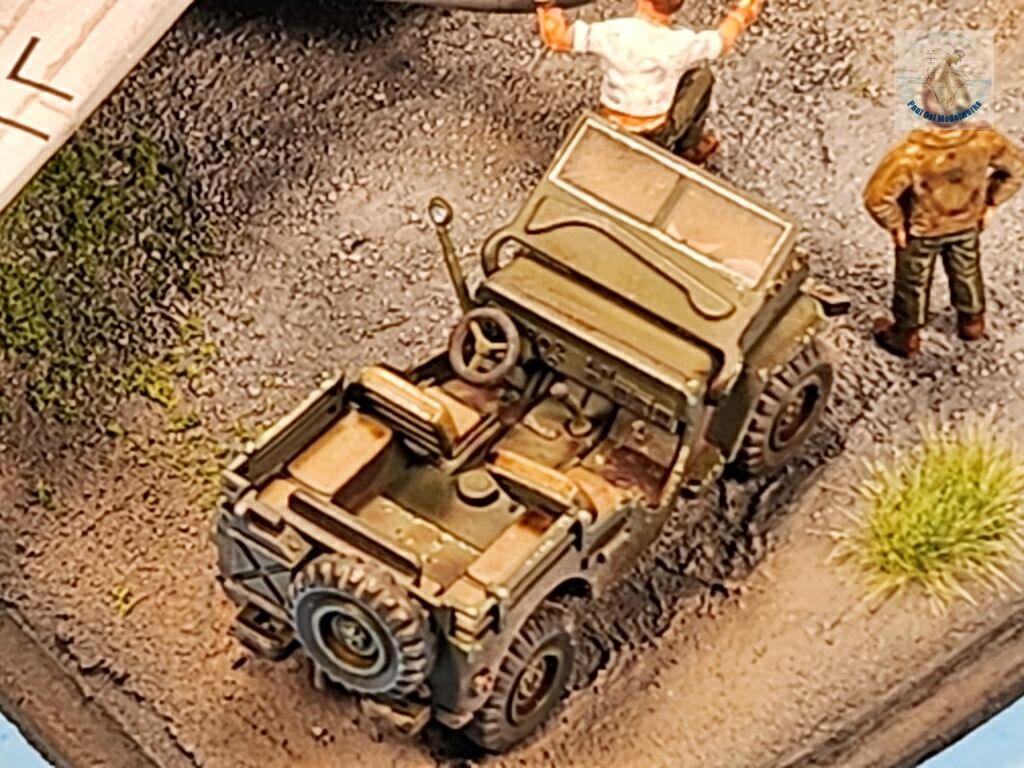
There are two iconic vehicles in this diorama. The Me 262 was the first of what became the future of fighter aircraft to this day. Every time a fighter jet takes to the sky, it carries the lineage of the Me 262. The other vehicle with a future legacy is the humble Jeep parked at the corner. The field car with a four-wheel drive became the precursor to all sorts of off-track utility vehicles that we see in profusion today. While the Me262 was a perfect paragon of German technical excellence, the Jeep was a picture of American rugged design made for easy maintenance and use. The painting of aircraft here was meant to show the unpainted factory look, with the primer and sealant visible on parts of the aircraft, and the metal skin was not polished.
Gallery
Construction Notes
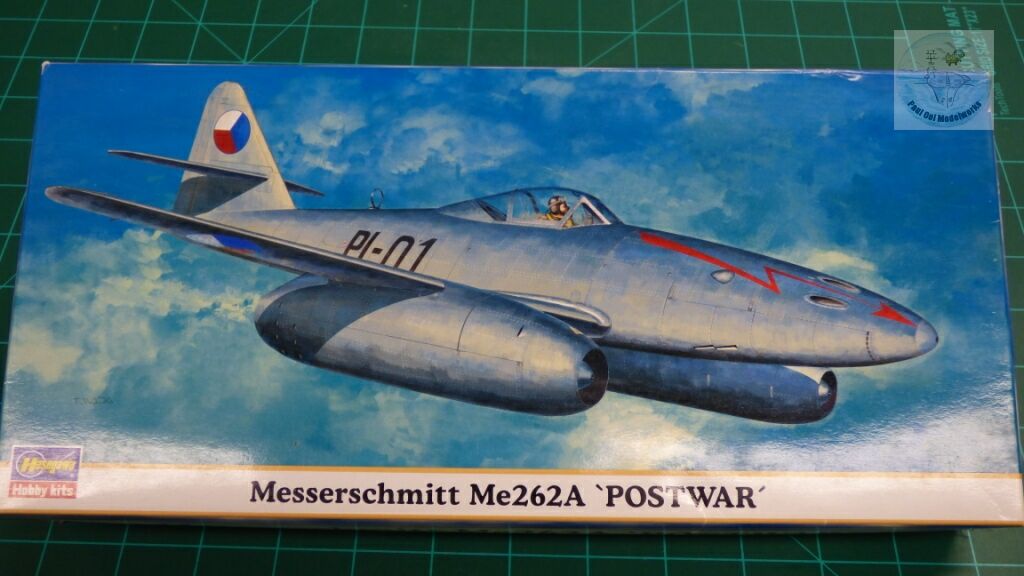
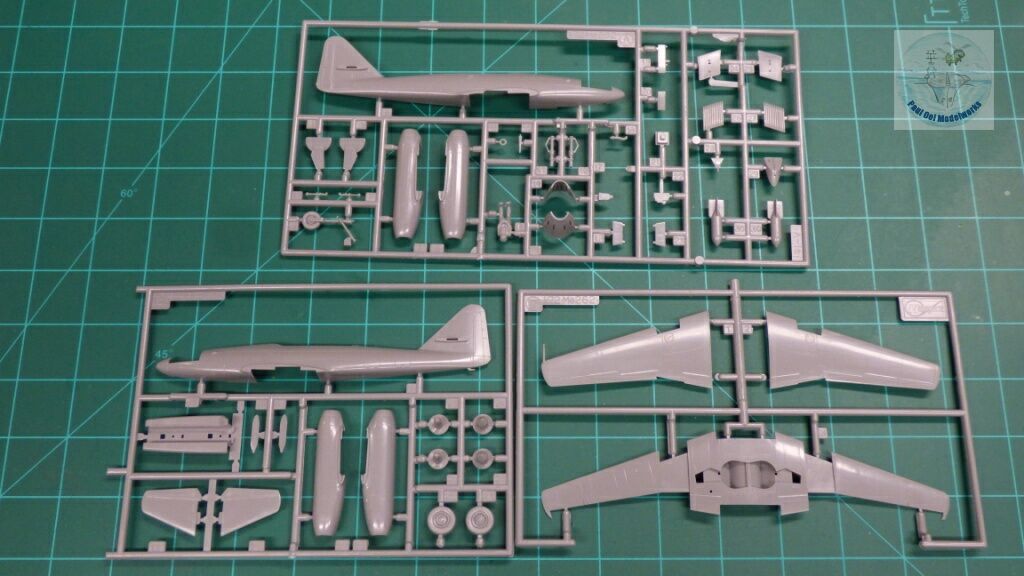
Since I was going to build a bare metal model of the Me-262, the decals and livery was not important. This Hasegawa Czech post-war version was fine for my purpose and I wasn’t going to use the decal sheet (into the spare bin). The molding is crisp as one would expect from Hasegawa and the fit was very good. I ended up getting a photoetched fret for details from Eduard.
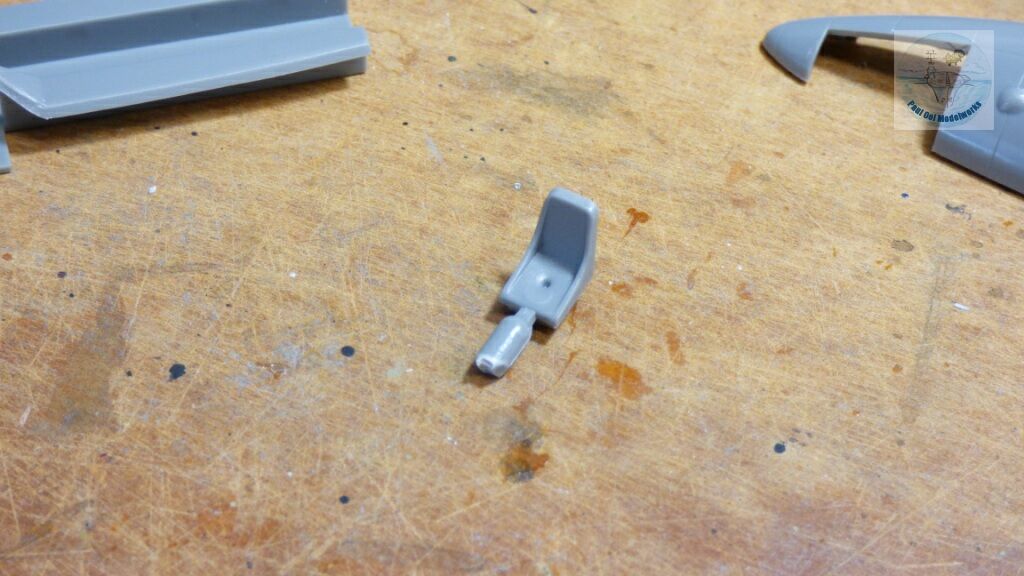
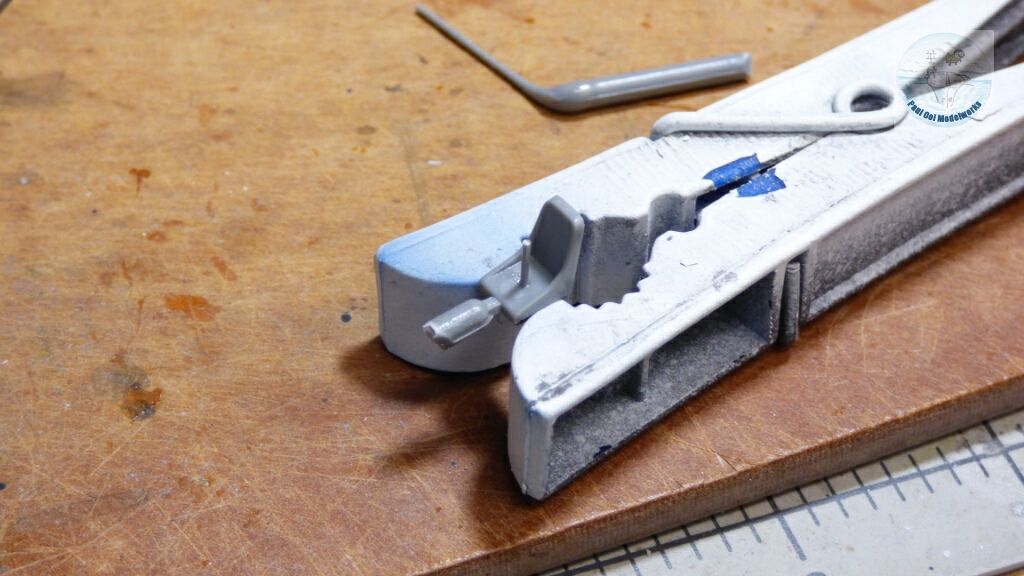
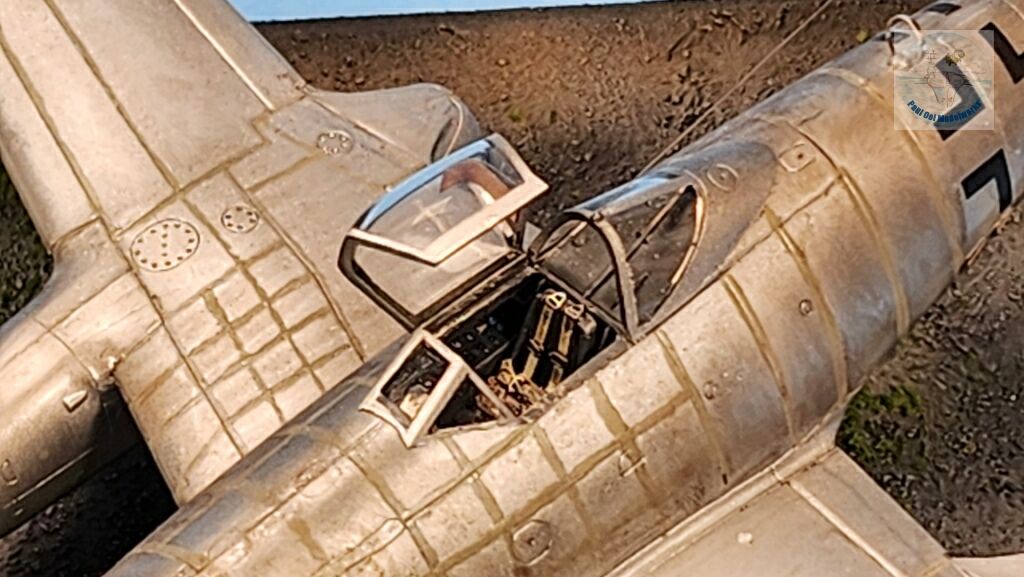
I was shocked to find the big sink hole in the pilot’s seat. Since I was going to display the cockpit opened with seat belts, I needed to patch up this hole with stretched sprue, which was later cut level, and then sanded.
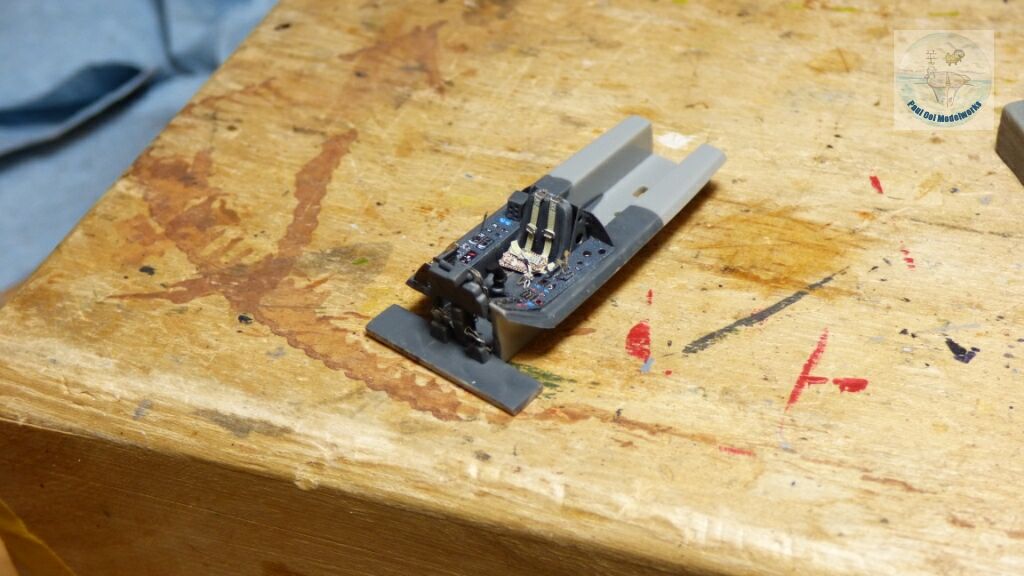
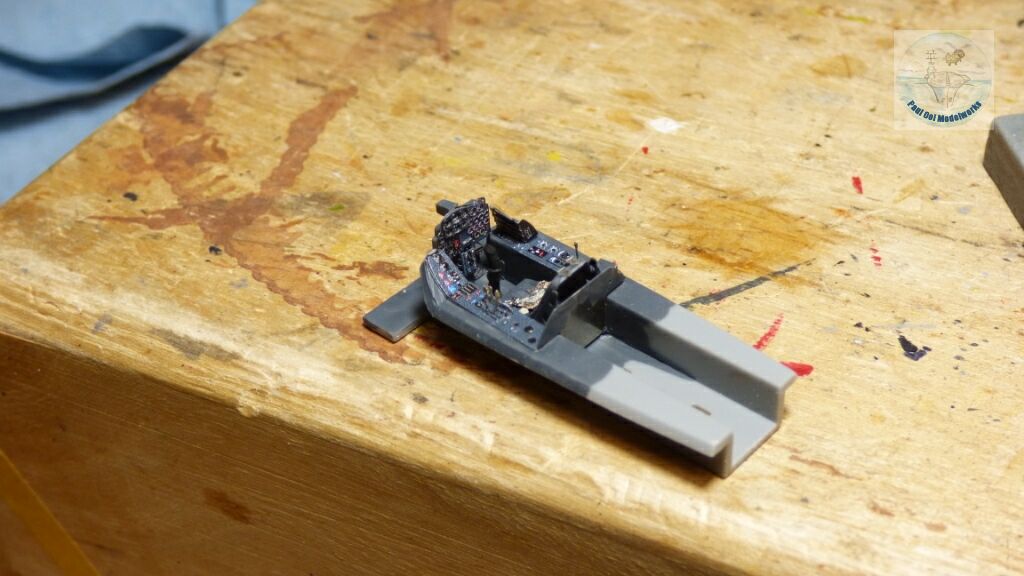
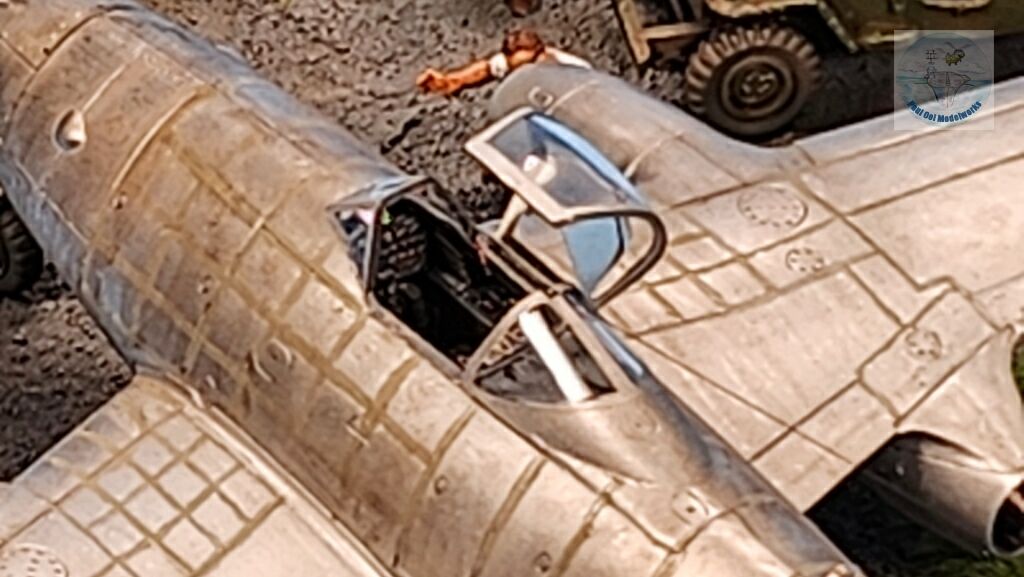
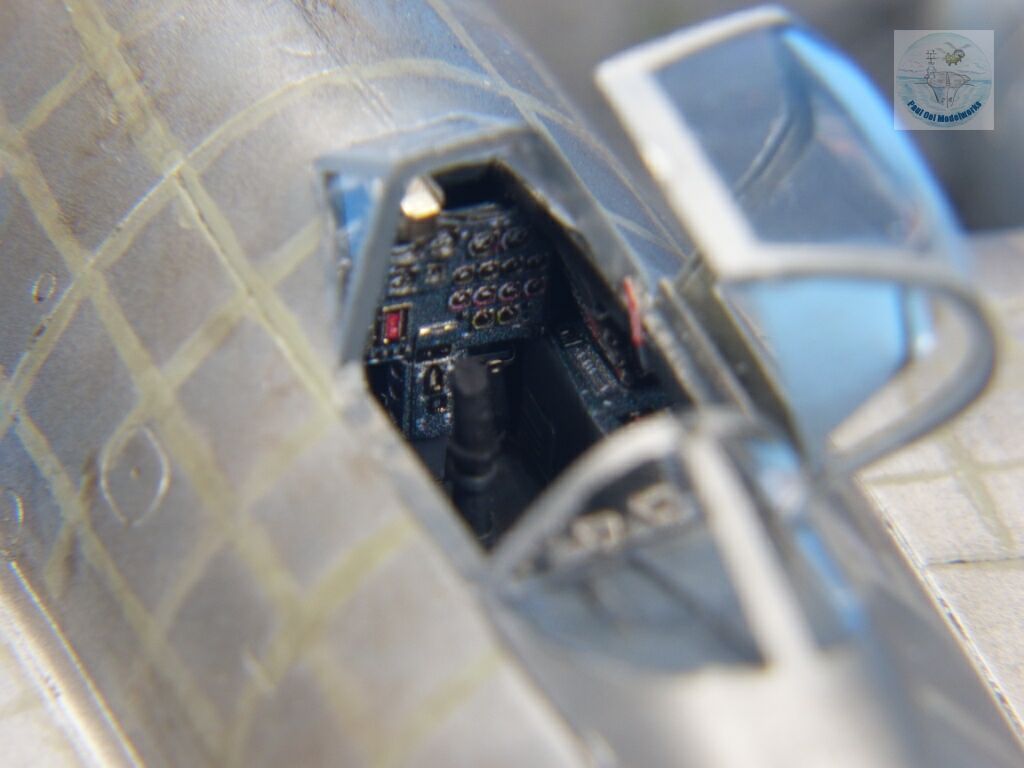
The cockpit interior was painted German RLM66 Dark Grey and the pre-colored Eduard instrument panels are simply fabulous.
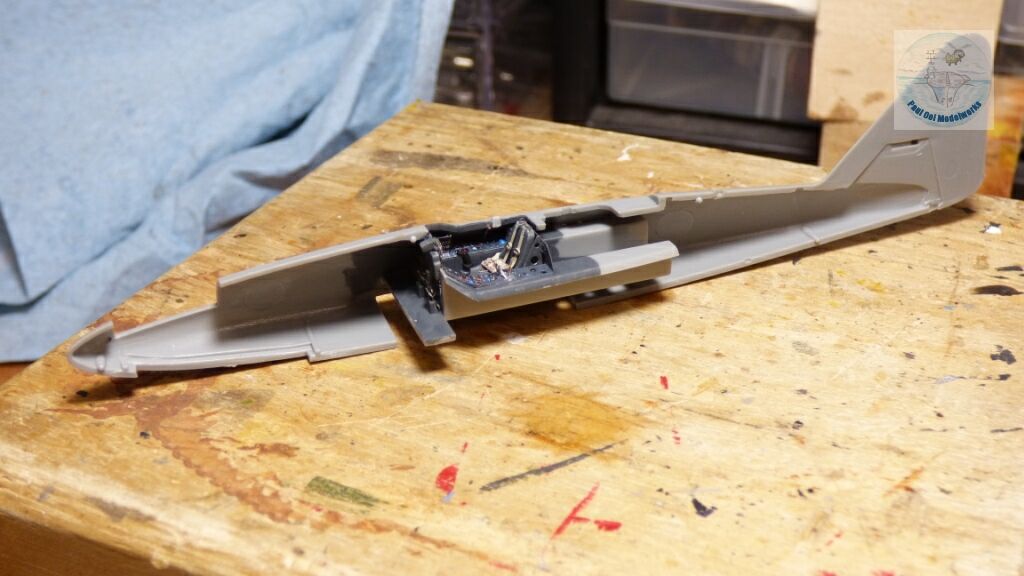
Mounting the cockpit insert onto the fuselage is always tricky, with lots of dry-fitting.
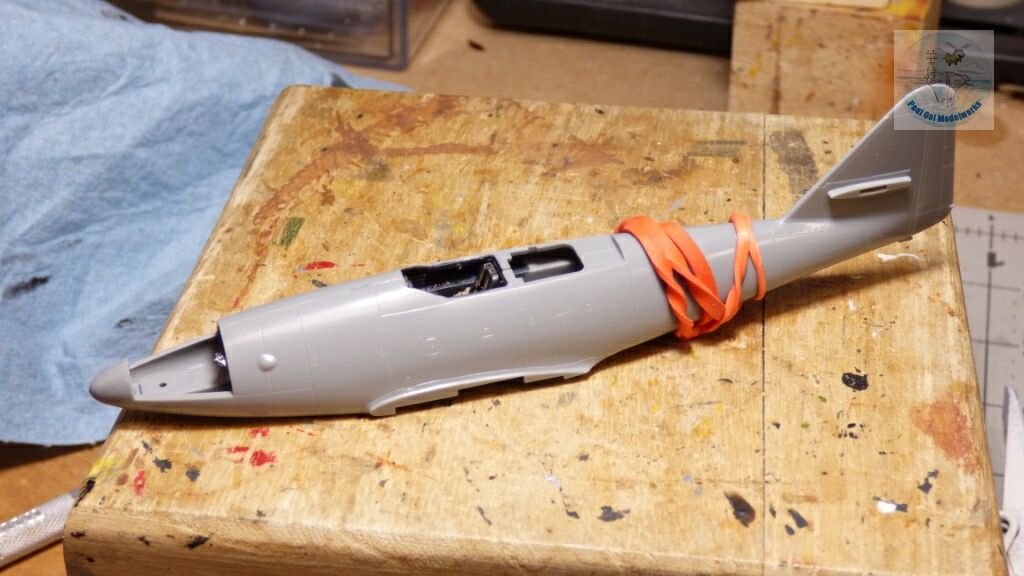
I filled the front cavity above the wheel well with fishing sinker weights, and then sealed the fuselage shut.
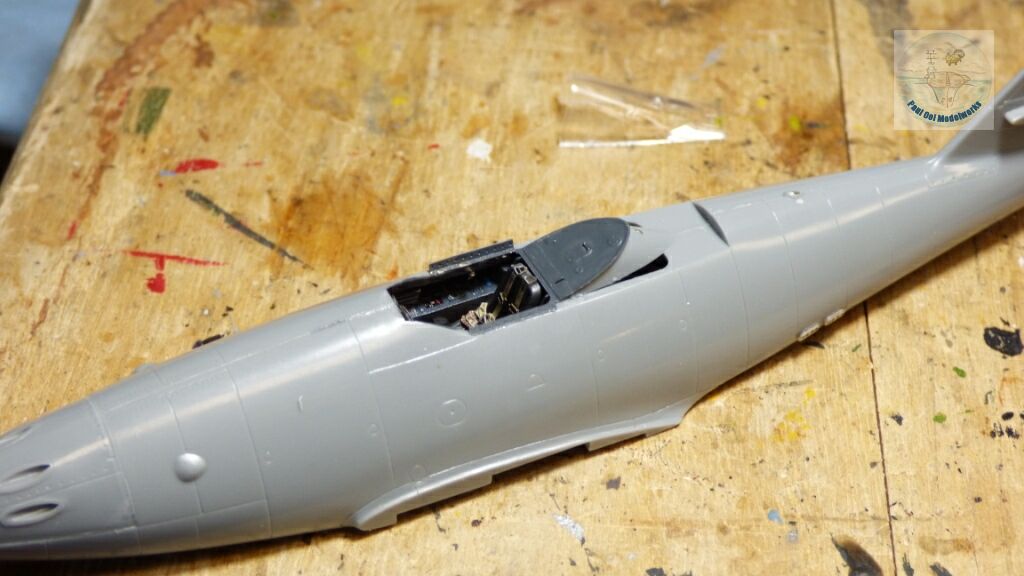
The area behind the pilot has a plate and ramp that needed to be carefully aligned so that the rear canopy can fit over it later.
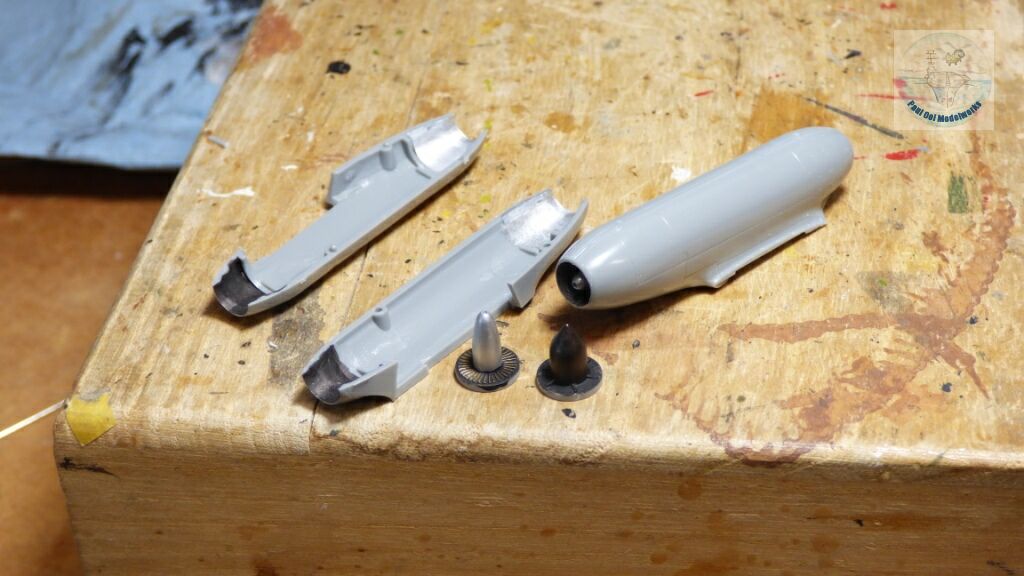
Next, I built the two engine nacelles painting the intake hub in bright aluminum, the exhaust hub in burnt iron.
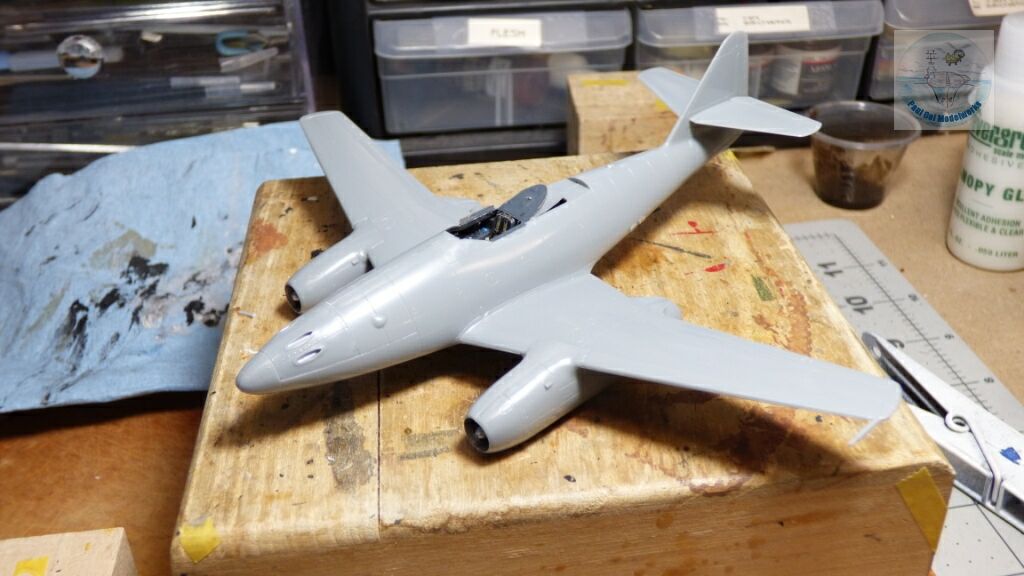
Once the wing section and engines are assembled, the distinct profile of the Me262 takes shape. The fit here was very good and there were no problmes at all with seams at the wing root, nor with the engine nacelles. Kudos to Hasegawa.
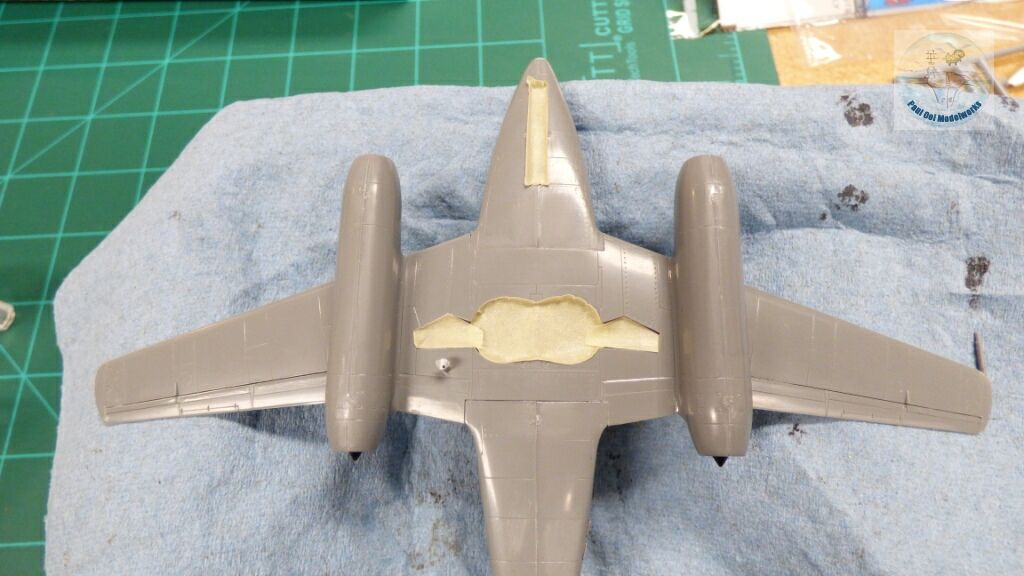
The underside wheels wells get masked for the fuselage paint job.
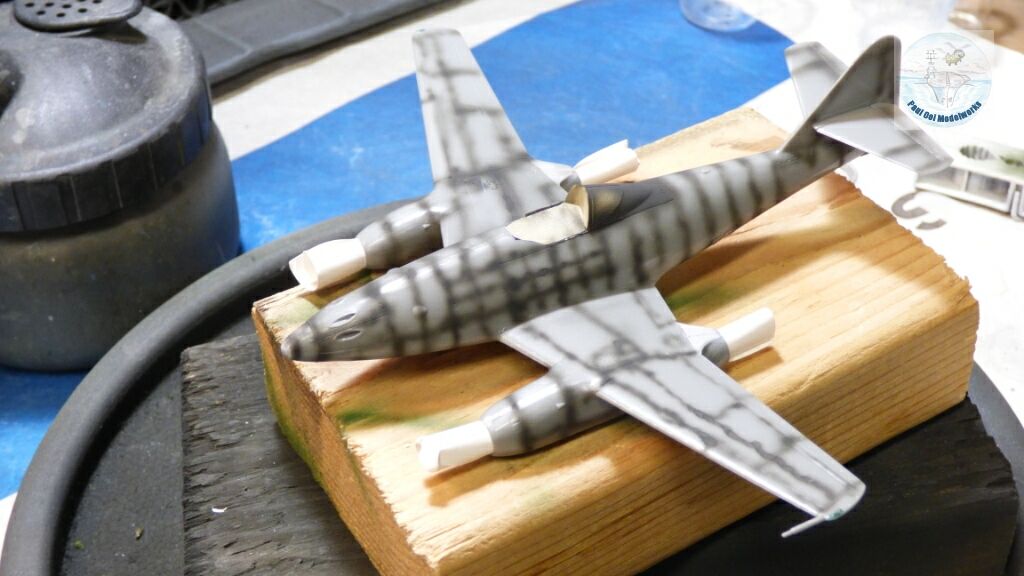
The under-shadowing with NATO Black is important to set the look of the panel lines and also where the putty lines from the manufacturing process show up.
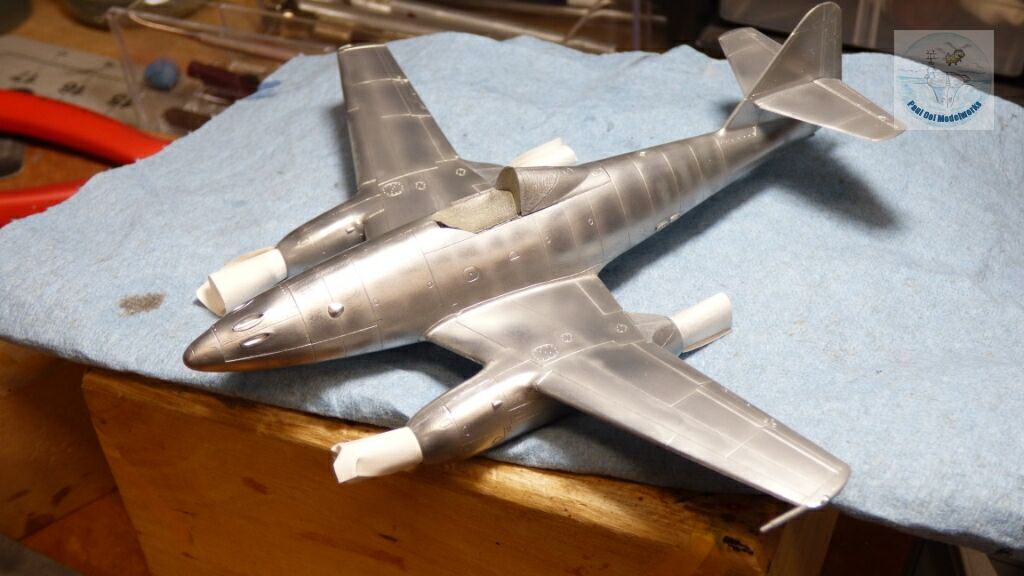 I applied Metalizer Aluminum Polished Plate and buffed the finish. It really looked marvelous, and the under-shadowing changes the texture just enough to get the right effect. I would have kept it this way if it weren’t for historical accuracy.
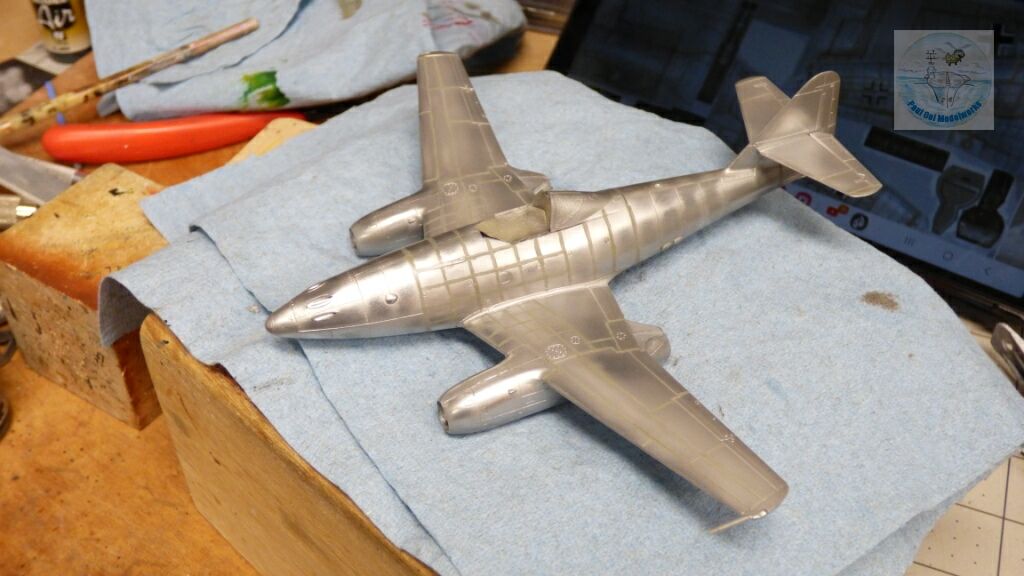
The grid pattern of putty and sealant used in the factory is now simulated using German Grey RLM02 applied free-hand but slowly and carefully.
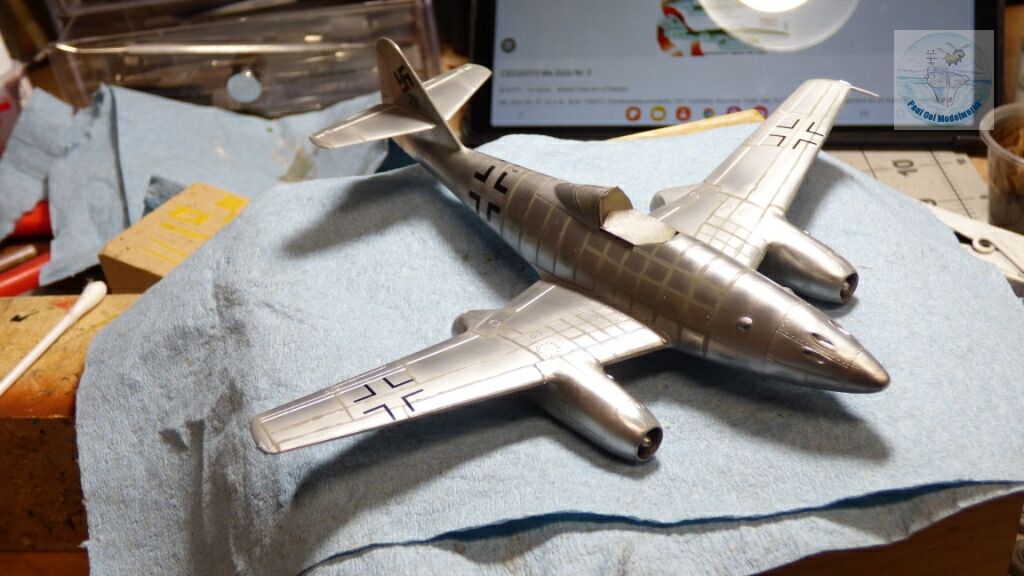
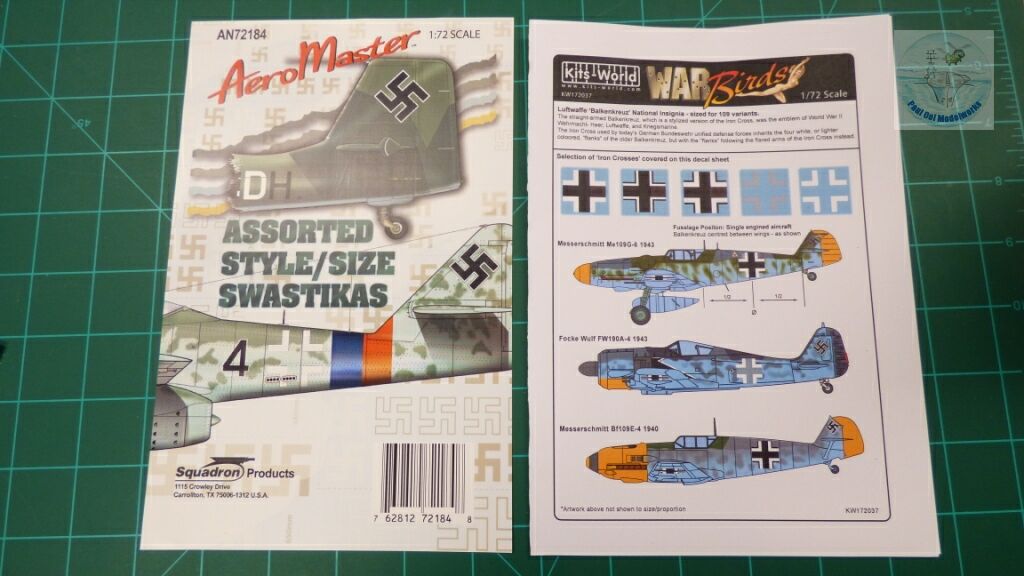
Decals for the Maltese Cross and the Hakenkreuz came from aftermarket decal sheets.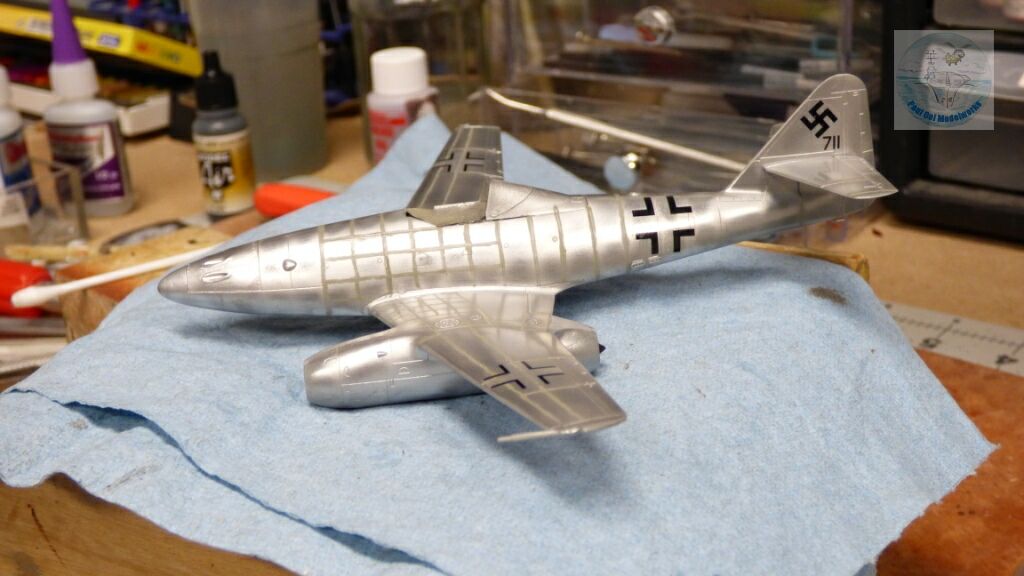
The decals and paintwork were sealed with Pledge floor polish.
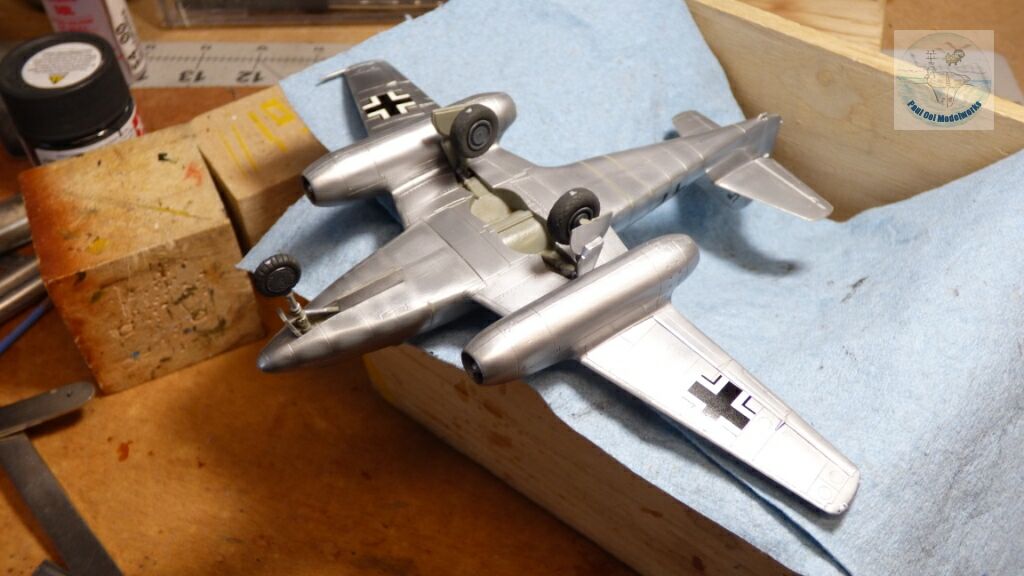
The tricycle undercarriage were assembled and carefully aligned.
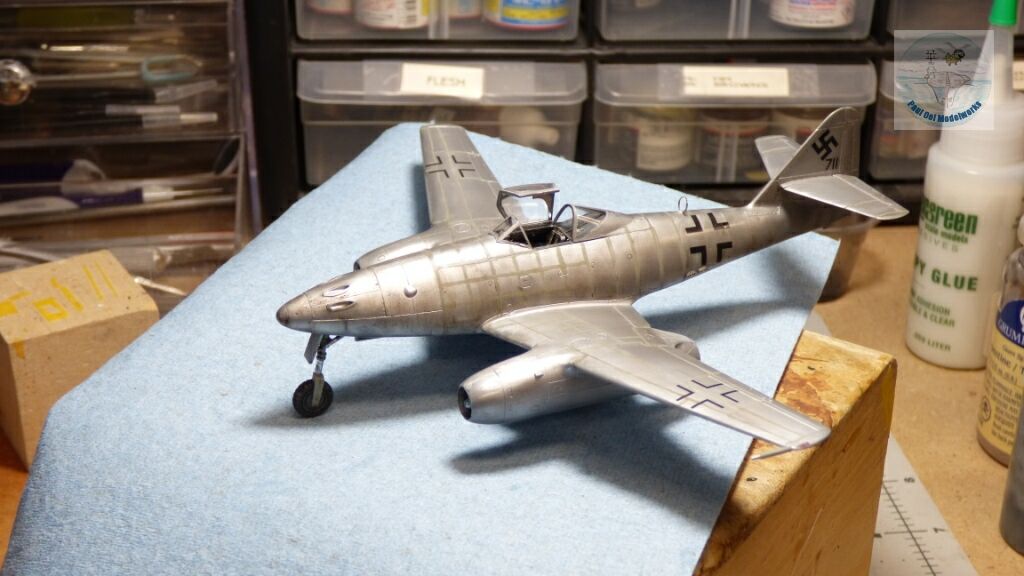
An oil wash of 70% Payne’s Grey + 30% Burnt Umber tones down the metallic shine and gives the skin an industrial stock look suitable for an unpainted factory assembly.
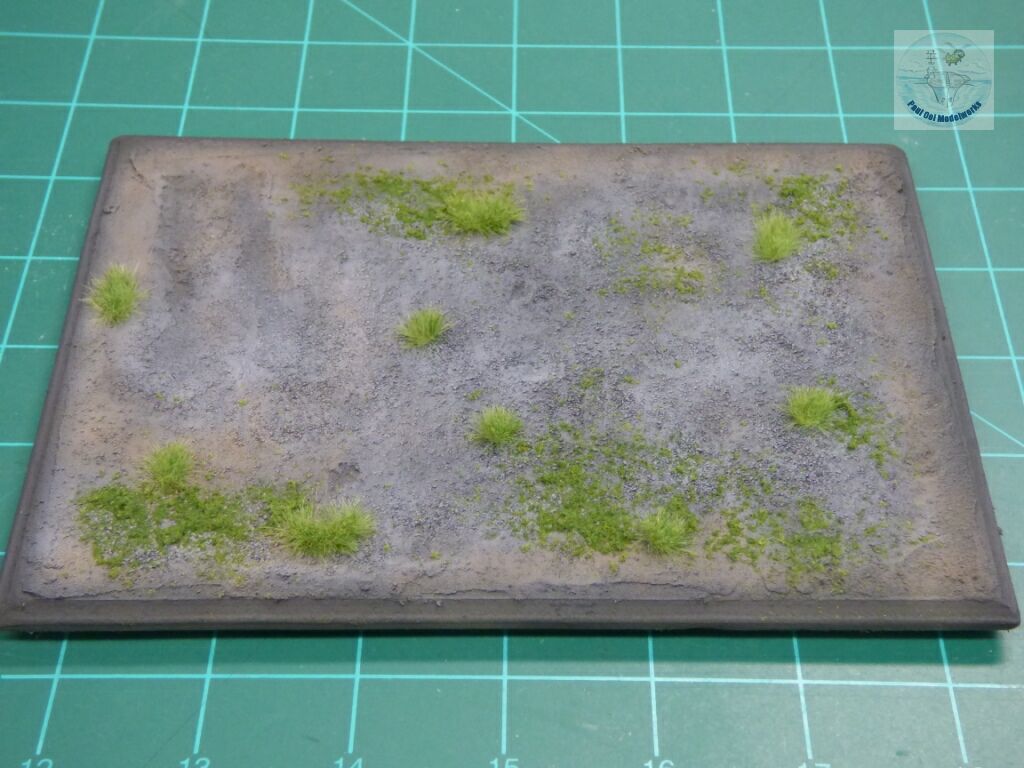
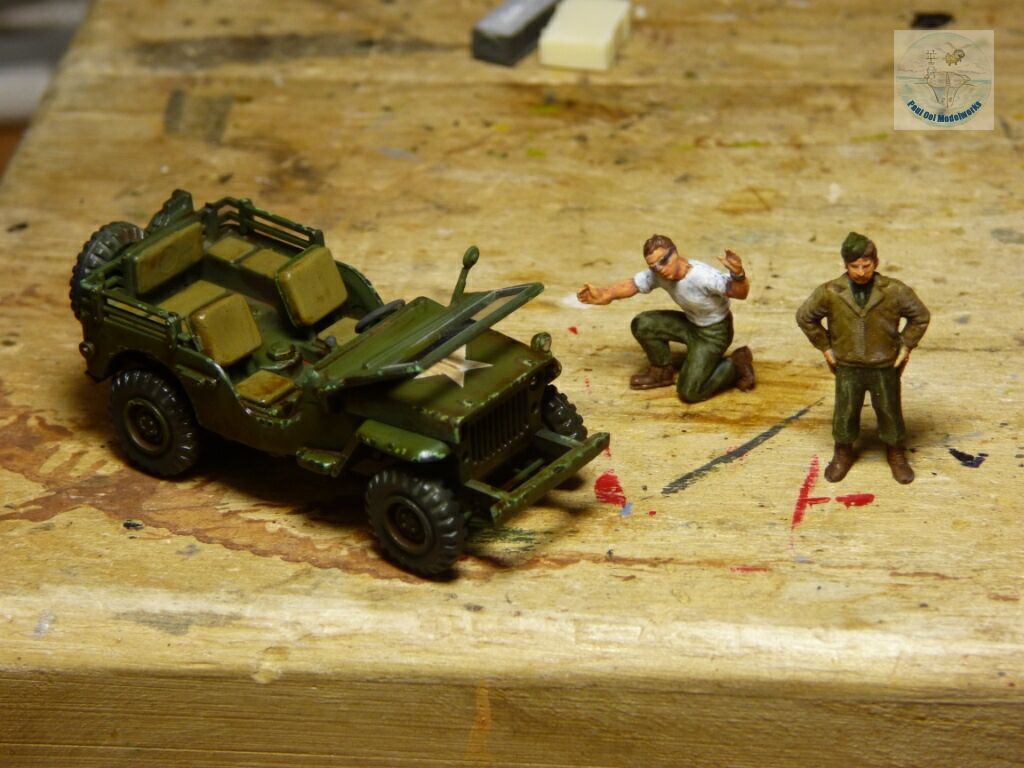
To make the diorama, I created a display base with rough asphalt mixed with overgrown grass, and an Academy 1/72 Jeep and sundry figures from USAAF groundcrew kits.


Leave a Reply