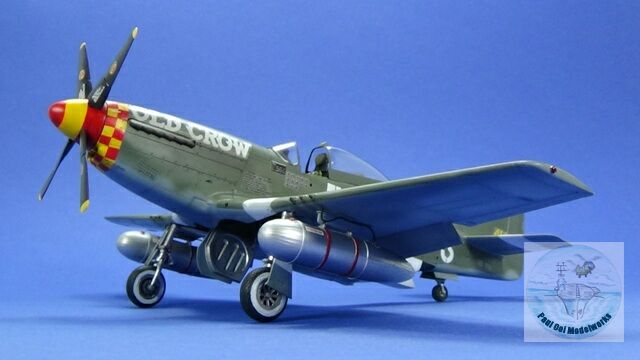
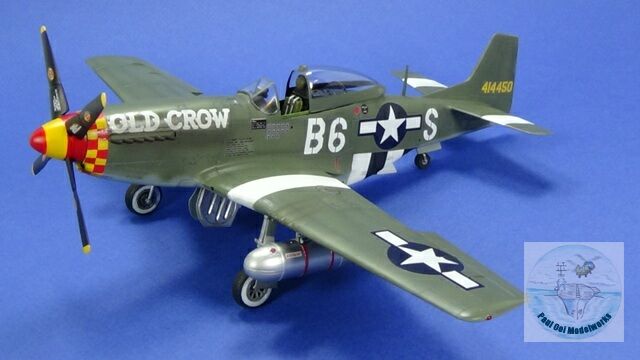
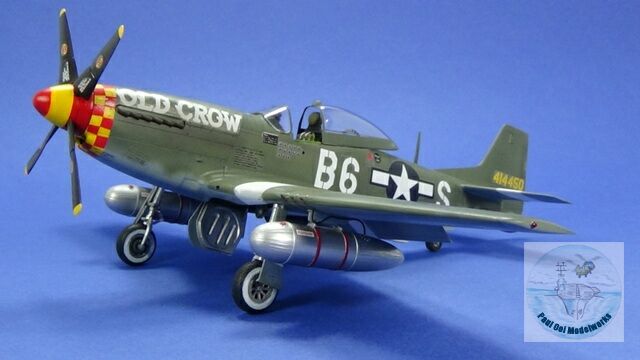
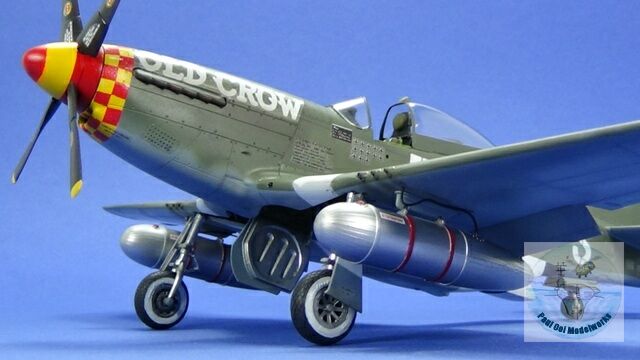
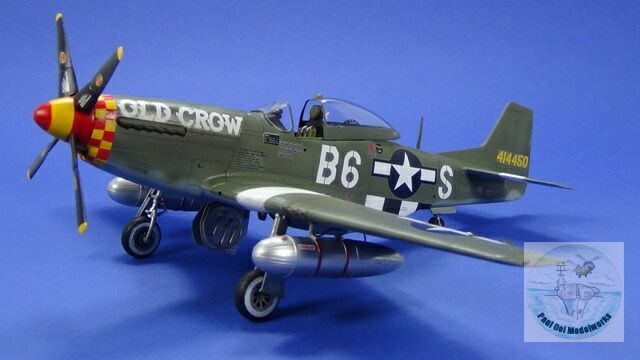
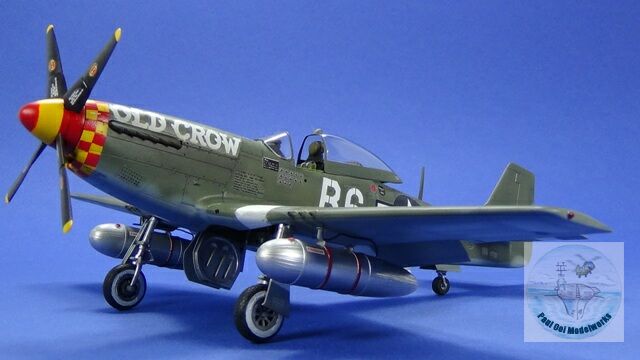
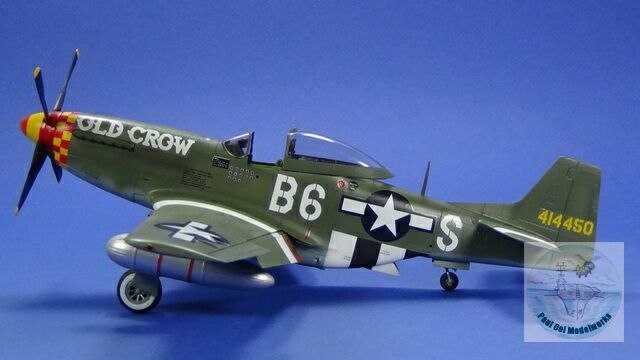
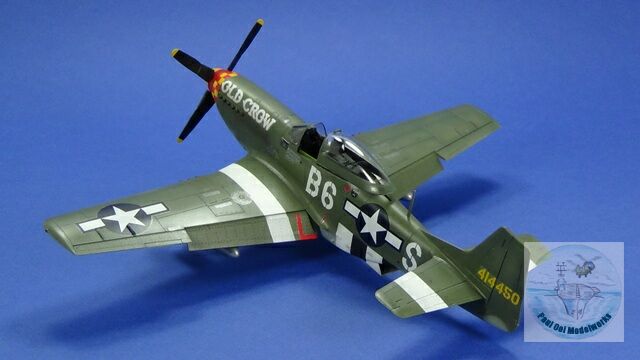
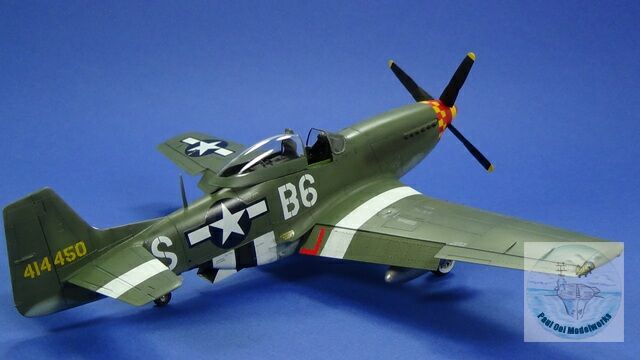
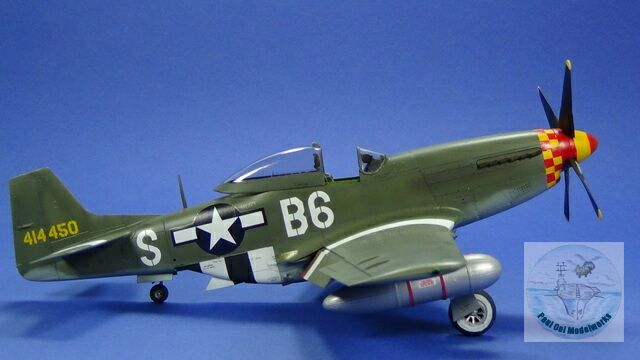
The P51D Mustang has got to be one of the most popular, if not THE most popular fighter plane to have emerged from WW2. Just this website alone, this is the third Mustang post, and in my model-building career this is my 6th build of the iconic plane. “Old Crow” was piloted by Capt. Clarence Anderson of 363rd Fighter Squadron, 357th Fighter Group of the 8th Air Force operating out of Leiston, England. The color scheme selected by my customer was as it appeared in November 1944.
Gallery


Construction Notes:
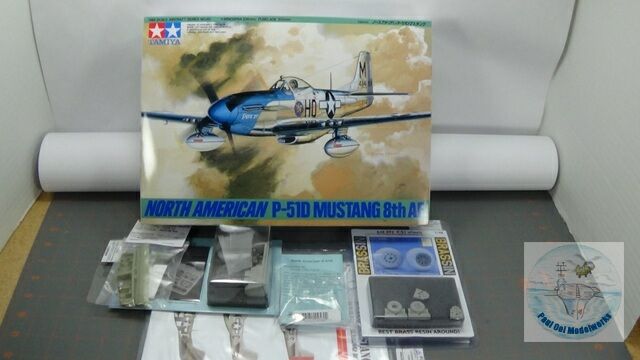
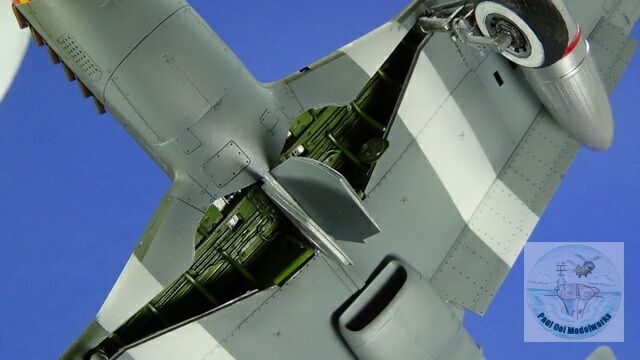
The base kit for this project is Tamiya’s 1/48th scale Mustang (8th Air Force). What is different from the previous two other models of almost the same kit is that this time I was using all resin aftermarket parts. The cockpit is from Aires, the wheel wells from Vector and the wheels from Eduards’ excellent Brassin Wheels range.
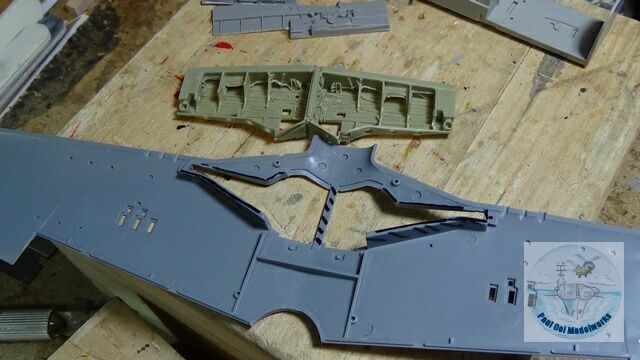
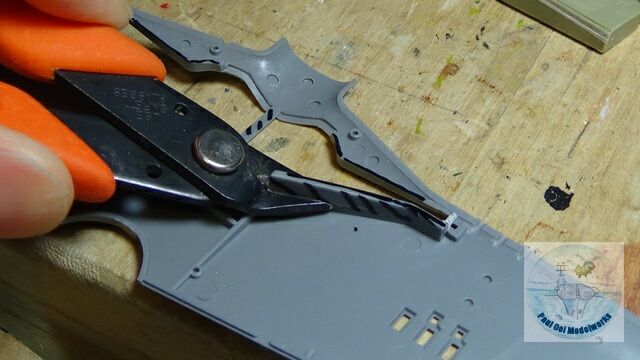
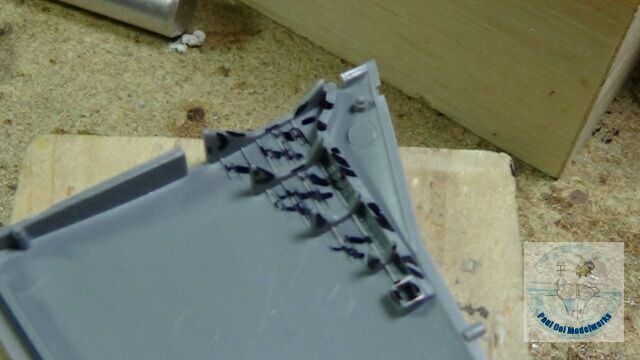
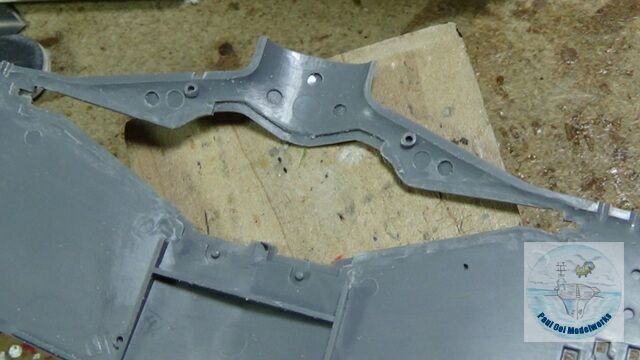
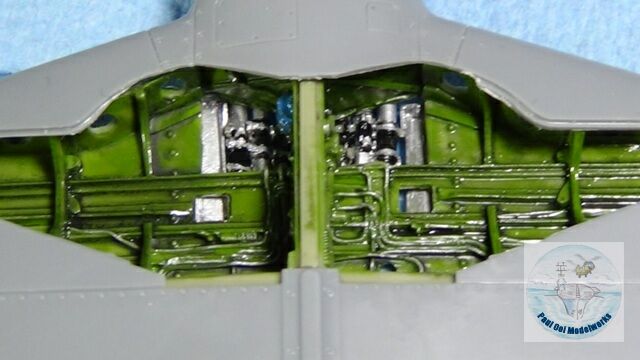
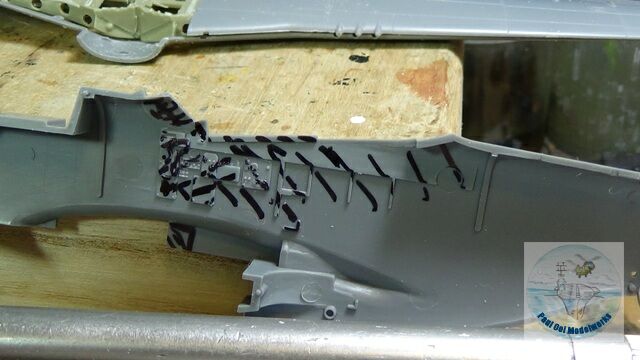
Resin inserts are not for the beginner and the faint-of-heart. First, after comparing the insert to the target location, I use a marker pen to shade all areas to be removed. Then obvious protrusions are cut away using my plastic sprue shears. When unsure of where to cut, I always stop to compare because these cuts are irreversible. The old saying” measure twice, cut once” rings true. The close relief features are removed using X-Acto chisel blades. And then thinning out of the walls are performed using my Dremel tool. At every point of the way, the insert is dry-fitted to check that the wing halves can close properly and that the insert will site in the right position. Once I am sure that everything will fit properly, albeit with some very tight clamping, the resin insert is glued into place with cynoacrylate gel, and the plastic wing sections glued together with the clamping persuasion of a medieval dungeon master. Effective clamping removes the need for a multitude of seam-filling later.
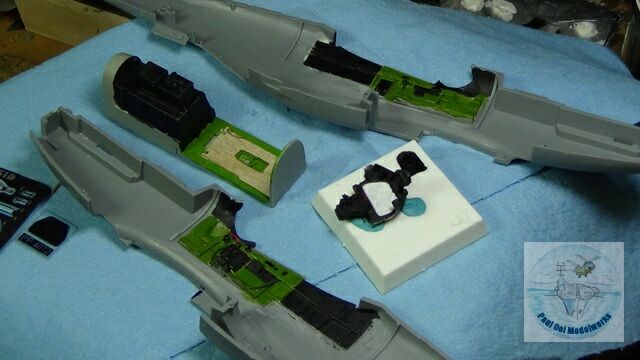
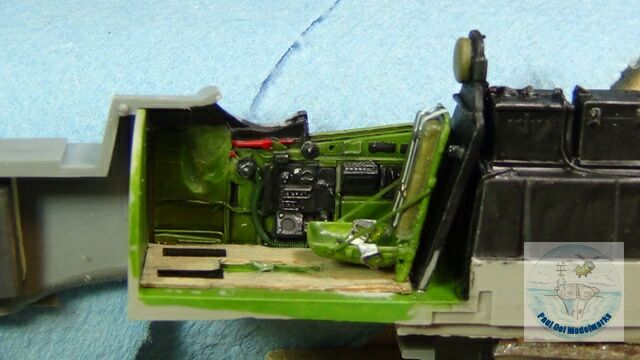
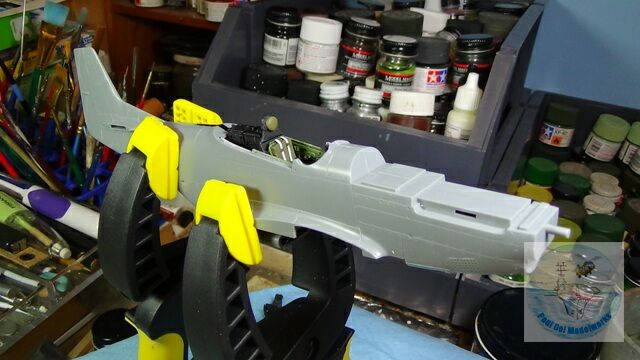
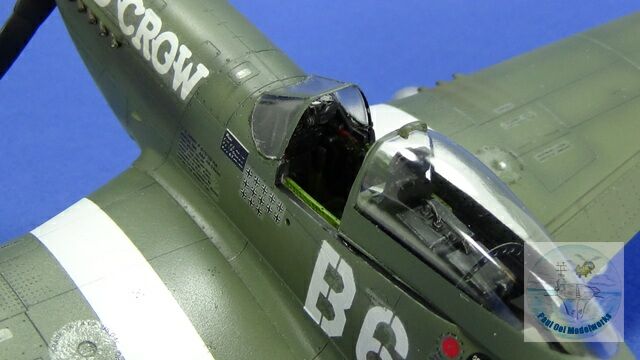
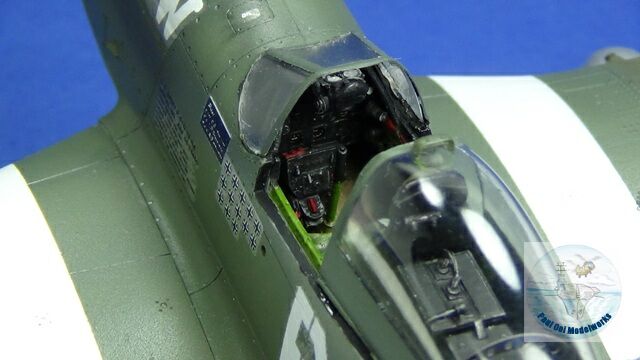
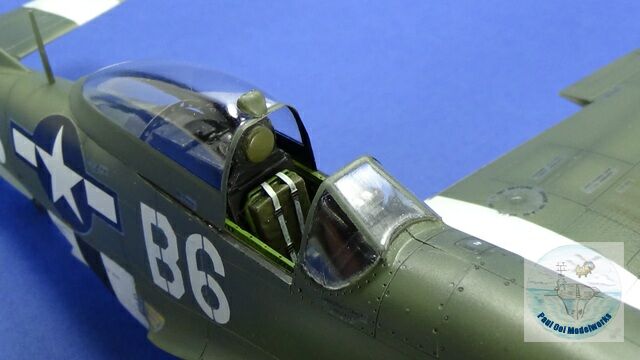
The same massive removal of plastic features had to be done in the cockpit in order to fit the resin sections from the Aires cockpit kit. Again, a lot of trial-fitting must be done in order to ensure a close fit. I also added a thin sheet of real plywood to the flooring just like the real aircraft. The Aires kit also comes with photo-etched seat belts that are painted and added to the cockpit sub-assembly. At the end of the process, note the massive clamping applied to the fuselage to keep the resin-cast cockpit in place and allowing it plenty of time to cure.
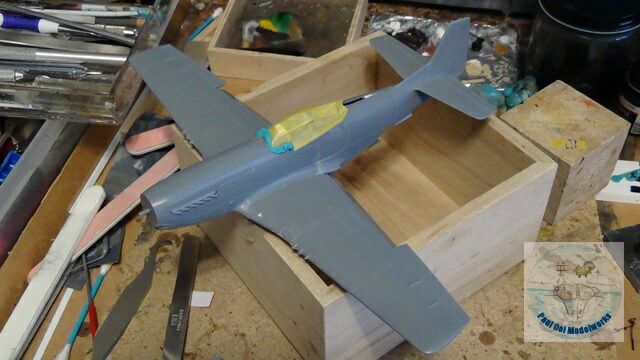
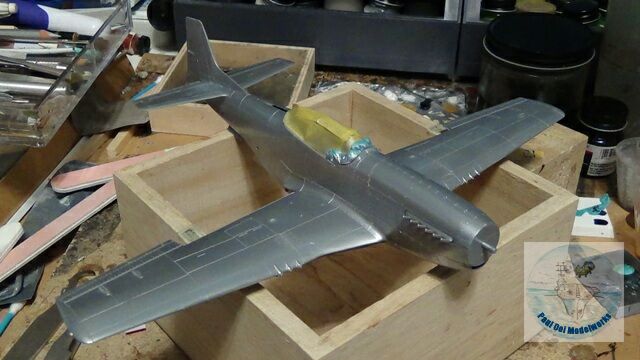
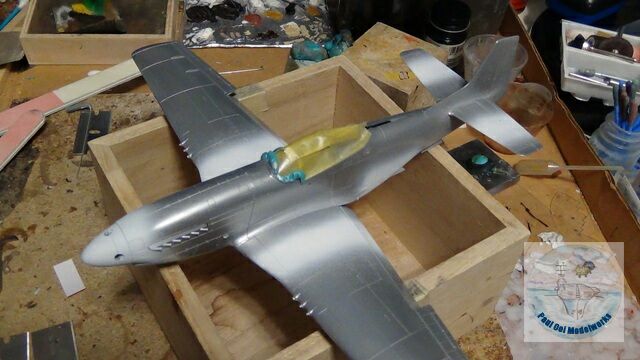
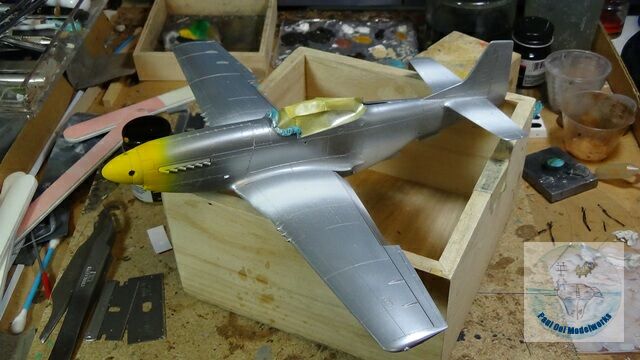
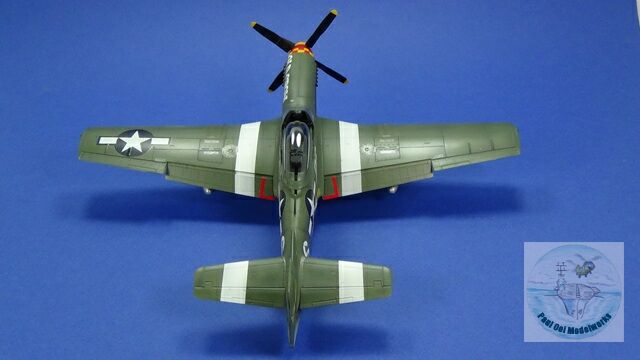
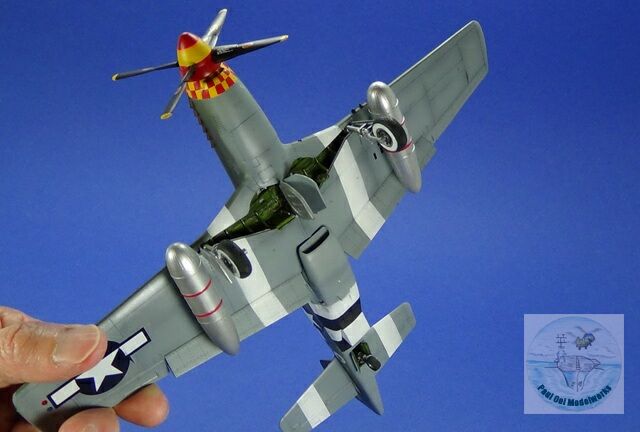
“Old Crow ’44” is a challenging color scheme as there are as many as 6 different main colors to be applied, not counting the aluminum undercoat. The first step is to mask all cavities and the cockpit area. Note that I did not apply any of the glazing through the painting process. Then I start with the aluminum undercoat, then the under-shading, followed by the lightest color, in this case white, followed by the Insignia Yellow.

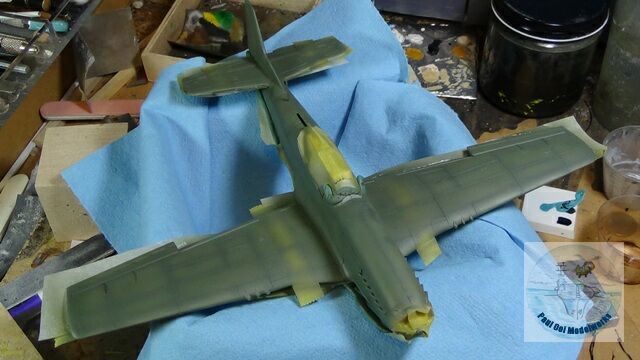
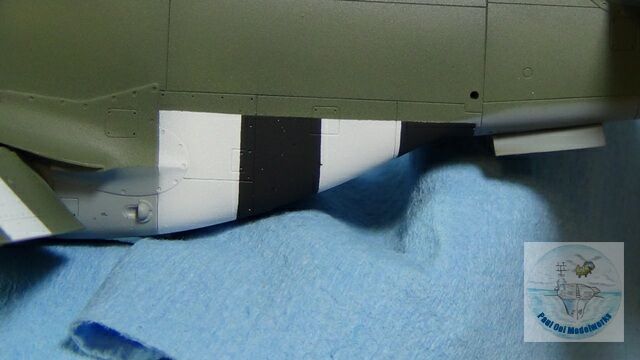
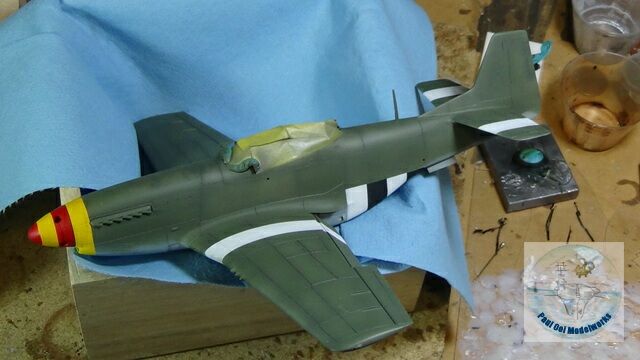
After masking off the yellow and white stripes, I applied very dark grey under-shade, as well as flat black over the invasion strips area over the coolant radiator bulge. These are in turn, masked, and then the underside is painted in RAF Medium Sea Gray (it is not US Neutral Grey as is often assumed). Finally, on the upper surfaces, RAF Dark Green is applied, allowing some streakiness for the faded effect especially over the wing area.
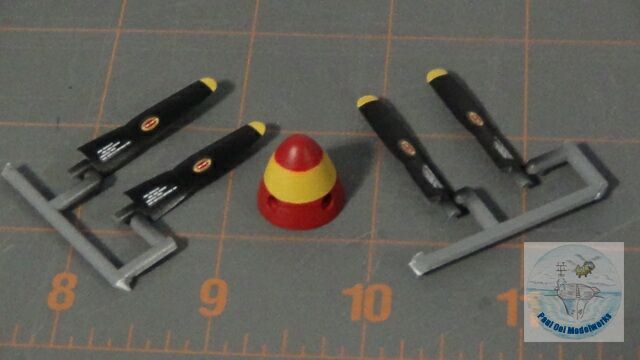
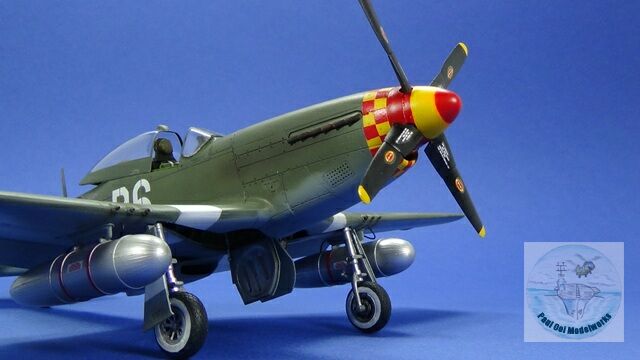
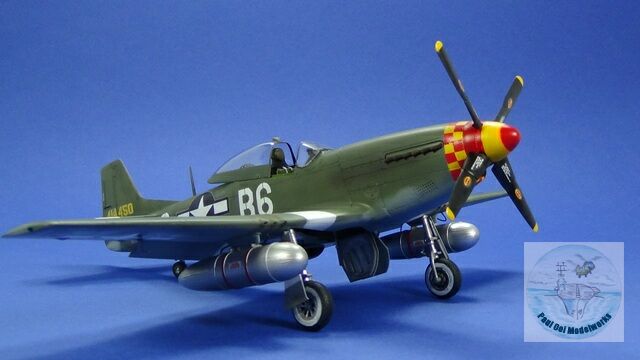
While waiting for the aircraft paint work to cure, I use the time to paint the spinner using Insignia Red and Insignia Yellow, as well as detailing the propeller blades.
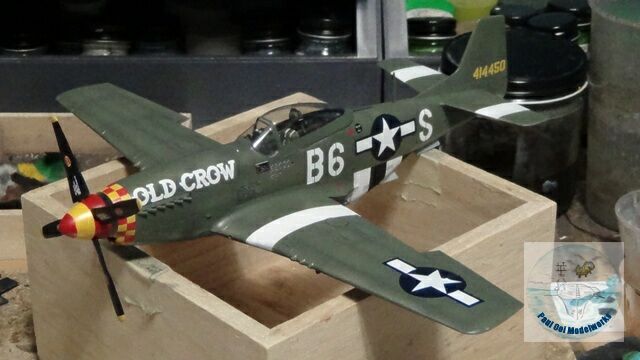
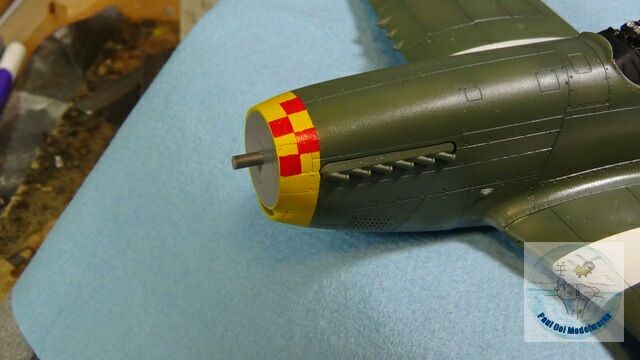
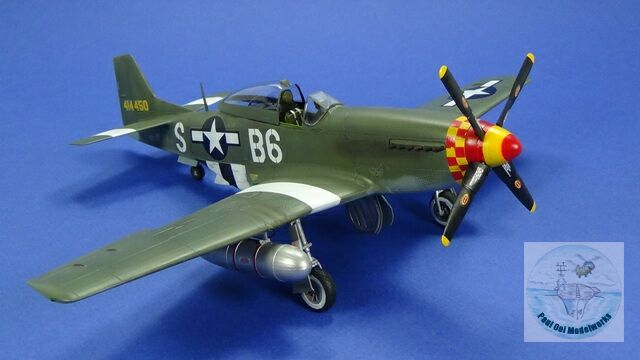
Once the clear varnish has properly cured, I started applying decals. To achieve the red-and-yellow checkered scheme at the nose, instead of using the decal sheet for the bands, I cut out the red squares and carefully applied them in the pattern over the yellow painted section. The effect is much better than the decal sheet where given the complex curvature of the nose region, tend to wrinkle or tear. All in all, there are over 80 different decals, big and small applied on this aircraft(!).
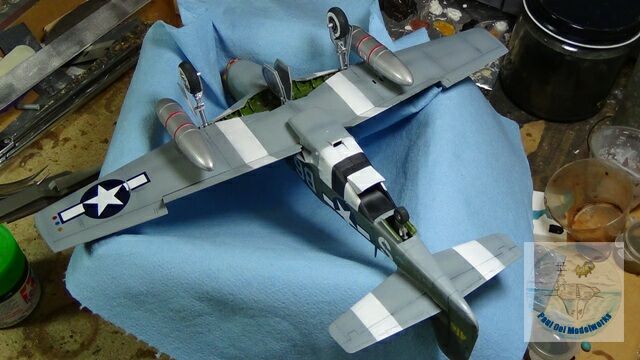
The undercarriage assemblies, doors and drop tanks are applied almost at the very end of this assembly process after which the vacuum formed canopy and windscreen was attached on the top side. The plus side to using post-market vacuum formed glazing is that it achieves the fine thin cross sections more in scale with the aircraft when compared to the injection molded kit part. the down side is that one has to cut very carefully to remove the vacuum-formed from it’s shell, and sometimes fit can be very tricky.The final results are, however very pleasing to the eye for its fine scale thickness and clarity of the glazing.
Hi I was looking on line for info on Old Crow found your website it had just what I wanted to know thanks for your help have a great day Bruce from any way
Most welcomed.
Paul
Great job here Paul….., way too much for me to handle though, such is the faint hearted. Good luck.