
The Battle of the Atlantic stretched for many thousands of miles. It lapped on the beaches of Connecticut and stretched to the frozen ports of Norway. It raged from the tropical waters off Brazil and into the frigid darkness of the North Atlantic. Like hungry wolves stalking a herd, the U-boats of the Kriegsmarine searched for the trails of the Allied convoys carrying urgent supplies from the arsenals of democracy in the Western hemisphere to the besieged isles of the United Kingdom. None was so iconic of the German war effort in this theater like the Type VIIc U-Boat, the most numerous ever built.
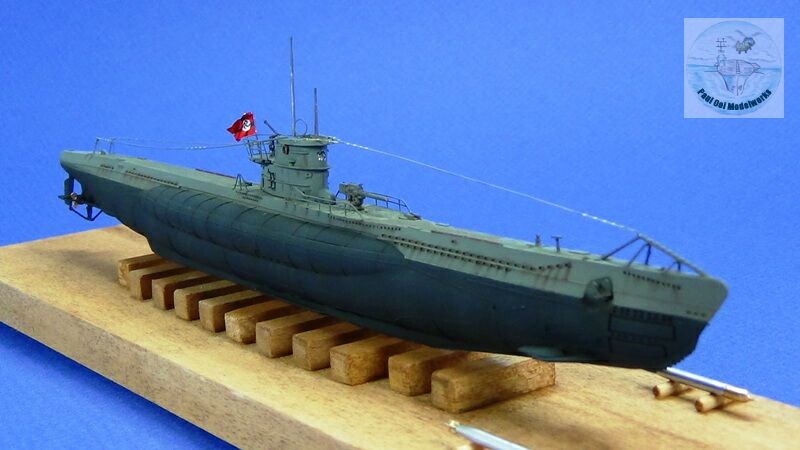
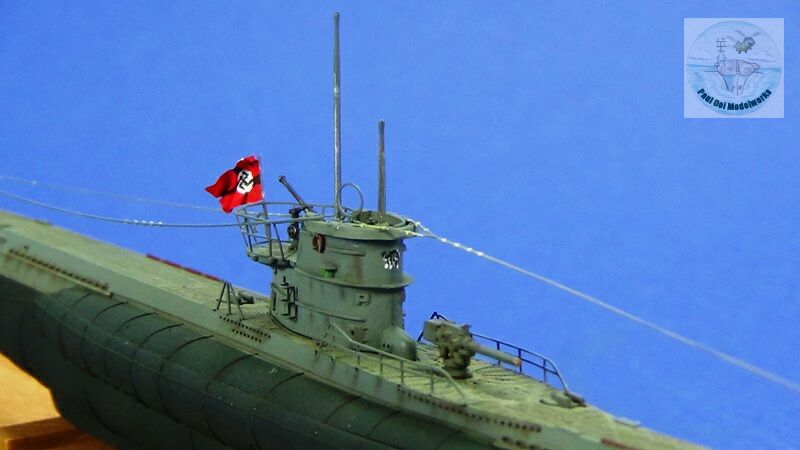
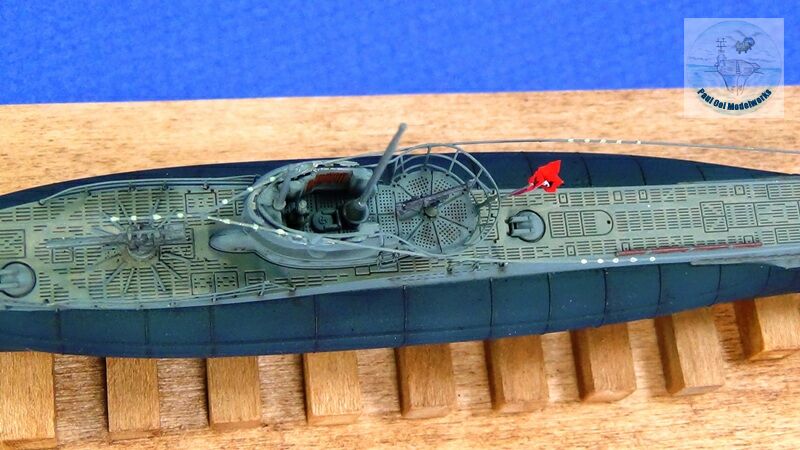
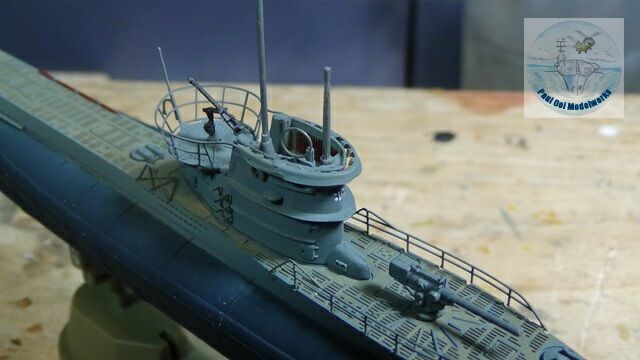
U-564 sank HMS Zinnia in her encounter with convoy OG-71 on 22 August 1941 when the former fired a spread of torpedoes into the path of the convoy. In all likelihood, her commandant Fregattenkapitan Reinhard Suhren did not even know that he had struck a corvette at that time. U-564 survived until 14th June 1943 when she was in turn sunk by aircraft in the Bay of Biscay. U-564 carried with her the special marking of a black cat with the stencil 3X below it at the fore section of the conning tower.
Gallery
Construction Notes
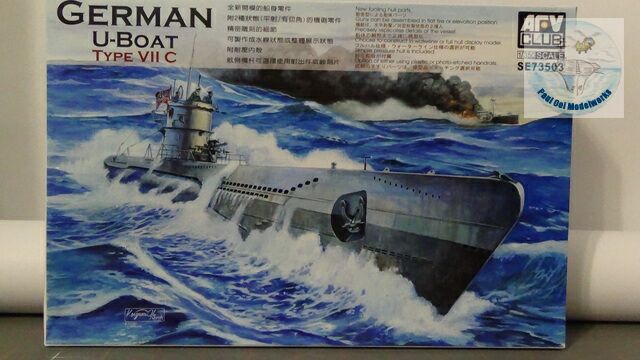
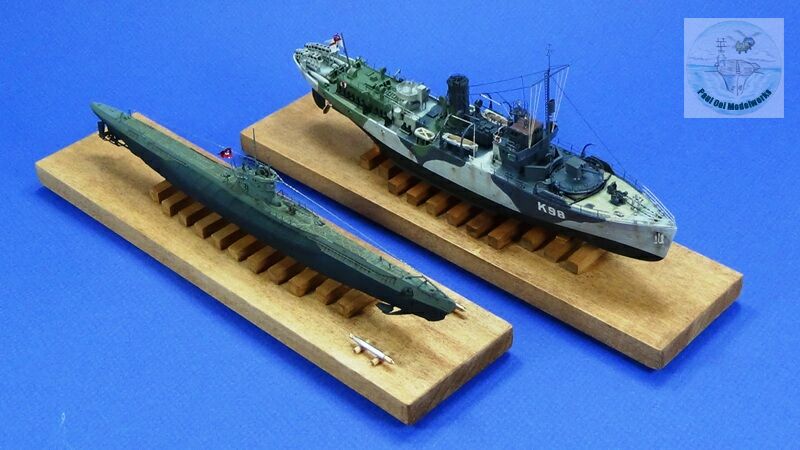
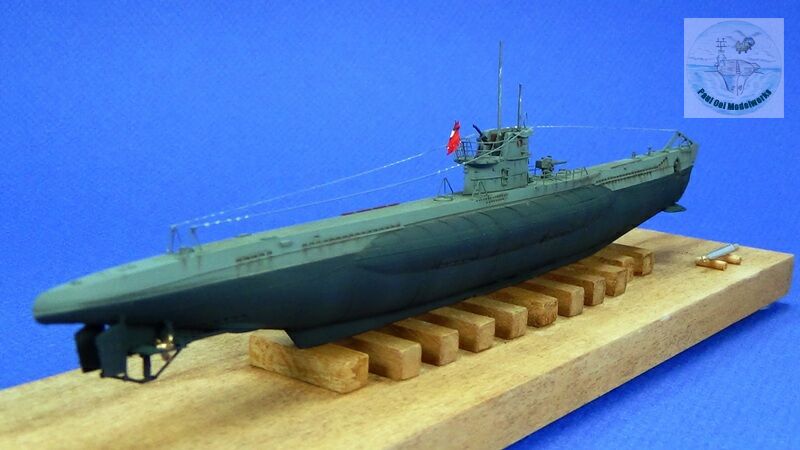
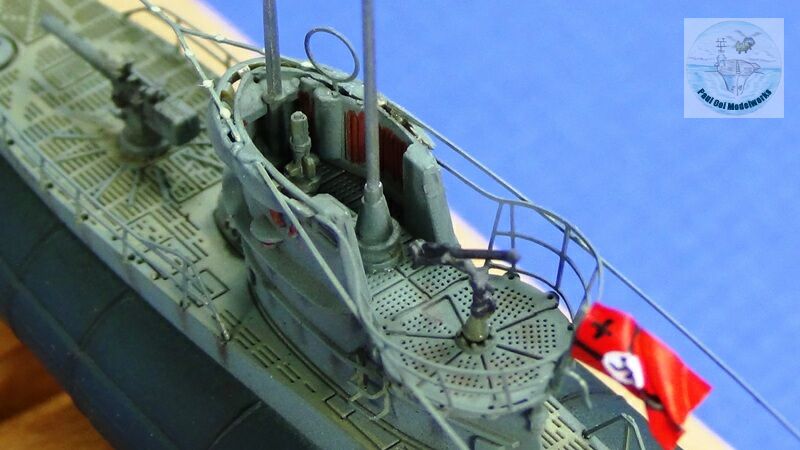
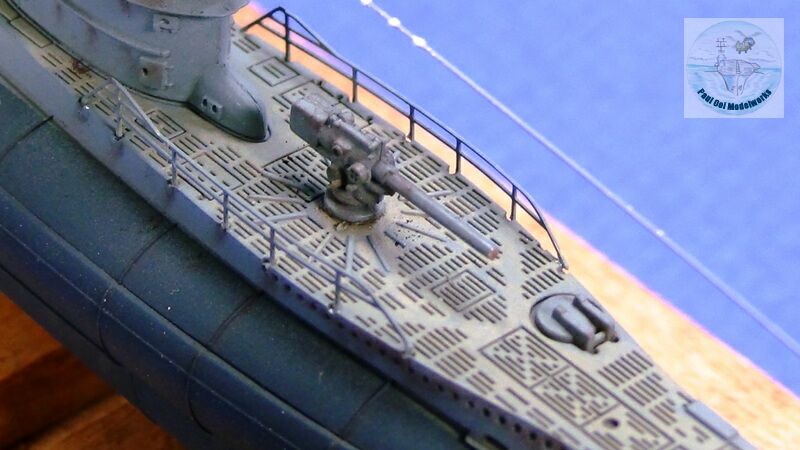
As a counterpart to the other project HMS Zinnia, I obtained this beautiful 1/350 scale Type VIIc submarine issued by AFV Club. The kit provides finely molded plastic railings and also alternate photo-etched rails as well. There is no need to obtain any post-market parts for this excellent kit, so I built it out-of-box this time. All the plastic sections are finely detailed and I especially like the detailed deck. There is one important omission in the instructions, which is the conning tower shroud in fret B (looks like a semi circle with sharks’ teeth) that should be fitted to provide the overhang on the conning tower.
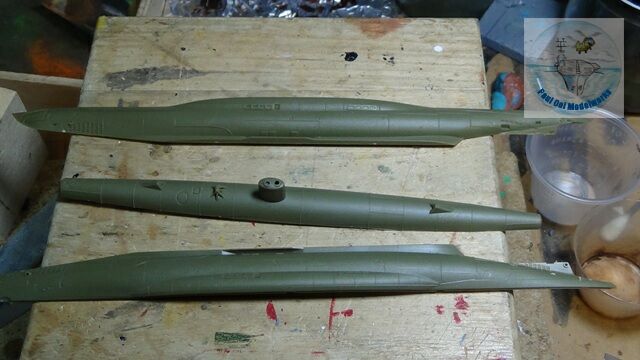
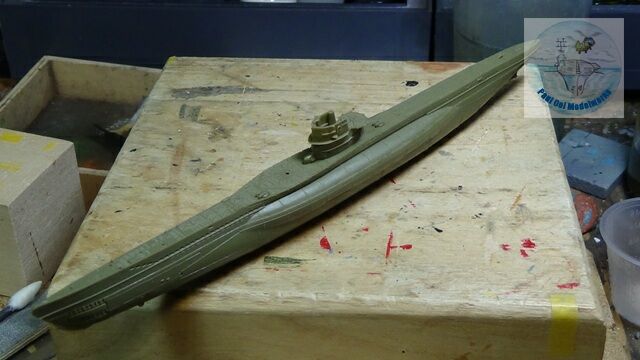
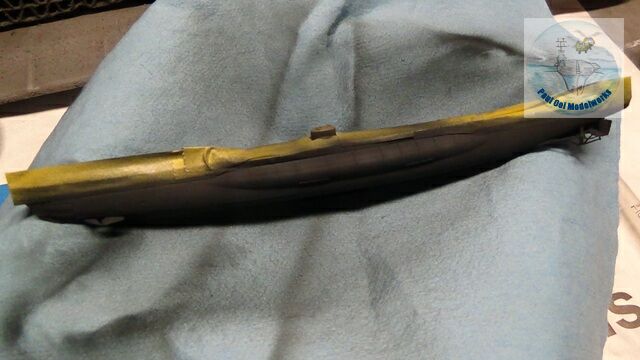
The main hull sections fit together quite easily. The kit provides a simplified pressure hull but this will not be visible once you put the halves together. Although my picture here shows the conning tower fitted over the main deck, I actually did not glue that down until much latter so that the delicate conning tower parts do not get mashed up during masking of the main hull for painting.
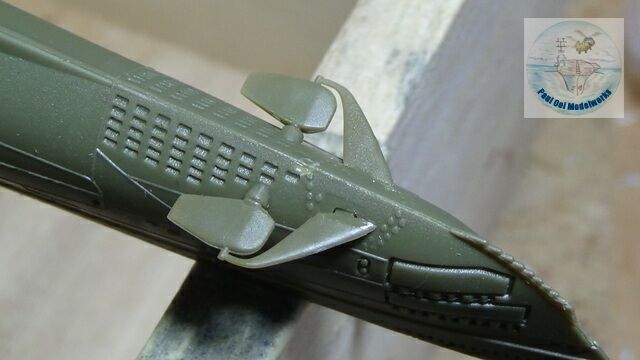
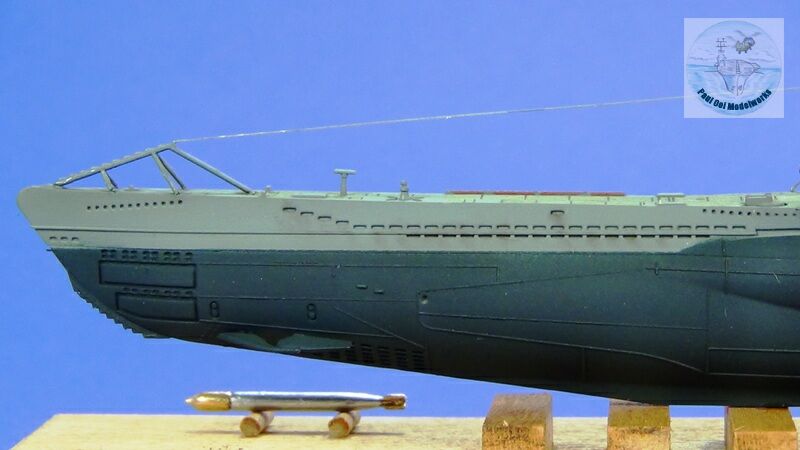
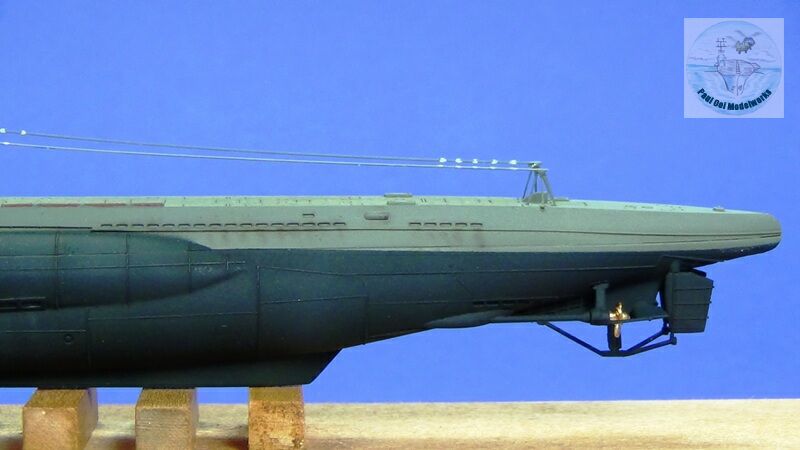
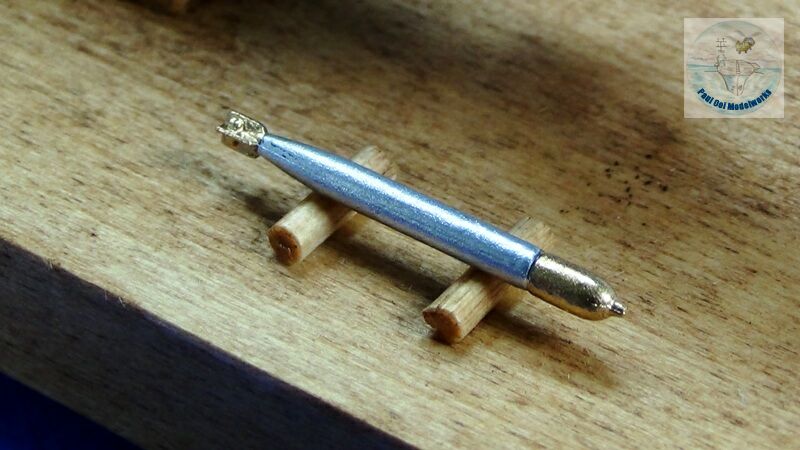
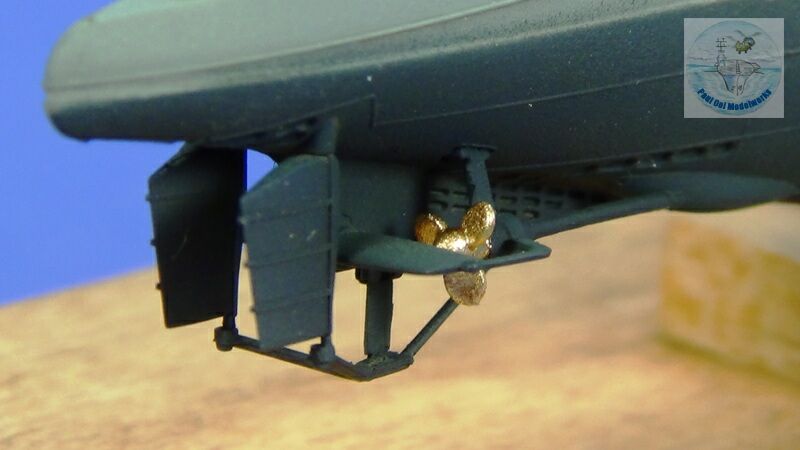
I flipped the hull over to work on the underside details. The hydroplanes are extremely fragile and need careful removal from the sprues using razor cutters. The rear propulsion section is very delicate and will need patient handling and careful alignment. However, the results are rewarding and very detailed for this small scale. I leave off the propellers until after this section has been painted.
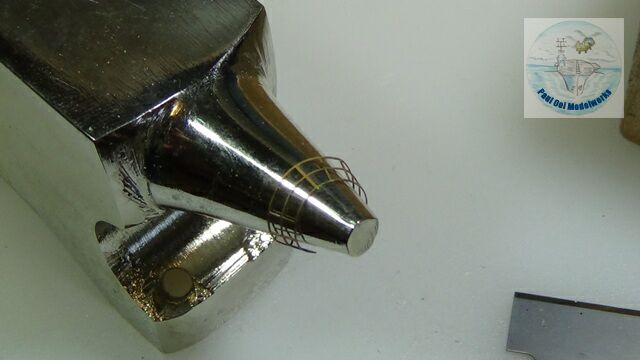
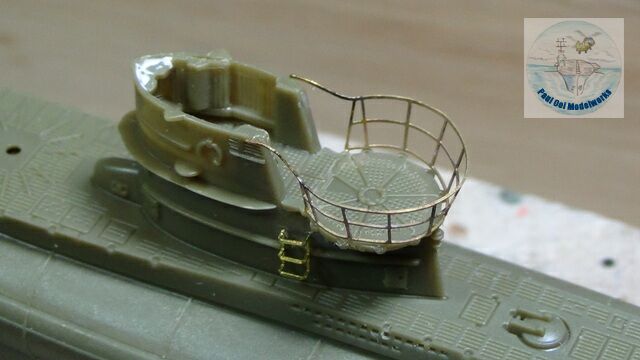
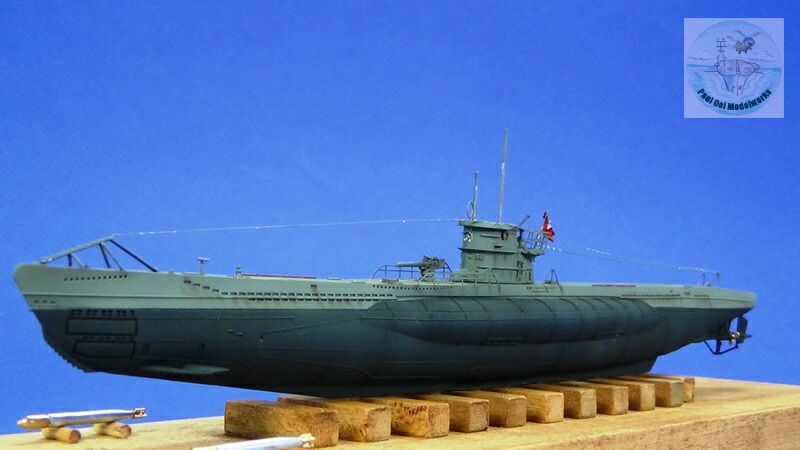
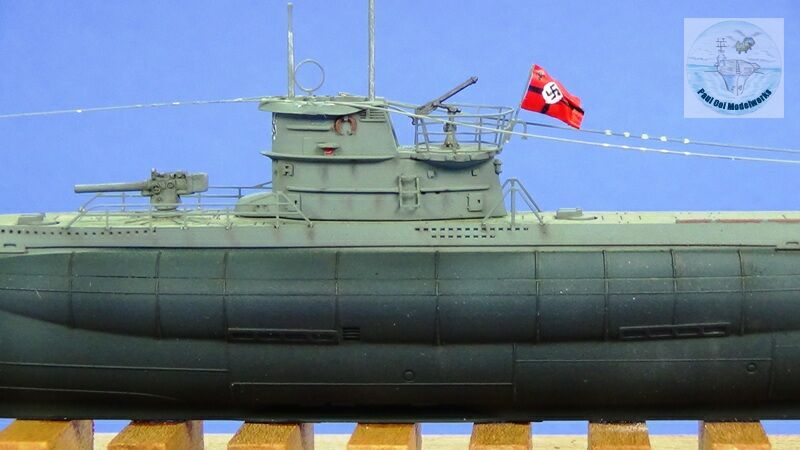
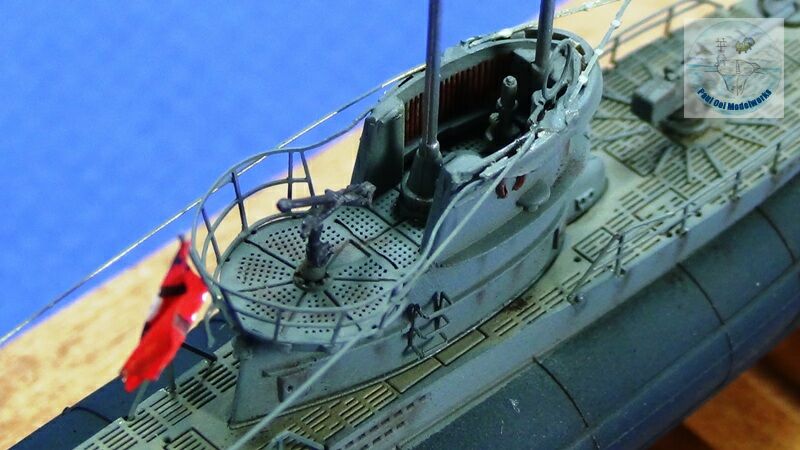
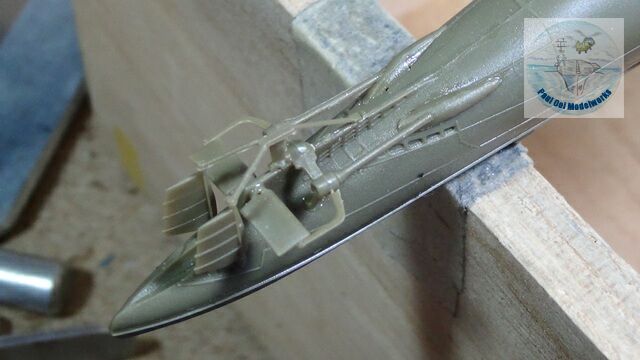
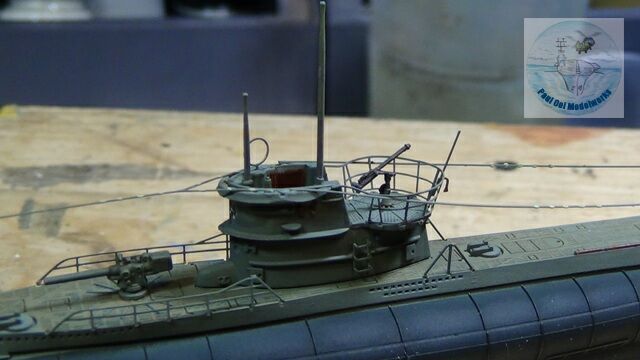
The next important feature is the large circular railing surrounding the rear of the conning tower. I annealed the photo-etched rail section first and then formed the conical section on a jeweler’s anvil. It fitted very nicely.
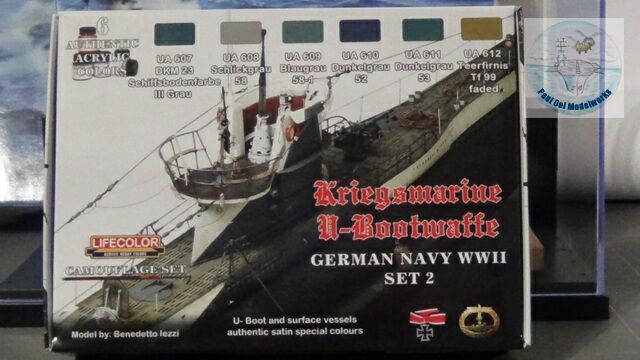
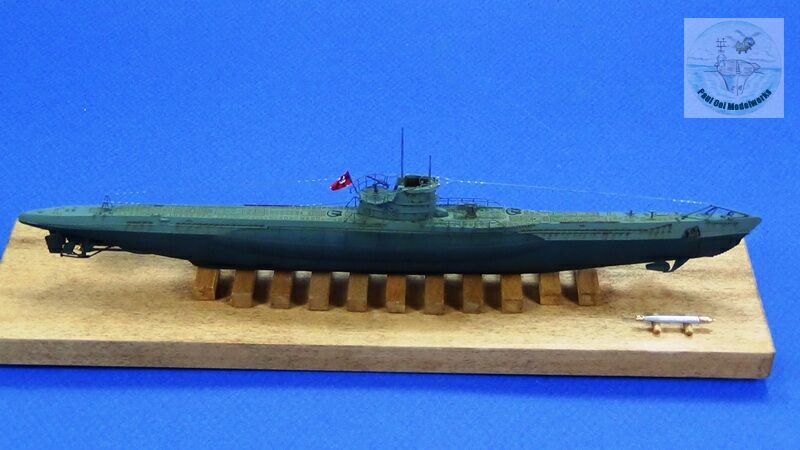
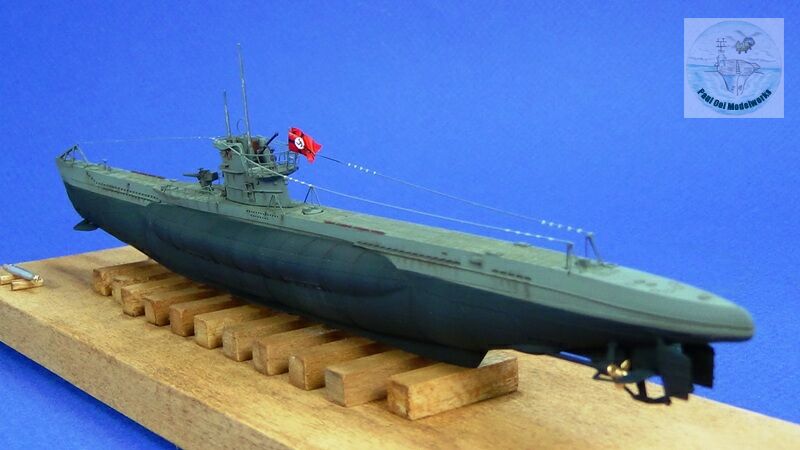
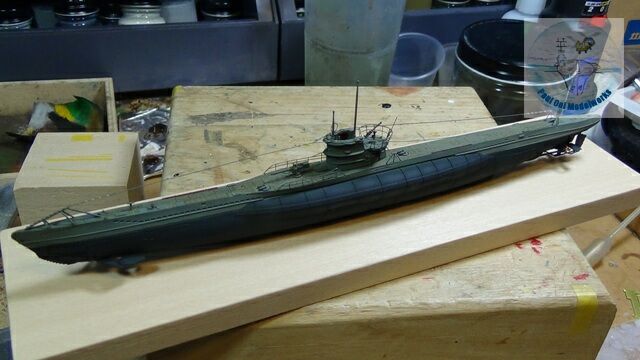
For painting the hull, I obtained Lifecolor’s special acrylic paint for U-Boat colors. The colors needed are Schlickgrau 58 for the upper hull, Schiffsbodenfarbe DKM23 for the underside, and patches of faded Teerfinis Tf99 for the main wooden deck.
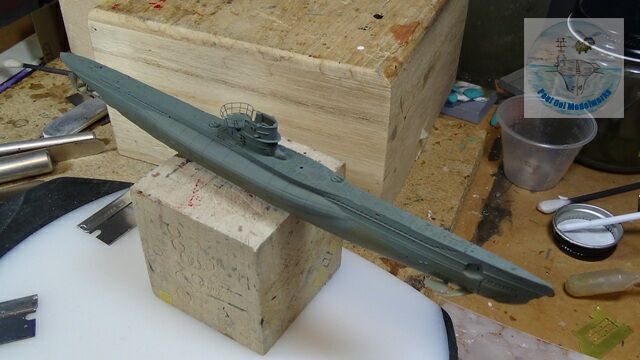
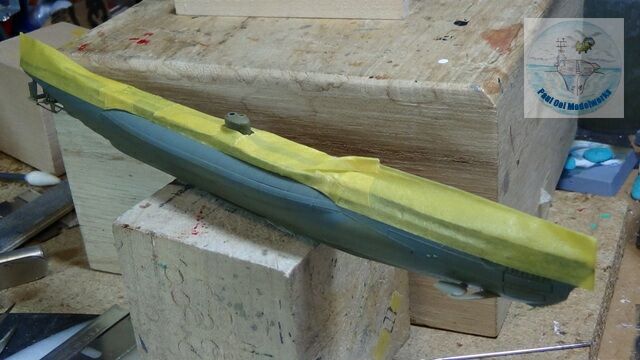
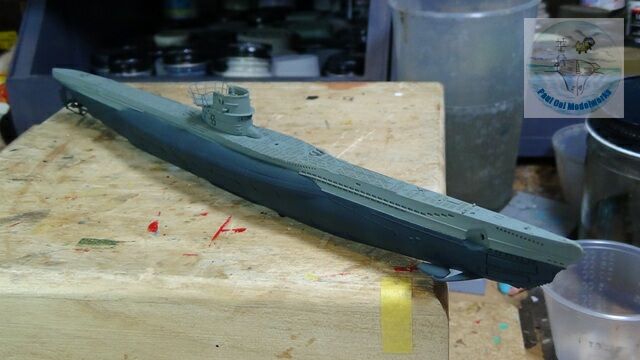
I applied the lighter grey shade Schlickgrau 58 over most of the topside first. Then I masked off that section, then sprayed Schiffsbodenfarbe Grau. as a last step, I applied sections of the deck with Teerfinis Tf99 using a fine small brush.
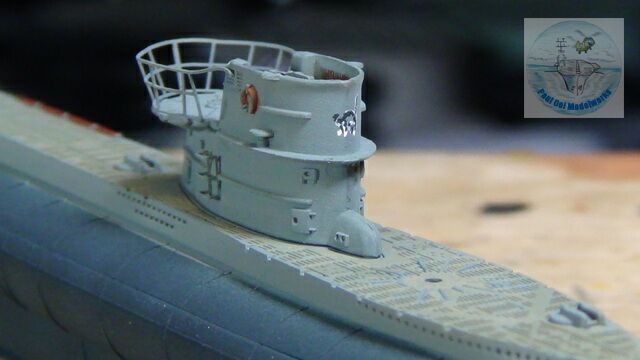
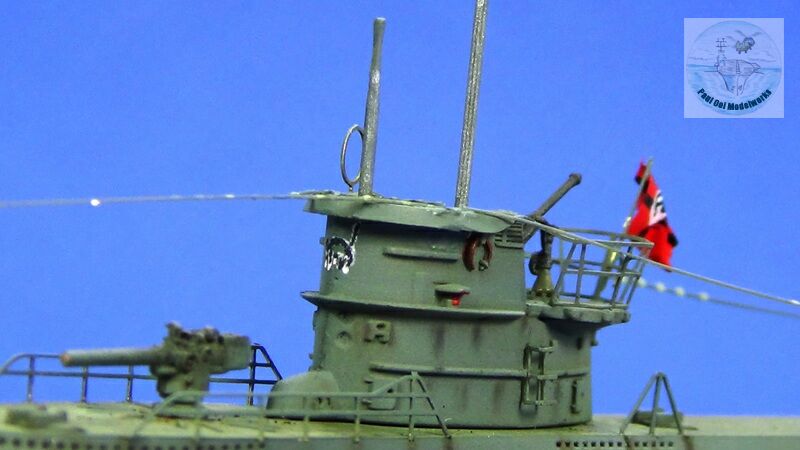
Using an ultra-fine brush, I hand-painted on the lucky black cat insignia into the conning tower before I added on the overhang shroud. After that, I permanently attached the conning tower to the main hull.
Then I added the other fine details on the conning tower. Notice now that the shroud has been added to the conning tower that would make it hard to reach that area where the insignia is, so this has to be added after the insignia.
The photoetched antenna cables are then added to the hull. I give the whole ship a wash of 50:50 Burnt Umber: Lamp Black.
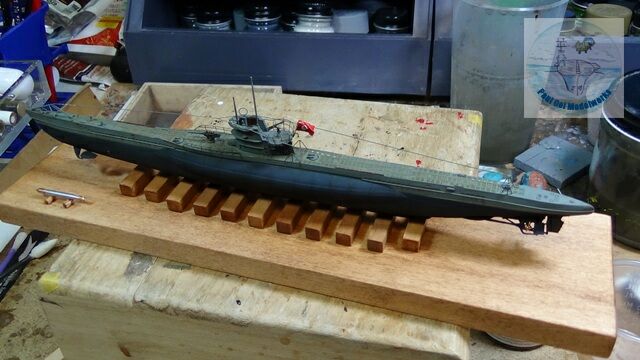
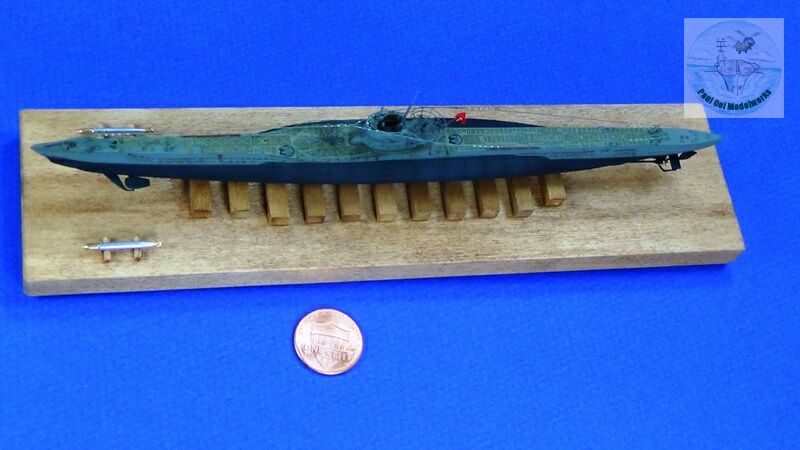
Then I mount the ship onto its dry dock display base. After that, the red Kriegsmarine ensign is added to the flag pole, and then I weather the hull with pastel pigments for rust streaks and salt stains.
Leave a Reply