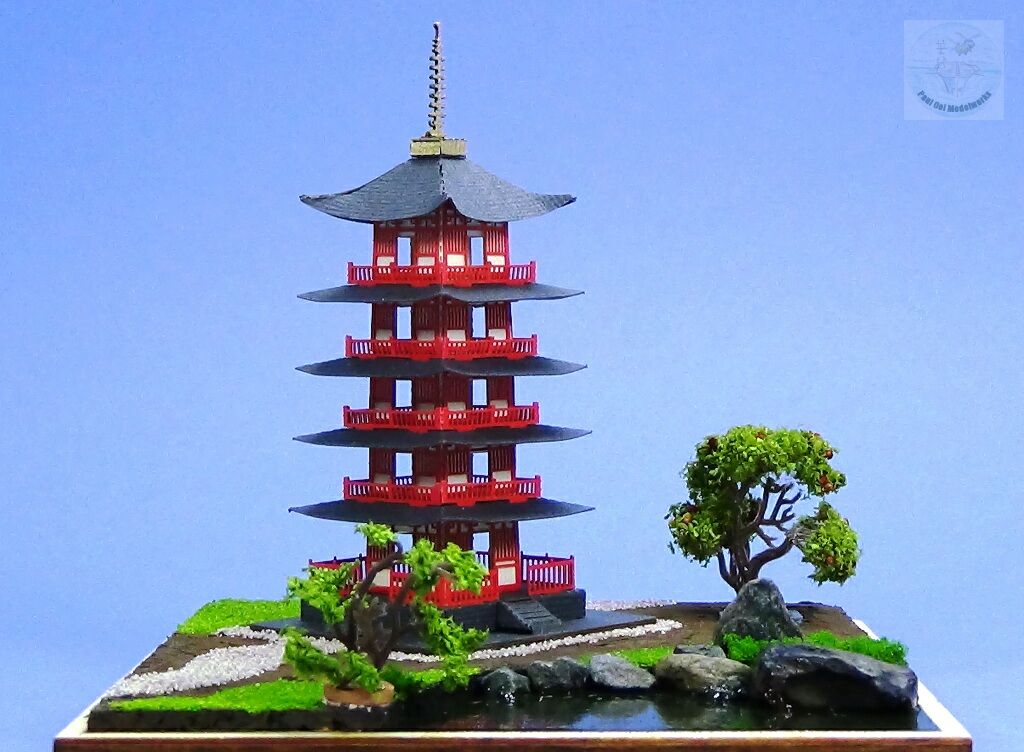
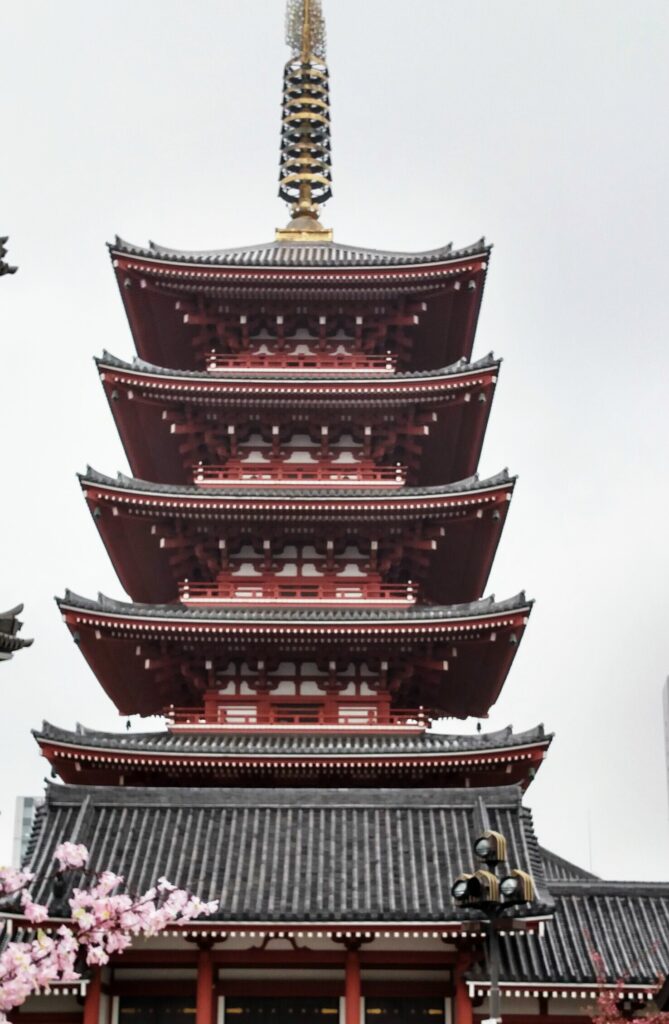
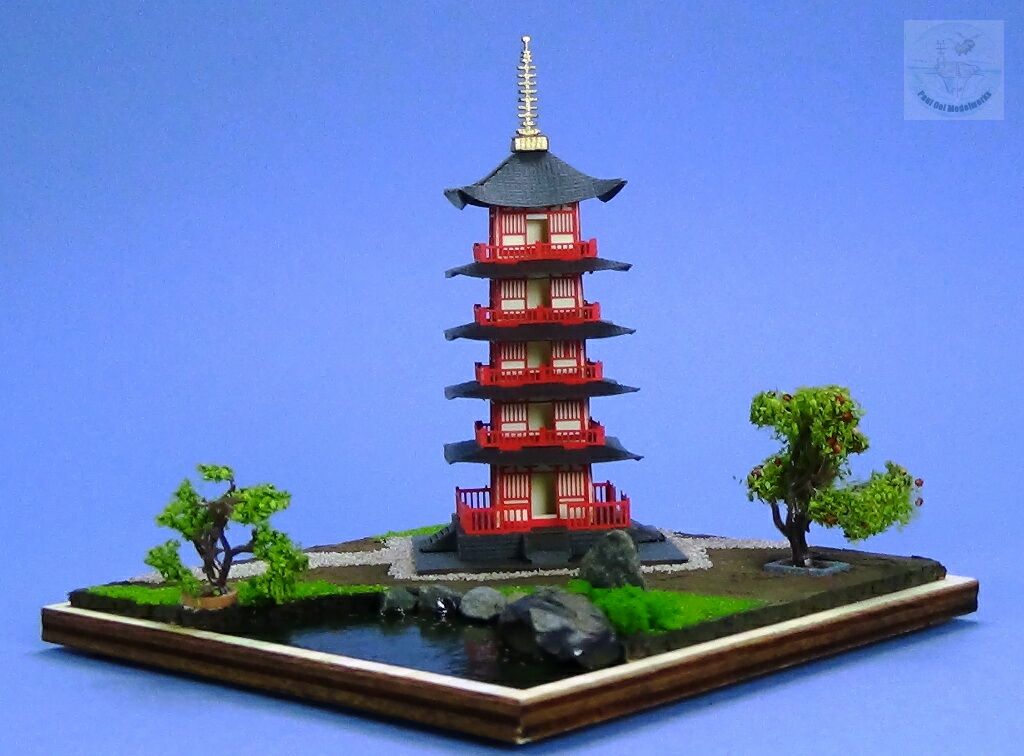
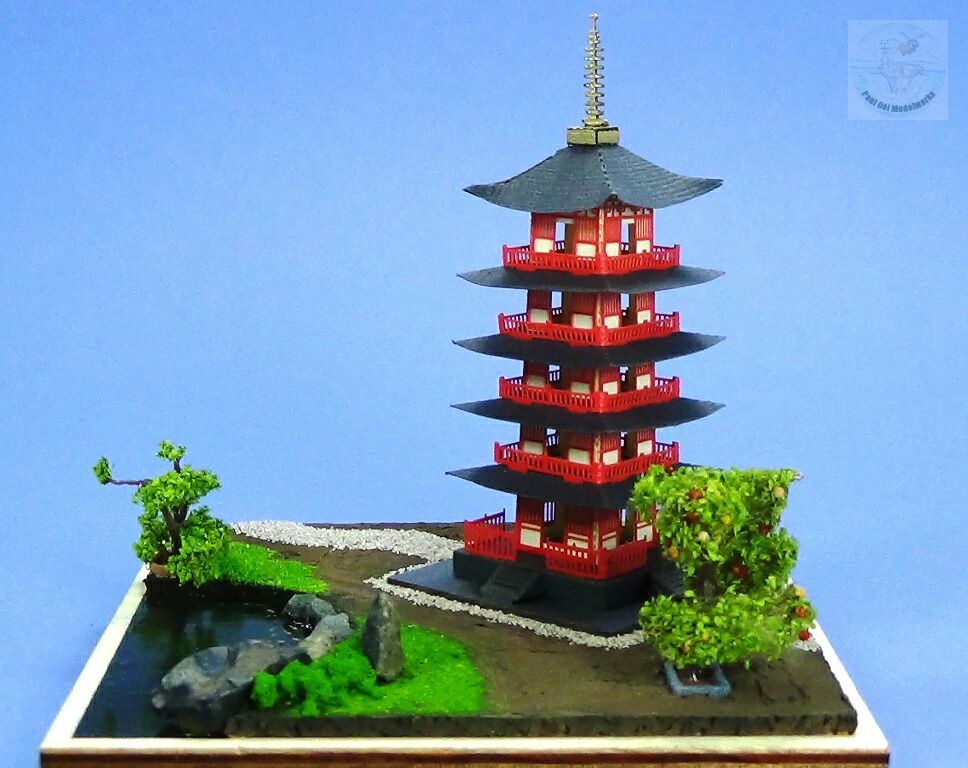
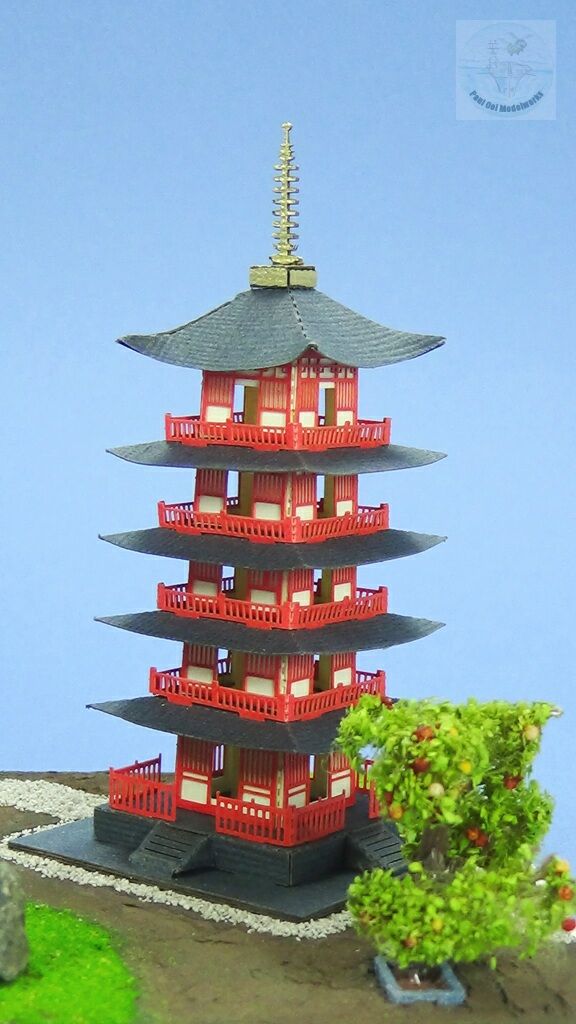
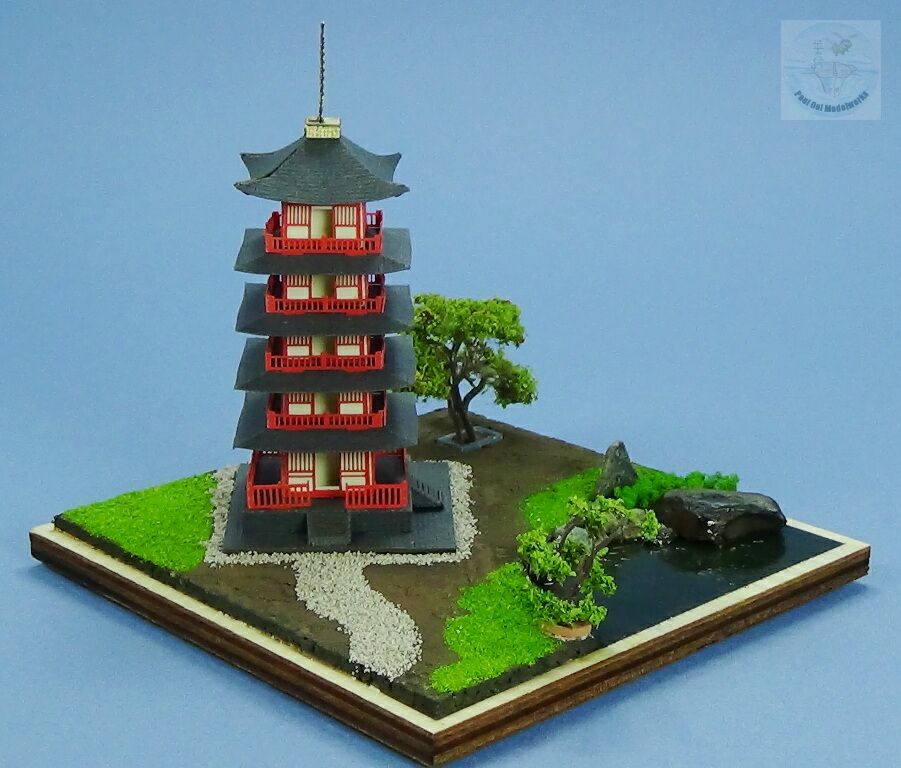
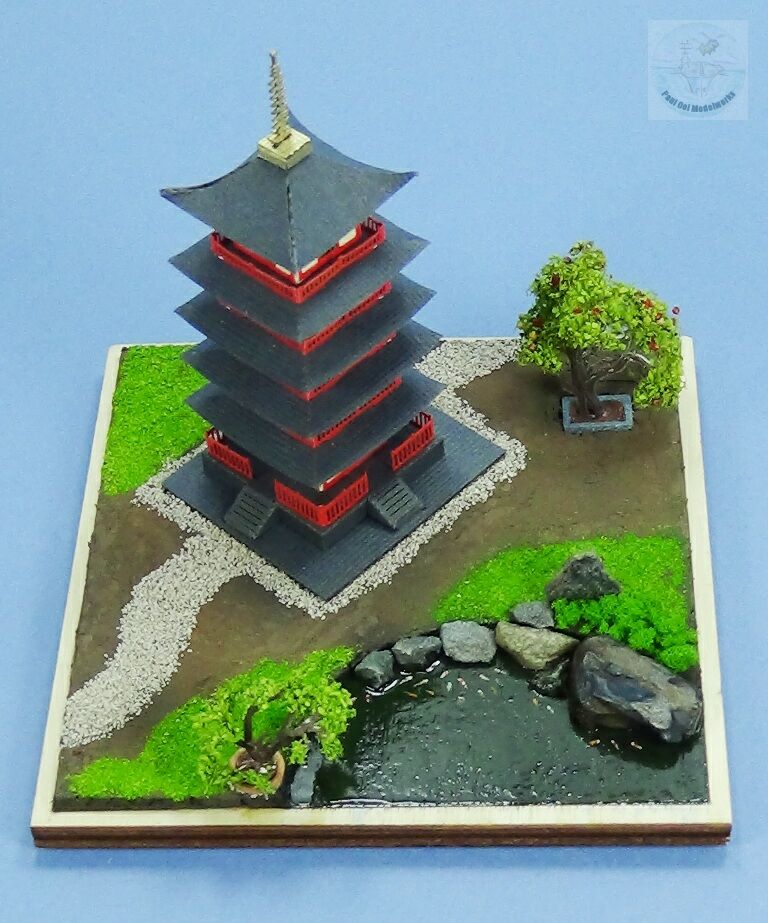
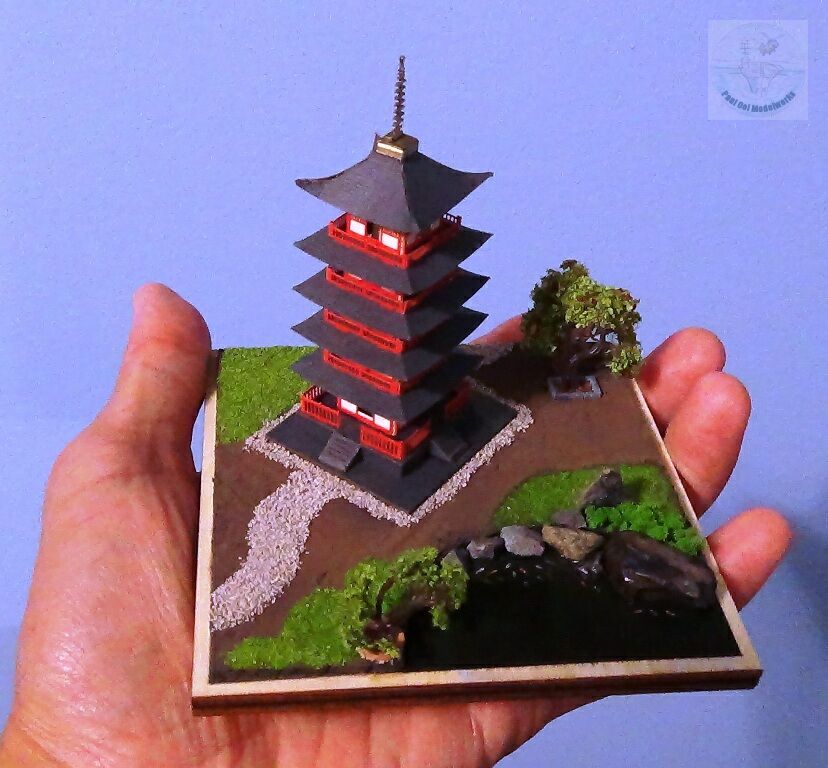
The Japanese pagoda, while originally derived from Chinese prototypes, came to have distinctive architectural features all of its own. Pagodas usually come in 3 or 5 levels, and some rarer examples with 7. Normally constructed of wood with tiled roofs, this structure is often associated with Buddhist temples. Some of the most famous five-story pagodas in Japan are the ones at Asakusa, Nara, Nikko, and Miyajima. The pagoda may be found in a garden setting or as part of a larger complex of buildings. I have chosen to show this one sitting sublimely in a typical Japanese garden beside a lake with trees and gravel walkways.
Gallery
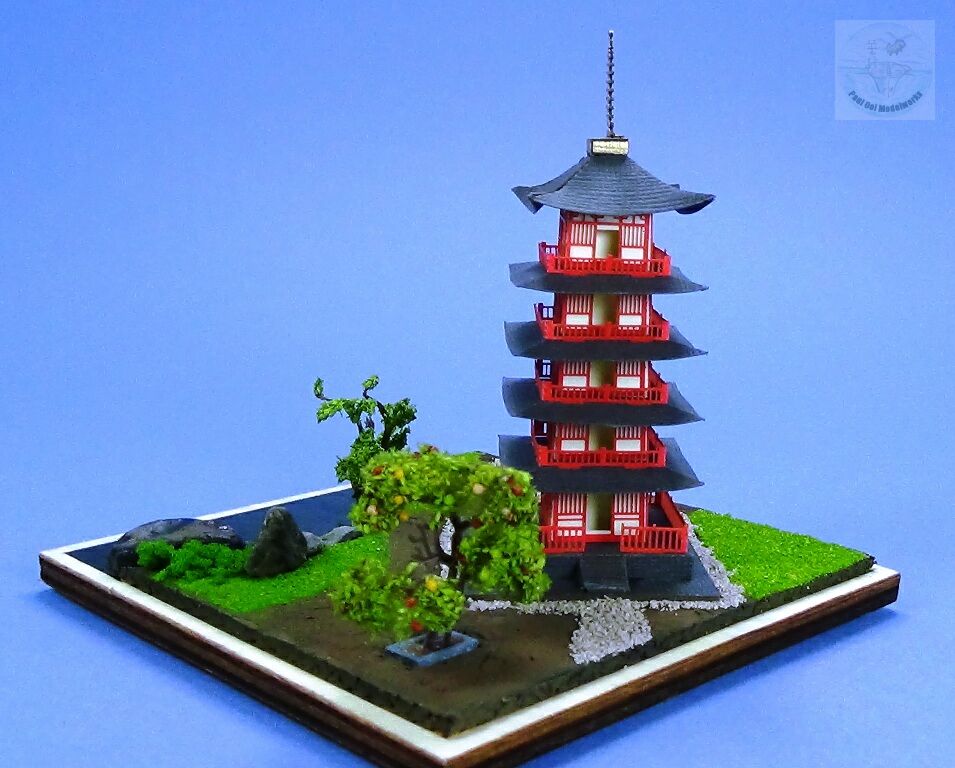
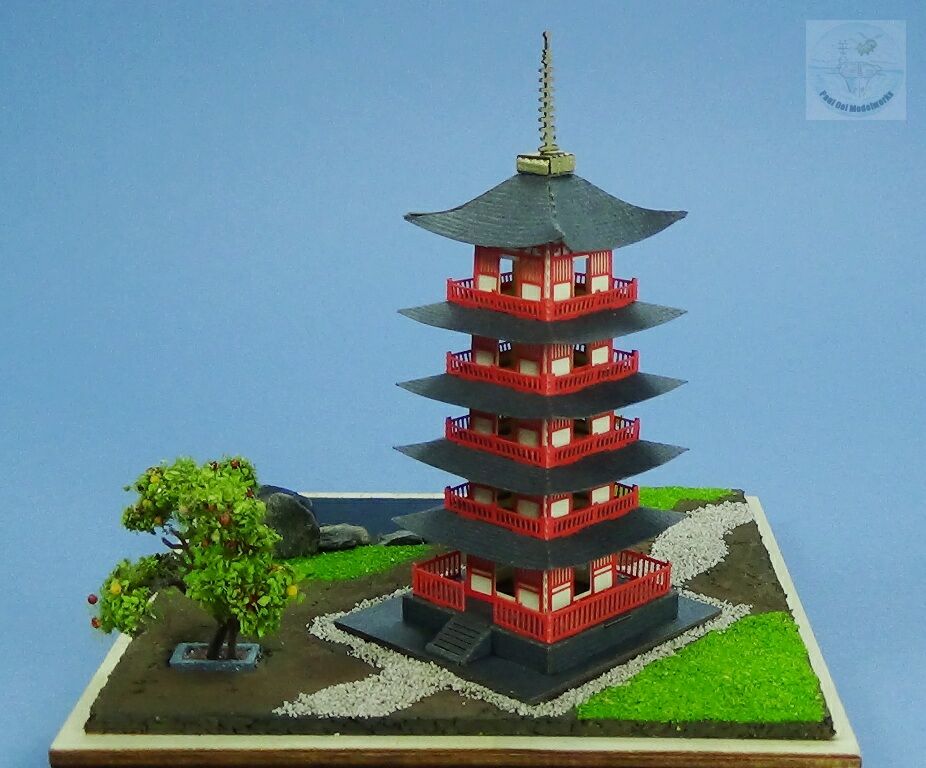
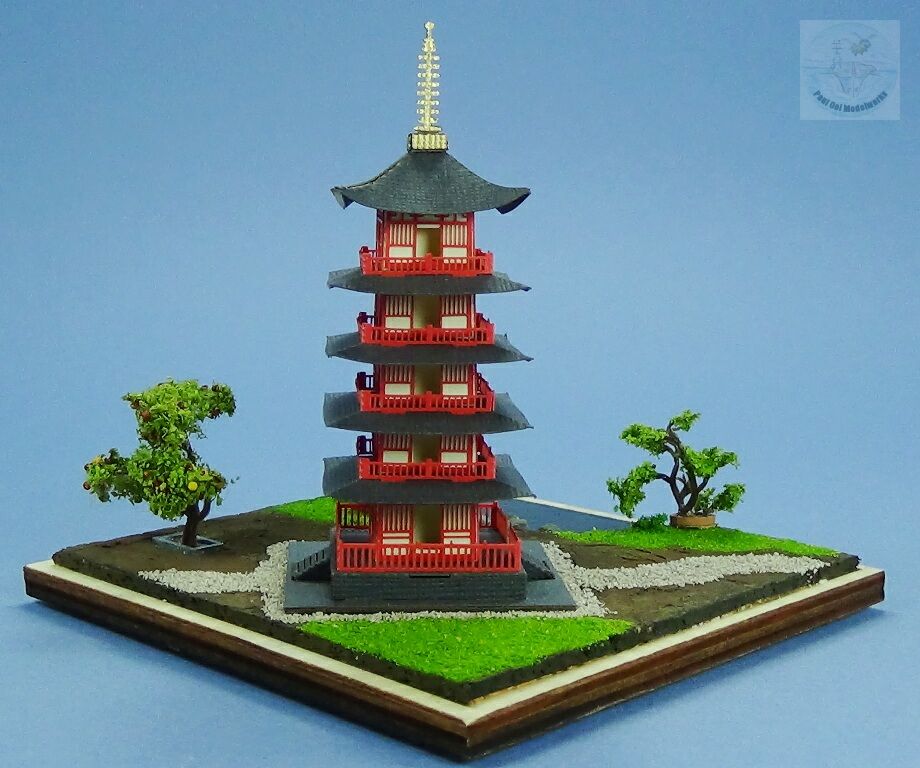
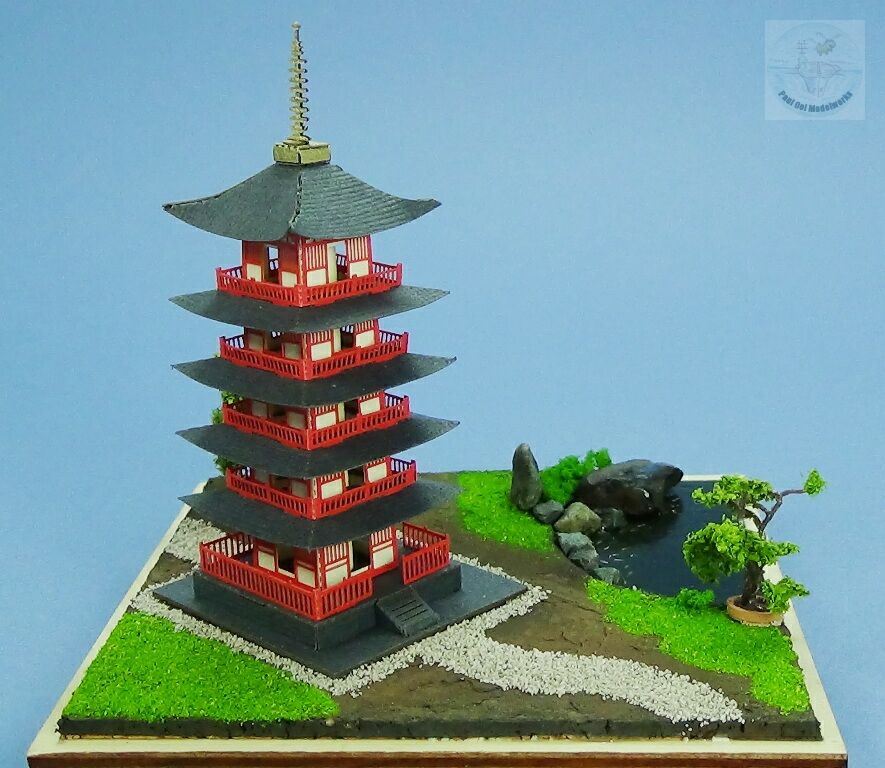
Construction Notes
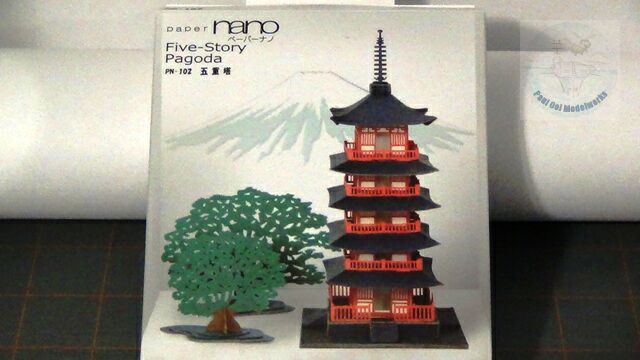
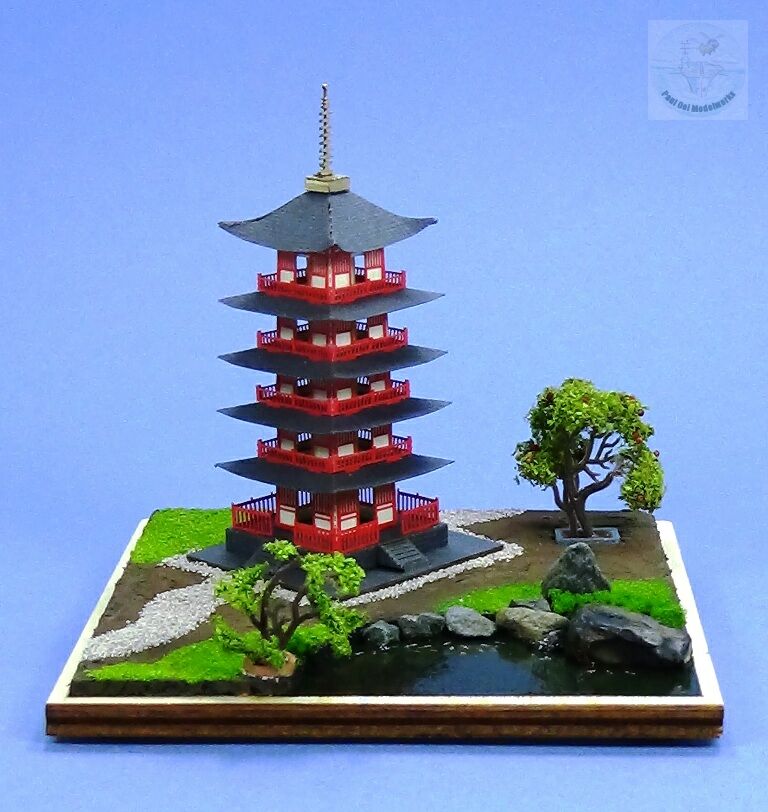
This paper model kit is approximately 1/150th scale (like N scale railroad) made by Kawada’s Paper Nano series. Originally intended to be displayed in the kit’s paper alcove with some laser-cut trees, I decided to incorporate the paper building to a regular diorama base instead. The papers sheets are laser cut and very precise in its fit, like all Japanese paper models. This makes it relatively easy to get the correct shape out of the model but one has to exercise care and use sharp paper-cutting knives to get the best results.
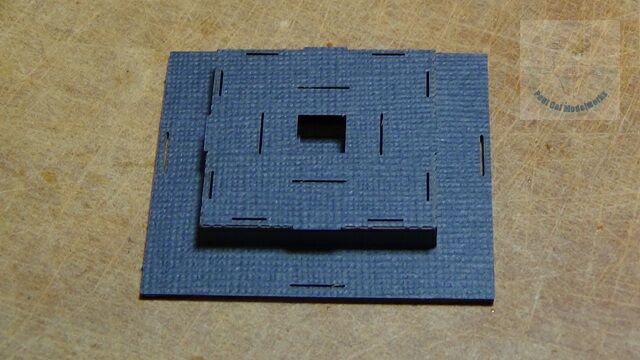
We start with the stone-colored grey foundation for the building. These will form the platform upon which the rest of the building sits on.
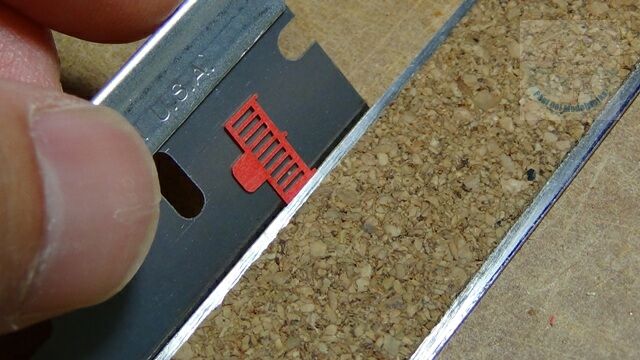
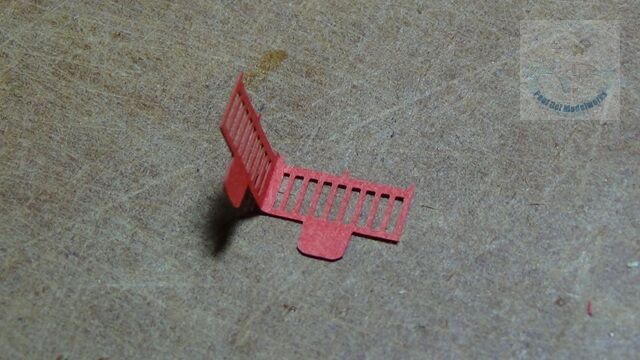
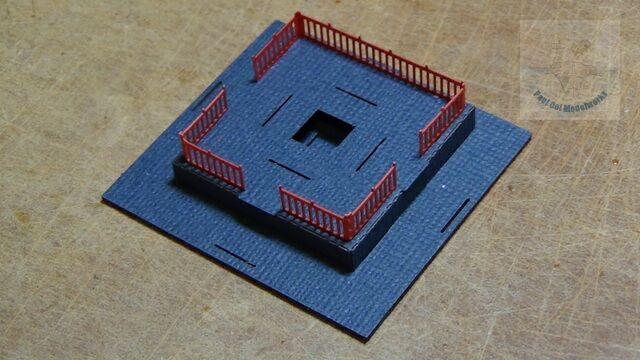
The red railings around the base are very nice and delicate, so they need to be handled and formed carefully. In order to get a crisp sharp fold without tearing the part, I use two razor edges to form the 90 degree fold. These are then inserted into the previous grey base.
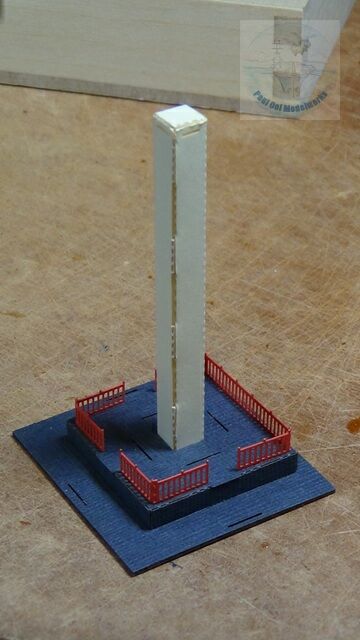
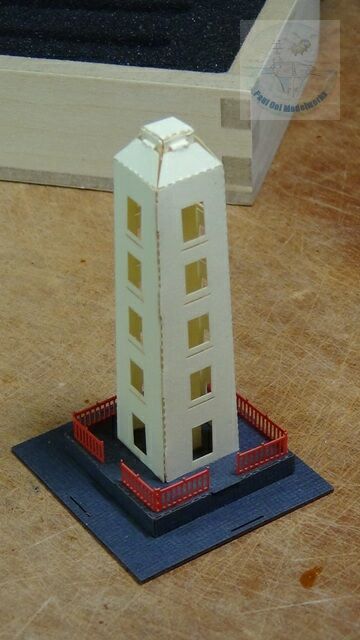
Next comes the center structures, first a narrow square tube that fits into the square hole in the grey base, followed by the tapered out walls of the pagoda. These two items must be correctly perpendicular to the base or the entire structure will have a lean that will be hard to correct later one (think of the Tower of Pisa).
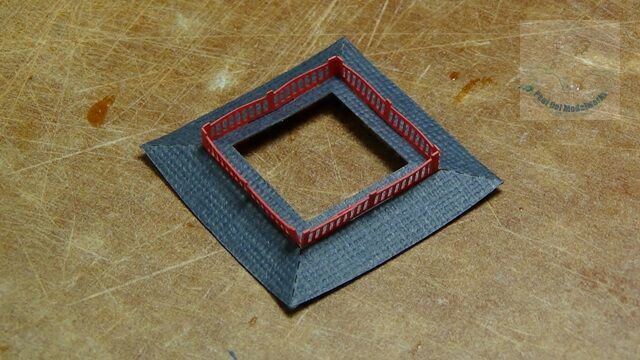
The first floor’s roofing is made, with the corners carefully pinched by hand to form the curved eaves line. A set of red railing crowns the roof. This step is repeated 3 times over.
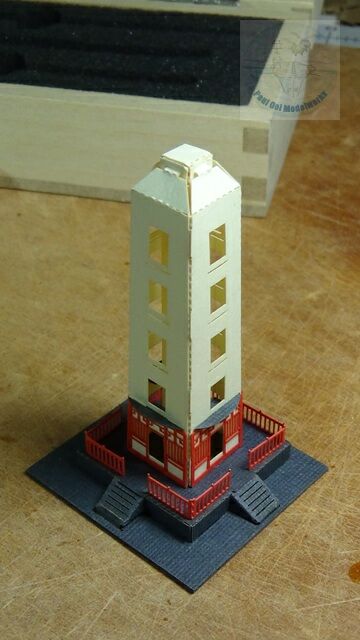
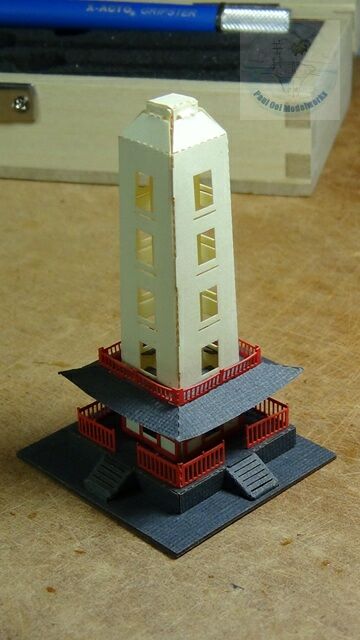
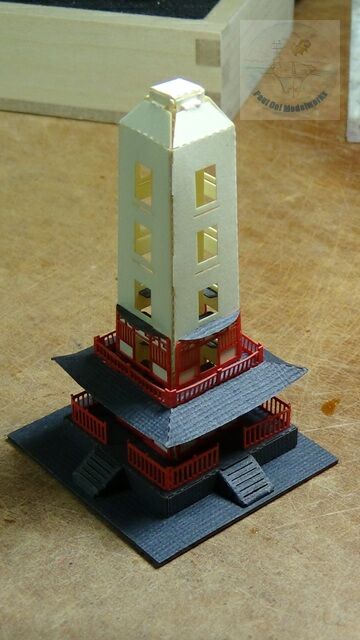
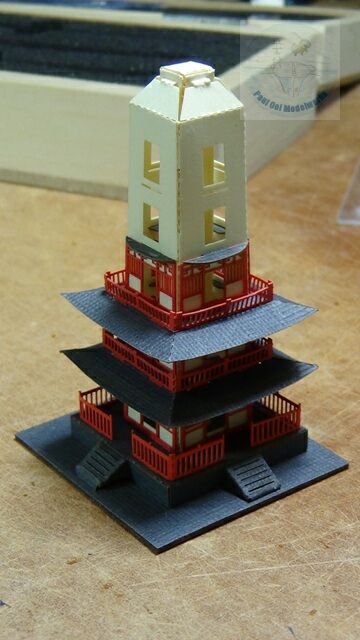
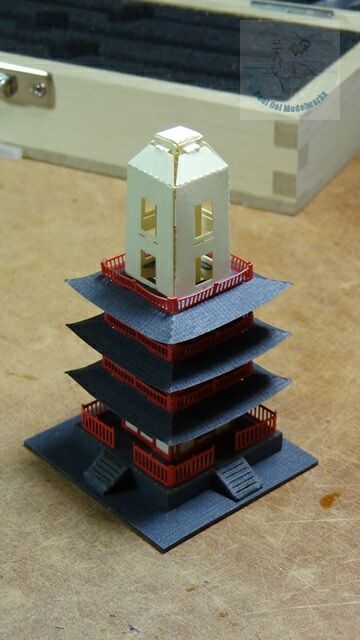
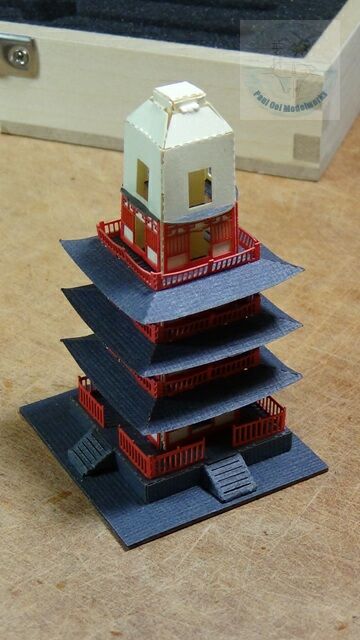
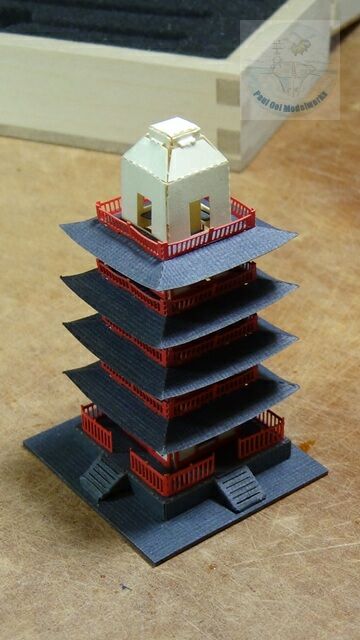
At each level, red laser cut patterns of each wall is applied onto the white walls, roof carefully inserted. As each layer of roof is added on, I check to make sure that they are evenly spaced and aligned parallel to the other roof layers.
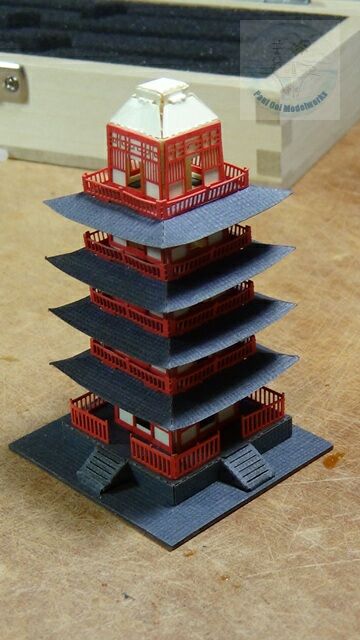
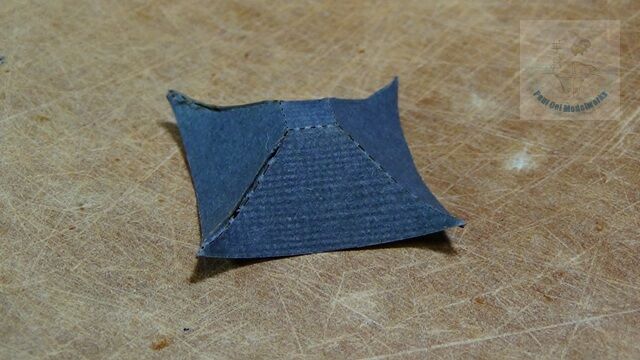
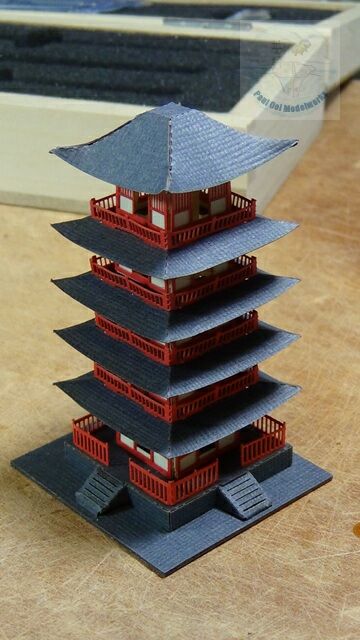
At the fifth and last level, I had to be extra careful as the last roof is most prominent and curviest of all. That roof was fromed by pinching the corners and also gluing the relief flaps along the ridge linse of the four roof corners.
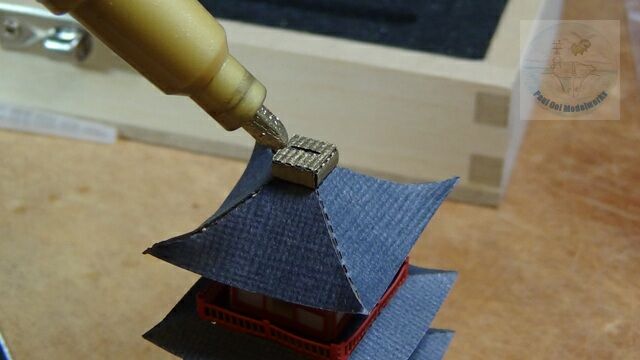
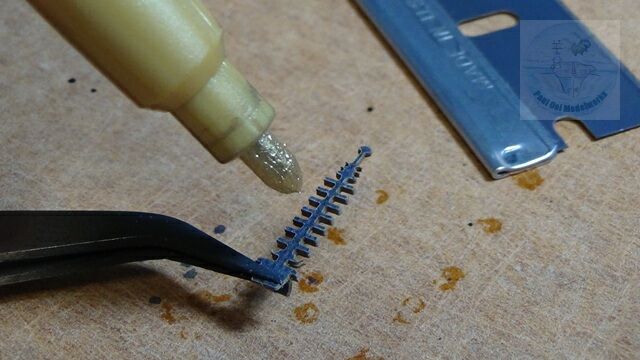
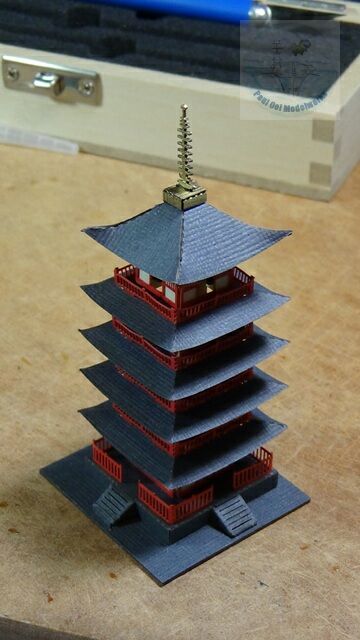
The metal sections that crown the top of the pagoda is painted in bright gold. I used Deco-Color Liquid Gold, but first I checked to make sure of its compatibility by testing on a scrap piece of the kit’s colored card. After this, the pagoda itself is complete.
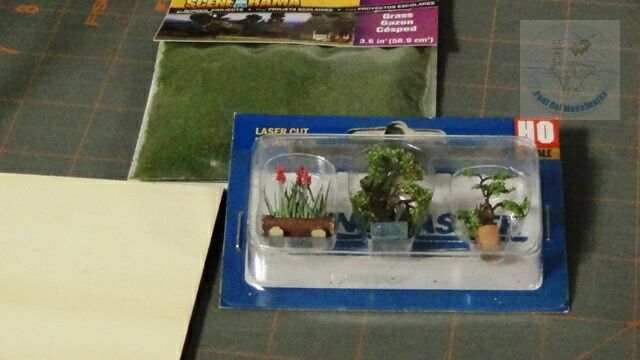
To build the base, I use a 3″ square plywood base, some miniature trees from Walther’s HO Scale series, and Scene-a-rama green grass powder.
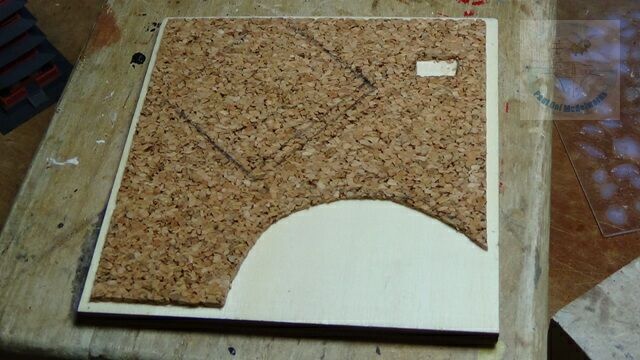
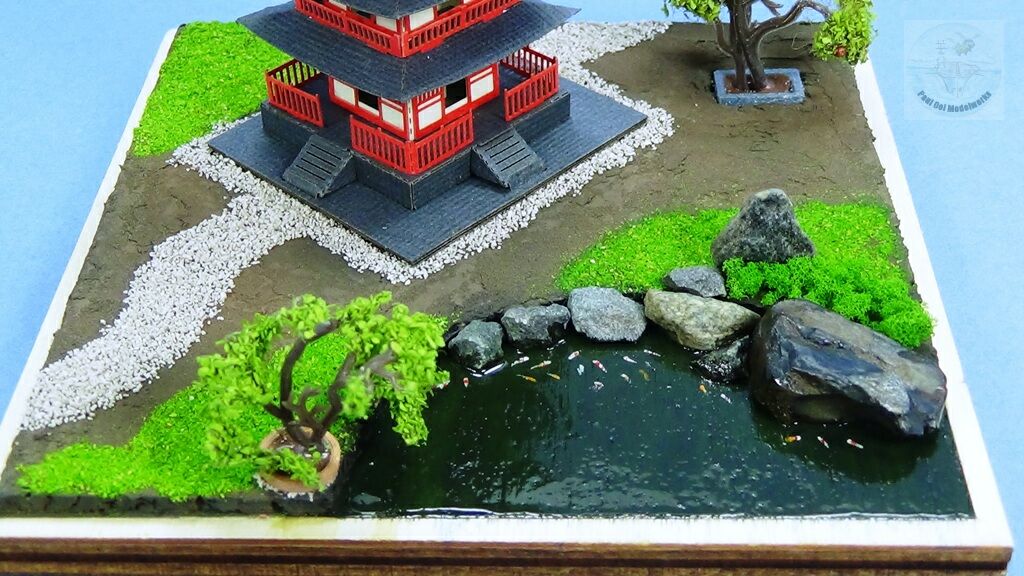
To create the lake shoreline, I measured and cut a piece of cork sheet material (can be found in hobby and hardware stores), penciled in the shoreline and cut it out with a pair of scissors. Using all purpose white glue, the cork sheet is glued onto the base and pressed flat.
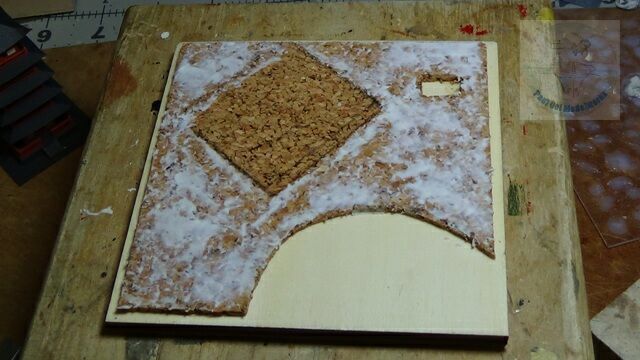
To create a proper scale effect without too many holes in the “ground’ caused by the cork’s surface, I spread an even layer of dry wall plaster, making sure to keep the building’s square foundation area free of plaster.
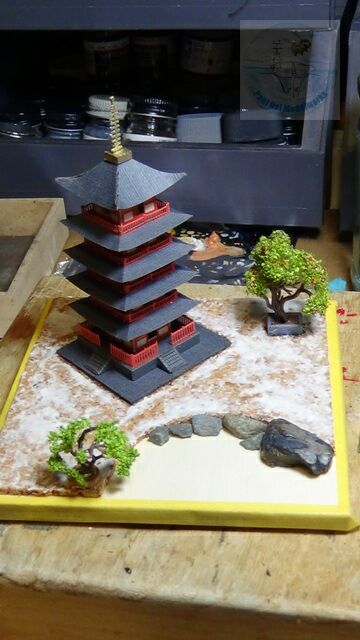
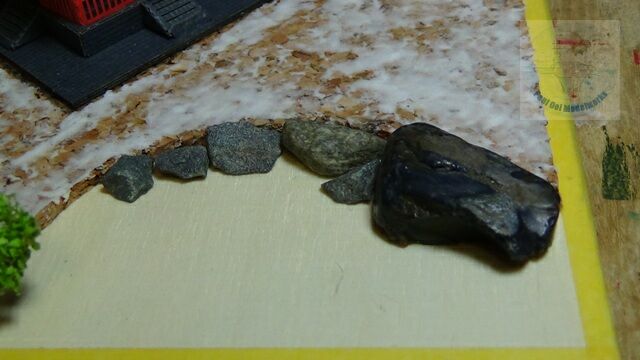
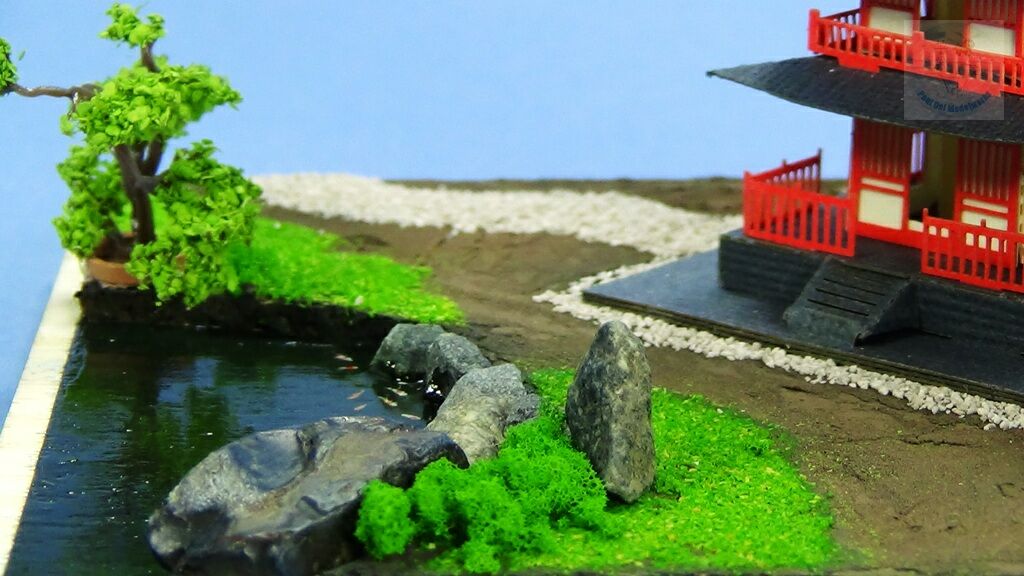
Once the plaster is dry, I arrange the main parts of my diorama composition for the best effect. This is a very important step since Japanese gardens are arranged with a triangular perspective formed by the three highest objects viewed from any angle. I also arranged the rocks for the most natural looking effect around the lake shore. The stones came from the smallest river pebbles found in my rock garden.
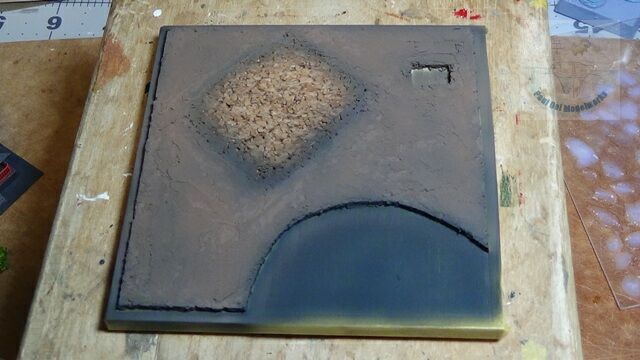
The base is pre-shaded in Tamiya XF-69 NATO Black, and then highlighted with Tamiya XF-52 Flat Earth.
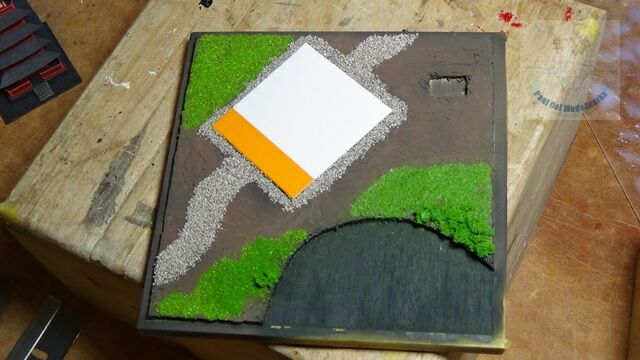
Masking off the building’s foundation area, I apply grass powder and then fine talus for the gravel paths. First I apply diluted white glue (3:1 glue to water) with a brush along the desired area, then I sprinkle the landscape media (grass or gravel) and shake off the excess. I work on small areas at one time so that the glue mix does not dry off. To remove some of the stubborn excess, I use a small cleaning brush. The base color for the lake is Tamiya XF13 Japanese Army Green.
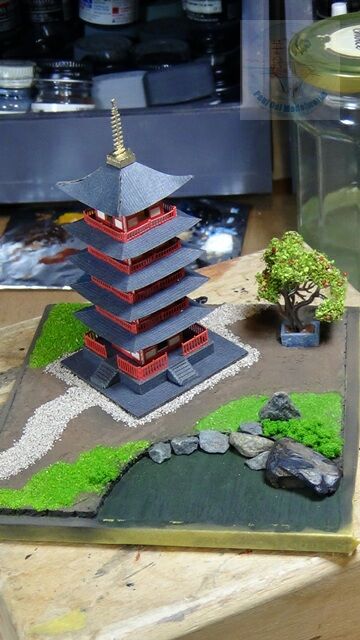
The building, rocks and trees are attached to the base.
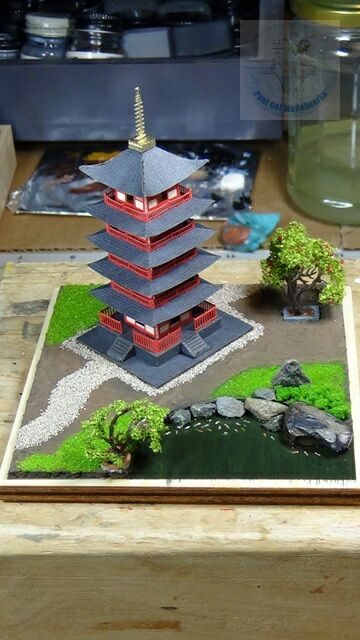
For the final touch, details are added in the lake like the tiny schools of carp using flecks of white, red, and orange. The lake itself is given a high gloss glaze of polyurethane varnish.


[…] The little Japanese pond is carefully lined with river pebbles. Originally I had intended to construct a miniature Japanese stone lantern, but when I found this unique piece of river pebble with a basin. It looked like a perfect Japanese stone basin. For finishing the pond, please refer to the technique used in Japanese Five Story Pagoda. […]