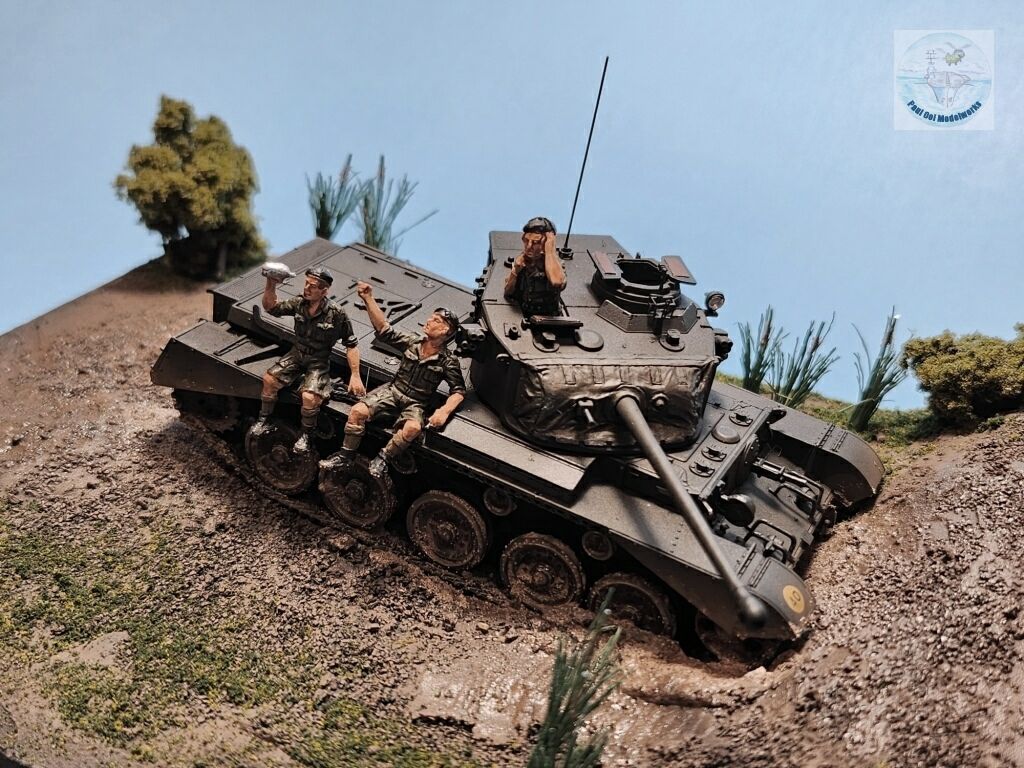
The British Comet tank was a stopgap design between the Cromwell cruiser tank and the Centurion, the latter was meant to be the “Tiger Killer”. The Cromwell’s initial 57mm gun was not able to cope with heavier German armor like the Tigers and Panthers, and attempts to fit the Vickers 75mm HV into the Cromwell turret failed. The Comet used the same Cromwell chassis with a newly designed turret in 1943 that could fit the 17 pounder (76.2mm) HV gun. This resulted in a well-balanced battle tank that retained the mobility of the original Cromwell design with a hard hitting weapon. After the war, Comets were used in the Korean War, the Cold War in Europe, and also to defend Hong Kong in the 1950s from encroachment by Mao’s Red Army.
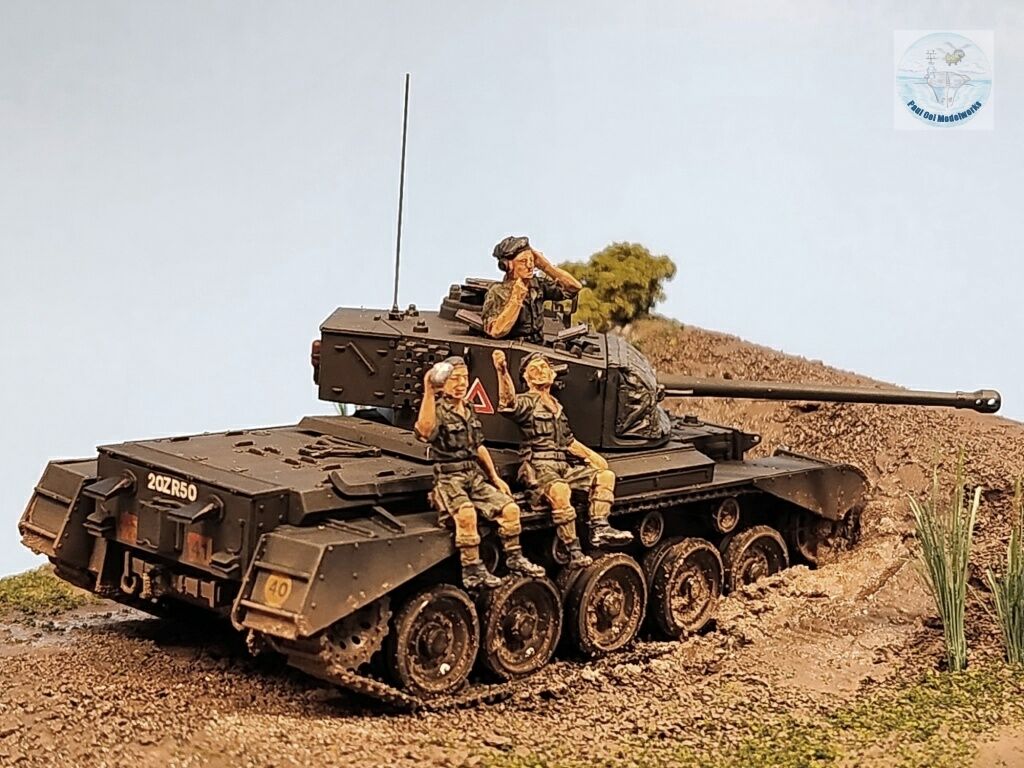
This diorama is based on a photograph of the same title from 1957, with the 3rd Royal Tank Regiment going through their field exercises in the New Territories near the Sek Kong Camp. The (then) rural areas of the New Territories were a patchwork of farms, bushland and villages. There were few good roads, and the fields were often soggy and after some heavy military traffic, would dissolve into mud pits, such as this one that the tank sank into. The radio operator is busy trying to get a recovery crew to pull the tank out, while the rest of the crew took some quick R&R. Maybe the radio guy would have better luck getting the local farmers to hitch several water buffaloes to get them out instead!
Gallery
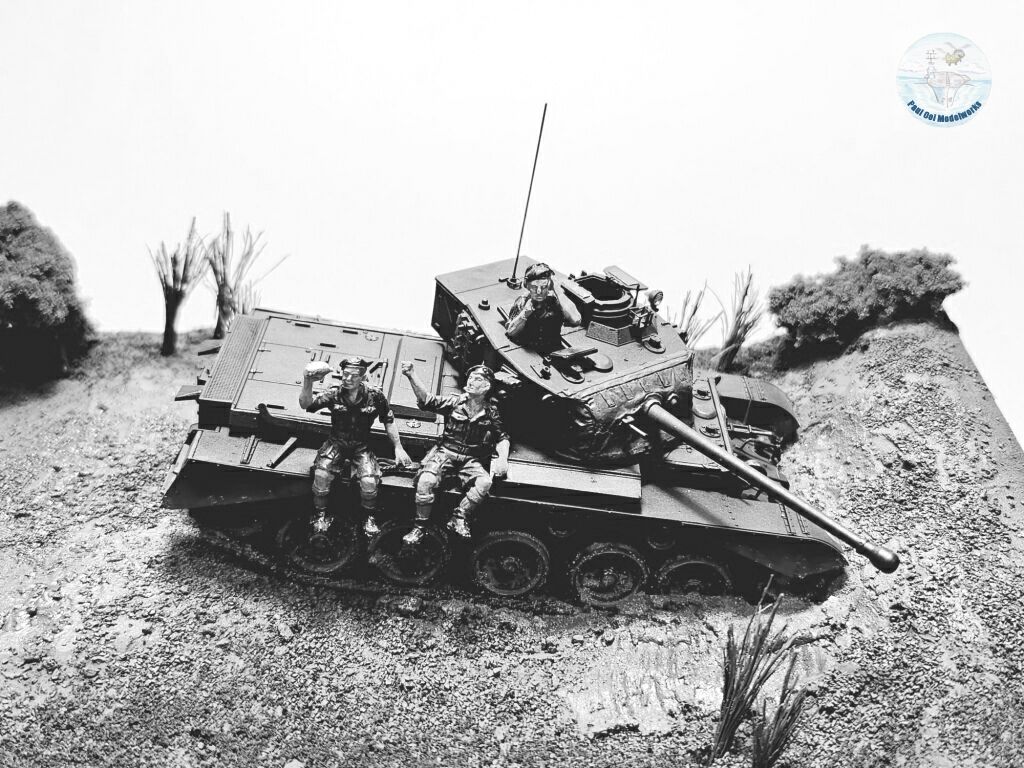
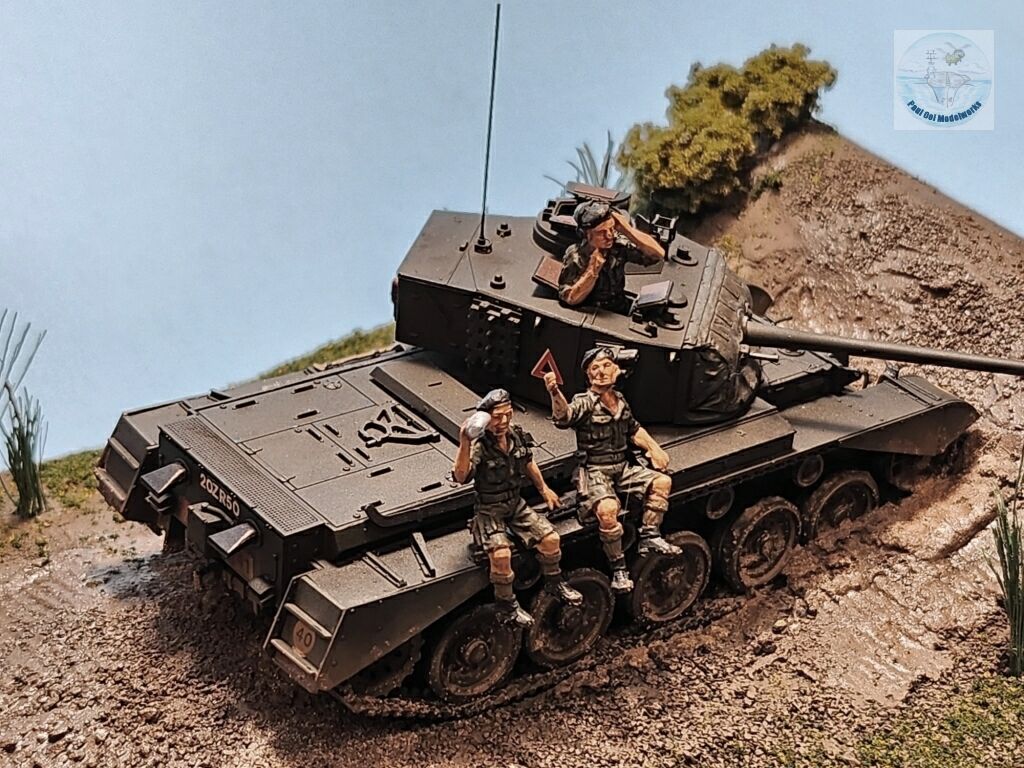
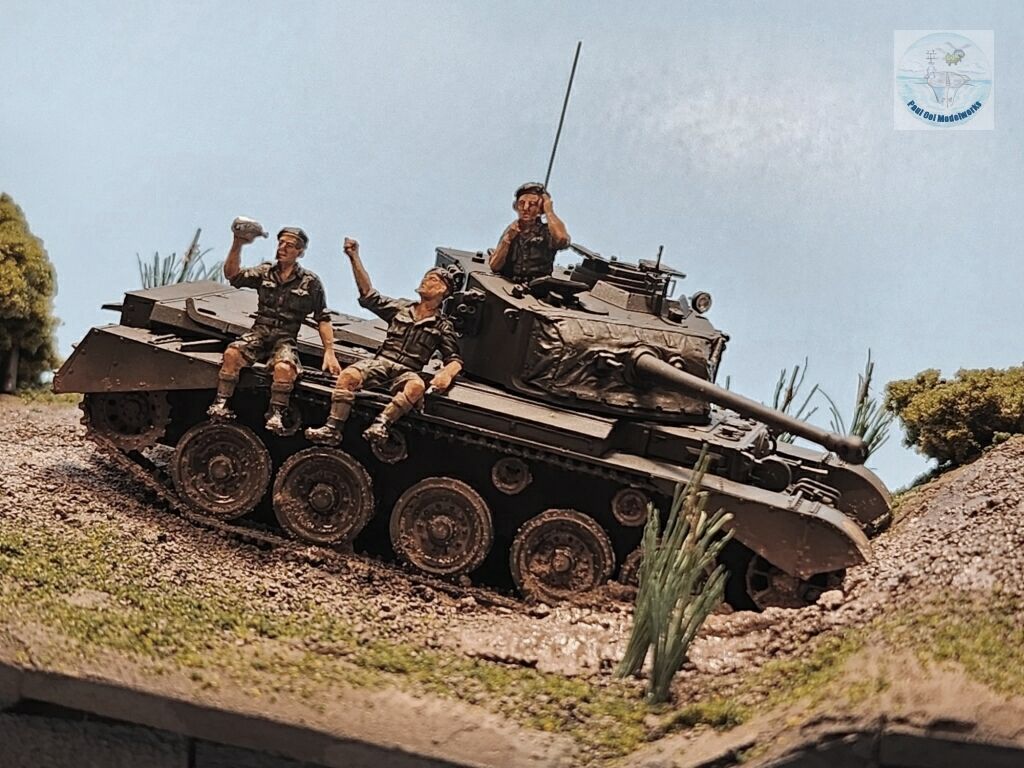
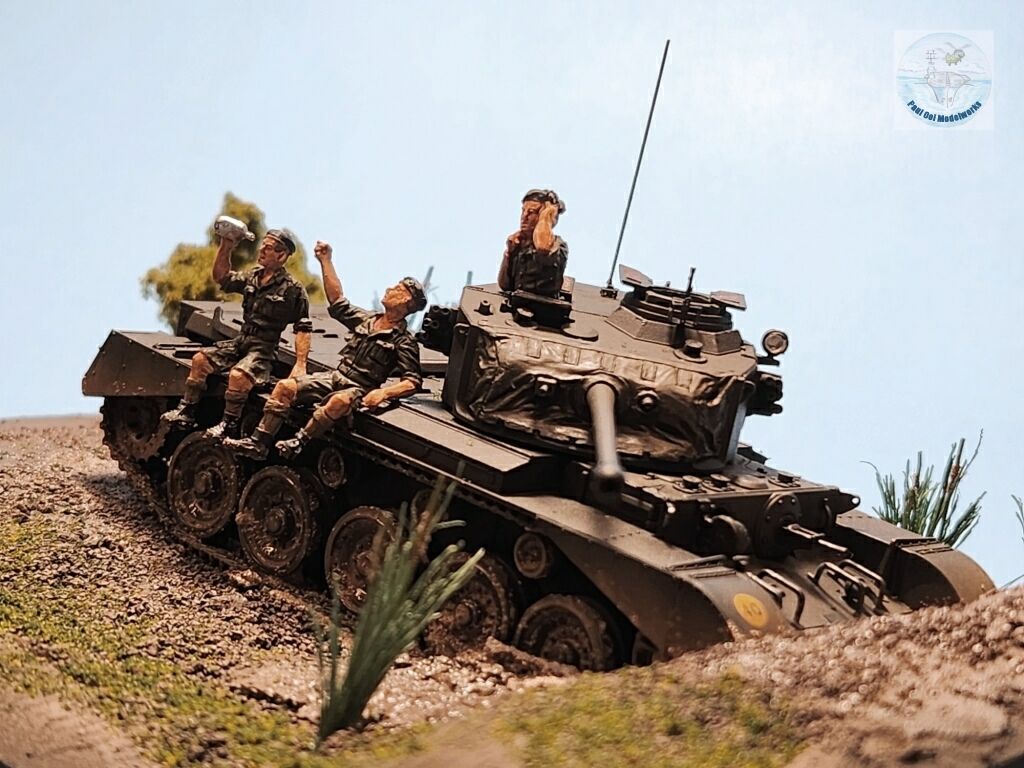
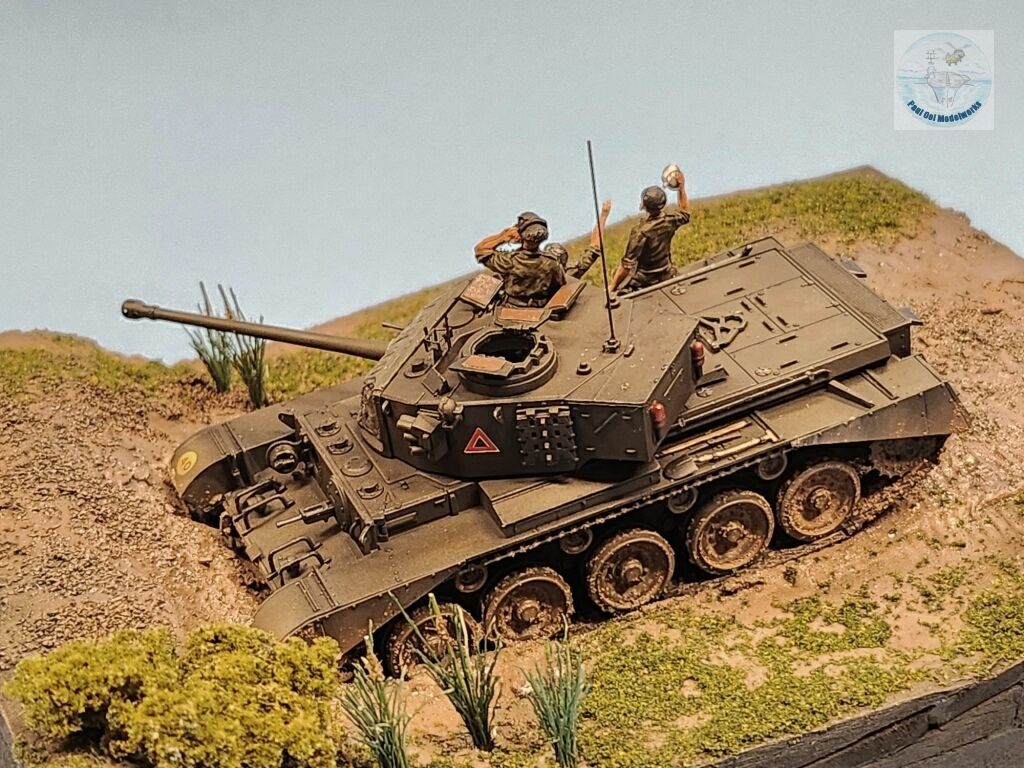
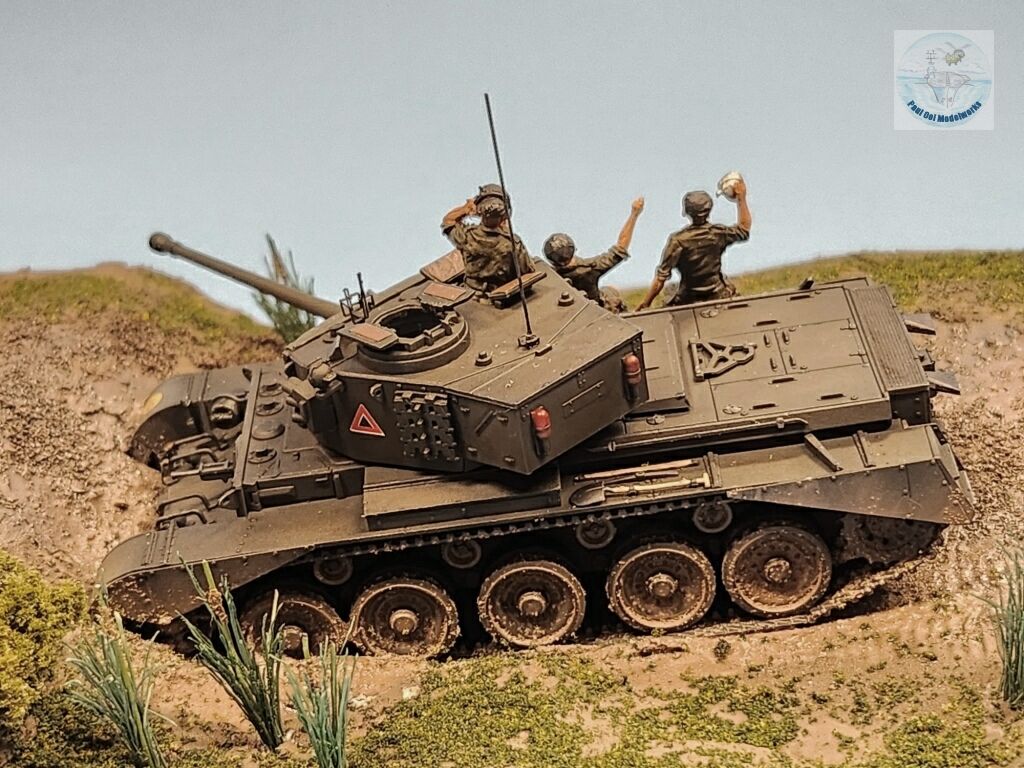
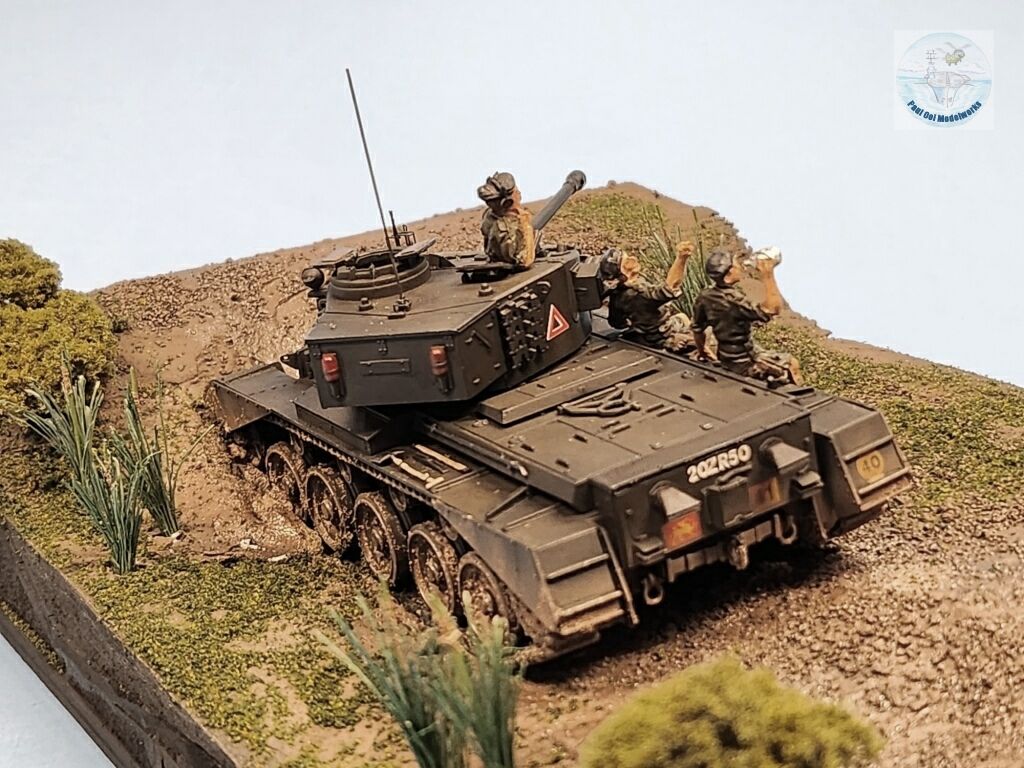
Construction Notes
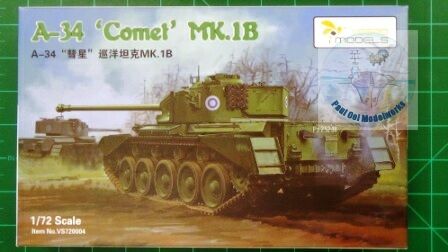
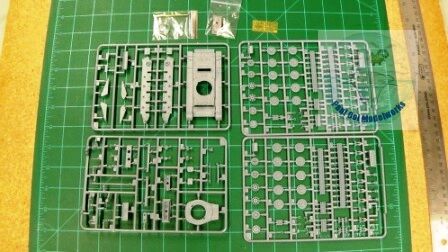
Until recently, the only 1/72 Comet kit that I know of was the venerable Matchbox from the 1970s. Recently, Vespid Models released two versions of the Comet with new slide molds, a photoetch fret, an alternate resin turret mantel piece and a turned brass barrel (rich!). Decals were provided for the British Army in post-War Germany, Hong Kong, and also the the Finnish Army in the 1960s. The fit was very good, and the decals are of good quality although slightly off-register for the unit marking. I have bought a second version for a WW2 vignette in the future.
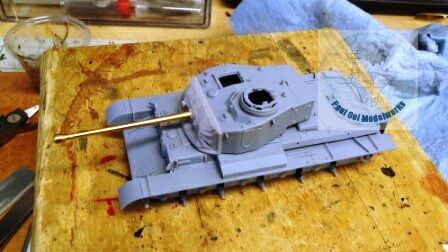
The assembly process went very fast as the parts fitted together easily. I left the hatches off because I was going to position them opened.
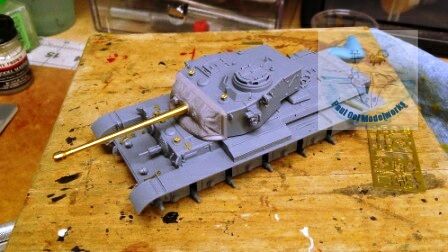
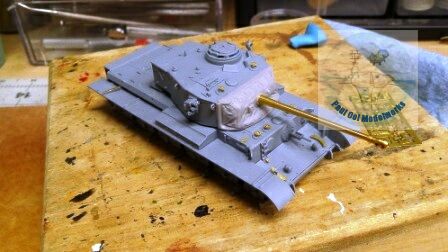
The hatches are temporarily attached with blu-tack form the inside, and all the fiddly little bits of photo-etched details are assembled. Now the hull and turret are ready for painting.
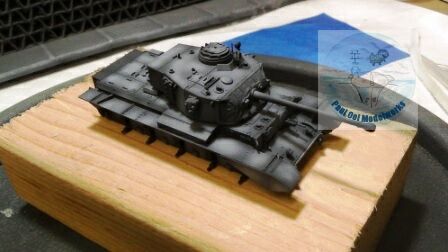
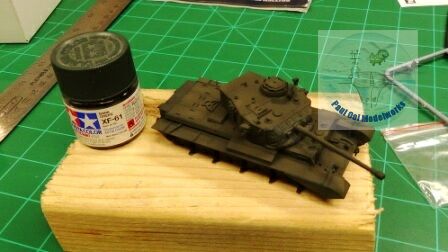
I use my usual AFV undercoats of Tamiya NATO Black, followed by highlights in Tamiya Sky Grey. The next layer is Tamiya Dark Green XF61 which is the closest to the British Deep Bronze Green.
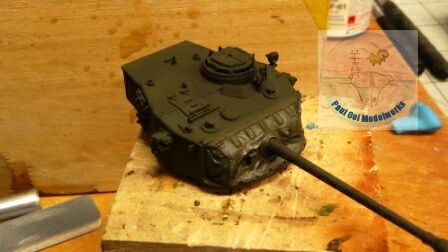
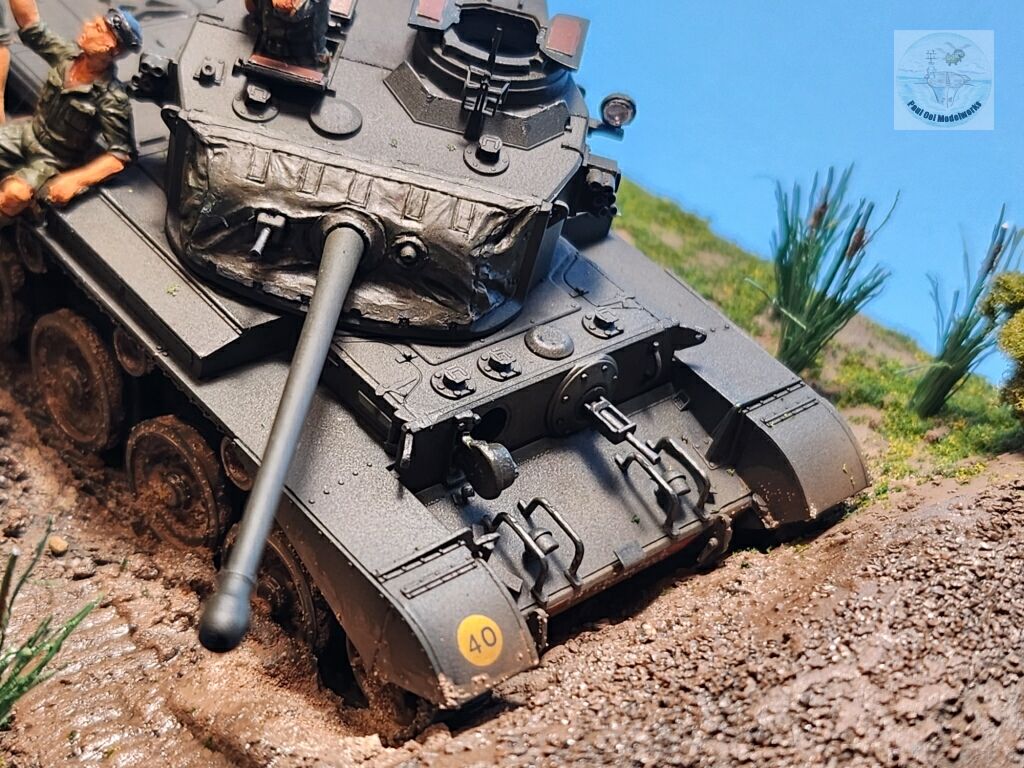
The canvas cover for the gun mantlet was painted with a mix of Tamiya Khaki XF49 + Dark Green XF61 in a 1:2 ratio. Then I used Zinc White oil paint mixed with Burnt Umber for the fabric highlights, and a wash of Burnt Umber + Lamp Black.
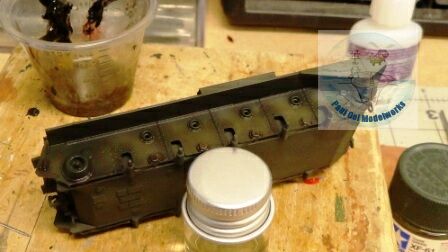 Before assembling the roadwheels, I gave the chassis area an oil wash of Burnt Umber + Lamp Black.
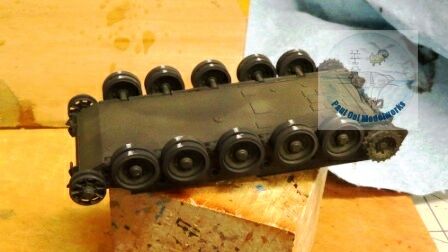
Roadwheels and sprockets attached.
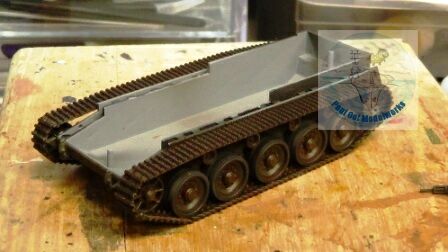 The multipiece tracks are installed. For the technique used for this type of track installation, see Tutorial 10 on Multi-Piece Track System. The tracks are painted with a base of Tamiya NATO Black, highlighted with pencil lead, and given an oil wash of Burnt Sienna.
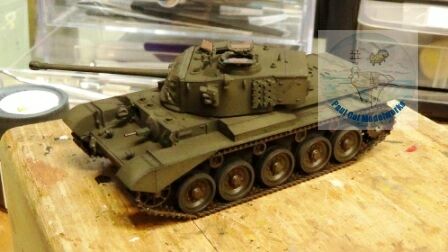
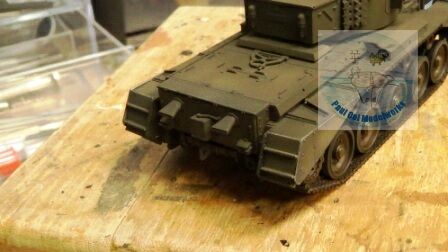
The upper hull piece and turret an now be permanently installed onto the chassis. Rear fenders are added shortly after.
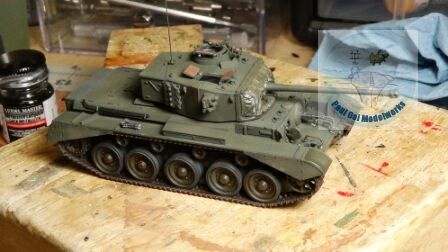
More small features like the lamp guards and tools are added. Areas for decals are pre-coated with a gloss decal prep layer.
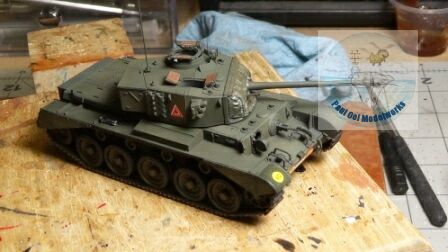
Decals for the 3rd RTR, Squad C are applied. The decals go on very nicely.
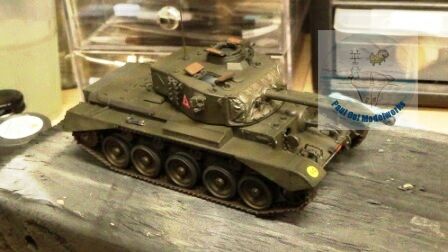
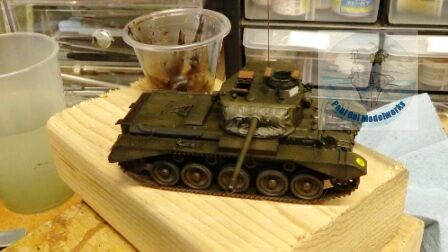
The decals are sealed under a satin varnish layer. After 24 hrs, I applied an oil wash of Burnt Umber + Lamp Black. The tank underside and road wheels are weathered with Tamiya Flat Earth.
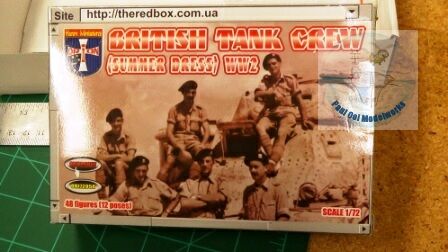
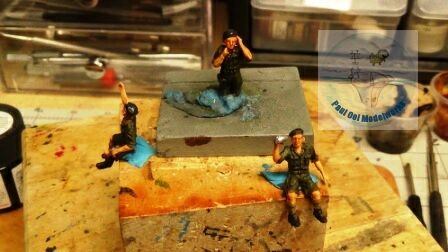
Meanwhile, I painted the 1/72 tank crew figures in summer uniform. These are pretty close to what they were still wearing in the 1950s in Asia. The uniforms are in tropical green with khaki socks and black berets.
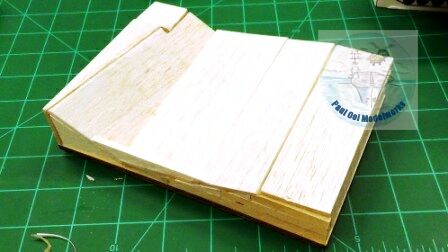
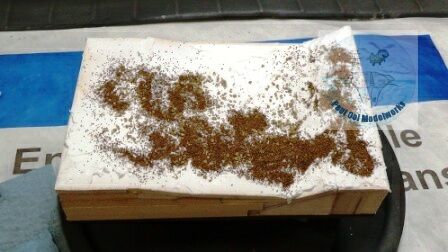
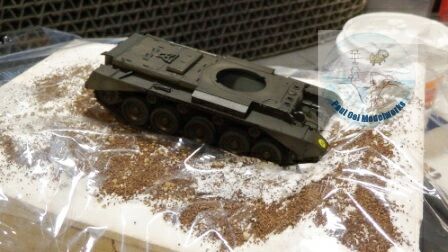
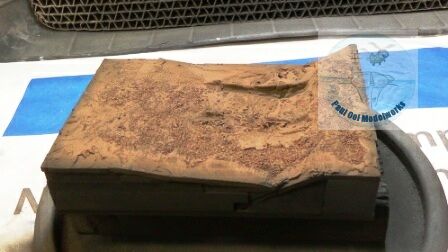
The base terrain is constructed from bass and balsa wood. Once the plaster is applied, the base is covered with a kitchen wrap film, imprints of the AFV taken, and then once the plaster hardens, it is spray painted with Tamiya Flat Earth.
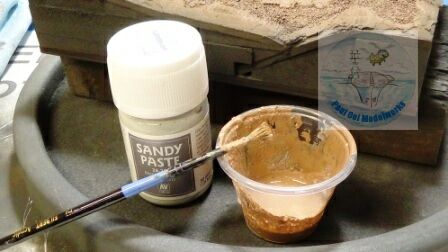
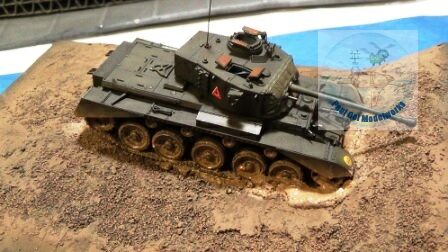
I mixed a batch of “mud” made from Vallejo Sandy Paste and Tamiya Flat Earth. Once the tank has been fixed into the cavity, the tracks are carefully plastered with the “mud”.
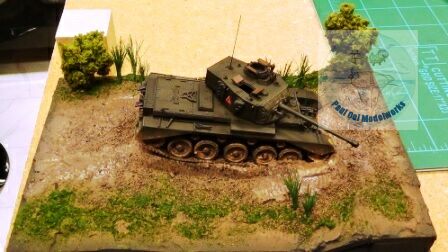
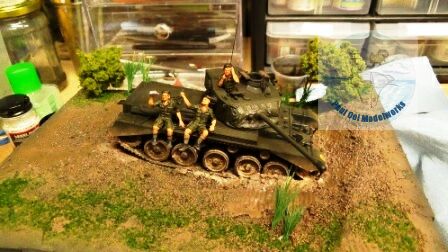
Grass powder and foliage are added with white glue solution. The figures are added last. Now, where are those water buffaloes when you need them?


[…] 1/72 Vespid Comet Mk. 1A kit is almost identical to the one that I recently built except that it had the WW2 decals and (to my regret) did not have the shrouded gun mantel resin […]