
High Plains Con 2019 Gold Medal 1/72 Soft Skinned Military Vehicles
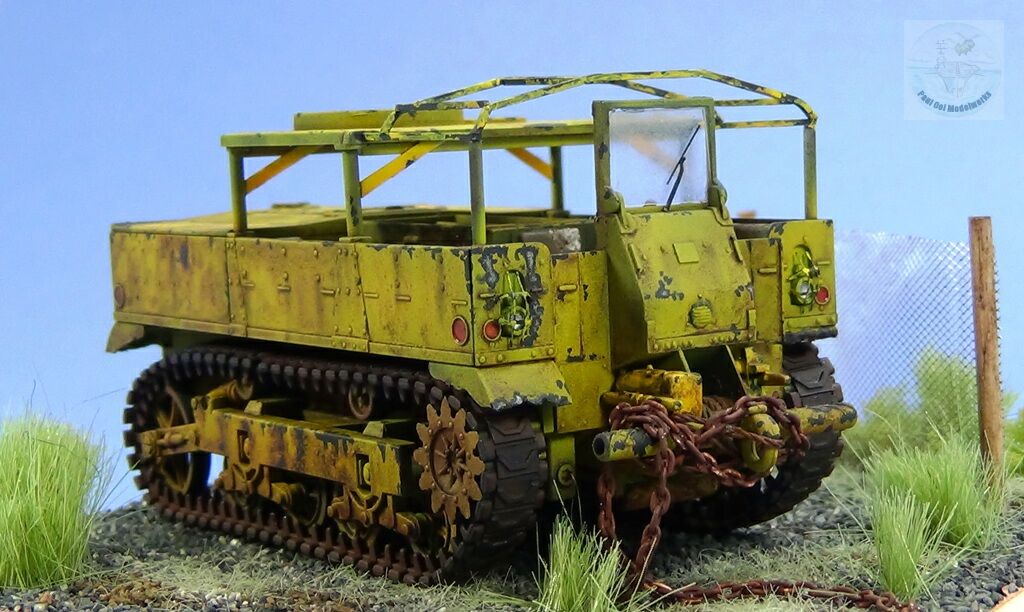
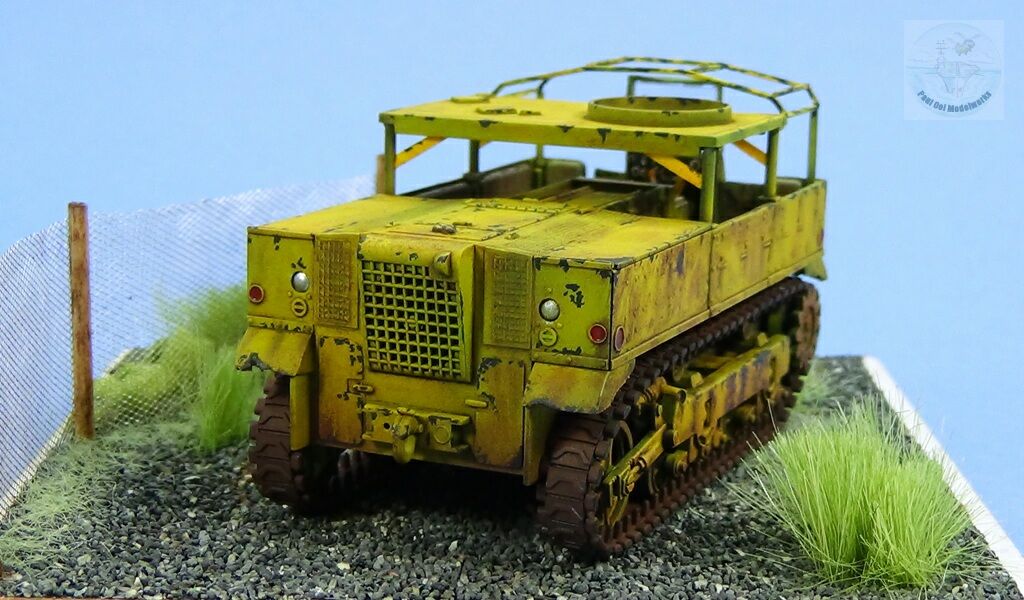
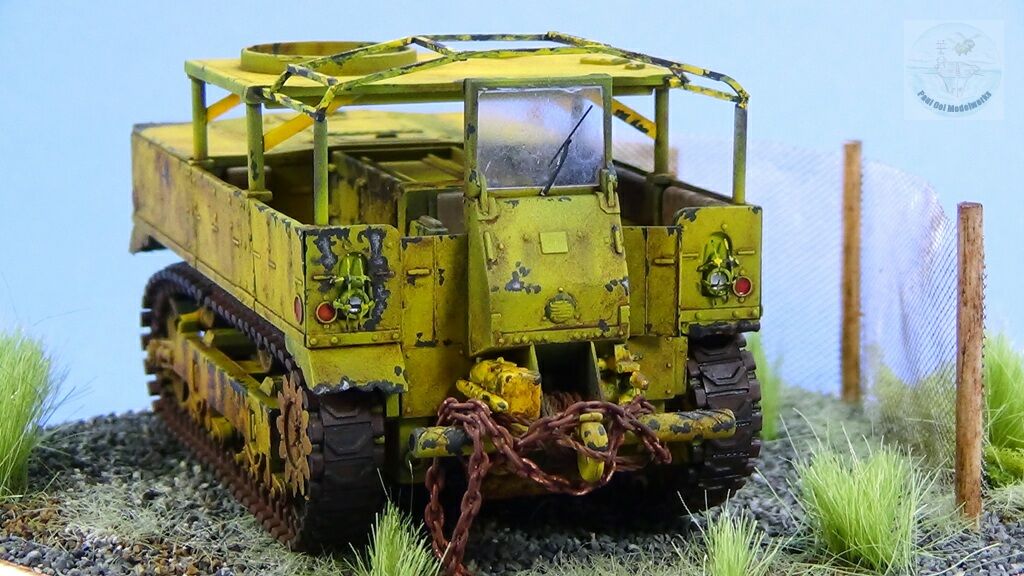
The M5 High Speed Artillery Tractor was introduced in September 1942 specifically to be able to tow very large artillery pieces like the famous 155mm Long Tom field gun at a reasonably high speed. The tractor was derived from the chassis of the M3 Light Tank and could reach up to road speeds of 35 mph on level road towing the Long Tom. The M5 was extremely tough and versatile and was often used as a general recovery vehicle when not towing artillery. Apart from its main tow hook in the rear, the tractor was also equipped with a powerful winch motor in front. Its caterpillar track configuration meant that the M5 could go to places and terrain not accessible to wheeled vehicles. The vehicle was distinct because the entry doors were situated in front.
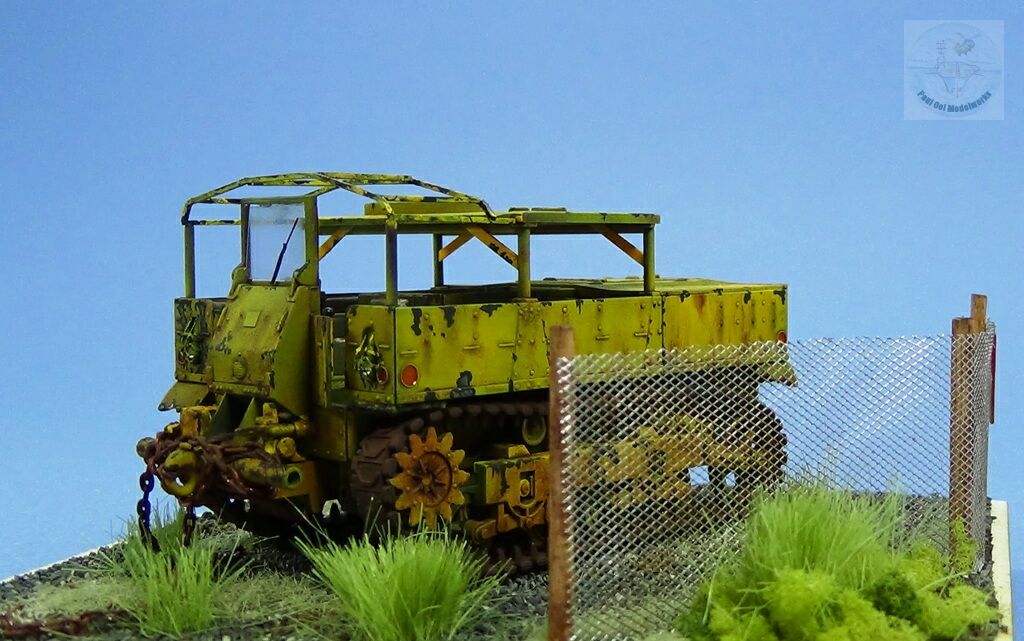
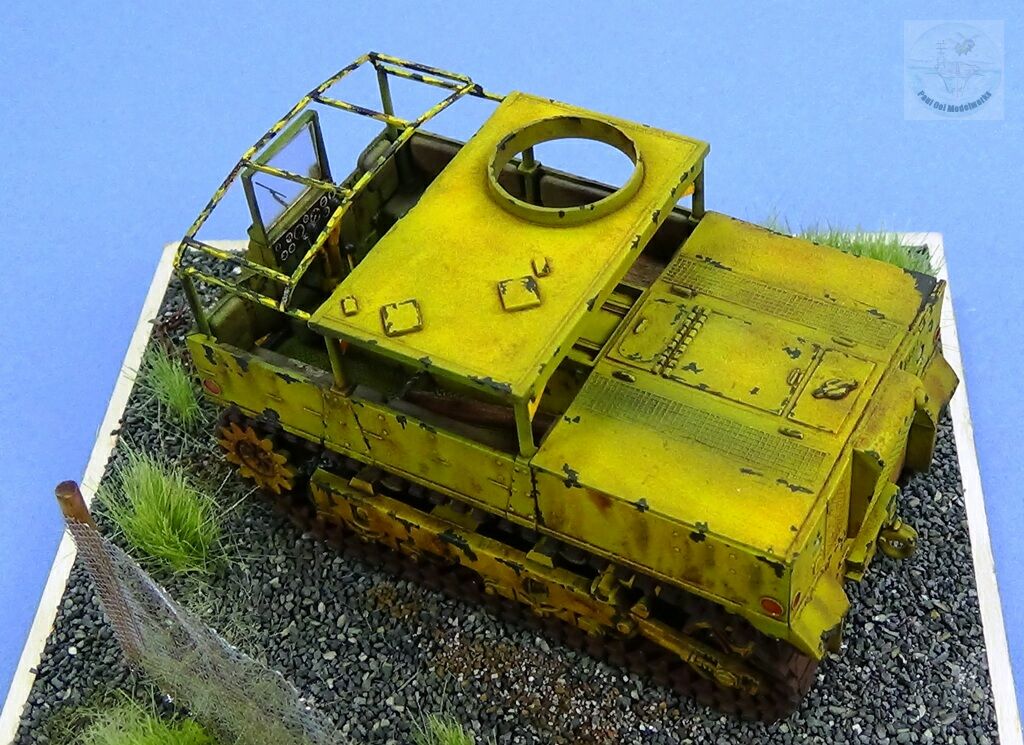
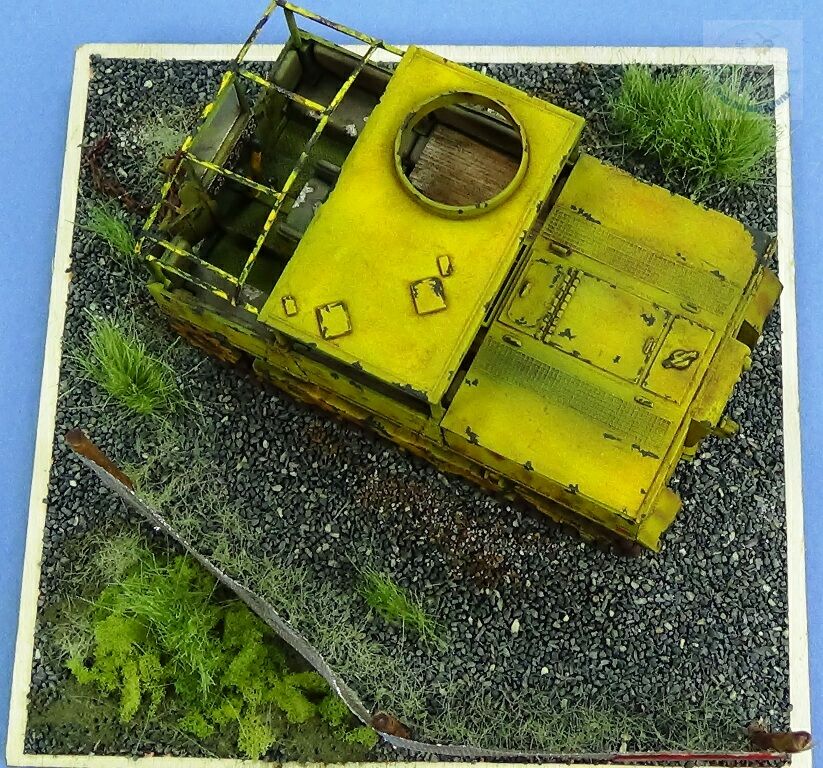
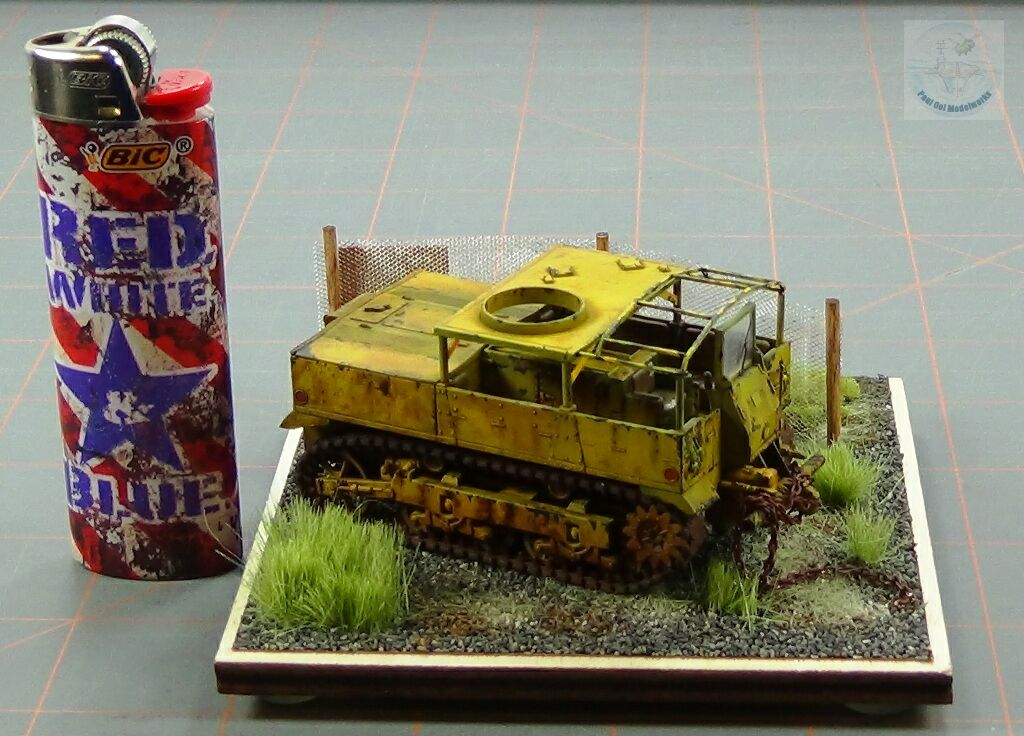
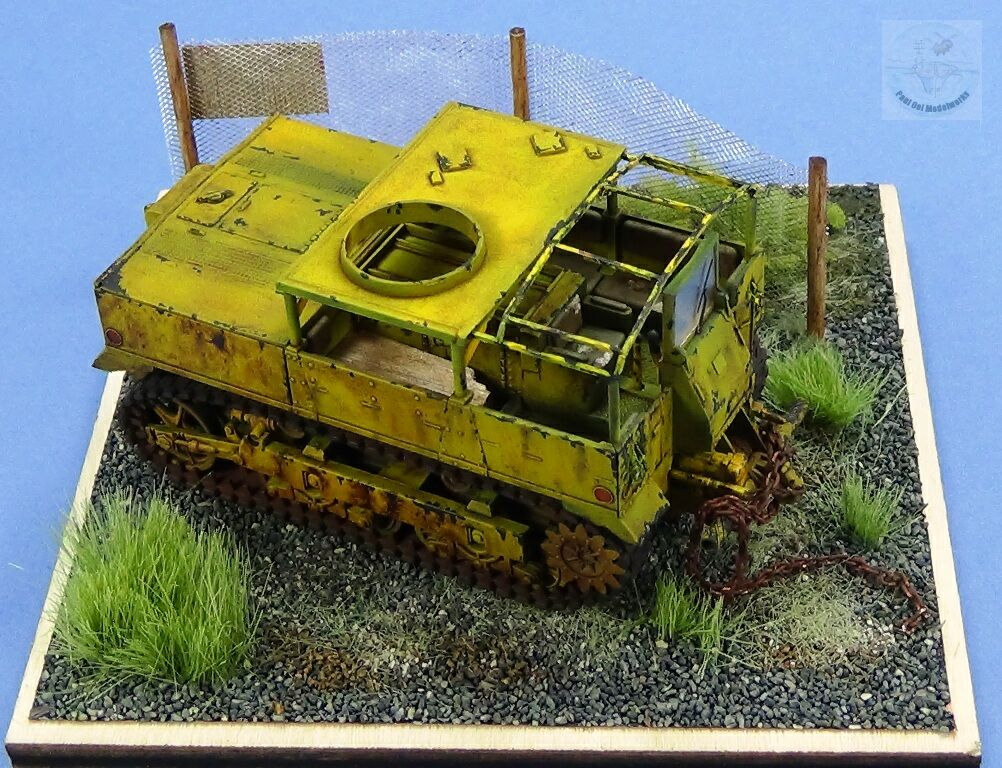
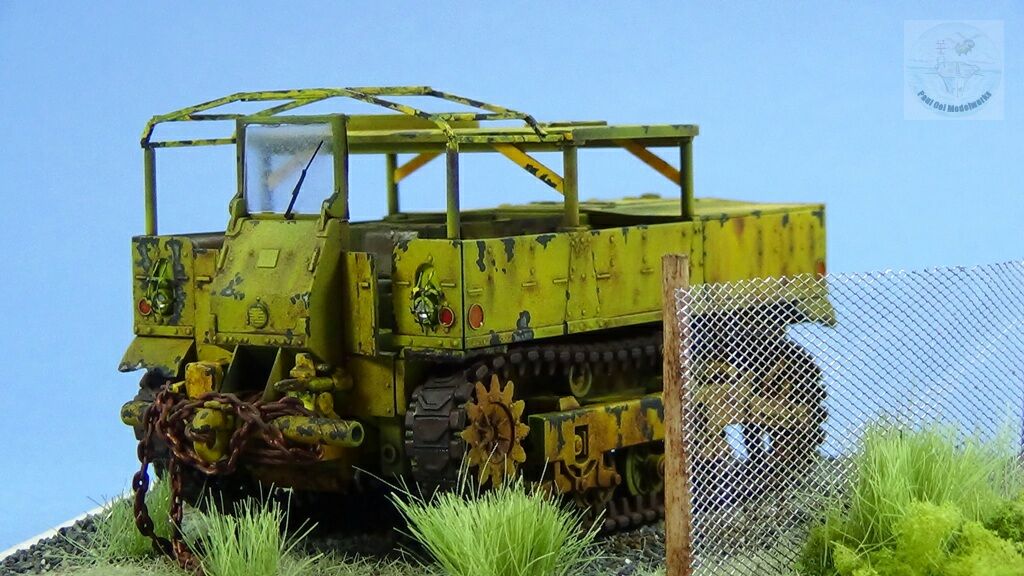
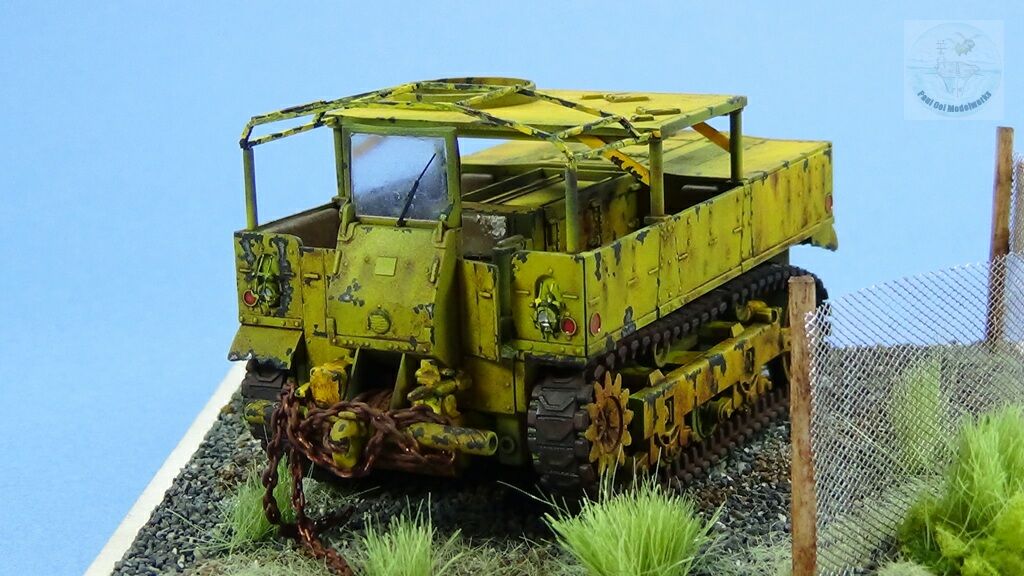
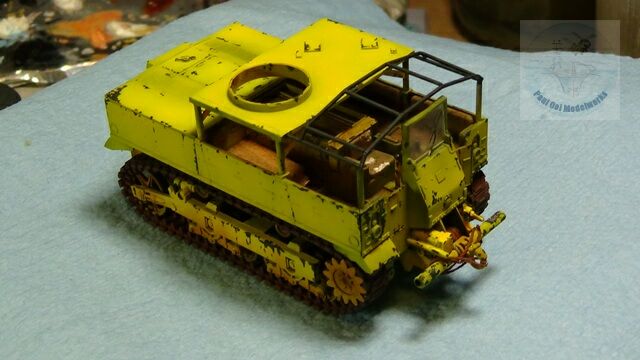
After WW2, large numbers of these tractors went on to civilian use, ranging from recovery vehicles, farm tractors, to public works tow vehicles. One of the most interesting use of these tough tractors was in logging operations especially in the Pacific Northwest. M5’s were especially useful in transporting rock drills through roads that are no more than dirt tracks and could take a lot of punishment while carrying loads of equipment. This model that I made was inspired by a photograph of a specimen from 2009 being loaded onto a transporter some where in the British Columbia. I painted it in civilian bright yellow but all heavily rusted from more than 60 years of use. I guess old artillery tractors, like old warriors, “never die, they just fade away”.
Gallery
Construction Notes
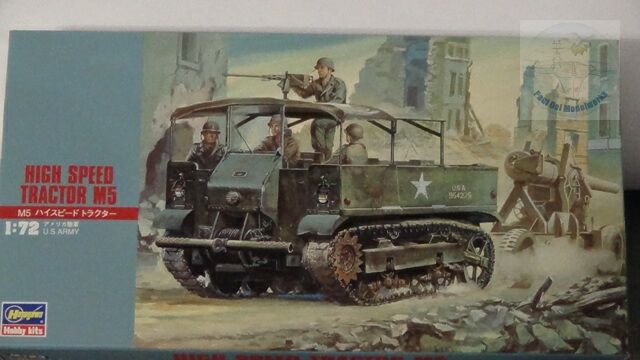
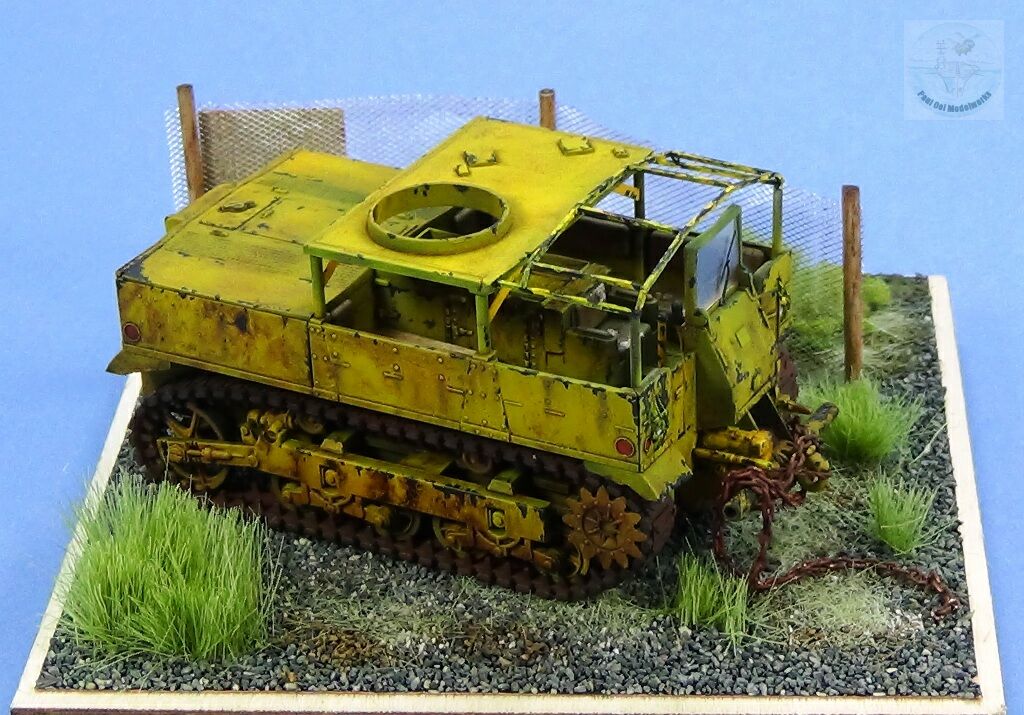
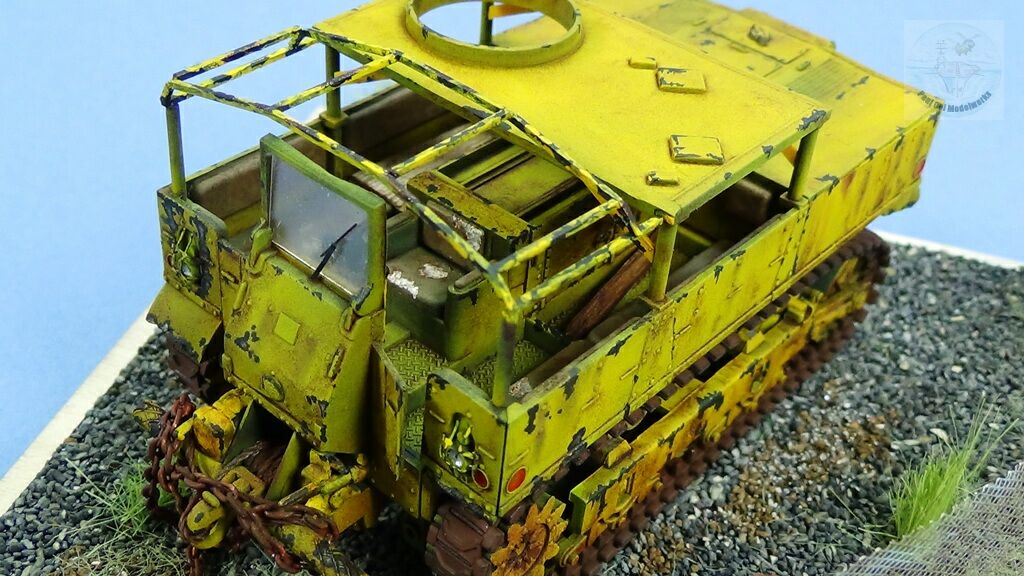
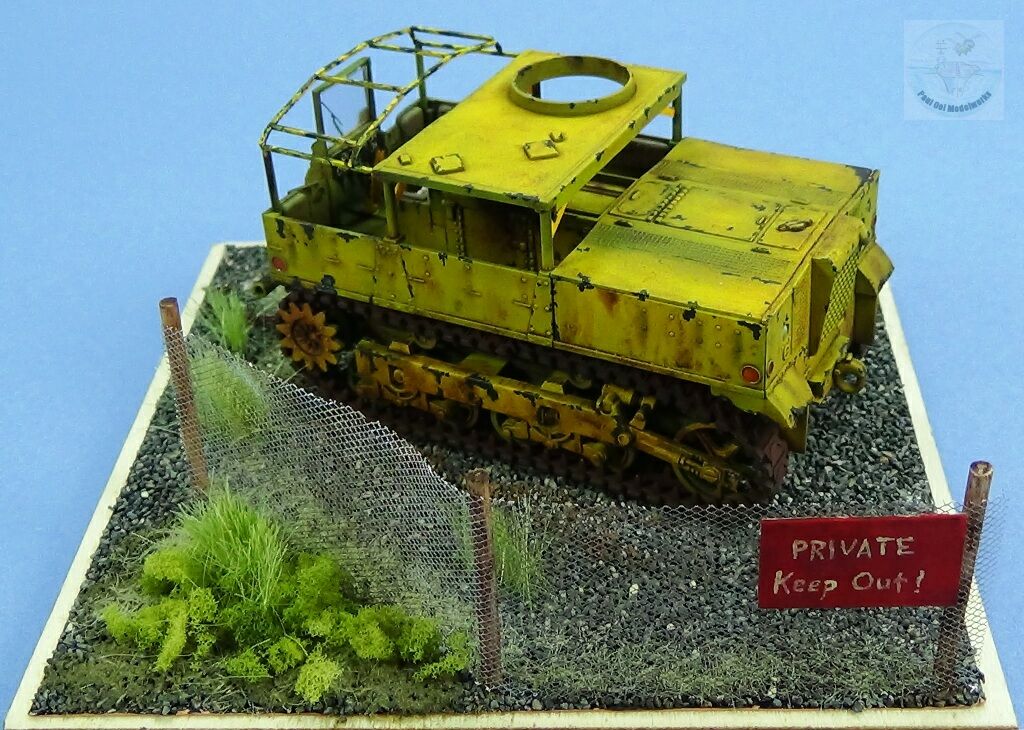
This Hasegawa 1/72 kit of the M5 High Speed Tractor has been around since 1975. I had built this kit (molded in olive drab) in 1978 without any painting and was impressed with its good fit even back then. The kit still fits very well despite being around for 40 years! I recently got interested to build this kit again after seeing pictures of abandoned M5’s in the US and Canada after having served as farm or utility tractors for more than half a century. Because of the functionality of the tractor, they were found in many civilian sectors after the war. I wanted to show an old beaten up specimen sitting in an empty lot, rusting away. This is a special challenge because I get to pull all the stops on extreme weathering. Since the tractor has an exposed interior, weathering has to be extended to the seats and metal surfaces there as well.
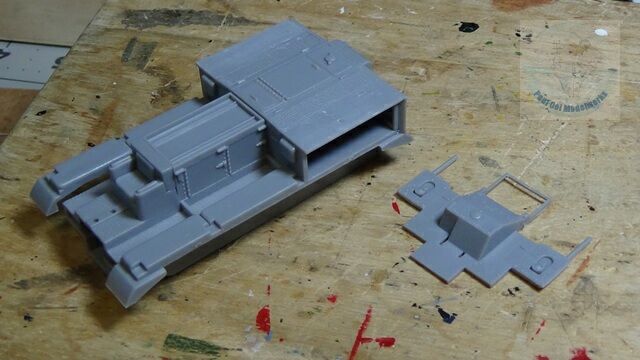
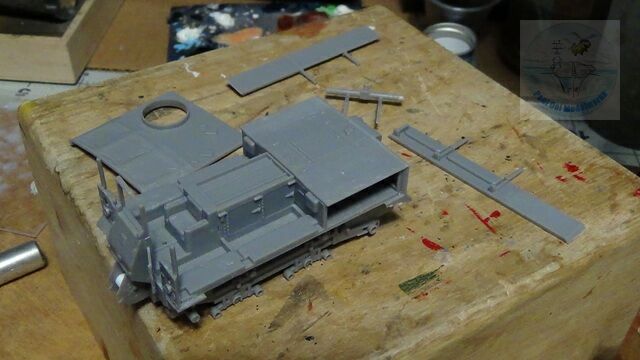
The construction of the main structure is relatively straight forward. I left the two sides off so that I will be able to paint and weather the central transmission and engine compartments.
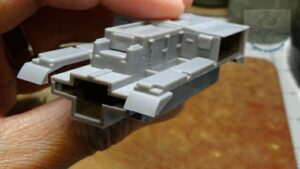
The weathering of the vehicle starts right away. Here I have machined away the entire front left mudguard to simulate a missing one.
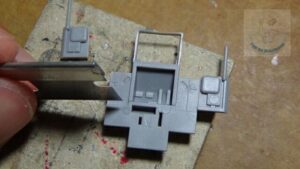
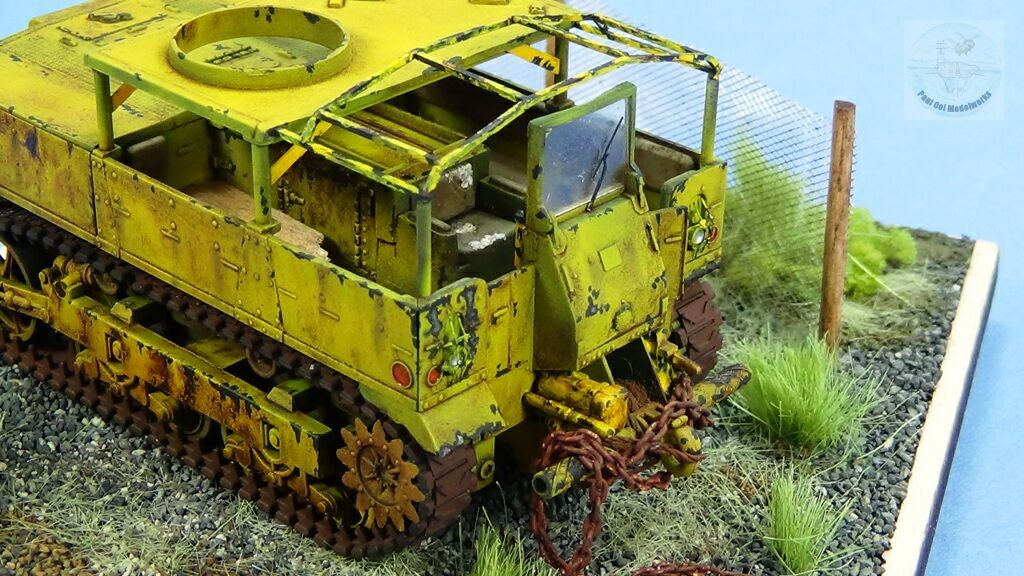
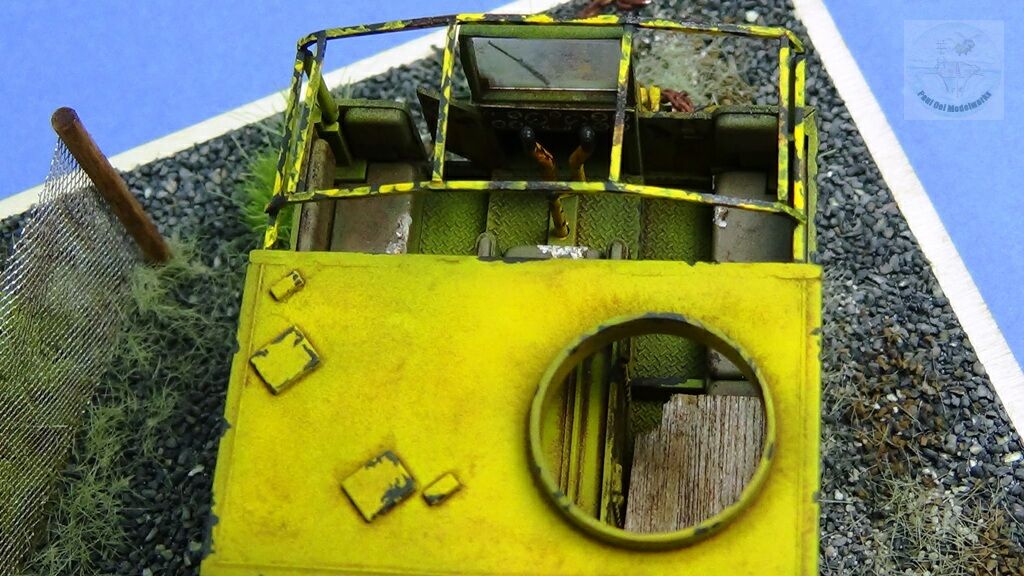
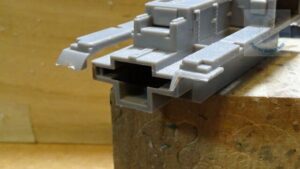
I also wanted to leave of one of the front doors ajar, so I started by cutting the front façade apart very carefully. Then I scored the “hinge” area of that door just enough to allow it to be bent to an open position. Note also that I have replaced the winch hub with a plain plastic stock so that I can attach silver plastic string to simulate steel cable later on.
I also used my Dremel tool to grind holes into the seat cushions. All the sub-assemblies are cleaned up for painting.
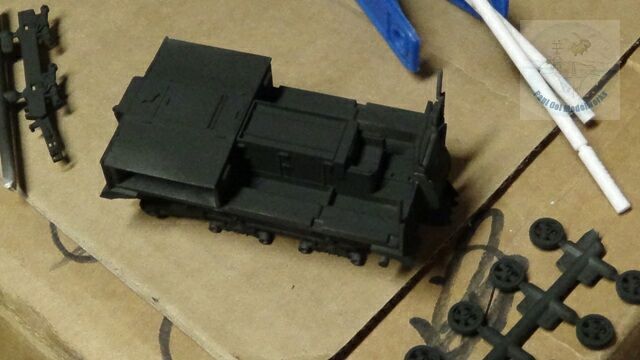
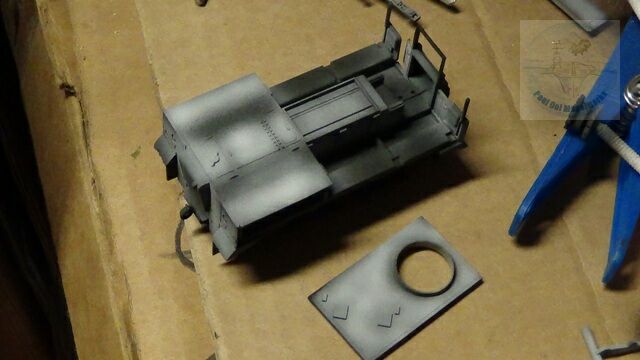
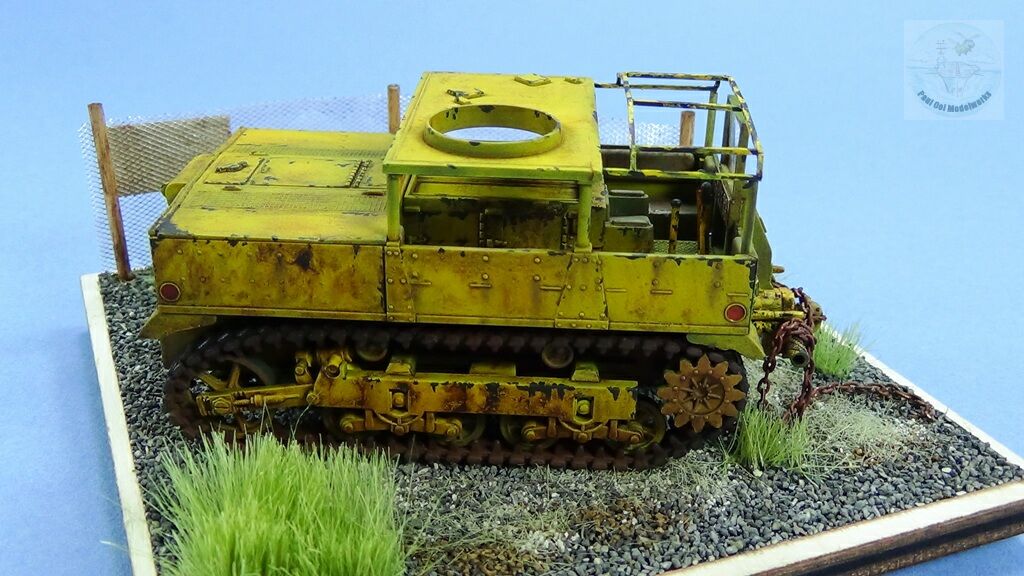
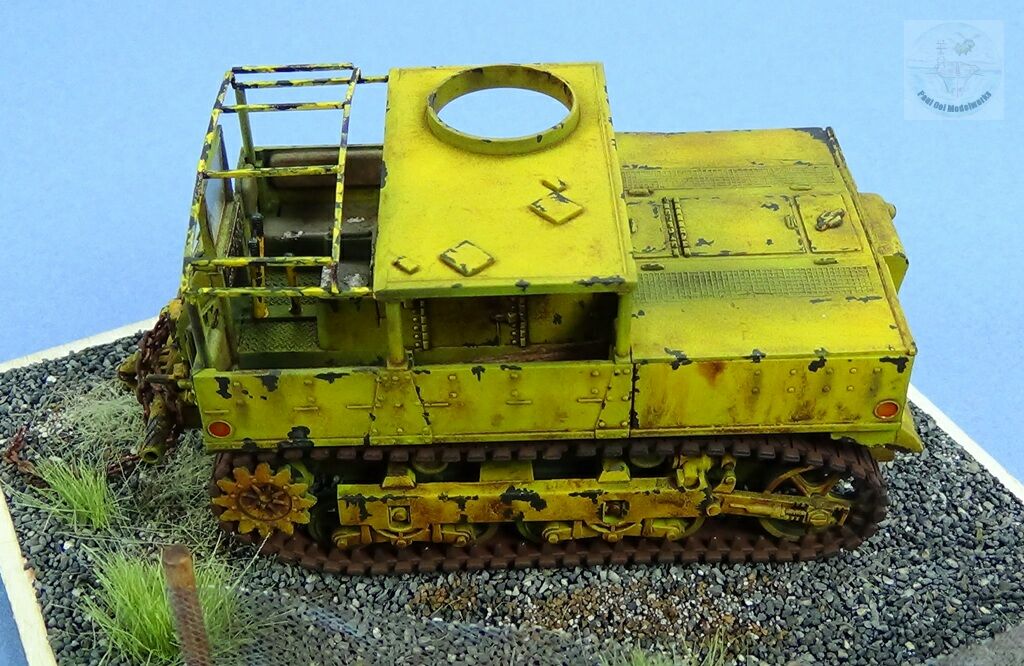
I started painting by priming the sub-assemblies in Tamiya NATO Black XF69. Then I highlighted sections using Tamiya Flat White XF2. This reverse method to the usual under-shading method that I do for aircraft is more effective for small 1/72 scale AFV’s. Notice that the roof section has been midwifed with the canvas and frame top sawn away. I intend to scratch build the frame without the canvas for greater interest, and emphasize the “abandoned” look of the tractor.
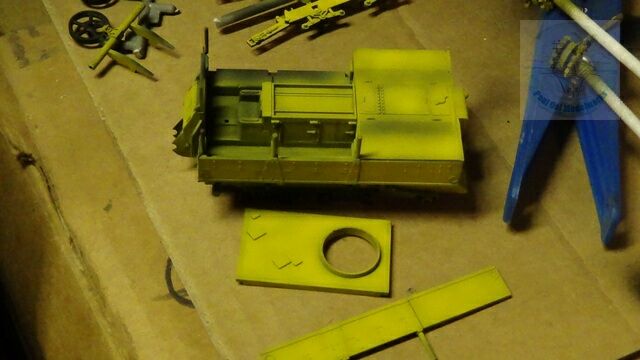
Then I completed the main painting with Tamiya Flat Yellow XF3.
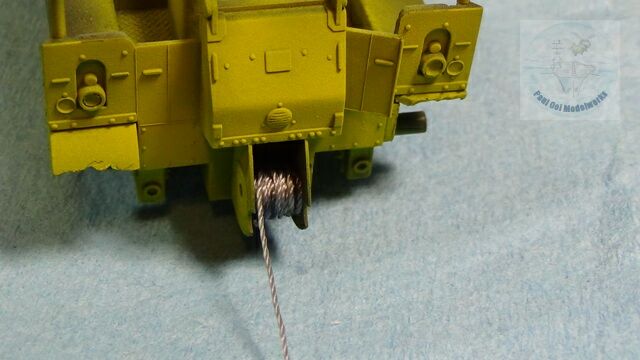
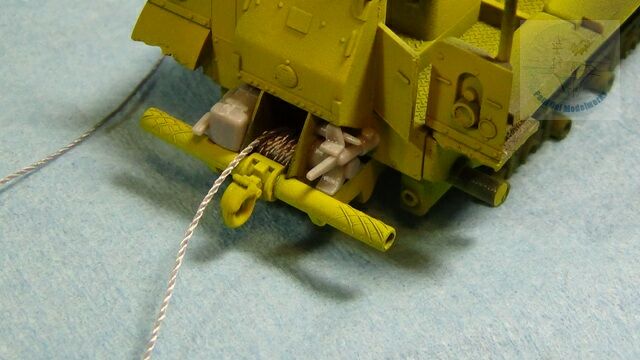
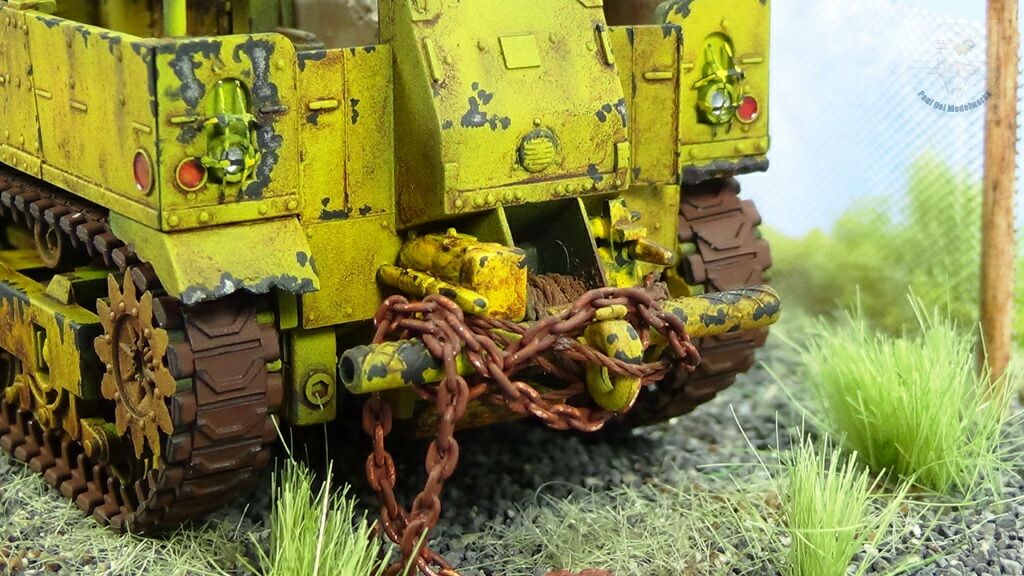
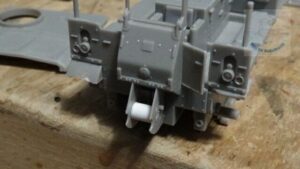
Then I threaded the “cable” on the winch spool using fine plastic silver thread which is most accurate to portray 1/72 tow cables because it does not have loose fibers sticking out and the color and texture is correct to the eye. The thread is carefully fixed to the spool with Superglue. Then the rest of the front tow bar is installed onto the winch and front façade.
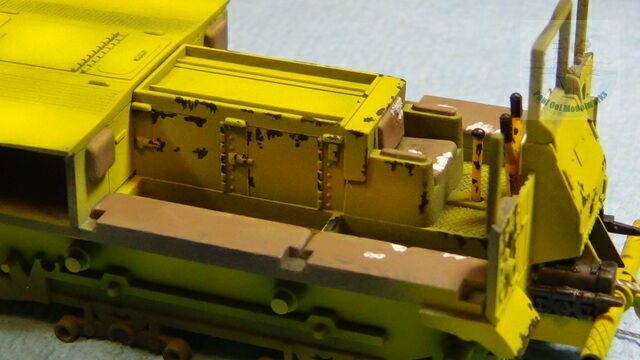
Then I start weathering the interior of the tractor, including painting of the cushions, paint chips in NATO Black and applying a rust wash of diluted Burnt Umber oil paint.

Once the interior is finished, the sides of the vehicle are installed.
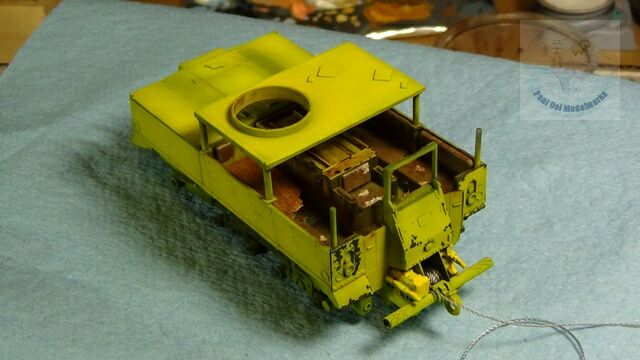
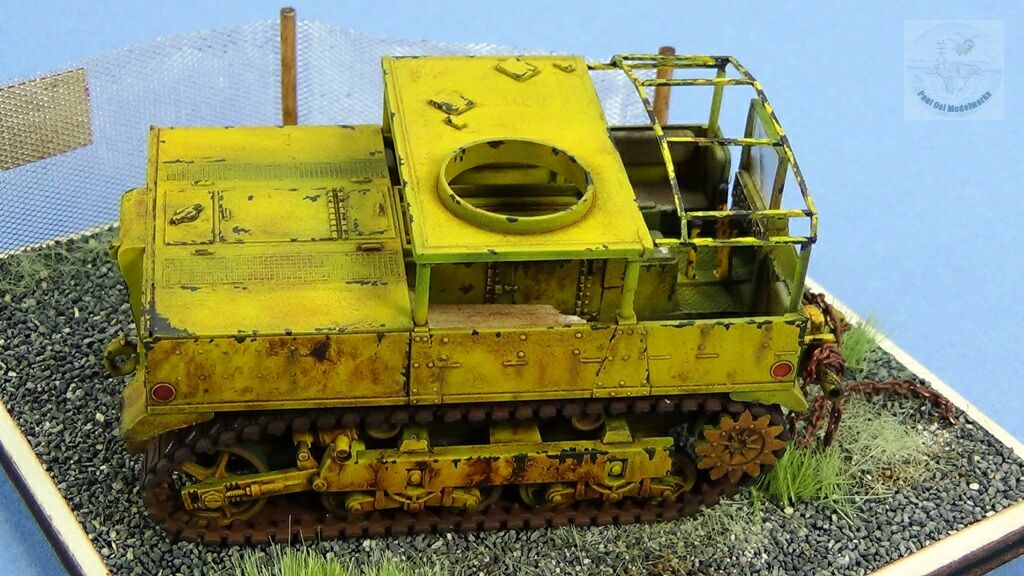
Next, the roof of the middle section is installed. The kit part did not have the angular support brackets actually seen in the prototype, so I added these in, making them from thin plastic stock.
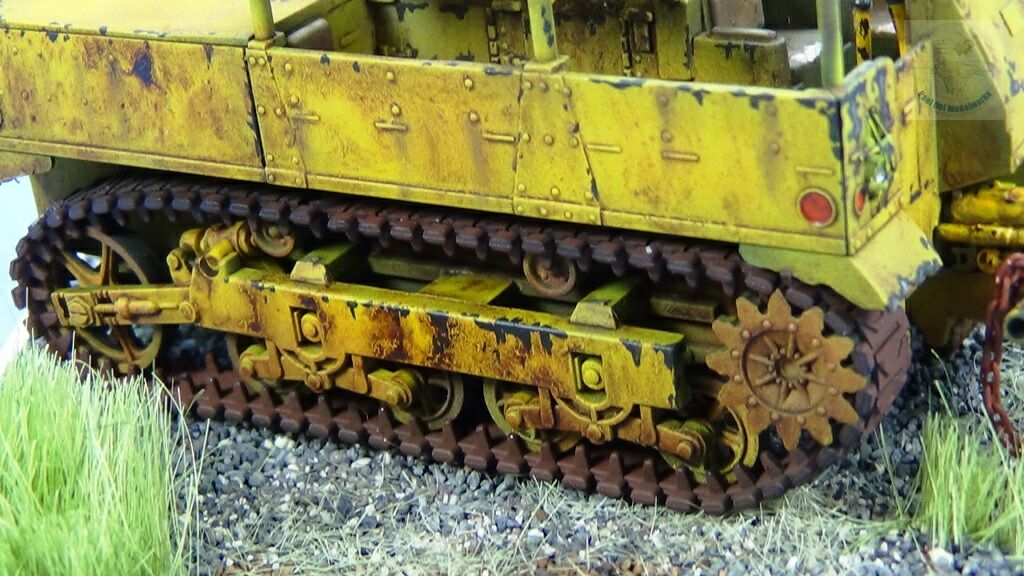
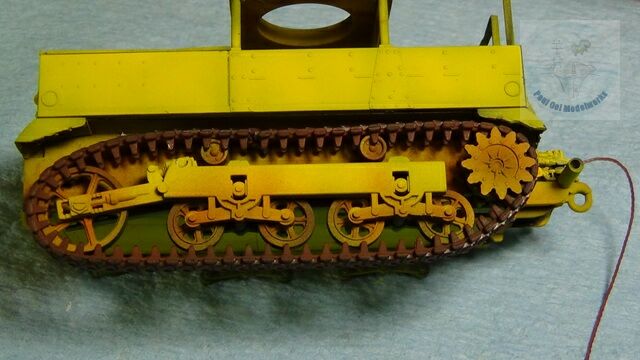
Before installing the rest of the tractor wheels and track assembly, I applied rust wash and weathering on the inside walls of the vehicle.
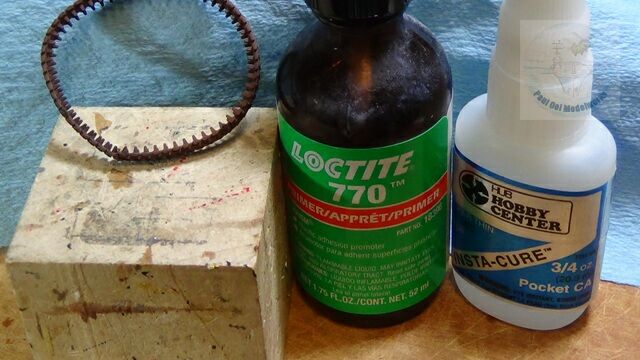
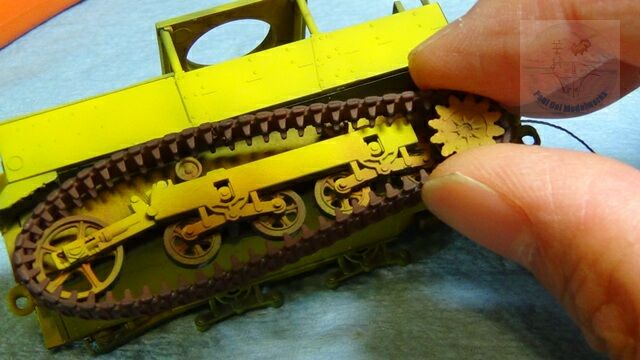
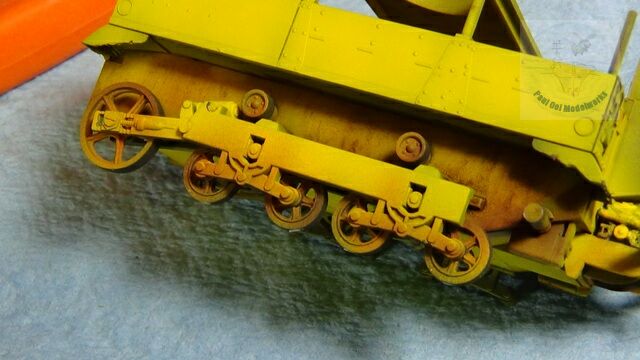
One of the trickiest things with polypropylene tracks is that they do not glue very well. The instructions recommend the old method of using a hot iron to melt the stub. I have found this method to be potentially dangerous and sometimes result in deformed tracks. Instead I apply Loctite 770 Primer that enable polypropylene to be then bonded using cyanoacrylate glue (Superglue). Once the tracks are properly bonded, I apply them carefully by wrapping tracks to the wheels and then inserting the lead sprocket wheel to lock the tracks in place. This is much better than trying to stretch the track over the entire wheel arrangement, possibly breaking the joints.
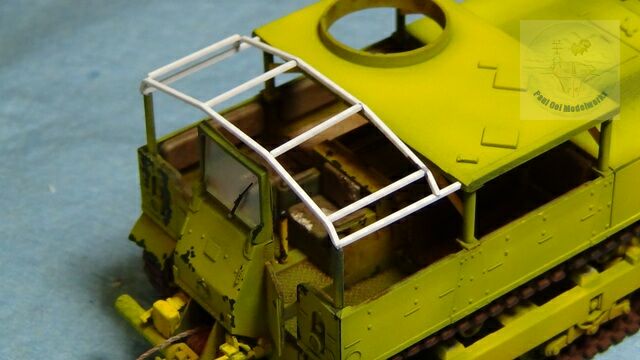
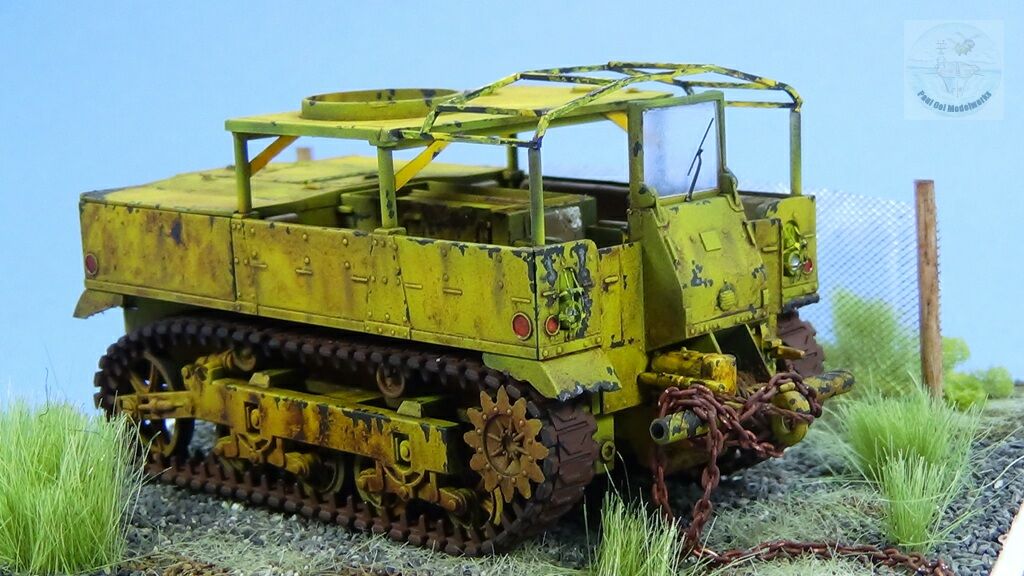
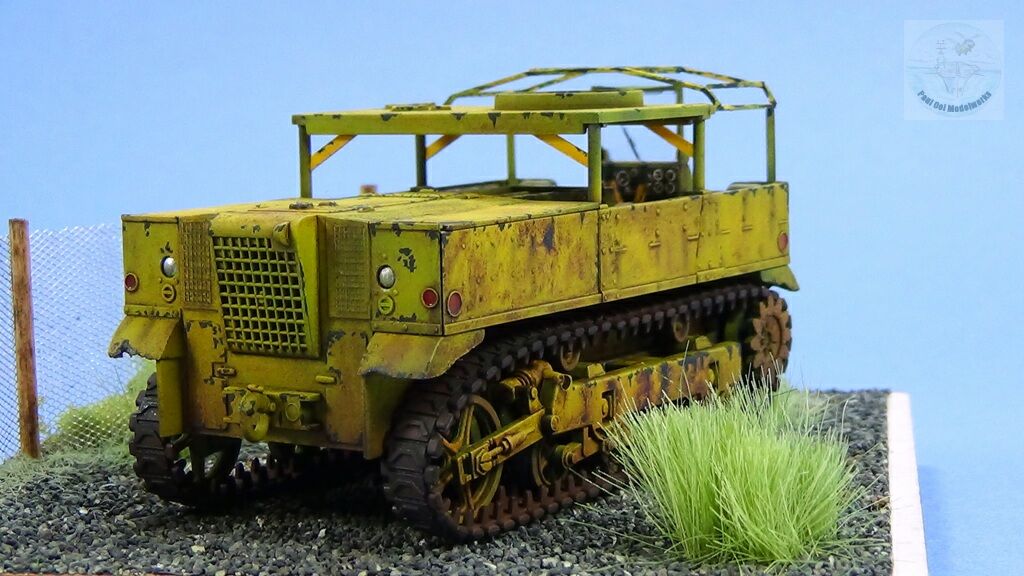
Now come the fun part. I had mentioned that instead of using the kit part with the molded canvas top, I wanted to construct the bare frame. I use square rods (0.5 x 0.5mm) to reconstruct the shape, using the kit part as a template. Once dried, I also prime the frame with NATO Black. Notcie also that I added a piece of clear plexiglass for the driver’s windshield, then I frosted it slightly with a spray of satin varnish to look crazed after years of use. I also made a front wiper out of stretched sprue and plastic stock.
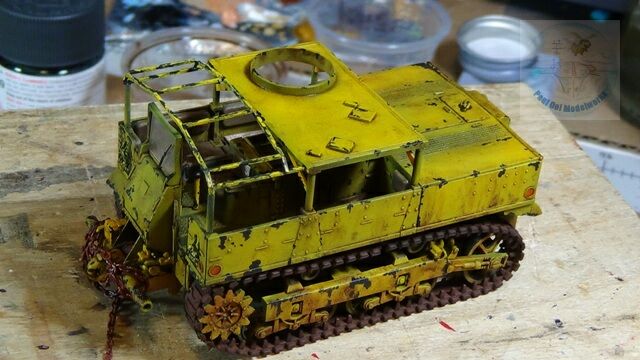
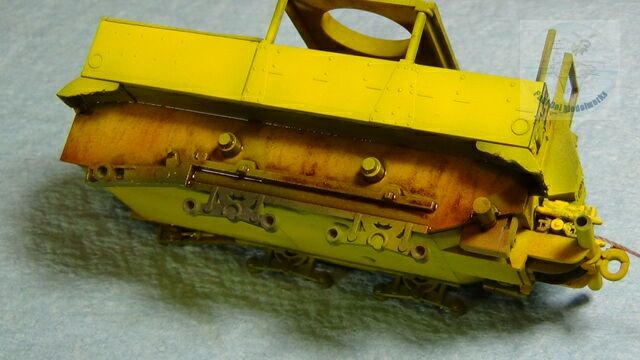
Finally, I weather the whole vehicle, first with paint chips and wear using NATO Black, followed by rust stain wash of Burnt Umber, and then deeper rust stains with Raw Umber applied directly, followed by pigments of brown and orange pastels.
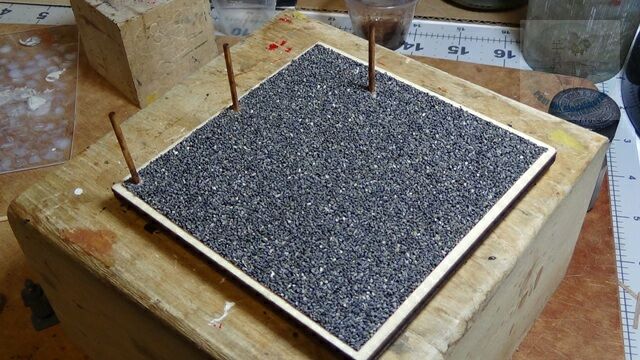
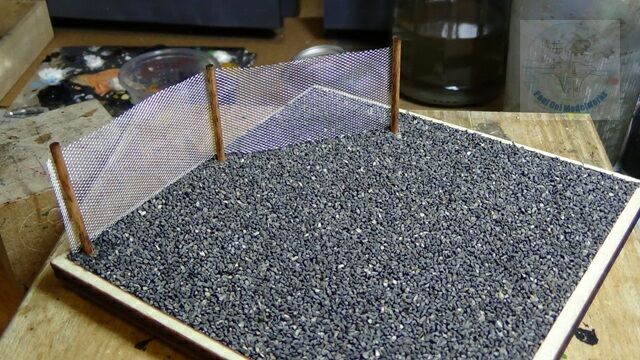
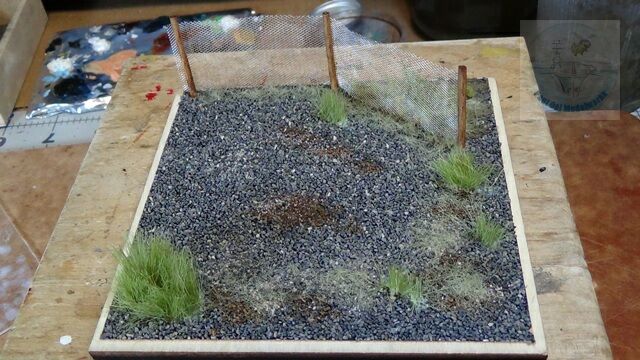
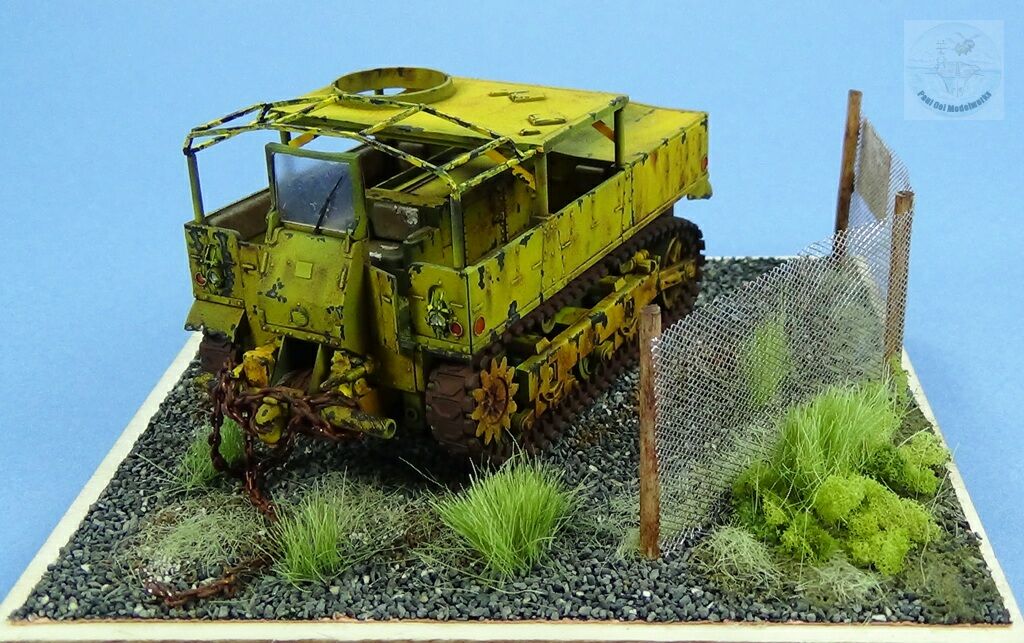
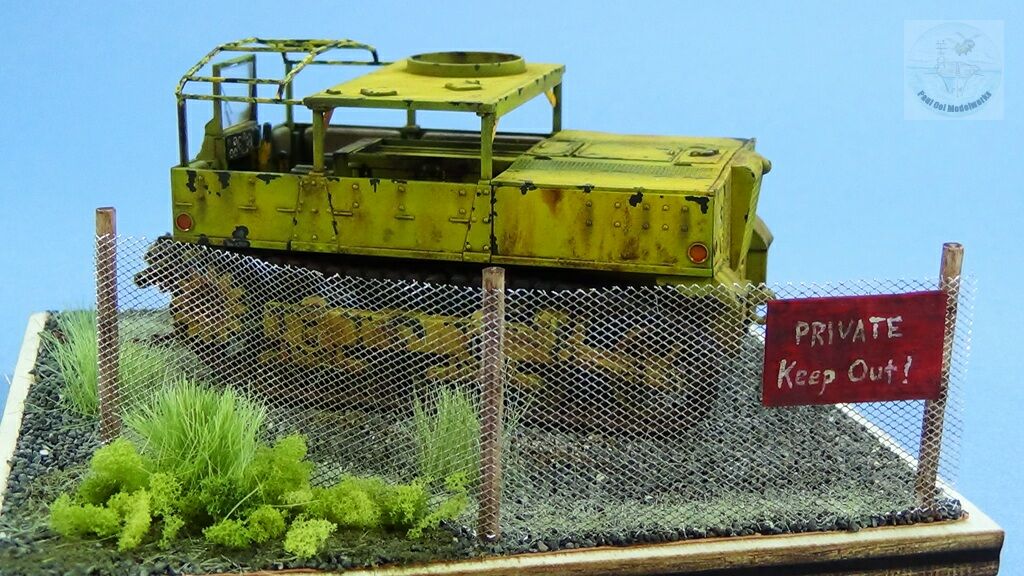
The display base itself is very simple, starting with a 3-1/4″ square plywood base, then using Busch asphalt paper glued on to make the yard surface of asphalt and rocks. I then drilled in small 2 mm diameter wooden dowels as fence posts for the chainlink fence. The latter is a special mesh found in railway model sections and can be cut to whatever size of fence needed. The Base is then sprinkled with and fixed with diluted white glue with a combination of fine grey and brown ballast to vary the colors and texture, followed by earth, and then light green plants from Woodland Scenics. Finally, I planted long light green grass in small patches of white glue. Once dried, the old Warrior is placed in there for its retirement.
[…] wanted to portray this tractor in its post-war guise, similar to an earlier Old Warrior project for the US M5 High Speed Tractor. Showing considerable wear from pulling heavy loads around the collective farm, this tractor is […]